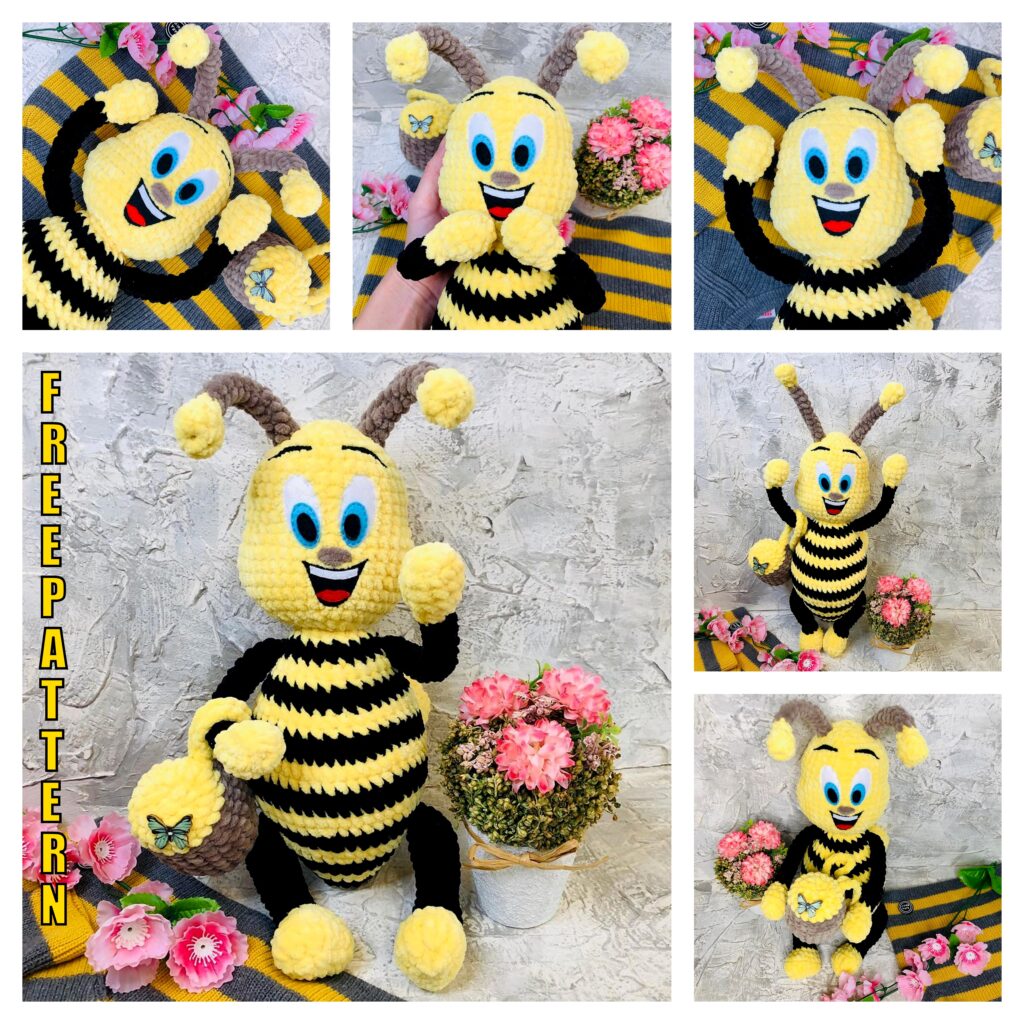
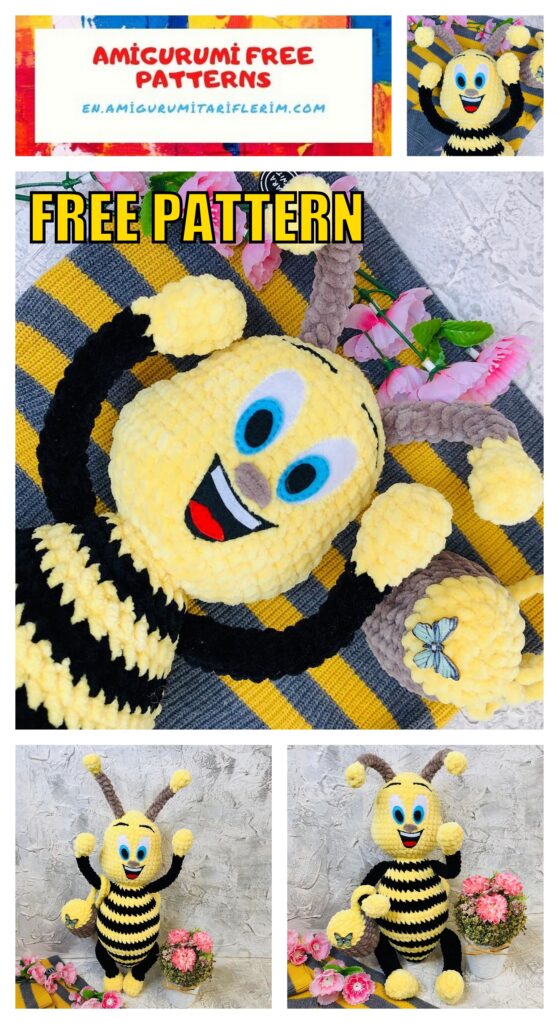
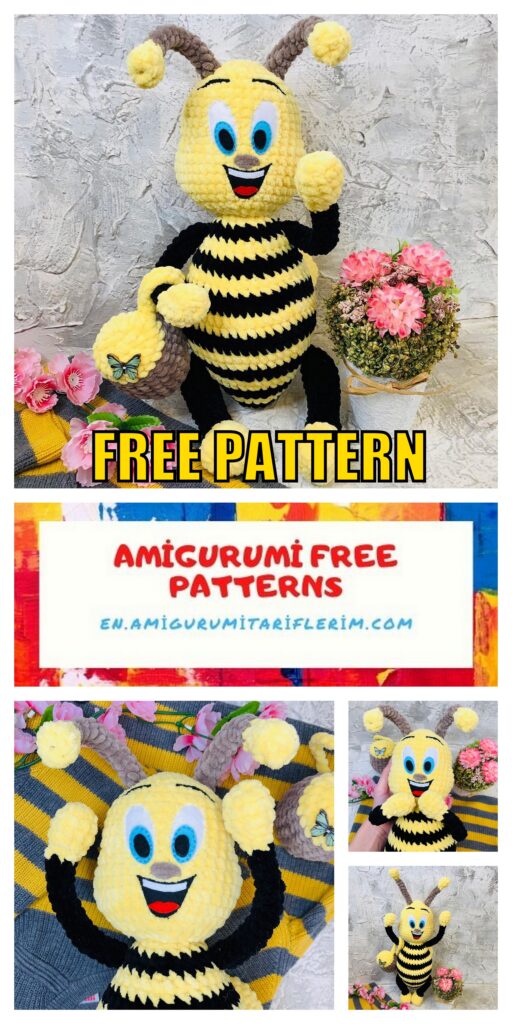
Bee Zuza Amigurumi Free Pattern
Difficulty – Medium
Toy size and amount of material used
depends on your knitting density and yarn thickness.
I got a toy 34-35 cm in size,
with horns – 43 cm, barrel 7 cm.
Materials:
1. Yarn Himalaya Dolphin Baby (HDB) / YarnArt Dolce -1 skein (100 gr., 120 m)
(it took me 90 g for the toy) main color (in the photo HDB color yellow # 313)
2. Yarn Himalaya Dolphin Baby / YarnArt Dolce – 1 skein (I have
it took 50 gr. – additional color black.
3. Yarn Himalaya Dolphin Baby / YarnArt Dolce – it took me 15 grams.
(a keg of honey) – additional color (in the photo brown Dolce YarnArt 754)
4. Hook number 4
5. Filler holofiber
6. Threads for sewing parts, any
7. Stitching needle (long)
8. Wire for pens ~ 38 cm, diameter ~ 1 mm
9. Blue sticks for fixing the horns (any color), you can use a wire ~ 27 cm.
10. Pliers for bending and cutting off the wire (you can use scissors)
11. Plaster for wrapping the ends of the wire
12. Felt (white, black, blue, red) for eyes, eyebrows, mouth
(you can use ordinary eyes, and embroider the nose, mouth and eyebrows with threads)
13. Any decorative button for decorating a barrel of honey
14. Your great mood!
ABBREVATİONS
SC – single crochet
INC – increase
DEC – decrease
DC – double crochet
INC DC – Increase double crochet
(… ..) * – repeat the specified number of times
PATTERN
Lower feet:
yarn color yellow:
1 p. – dial 5 CH (5)
2 p. – from the second from the hook, knit 4 SC, 3 DC in one loop, 4 SC = (11)
3 p. – INC, 3 SC, 6 INC DC, 1 SC = (19)
4 p. – 19 SC for the back wall of the hinge (19)
5 p. – DEC, 5 SC, 3DEC, 4 SC, DEC = (14)
6 p. – 5 SC, 2DEC, 5 SC = (12), change color to black
7 p. – 12 SC (12) (fill the base of the foot, do not fill further)
8 p. – DEC, 8 SC, DEC (10)
9-20 p. – 10 SC (10)
21 p. – fold the foot in half and knit 5 sc, knit the second
Upper paws:
We start in yellow
1 p. – 6 SC into magic ring (6)
2 p. – 6 INC (12)
3-4 p. – 12 SC unchanged (12)
5 p. – 1 SC + DEC to the end of the row (8)
6 p. – 2DEC, 4 SC (6), change color to black,
fill with a little filler
7-21 p. – 6 SC unchanged (6), leave thread
for sewing to the body
Head:
Yellow color
1 p. – 6 SC into magic ring (6)
2 p. – 6 INC (12)
3 p. – 1SC + INC (to the end of the row) (18)
4 p. – 1SC + INC (to the end of the row) (27)
5 p. – 2 SC + INC (to the end of the row) (36)
6-10 p. – 36 SC unchanged (36)
11 p. – DEC, 16 SC, DEC, 16 SC (34)
12 p. – DEC, 15 SC, DEC, 13 SC, 2 INC (34)
13 p. – 2 INC, 12 SC, 4 INC, 16 SC (40)
14 p. – 2 INC, 15 SC, 2 INC, 21 SC (44)
15 -16 R. – 44 SC unchanged (44) (we fill in the course of knitting)
17 p. – 2DEC, 15 SC, 2DEC, 21 SC (40)
18 p. – 2DEC, 12 SC, 4DEC, 16 SC (34)
19 p. – (2SC + DEC) * 8, 2 SC (26)
20 p. – 26 SC unchanged (26)
21 p. – (1SC + DEC) * 8, 2 SC (18)
22 p. – 9 DEC (9)
23 p. – 4DEC, 1 SC, fasten thread
Horns:
We start yellow
1 p. – 6 SC into magic ring (6)
2 p. – 6 INC (12)
3 p. – 6 DEC (6)
4 p. – DEC, 4 SC (5), change color to brown
(or black) and fill the base of the horns
5-15 p. – 5 SC, knit the second
Torso:
We start in yellow:
1 p. – 6 SC into magic ring (6)
2 p. – 2 SC + INC (to the end of the row) (8)
3 p. – 1 SC + INC (to the end of the row) (12)
4 p. – 12 SC unchanged (12), change the thread color to black
(then, every 2 rows, alternate the color of the thread)
5 p. 1 SC + INC (to end of row) (18)
6 p. – 18 SC unchanged (18), change the thread color to yellow
7 p. – 2 SC + INC (to the end of the row) (24)
8 p. – 24 SC unchanged (24), change thread color to black
9 p. – 3 SC + INC (to the end of the row) (30)
10 p. – 30 SC unchanged (30), change the thread color to yellow
11 p. – 4 SC + INC (to the end of the row) (36)
12 p. – 36 SC unchanged (36), change thread color to black
13 p. – 5 SC + INC (to the end of the row) (42)
14 p. – 42 SC unchanged (42), change the thread color to yellow
15 p. – 6 SC + INC (to the end of the row) (48)
16 p. – 48 SC unchanged (48), change thread color to black
17-21 p. – 48 SC unchanged (48), every 2 rows change color:
17, 18- black, 19,20- yellow, 21- black
22 p. – 18 SC, 6 DEC, 18 SC (42), change the thread color to yellow
(belly), we fill in the course of knitting
23-24 p. – 42 SC unchanged (42), change thread color to black
25 p. – 5 SC + DEC (to the end of the row) (36)
26 p. – 36 SC unchanged (36), change the thread color to yellow
27 p. – 4 SC + DEC (to the end of the row) (30)
28 p. – 30 SC unchanged (30), change thread color to black
29 p. – 3 SC + DEC (to the end of the row) (24)
30 p. – 24 SC unchanged (24), change thread color to yellow
31 p. – 2 SC + DEC (to the end of the row) (18)
32 p. – 18 SC unchanged (18), fasten the thread
Wings:
Knit in yellow, DO NOT stuff
1 p. – 6 SC into magic ring (6)
2 p. – 6 INC (12)
3 p. – 1SC + INC (to the end of the row) (18)
4 p. – 2SC + INC (to the end of the row) (24)
5 p. – 3SC + INC (to the end of the row) (30)
7-9 p. – 30 SC unchanged (30)
10 p. – 3SC + DEC (to the end of the row) (24)
11 p. – 2SC + DEC (to the end of the row) (18)
12 p. – 1SC + DEC (to the end of the row) (12)
13 p. – 1SC + INC (to the end of the row) (18)
14 p. – 2 SC + INC (to the end of the row) (24)
15 p. – 3SC + INC (to the end of the row) (30)
17-19 p. – 30 SC unchanged (30)
20 p. – 3SC + DEC (to the end of the row) (24)
21 p. – 2SC + DEC (to the end of the row) (18)
22 p. – 1SC + DEC (to the end of the row) (12)
23 p. – 6DEC (6), close the hole
Backpack:
We start with brown yarn:
1 p. – 8 SC into magic ring (8)
2 p. – 8 INC (16)
3 p. – 1 SC + Inc to the end of the row (24)
4 p. – 24 SC for the back wall of the hinge (24)
5-8 p. – 24 SC unchanged (24)
9 p. – 4 + DEC to end of row (20)
10 p. – 20 SC unchanged (20), change color to yellow
11 p. – 20 SC for the back wall of the hinge (20)
12 p. – 20 SC unchanged (20) (we fill in the course of knitting)
13 p. – 10 DEC (10)
14 p. – 5 DEC (5), close the hole, sew a button on the barrel
Keg straps: fasten the yellow thread in the 11th row, knit 27 CH, fasten the thread at the bottom of the keg above the place where it was originally fastened, knit 27 CH, fasten the thread in the 11th row.
Assembly:
1. Make eyes, eyebrows, mouth out of felt (shown in previous posts, see Instagram account), templates are also saved,
you can use any you like on the Internet or use ordinary eyes, noses and embroider a face.
Eyebrows are sewn / embroidered in the 6th row (count from the crown), length 3 cm
Eyes, if we sew felt in the 8th row (count from the crown), length 4.5 cm, width 2 cm
I embroidered the nose with brown plush yarn in the 14th row, 2 cm wide
Mouth in row 15 width 4 cm, length 2.5 cm
2. Make the horns bendable (shown in previous posts, see Instagram account) and sew them on the head in the 3rd row on the sides of the head.
3. Make the handles bendable (shown in previous posts, see Instagram account) and sew them to the body m / y 3 and 4 next to it (counting the rows from the top of the body).
4. Sew on the legs in the 20th row, counting the rows from the top of the body
5. Sew on the wings in row 10, counting the rows from the top of the body, sew in the middle of the wings, grabbing the loops of the body.
