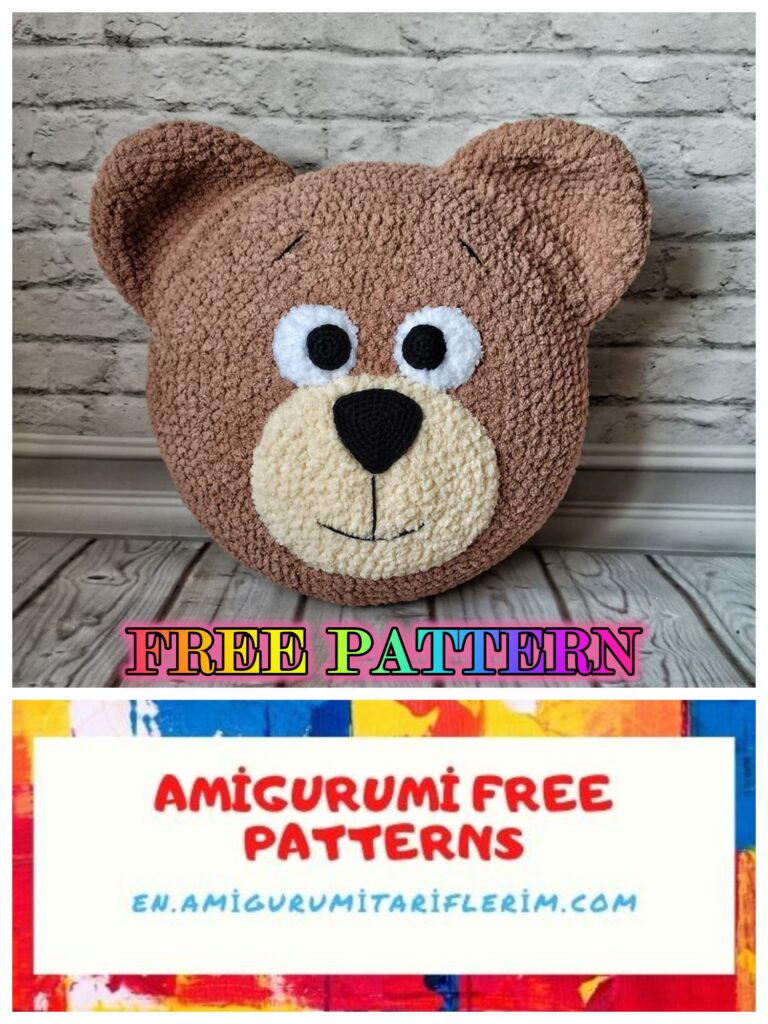
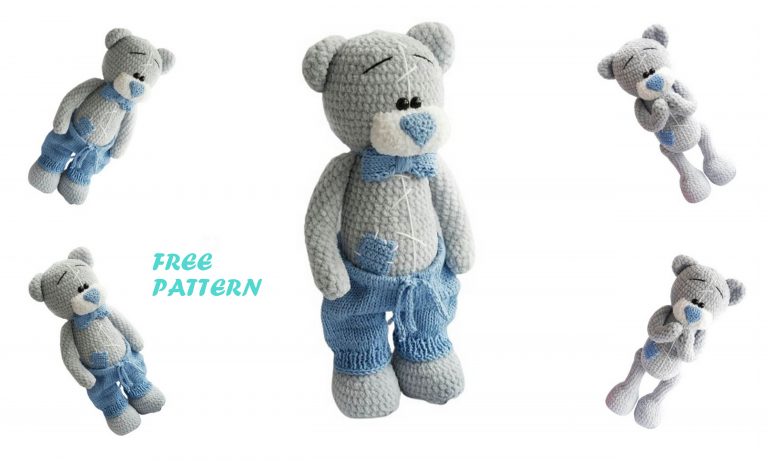
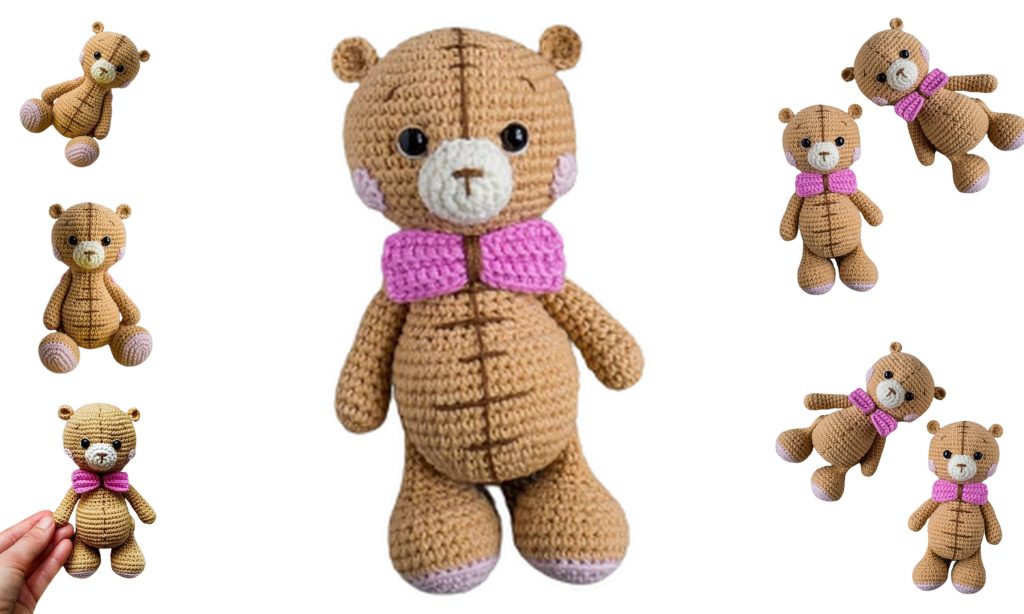
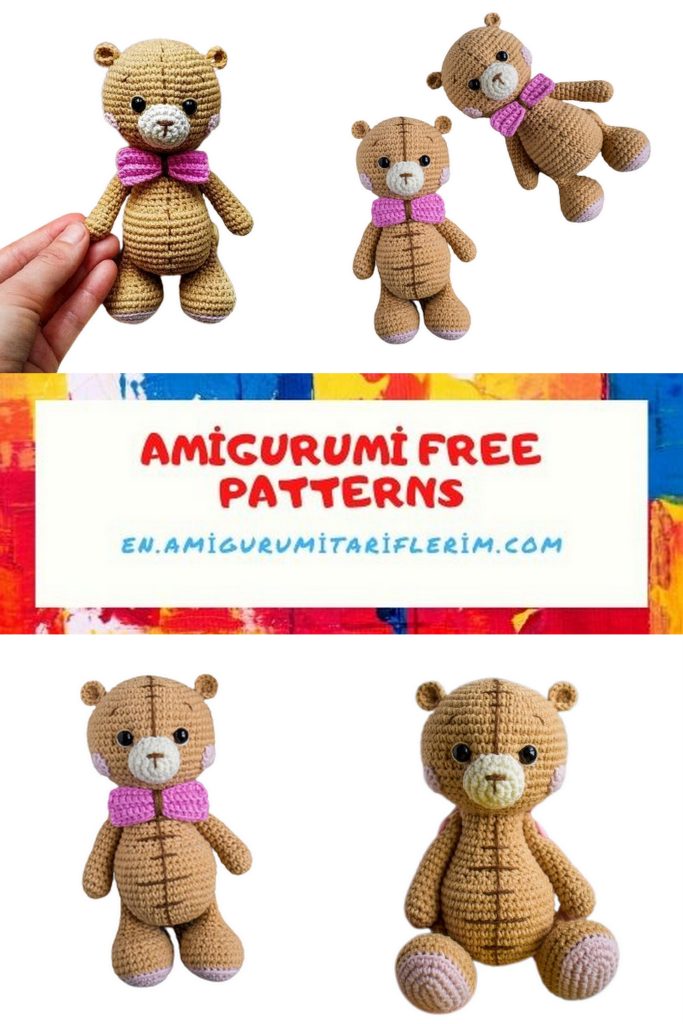
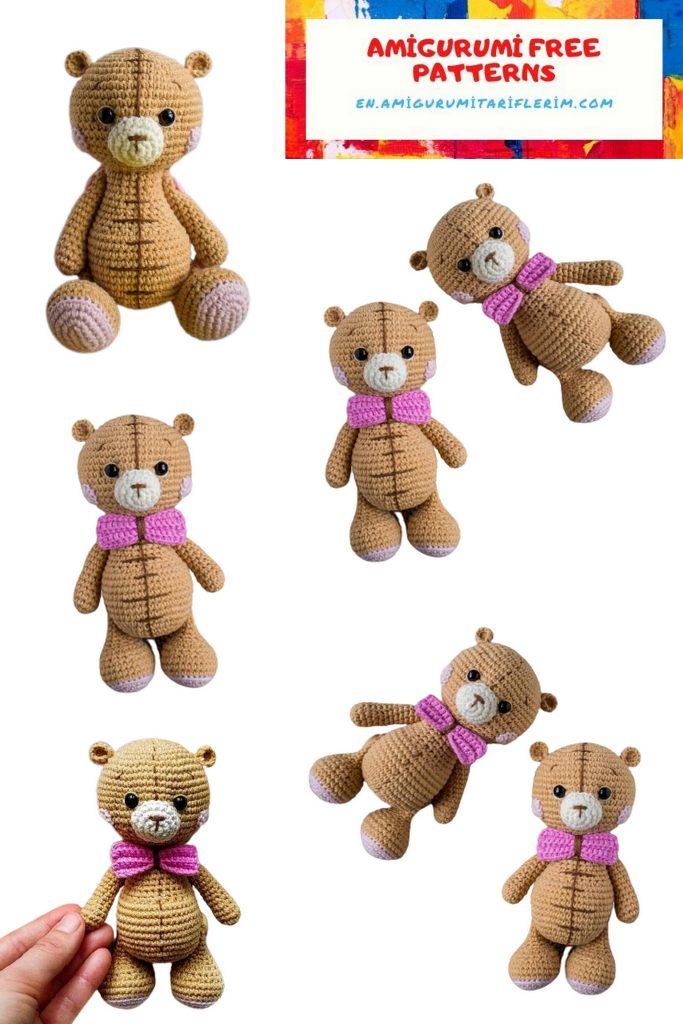
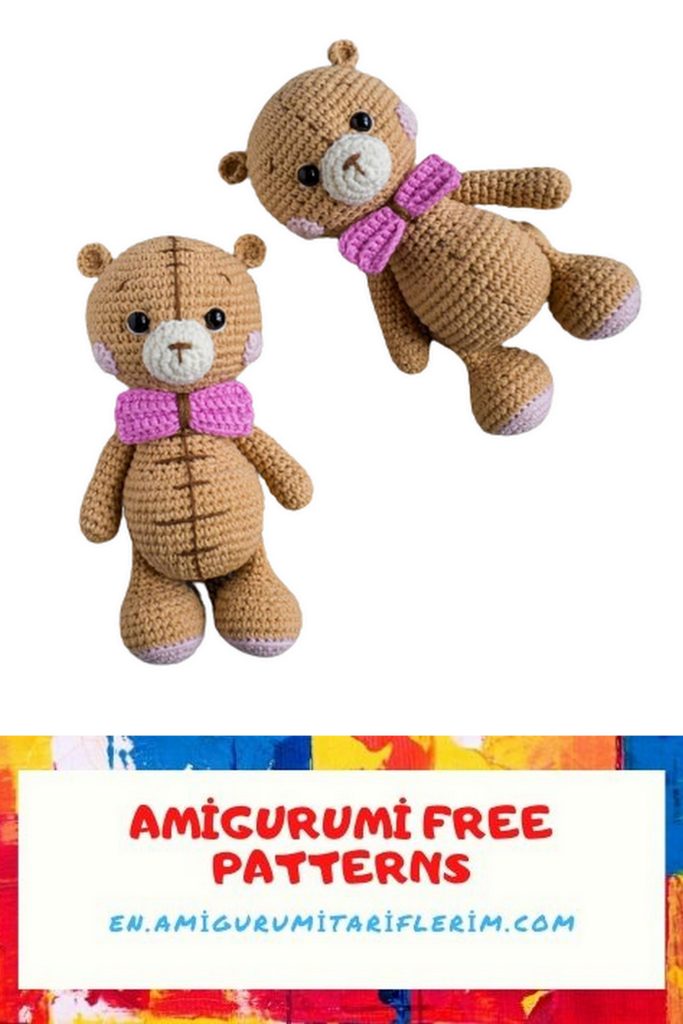
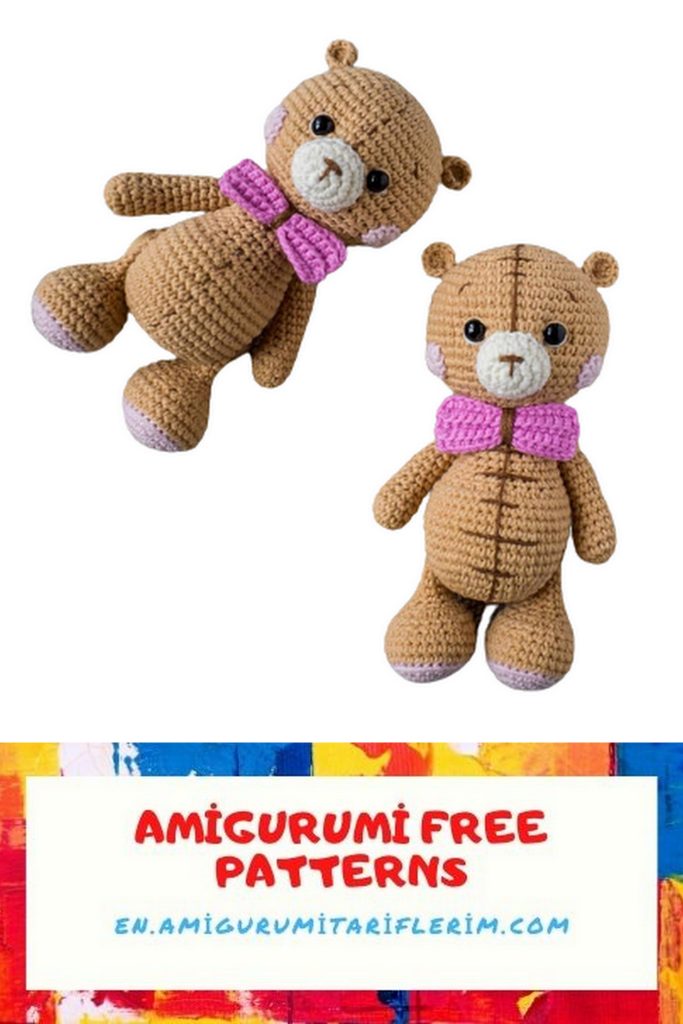
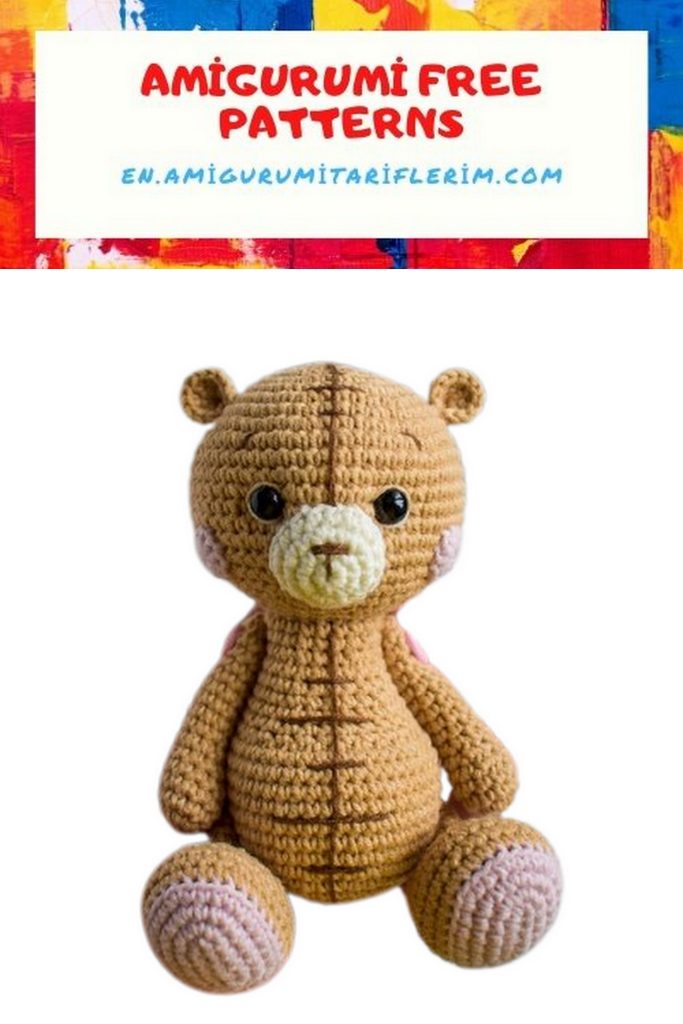
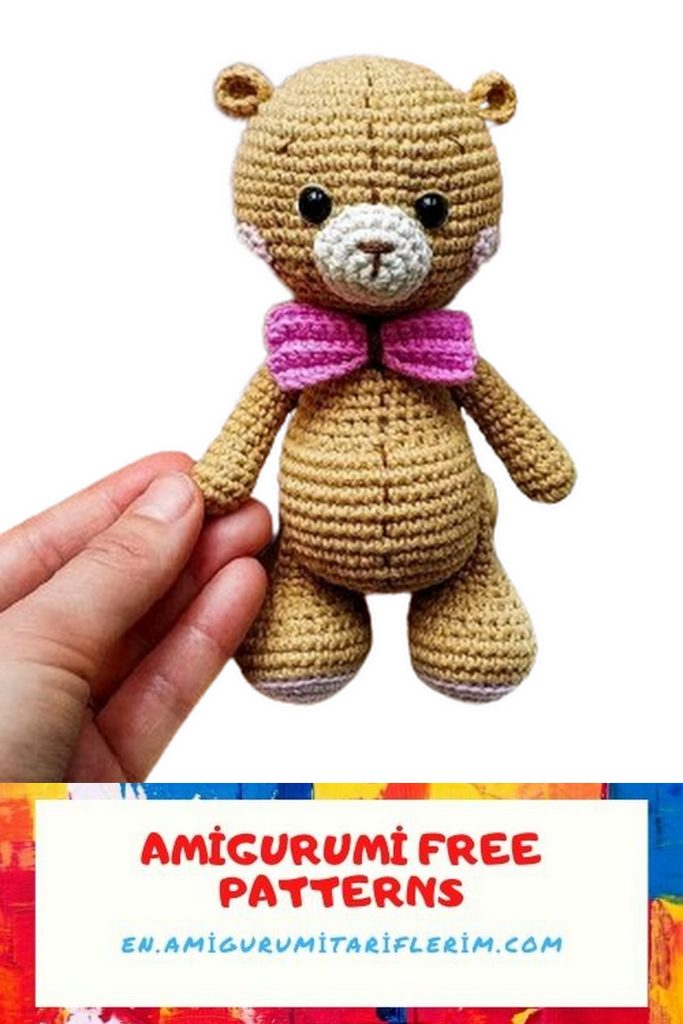
Craft Your Own Bow Tie Teddy Bear with Our Free Amigurumi Pattern
Get ready to embark on a heartwarming crochet journey with our Amigurumi Free Pattern for the Bow Tie Teddy Bear. Whether you’re an experienced crocheter or new to the craft, this pattern is designed to cater to all skill levels. Our detailed instructions will lead you through the creation of a charming Amigurumi Teddy Bear with an adorable bow tie, adding a touch of dapper style.
This crochet project offers not only a creative outlet but also the opportunity to craft a unique handmade gift that will bring smiles and joy. So, grab your crochet hook, choose your favorite yarn colors, and let’s dive into this crafting adventure. Let’s crochet your very own Bow Tie Teddy Bear and create a cuddly companion with a hint of sophistication!
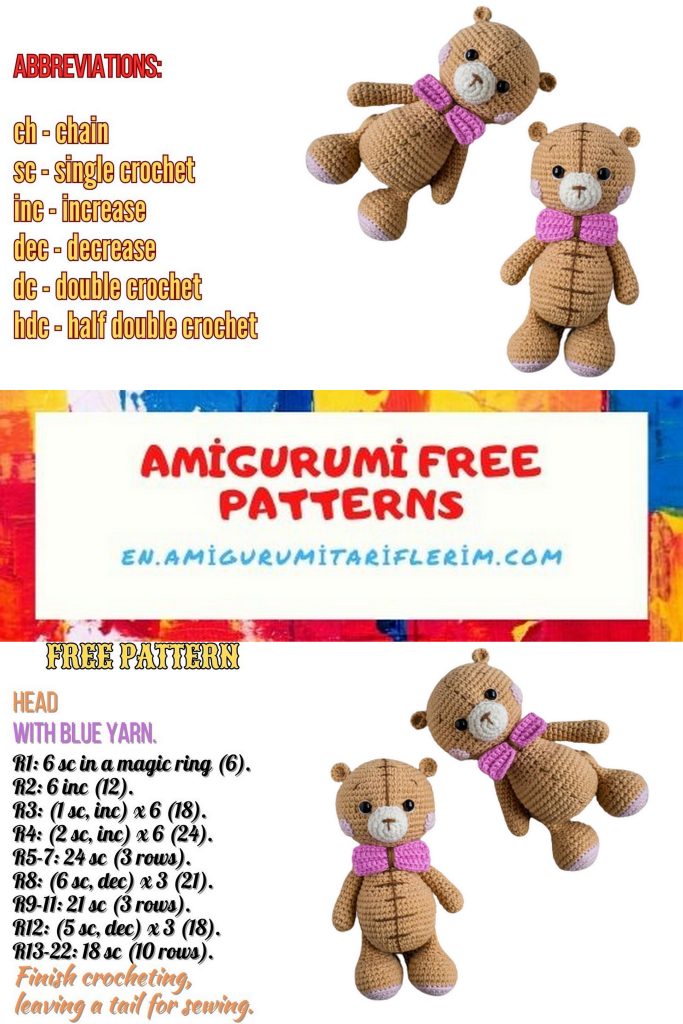
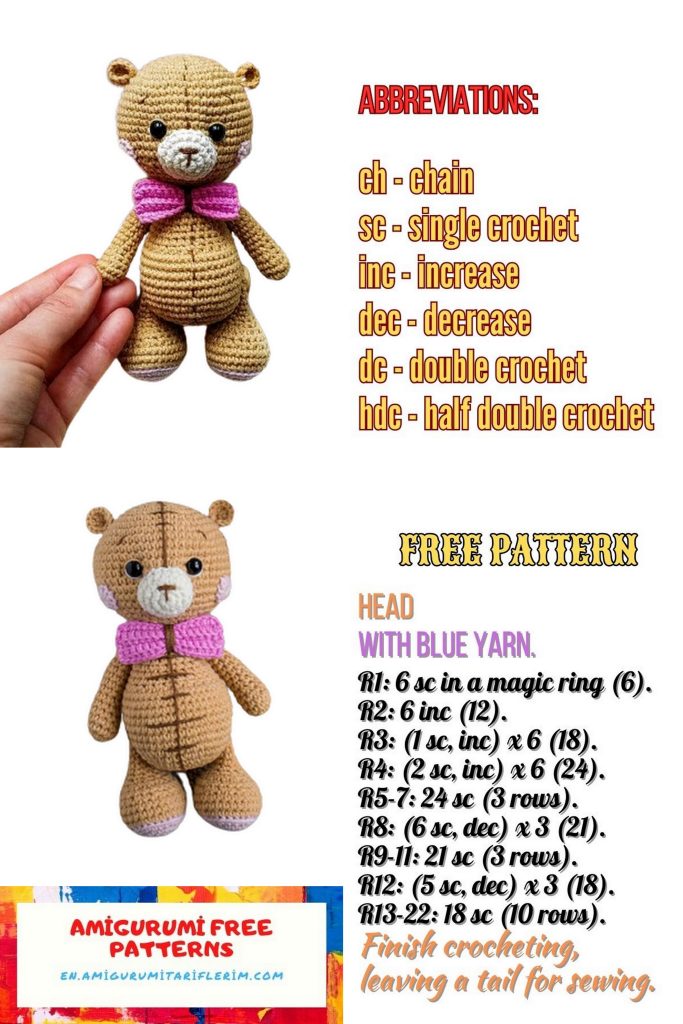
Abbreviations:
ch = chain
sc = single crochet
hdc = half double crochet
sl st = slip stitch
inc = 2 sc in the next stitch
dec = single crochet 2 stitches together
BLO = back loop only
F.o. = finish off
(…)*6 = repeat whatever is between the brackets the number of times stated
(12) = number of stitches you should have at the end of the round/row
Materials:
YarnArt Jeans yarn: beige (№07), pink (№18), bright pink (№20), white (№03), brown (№40)
2.00 mm crochet hook
8 mm half beads
Buttons for joining arms and legs (4 pcs)
Fabric glue
Sewing needle
Scissors
Fiberfill
PATTERN
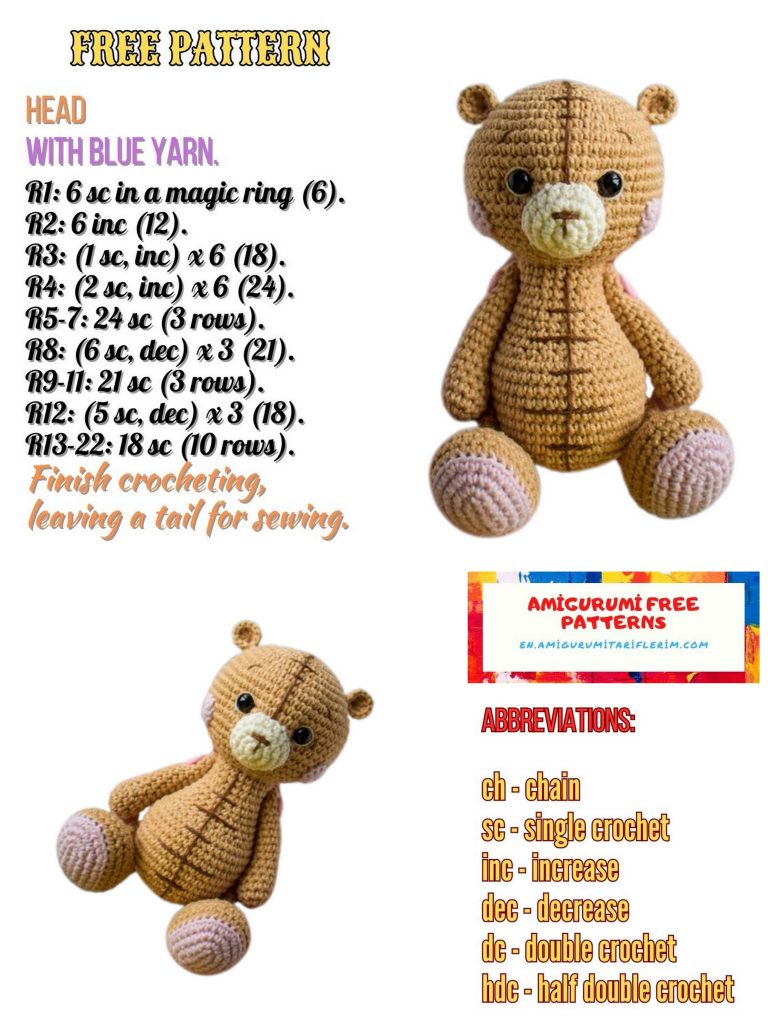
Head
With beige yarn:
Row 1: 6 sc in magic ring (6)
Row 2: inc*6 (12)
Row 3: (1 sc, inc)*6 (18)
Row 4: 1 sc, inc, (2 sc, inc)*5, 1 sc (24)
Row 5: (3 sc, inc)*6 (30)
Row 6: 2 sc, inc, (4 sc, inc)*5, 2 sc (36)
Row 7: (5 sc, inc)*6 (42)
Row 8: 3 sc, inc, (6 sc, inc)*5, 3 sc (48)
Row 9: (7 sc, inc)*6 (54)
Row 10-17: 54 sc (8 rows)
Row 18: (7 sc, dec)*6 (48)
Row 19: 3 sc, dec, (6 sc, dec)*5, 3 sc (42)
Row 20: (5 sc, dec)*6 (36)
Row 21: 2 sc, dec, (4 sc, dec)*5, 2 sc (30)
Row 22: (3 sc, dec)*6 (24)
Row 23: 1 sc, dec, (2 sc, dec)*5, 1 sc (18)
Row 24: (1 sc, dec)*6 (12)
Stuff with fiberfill.
Row 25: dec*6 (6)
F.o.
Muzzle
With white yarn:
Row 1: 6 sc in magic ring (6)
Row 2: inc*6 (12)
Row 3: (1 sc, inc)*6 (18)
Row 4: 18 sc
F.o. and leave a long tail for sewing.
Ears (make 2)
With white yarn:
Row 1: 6 sc in magic ring, 1 turning chain
Row 2: inc*6 (12)
F.o. and leave a long tail for sewing.
Cheeks (make 2)
With pink yarn:
Make a magic circle amigurumi.
1: 2 ch in magic ring, 10 hdc, join in a ring with sl st in 2nd ch.
F.o. and leave a long tail for sewing.
Body
With beige yarn:
Row 1: 6 sc in magic ring (6)
Row 2: inc*6 (12)
Row 3: (1 sc, inc)*6 (18)
Row 4: 1 sc, inc, (2 sc, inc)*5, 1 sc (24)
Row 5: (3 sc, inc)*6 (30)
Row 6: 2 sc, inc, (4 sc, inc)*5, 2 sc (36)
Row 7: (5 sc, inc)*6 (42)
Row 8: 3 sc, inc, (6 sc, inc)*5, 3 sc (48)
Row 9-16: 48 sc (8 rows)
Row 17: 12 sc, 12 dec, 12 sc (36)
Row 18-19: 36 sc (2 rows)
Row 20: 2 sc, dec, (4 sc, dec)*5, 2 sc (30)
Row 21-22: 30 sc (2 rows)
Row 23: (3 sc, dec)*6 (24)
Row 24-25: 24 sc (2 rows)
Stuff with fiberfill.
F.o. and leave a long tail for sewing.
Arms (make 2)
With beige yarn:
Row 1: 6 sc in magic ring (6)
Row 2: inc*6 (12)
Row 3-4: 12 sc (2 rows)
Row 5: dec, 10 sc (11)
Row 6: dec, 9 sc (10)
Row 7: dec, 8 sc (9)
Row 8-15: 9 sc (8 rows)
Stuff with fiberfill.
Row 16: (1 sc, dec)*3 (6)
F.o.

Legs (make 2)
With pink yarn:
Make 6 ch.
Make an oval starting from the 2nd ch from hook, work on both sides of the chain.
Row 1: From the 2nd ch from hook: 4 sc, 3 sc in last st, turn and crochet on the opposite side of the chain: 3 sc, inc (12)
Row 2: inc, 3 sc, 3 inc, 3 sc, 2 inc (18)
Row 3: 1 sc, inc, 3 sc, (1 sc, inc)*3, 3 sc, (1 sc, inc)*2 (24)
Row 4: 2 sc, inc, 3 sc, (2 sc, inc)*3, 3 sc, (2 sc, inc)*2 (30)
Change to beige yarn:
Row 5: BLO 30 sc
Row 6-7: 30 sc (2 rows)
Row 8: 4 sc, dec, (1 sc, dec)*5, 9 sc (24)
Row 9: 24 sc
Row 10: 4 sc, dec, 1 sc, 4 dec, 1 sc, dec, 6 sc (18)
Row 11: (1 sc, dec)*6 (12)
Stuff with fiberfill.
Row 12-19: 12 sc (8 rows)
Row 20: dec*6 (6)
Stuff leg ¾ full.
F.o.
Bow
With bright pink yarn:
Make 16 ch.
Row 1: From the 2nd ch from hook: 15 sc, 1 turning chain
Row 2: BLO, 15 sc, 1 turning chain
Row 3: BLO, 15 sc, 1 turning chain
Row 4: BLO, 15 sc, 1 turning chain
Row 5: BLO, 15 sc
F.o.
Wrap the middle of the bow multiple times with brown yarn and sew to the body.
Assembly
1. Sew muzzle to the head between Row 13 and Row 29. Put some stuffing inside the muzzle before you finish.
2. Glue eyes between Row 13 and Row 14 at the distance of 6 stitches from each other.
3. Embroider eye whites with white yarn, embroider eyelids with beige yarn. Embroider nose and eyebrows with brown yarn.
4. Sew cheeks on the head between Row 15 and Row 19 of the head at the distance of 4 stitches from muzzle.
5. Fold the ear edges together and fix them in such position with one stitch. Sew ears to the head on Row 8.
6. Sew head to the body. Stuff firmly the neck area. A firmly stuffed neck will hold the head up.
7. Attach arms and legs using buttons. View video tutorial >>> how to attach jointed arms and legs using buttons.
(Find position on your bears body where the legs/arms will be attached: for legs – between Row 9 and 10 of the body, for arms – between Row 21 and 22 of the body and between Row 14 and 15 of arm).
Amigurumi bear tutorial8. Embroider a head and a belly with brown yarn.