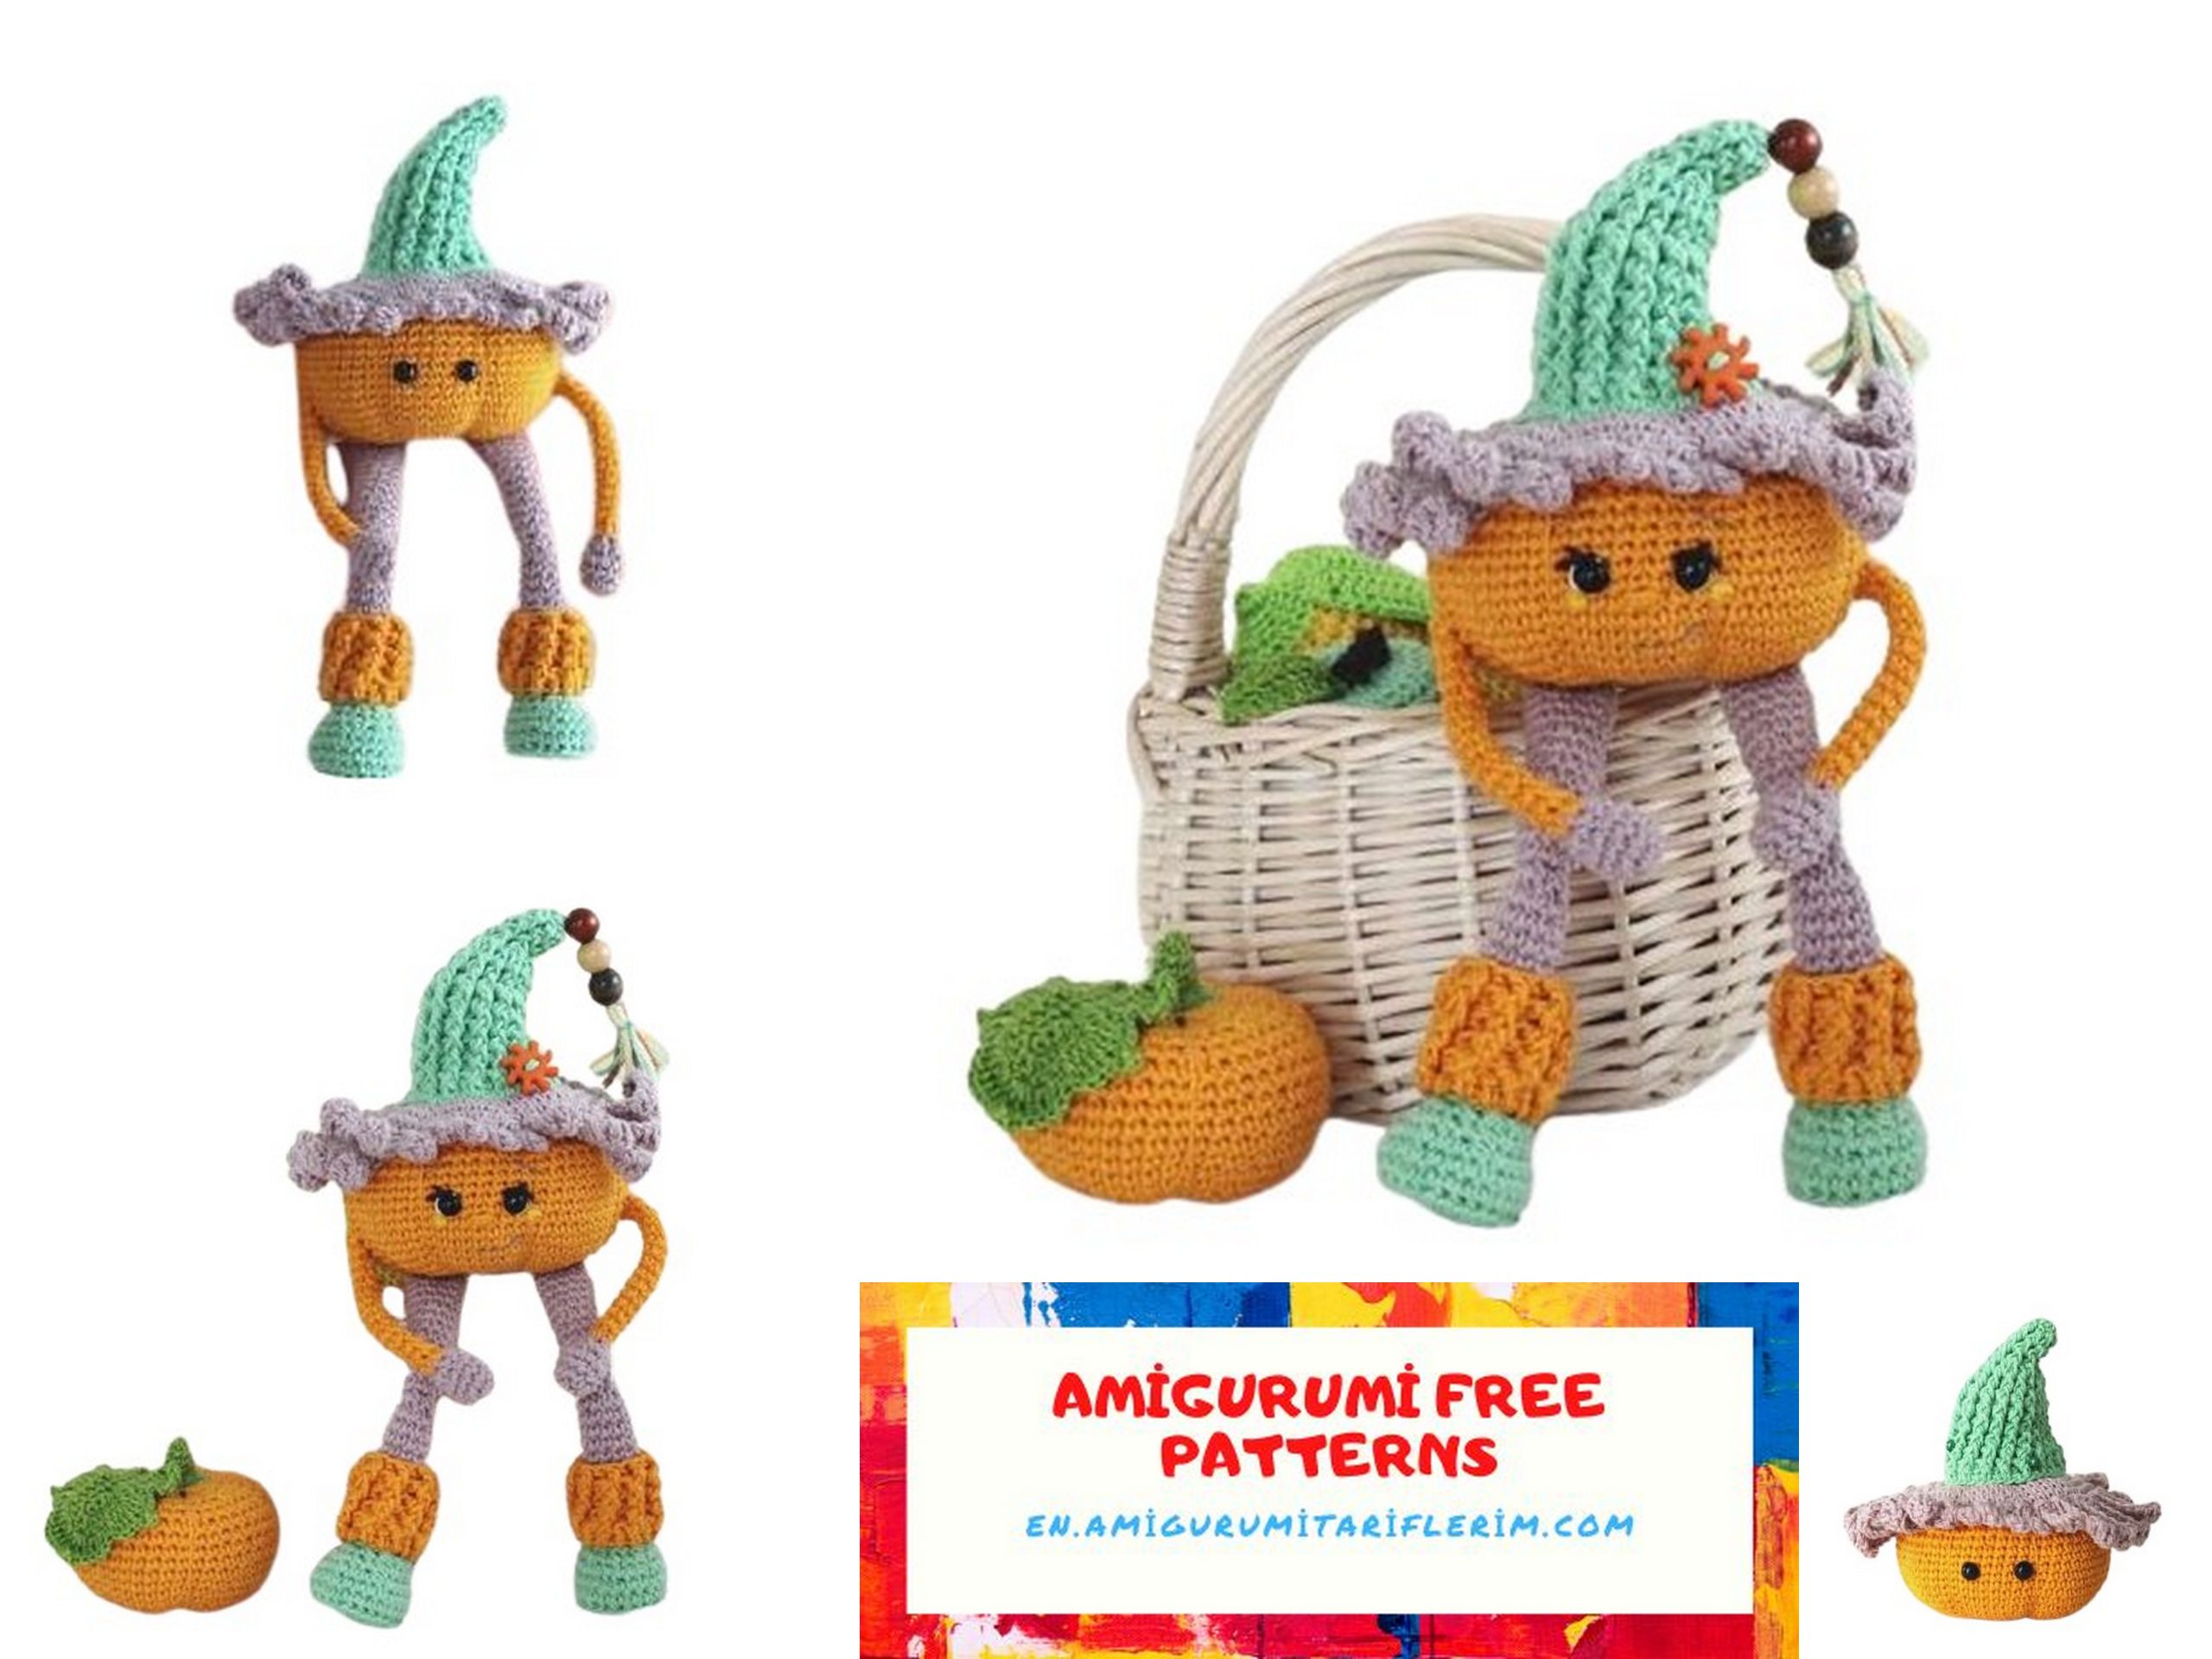
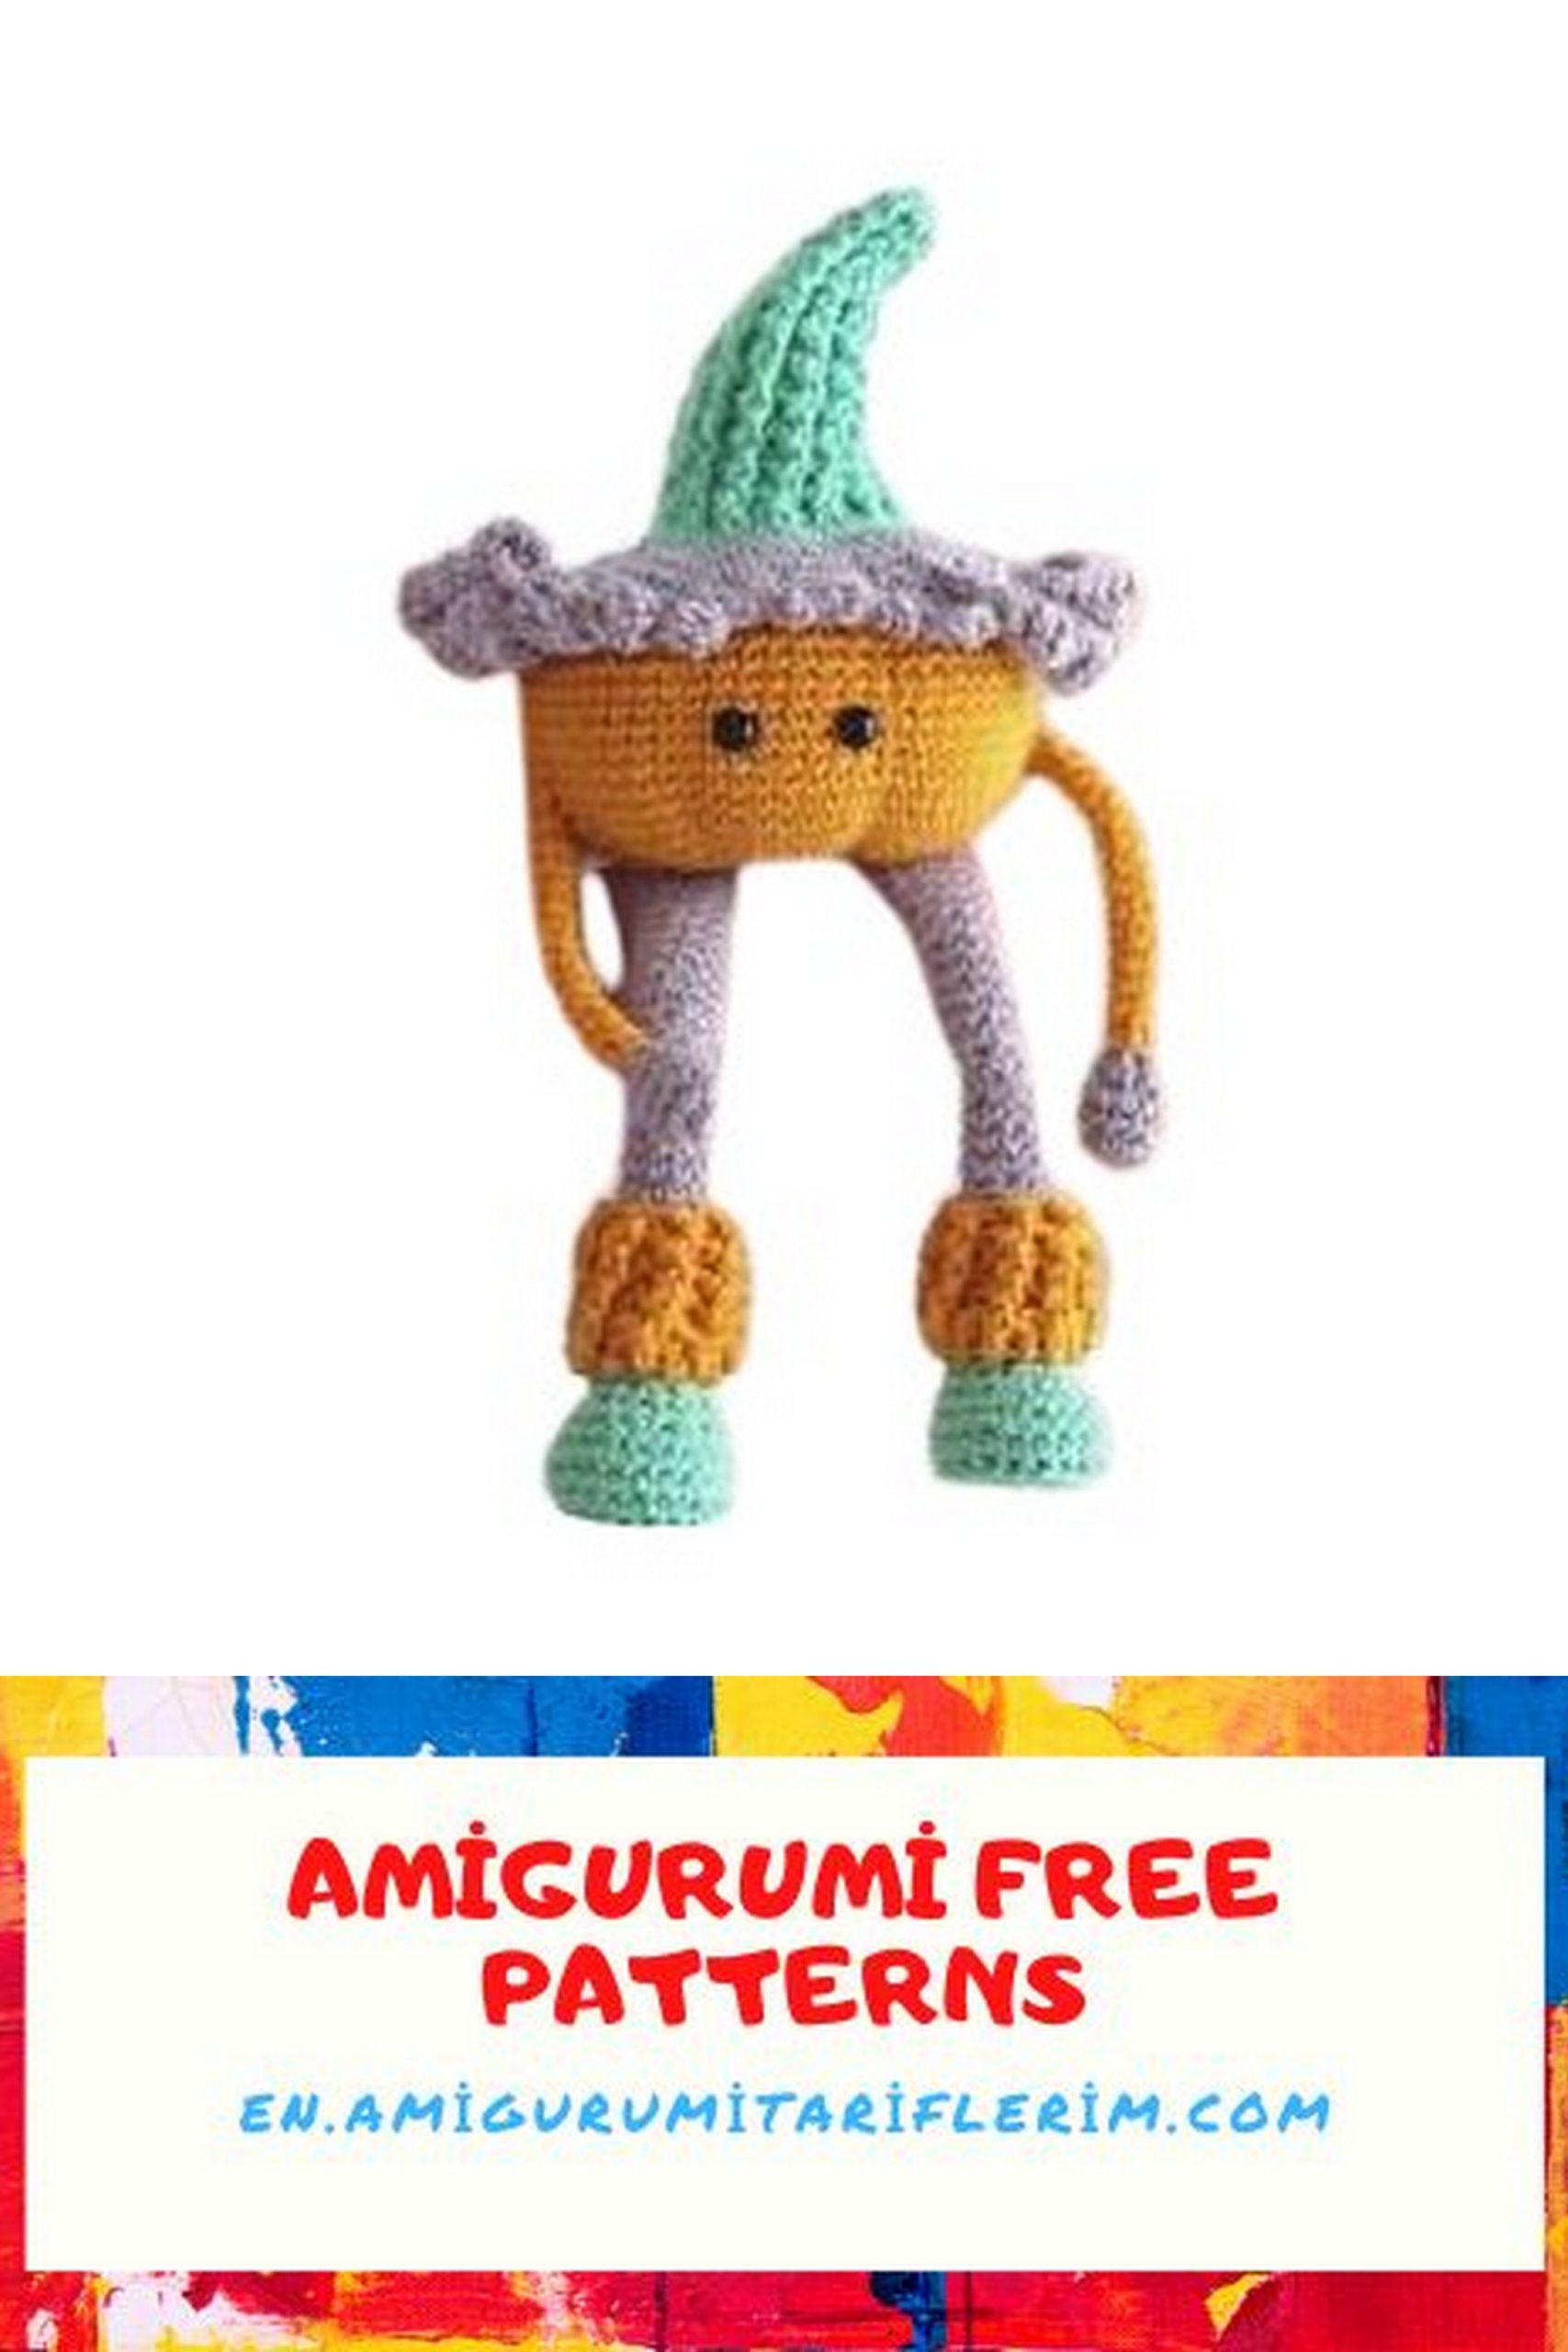
Pumpkin Amigurumi Free Pattern: Crochet Your Own Festive Fall Decor!
Step into the cozy charm of autumn with our amigurumi free crochet pattern to create your very own pumpkin amigurumi! Whether you’re a crochet enthusiast or just beginning your crafting journey, this pattern is perfect for adding a touch of seasonal delight to your home decor. Dive into the world of yarn and creativity as you craft these adorable pumpkins, ideal for adorning your mantel, tabletops, or even as playful gifts for loved ones. Let’s celebrate the harvest season together with this fun and festive project!
MATERIALS AND TOOLS:
To crochet the pumpkin, you will need:
3 colors (orange, brown, green) of any yarn and a suitable hook.
Toy stuffing.
5mm safety eyes.
Super glue.
Plastic for the sole.
Embroidery needle.
Sewing pins.
I used cotton yarn 200m/50g, hook size 1.3. The height of the finished toy from bottom to top (excluding the hat) is 14 cm. The thicker your yarn, the larger your toy will be.
The pumpkin sits only. The legs bend at the knees.
Difficulty level: intermediate. Beginners may find it challenging to make the stockings and hat with relief stitches. It’s better to replace this pattern with a simpler one.
ABBREVIATIONS:
MR – magic ring
ch – chain
sc – single crochet
hdc – half double crochet
dc – double crochet
sl st – slip stitch
inc – increase (2 sc in one stitch)
dec – decrease (sc two stitches together)
PATTERN
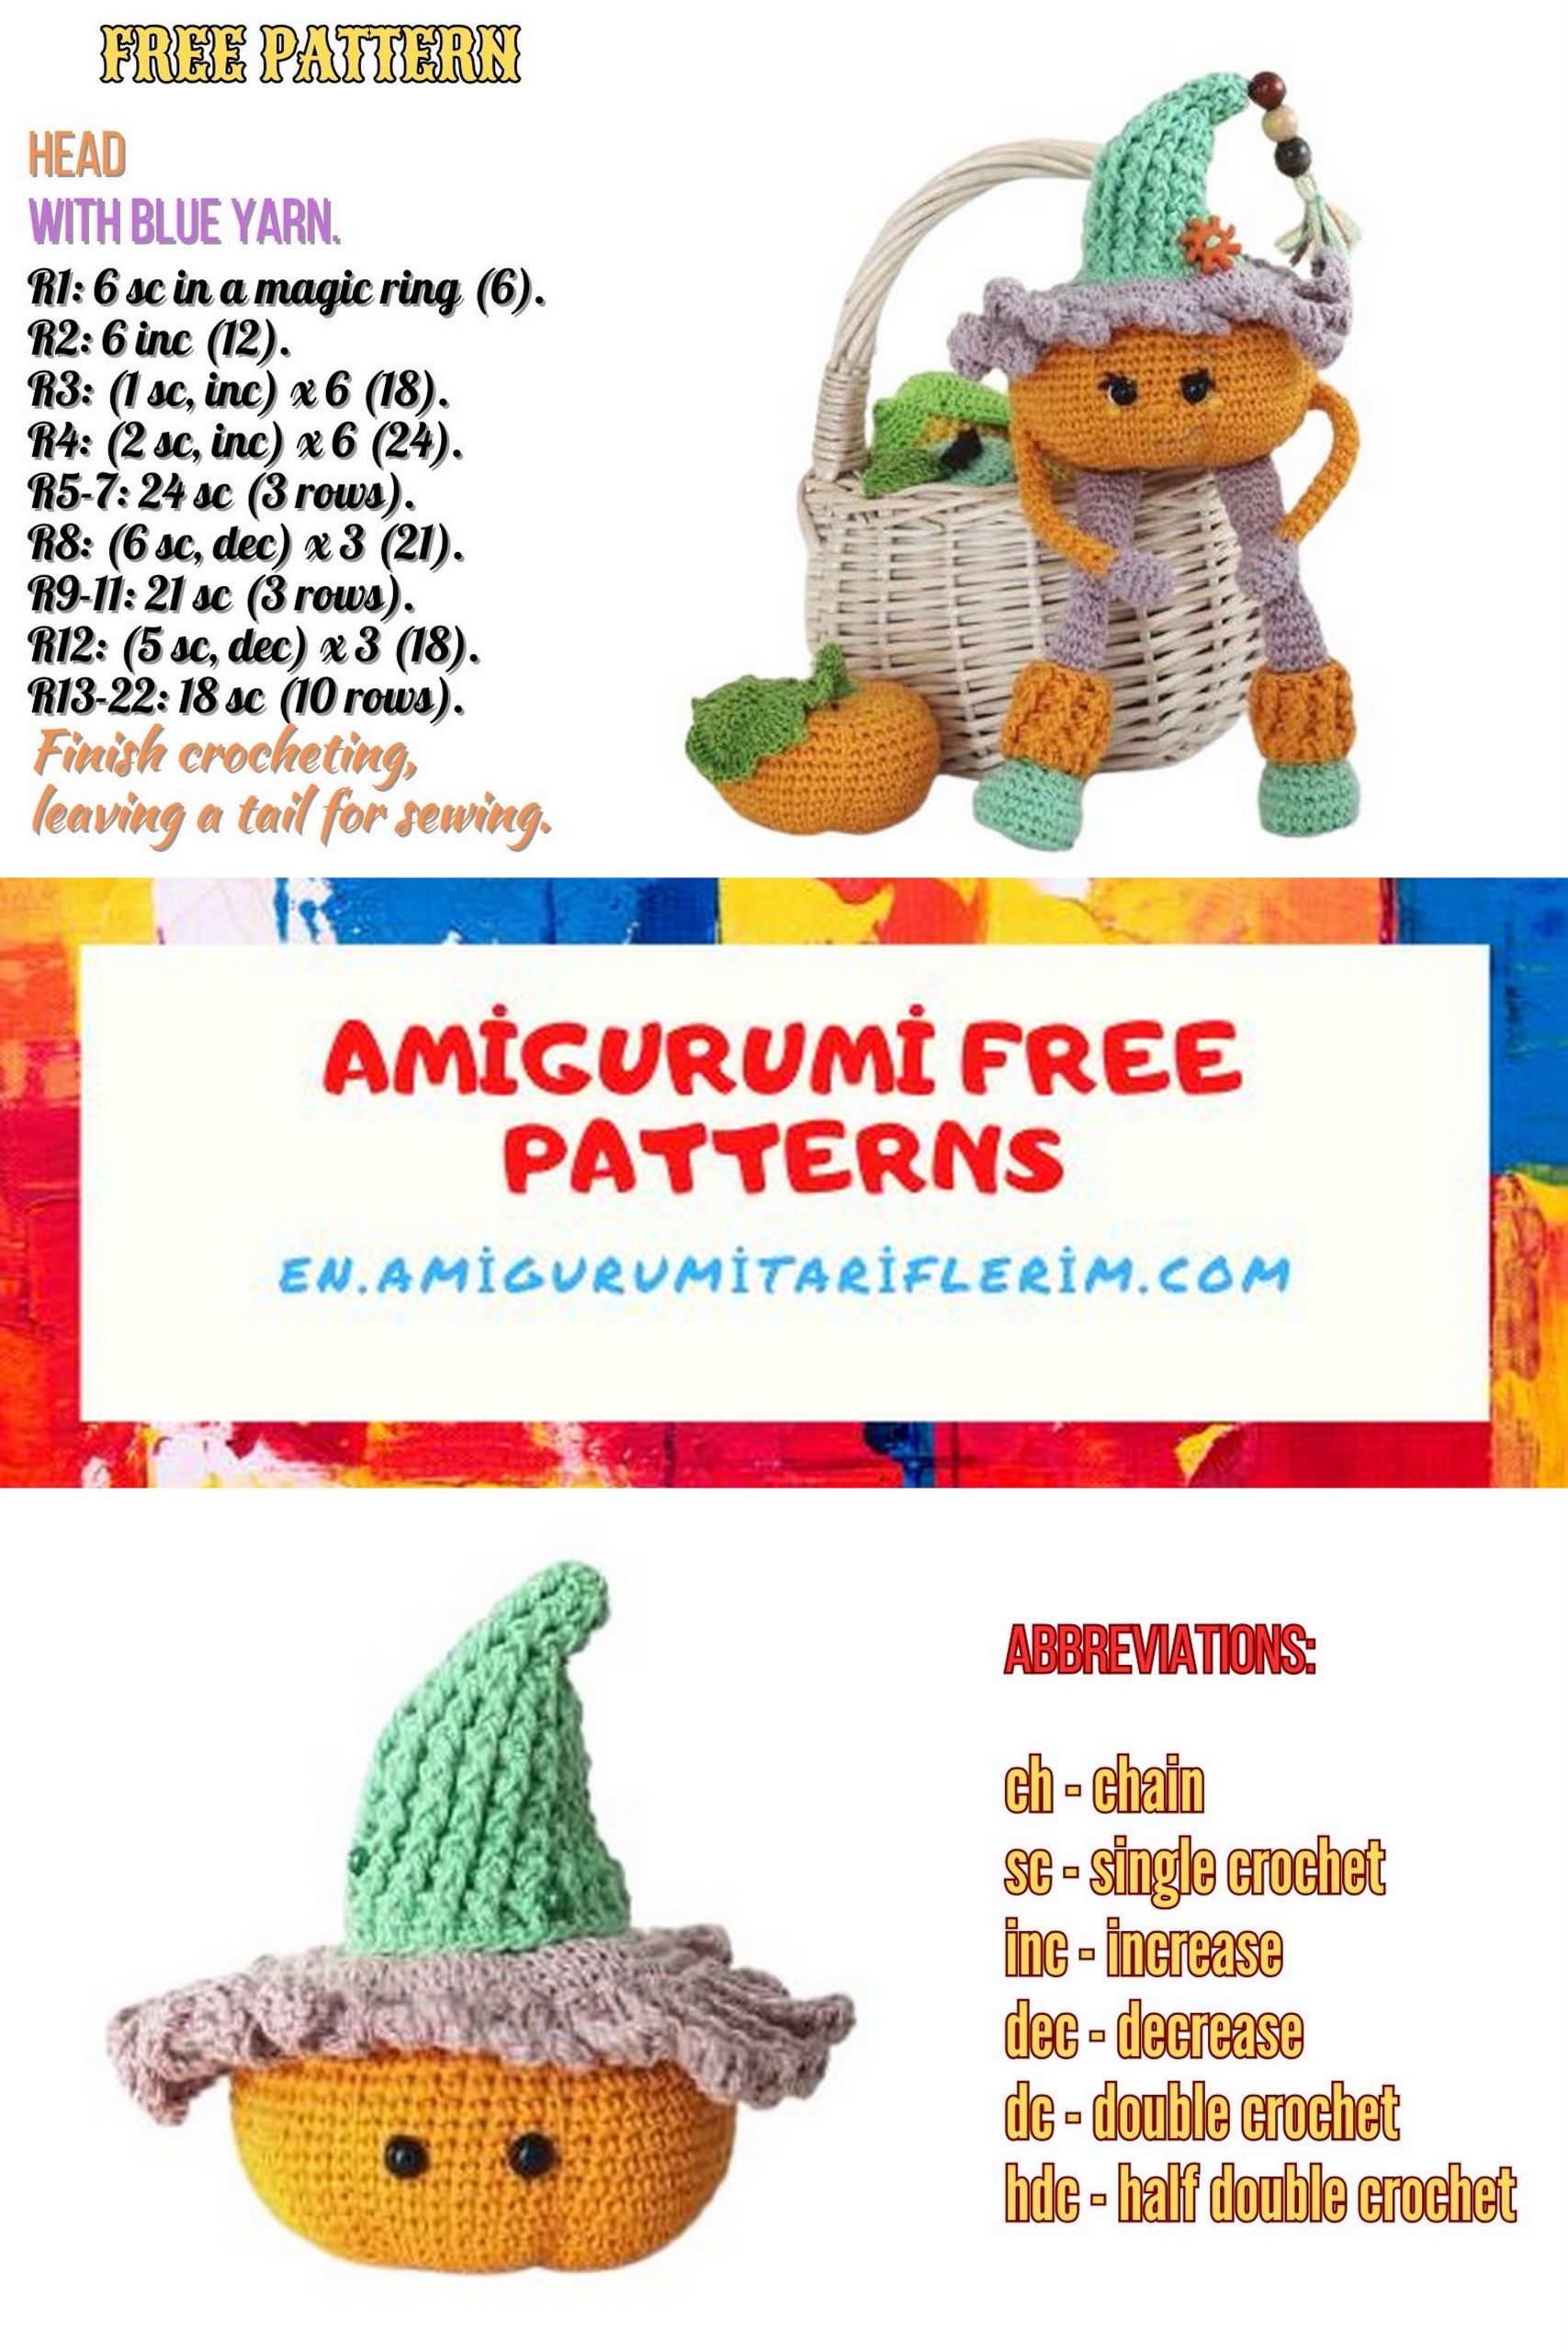
HEAD:
Crochet with orange color in a spiral, without a chain.
Row 1: 8 sc in MR
Row 2: Inc x 8 times = 16
Row 3: (1 sc, inc) x 8 times = 24
Row 4: (2 sc, inc) x 8 times = 32
Row 5: (3 sc, inc) x 8 times = 40
Row 6: (4 sc, inc) x 8 times = 48
Row 7: (5 sc, inc) x 8 times = 56
Row 8: (6 sc, inc) x 8 times = 64
Rows 9-19: 64 sc (11 straight rows)
You can crochet more rows for added height.
Row 20: (6 sc, dec) x 8 times = 56
Row 21: 56 sc
Row 22: (5 sc, dec) x 8 times = 48
Row 23: 48 sc
Row 24: (4 sc, dec) x 8 times = 40
Row 25: (3 sc, dec) x 8 times = 32
Row 26: (2 sc, dec) x 8 times = 24
Stuff firmly.
Row 27: (1 sc, dec) x 8 times = 16
Row 28: Dec x 8 times = 8
Cut the yarn leaving a long tail. Thread the tail into a needle. Divide the pumpkin in half. Pass the needle through each MR from top to bottom. Then divide each half into quarters. Pull the tail each time. Clear sections appear. Divide each quarter in half. There are a total of 8 sections.
LEGS (2 pieces):
Start with green color.
Ch 4, 2 hdc in the 3rd ch from the hook, 1 hdc in the next ch, 4 hdc in the last ch, 2 hdc in the next st along the back of the chain, 1 hdc in the next st, sl st to join. (11)
Continue in a spiral, without a chain. The first hdc of the second row is made in the first hdc of the first row.
Row 2: Inc, 2 hdc, (1 hdc, inc) x 4 times, 2 hdc, (1 hdc, inc) x 2 times = 18
Row 3: 1 hdc, inc, 2 hdc, (1 hdc, inc) x 4 times, 3 hdc, inc, 2 hdc = 24
Outline the sole. Make a template from paper, then cut out 2 soles from plastic.
Row 4: Work 24 hdc in the back loops only.
Row 5: 24 hdc
Row 6: 5 hdc, (2 hdc, dec) x 3 times, 7 hdc = 21
Row 7: 5 hdc, (1 hdc, dec) x 3 times, 7 hdc = 18
Insert the sole.
Row 8: 5 hdc, dec x 3 times, 7 hdc = 15
Stuff the shoe. If you crochet tightly enough, you don’t need to stuff the leg further.
Switch to brown color.
Row 9: Work dec x 5 times in the back loops only = 10
Rows 10-19: 10 hdc (10 rows)
Row 20: Dec x 5 times = 5
Row 21: Inc x 5 times = 10
Rows 22-32: 10 hdc (12 rows)
Row 33: Work 4 hdc through both sides.
Leave a tail for sewing the leg.
STOCKINGS (2 pieces):
Crochet with orange color. Chain 17, join with a slip stitch to form a ring.
At the beginning of each row, instead of the first slip stitch, make 2 chain stitches. At the end of each row, finish with 1 slip stitch in the 2nd chain stitch.
Row 1: 16 sc
Rows 2-5: (1 front post sc, 1 back post sc) repeat 18 times
Finish with 1 slip stitch. Cut the yarn and secure.
Put the finished stockings on the legs from top to bottom.
Switch to brown color.
Row 1: 5 sc in MR
Row 2: Inc x 5 times = 10
Row 3: 10 sc
Row 4: Dec x 5 times = 5
Switch to orange color.
Rows 5-20: 5 sc
Leave a tail for sewing.
ARMS (2 pieces):
WIG
Crochet with brown color in a spiral, without a chain.
Row 1: 8 sc in MR
Row 2: Inc x 8 times = 16
Row 3: (1 sc, inc) x 8 times = 24
Row 4: (2 sc, inc) x 8 times = 32
Row 5: (3 sc, inc) x 8 times = 40
Row 6: (4 sc, inc) x 8 times = 48
Row 7: (5 sc, inc) x 8 times = 56
Row 8: (6 sc, inc) x 8 times = 64
Then crochet curls of different lengths. A total of 32 curls.
Row 9: (Ch 5, sc in the chain, attach 1 sc to the base, 1 sc more) x repeat 13 times Note: One curl takes up 2 sc of the wig (circle).
(Ch 12, 10 sc in the chain, 2 sc in the base) x 1 time;
(Ch 11, 9 sc in the chain, 2 sc in the base) x 5 times;
(Ch 9, 7 sc in the chain, 2 sc in the base) x 1 time;
(Ch 7, 5 sc in the chain, 2 sc in the base) x 1 time;
(Ch 5, 3 sc in the chain, 2 sc in the base) x 4 times;
(Ch 7, 5 sc in the chain, 2 sc in the base) x 1 time;
(Ch 9, 7 sc in the chain, 2 sc in the base) x 1 time;
(Ch 11, 9 sc in the chain, 2 sc in the base) x 5 times.
Leave a long tail for sewing.
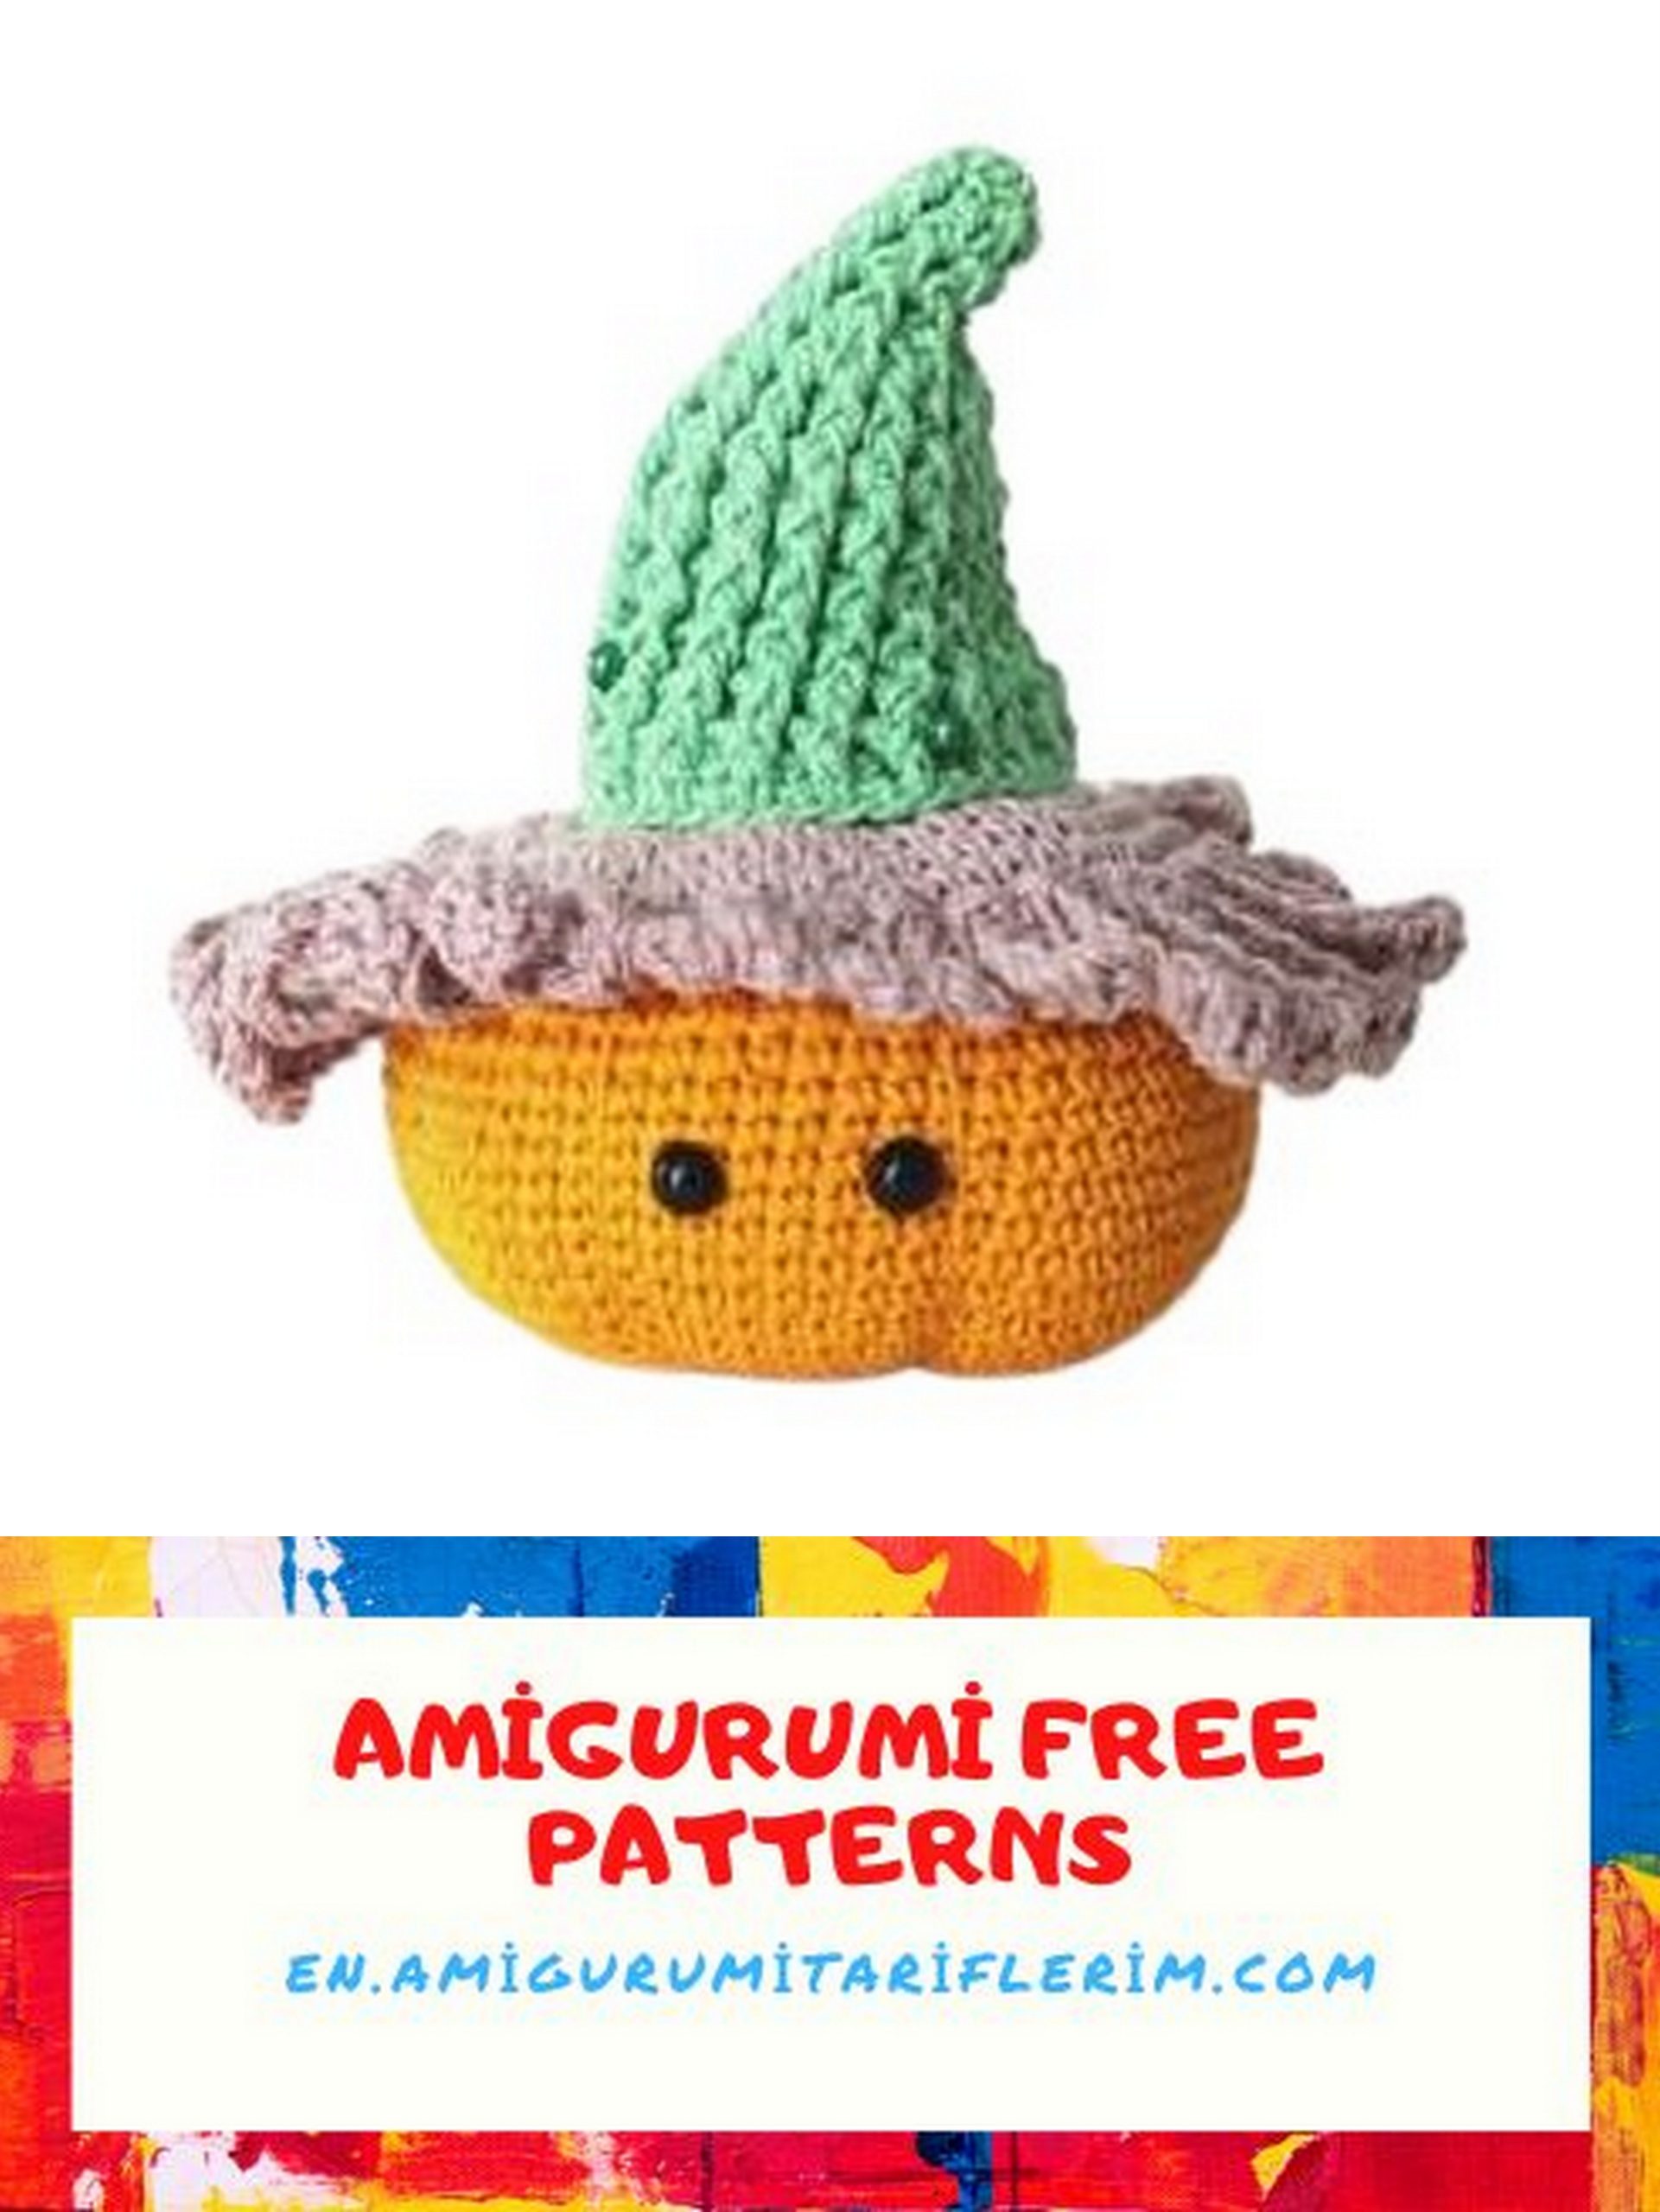
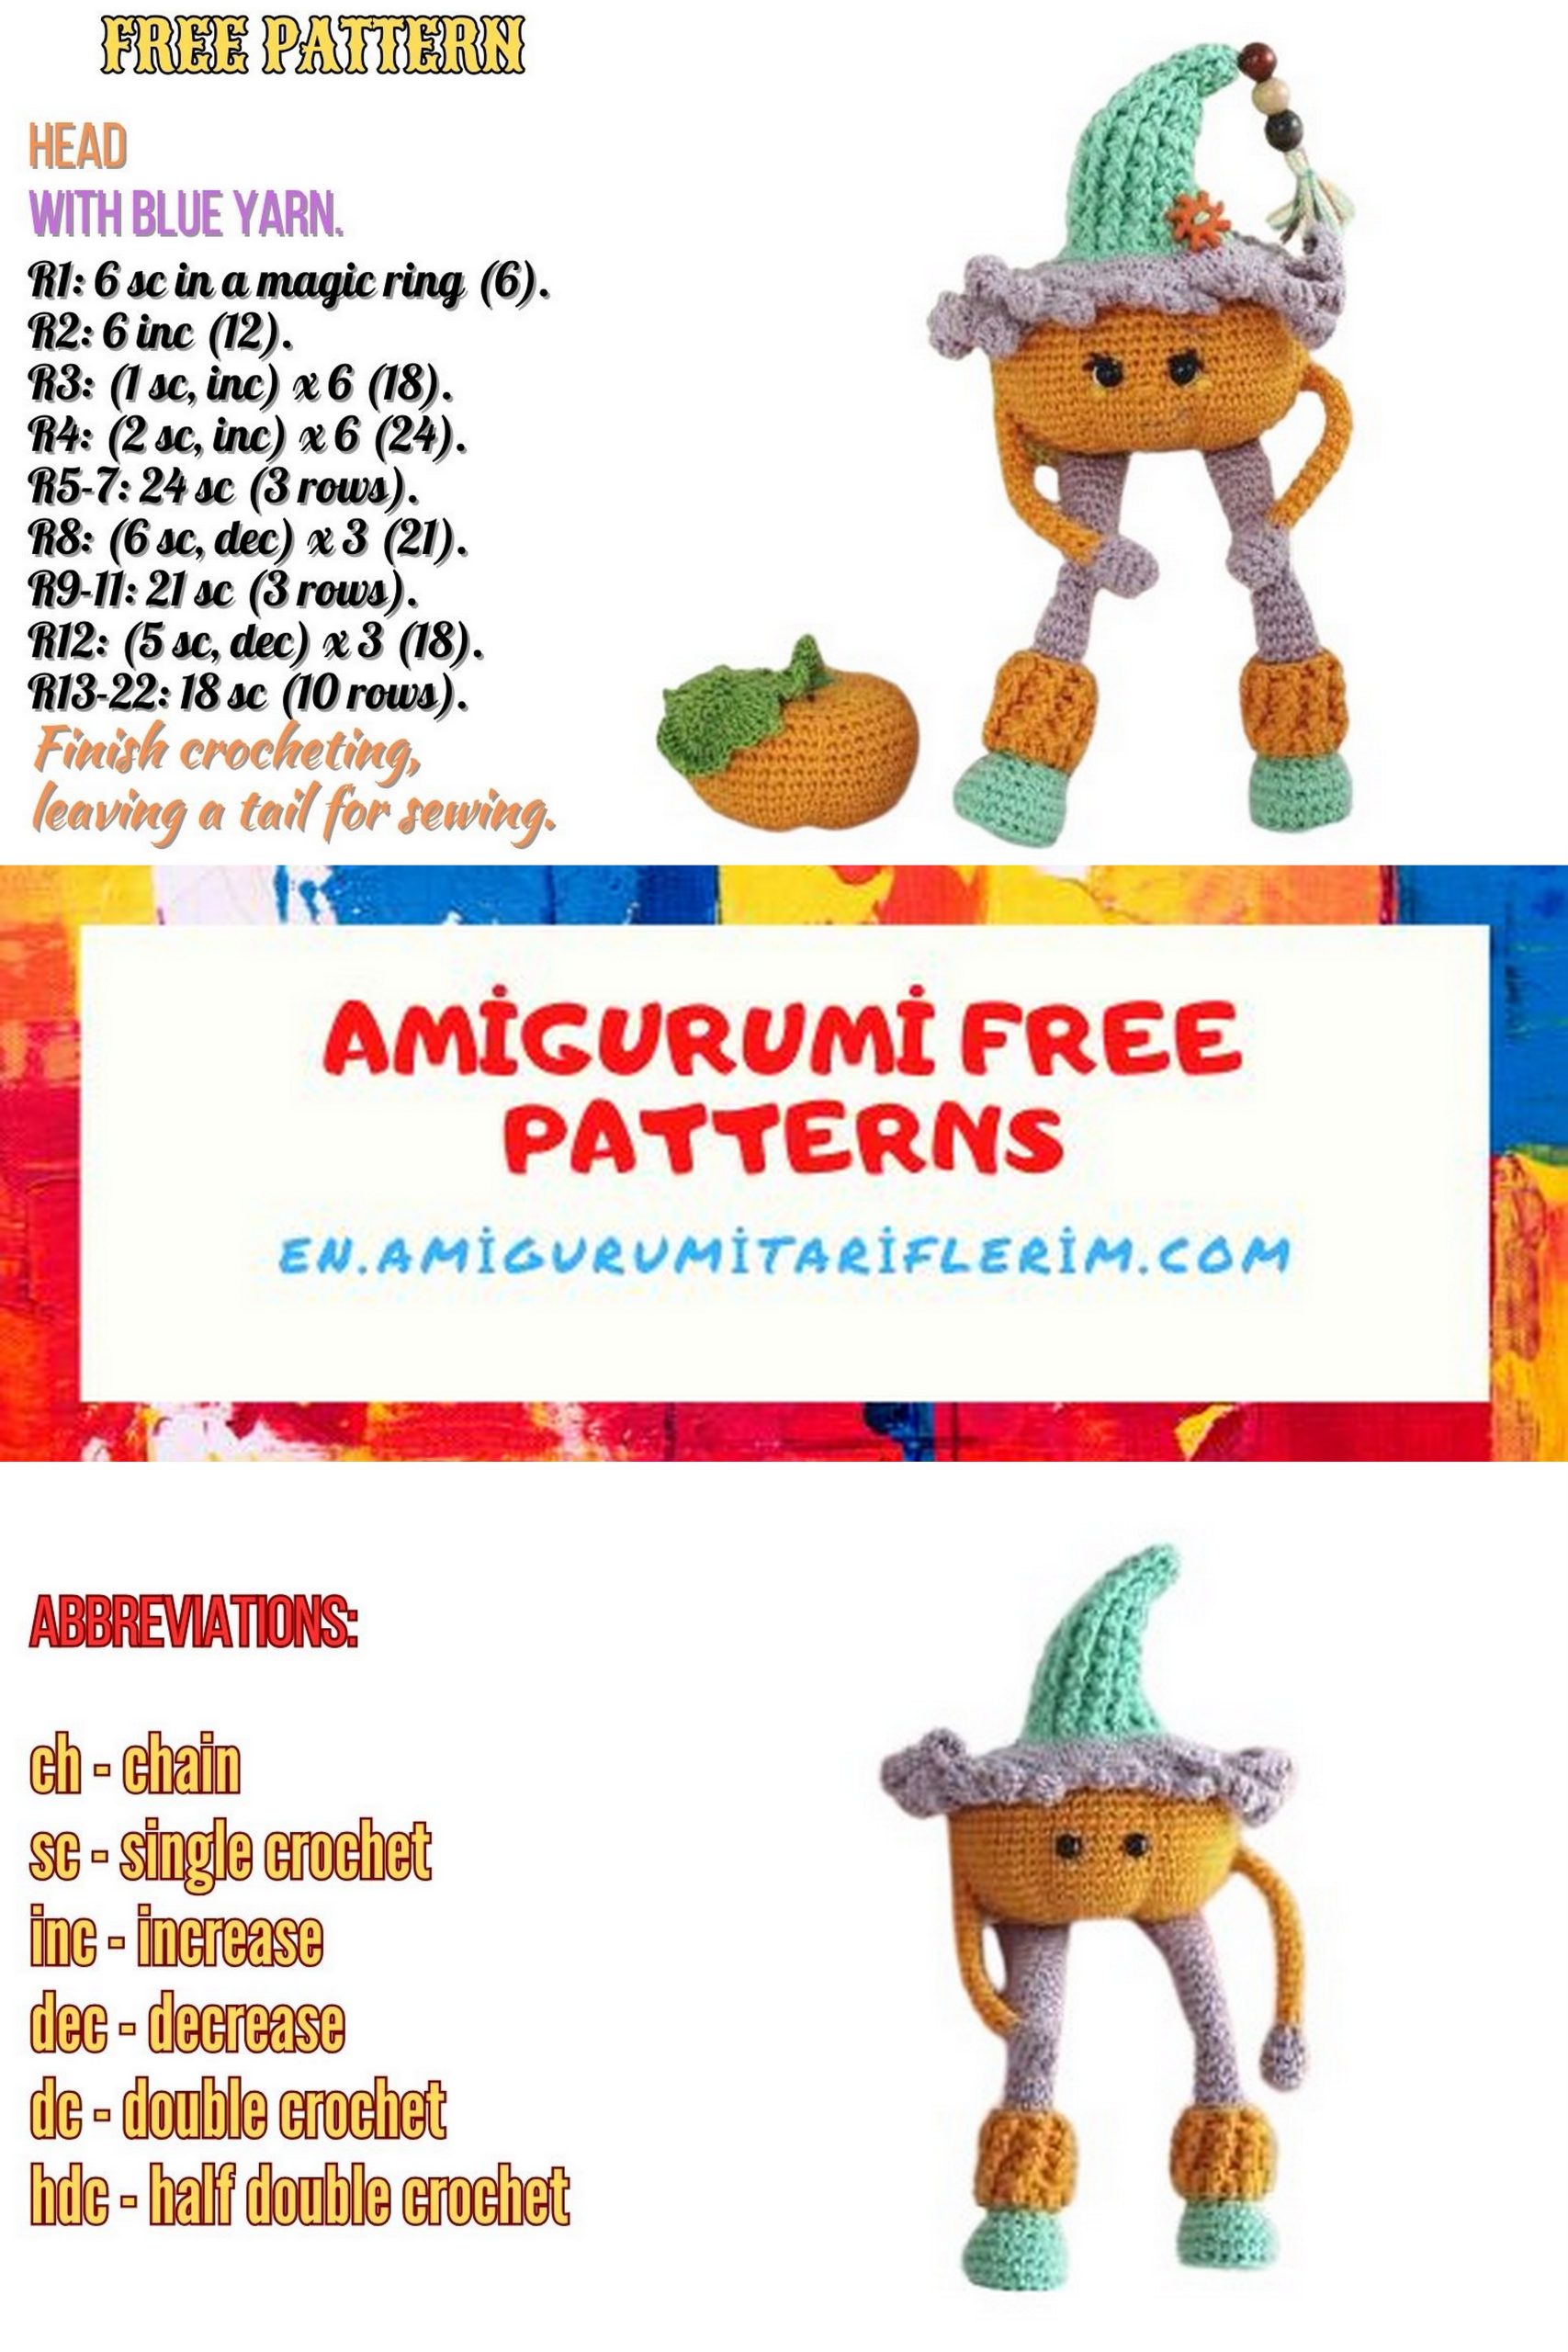
HAT:
Crochet the hat with a ribbed pattern using front post single crochets and back post single crochets.
Chain 37. Leave a long tail for sewing the hat to the head immediately.
Join to form a ring with 1 slip stitch.
At the beginning of each row, make 2 chain stitches instead of the first slip stitch. At the end of each row, finish with 1 slip stitch in the 2nd chain stitch.
Row 1: 36 sc
Rows 2-6: (1 front post sc, 1 back post sc) repeat 18 times
Row 7: Dec x 18 times = 18 sc
Dec in the hat pattern = work 2 sc together. Make 2 chain stitches instead of the first slip stitch = 1 loop on the hook. Then make a yarn over, insert the hook from the inside out into the front loop of the next stitch, pull up a loop, pull the loop through the first loop on the hook. This is how you make the first decrease at the beginning of the row.
Dec from 2 sc = 1 loop on the hook. Make a yarn over, insert the hook from the inside out behind the post of the next sc from the front, pull up a loop, insert the hook from the inside out behind the post of the next sc from the back, pull up a loop, pull the loop through all 3 loops on the hook.
Row 8: 18 front post single crochets
Row 9: Dec x 9 times = 9 sc
Make decreases in row 9 using front post single crochets. That is, insert the hook behind the post of each sc only from the front.
Rows 10-11: 9 front post single crochets
Cut the yarn. Gather and tighten the loops at the top.
The hat is ready.
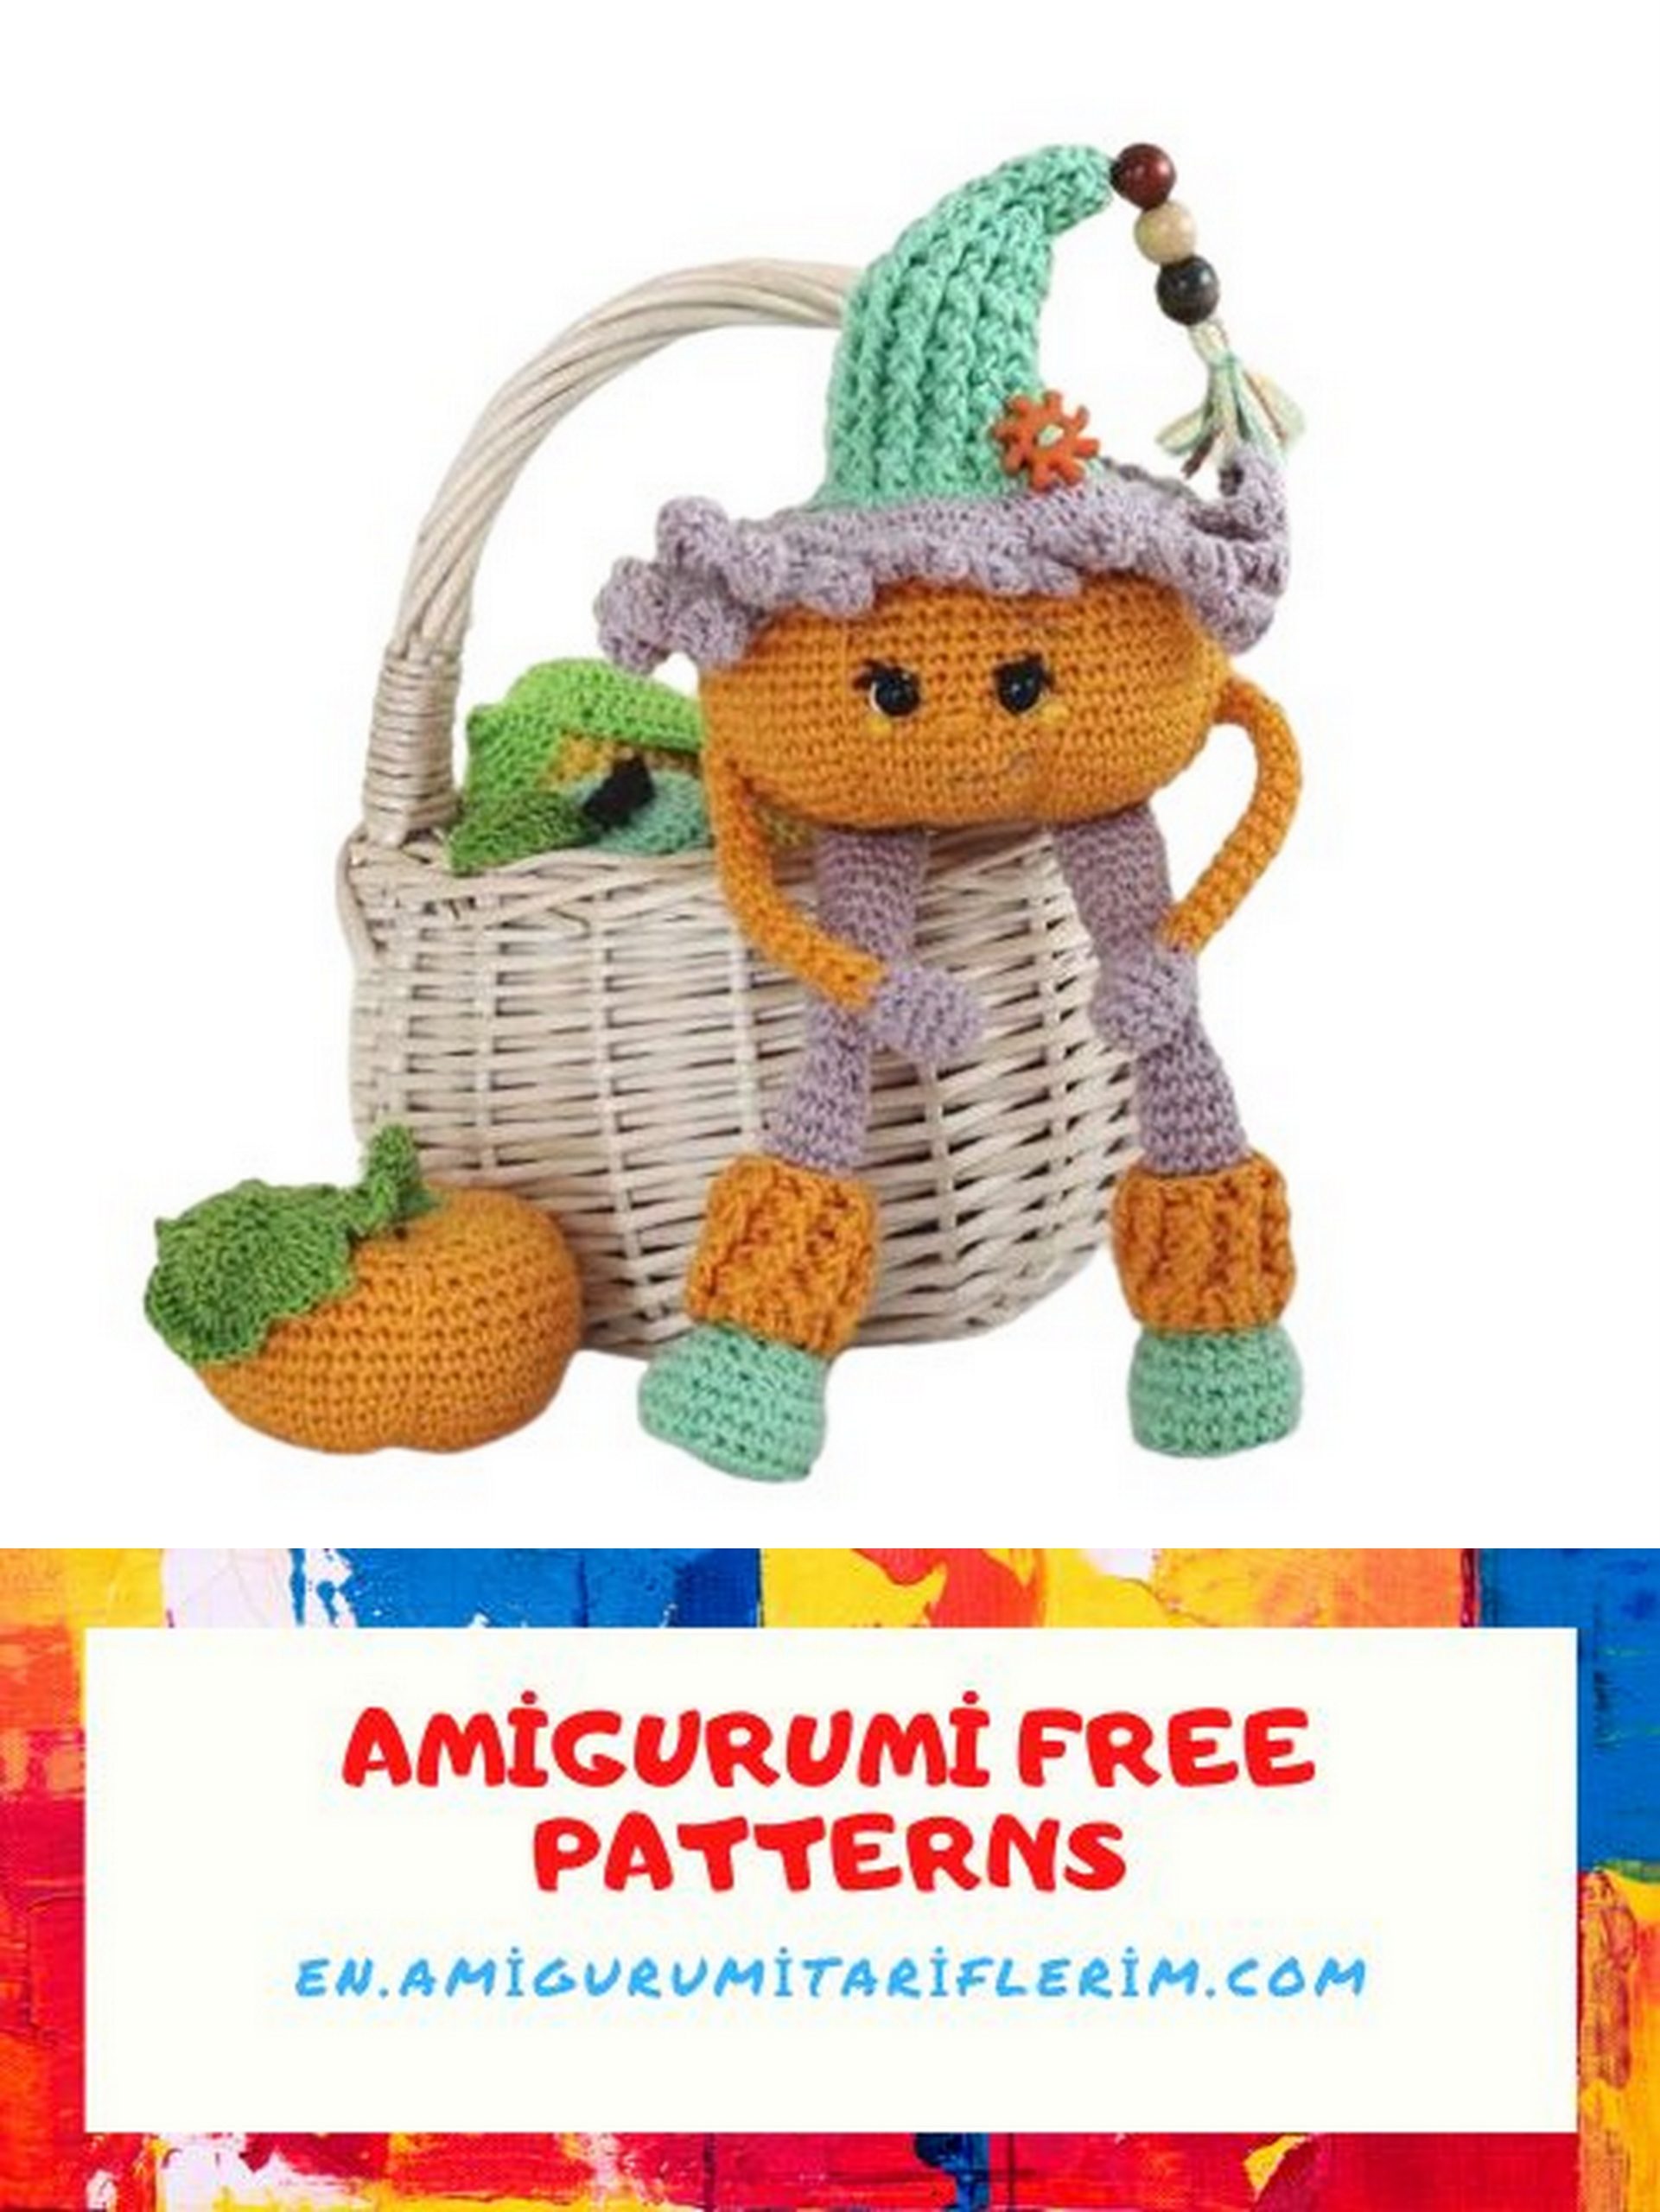
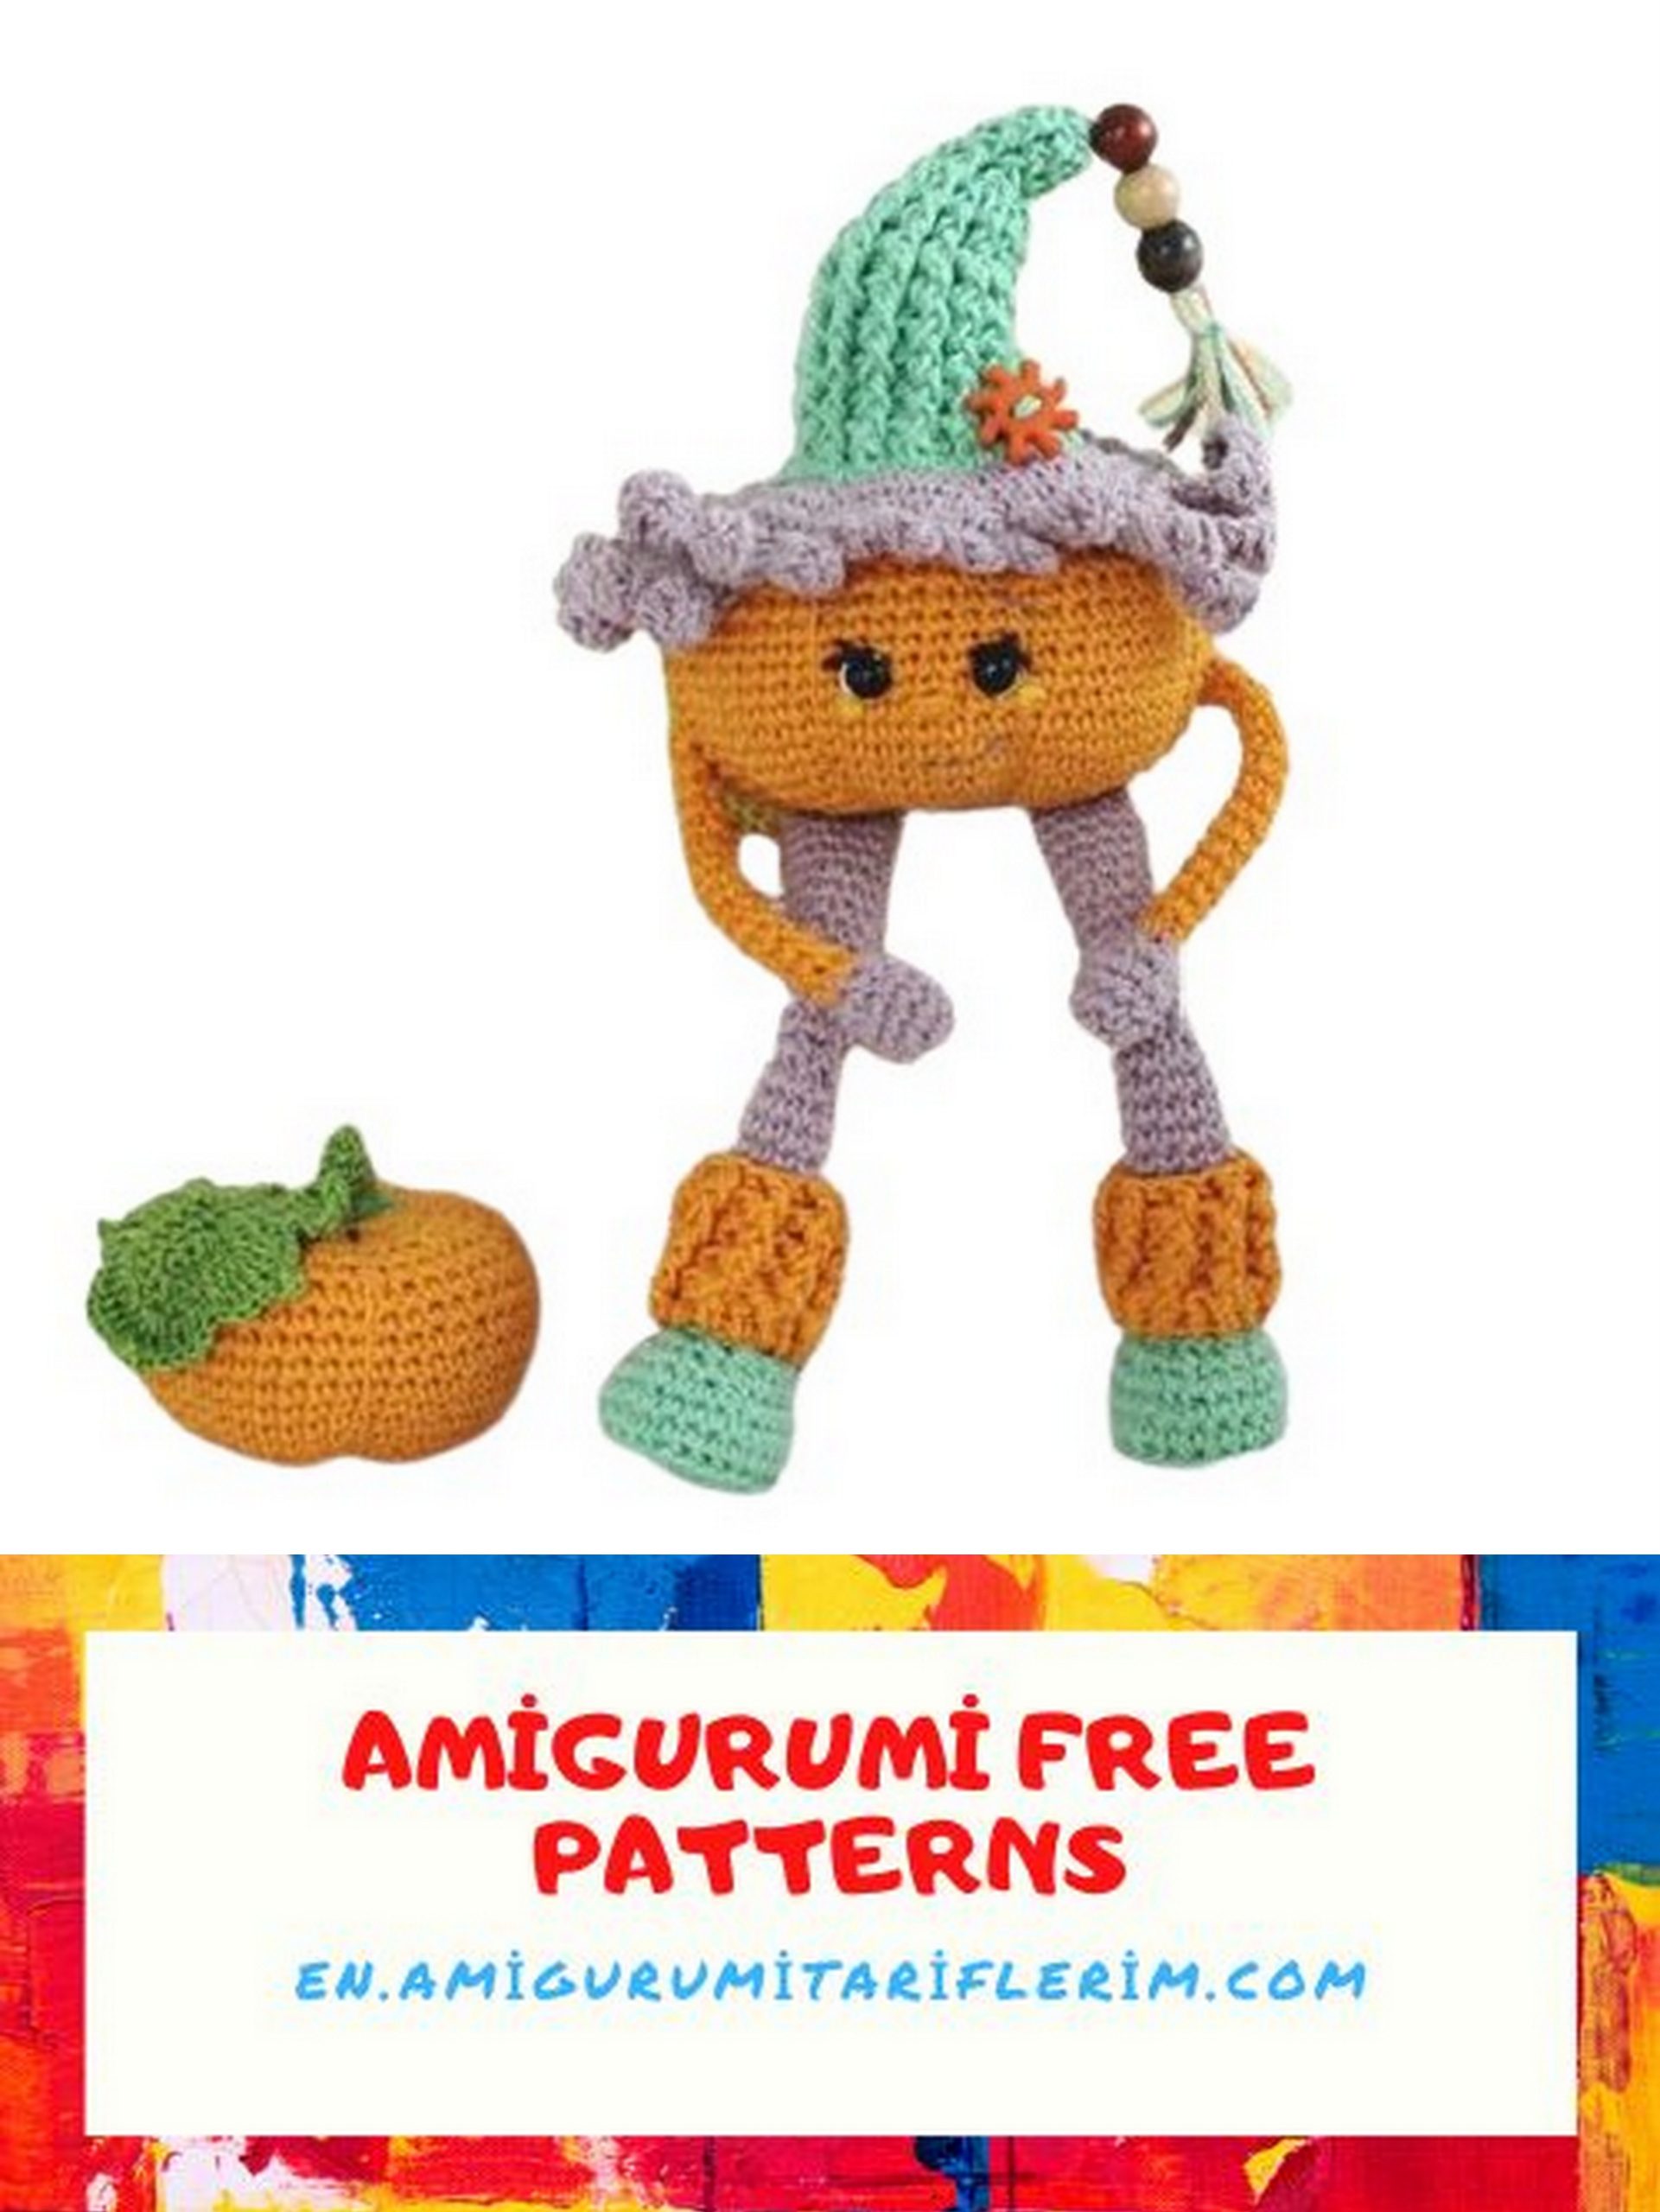
ASSEMBLY:
Attach the wig to the head. Attach the first pin to the wig MR and to the head MR. Continue in a circle. It’s very difficult to sew the wig to the head. You’ll need a long thread and patience.
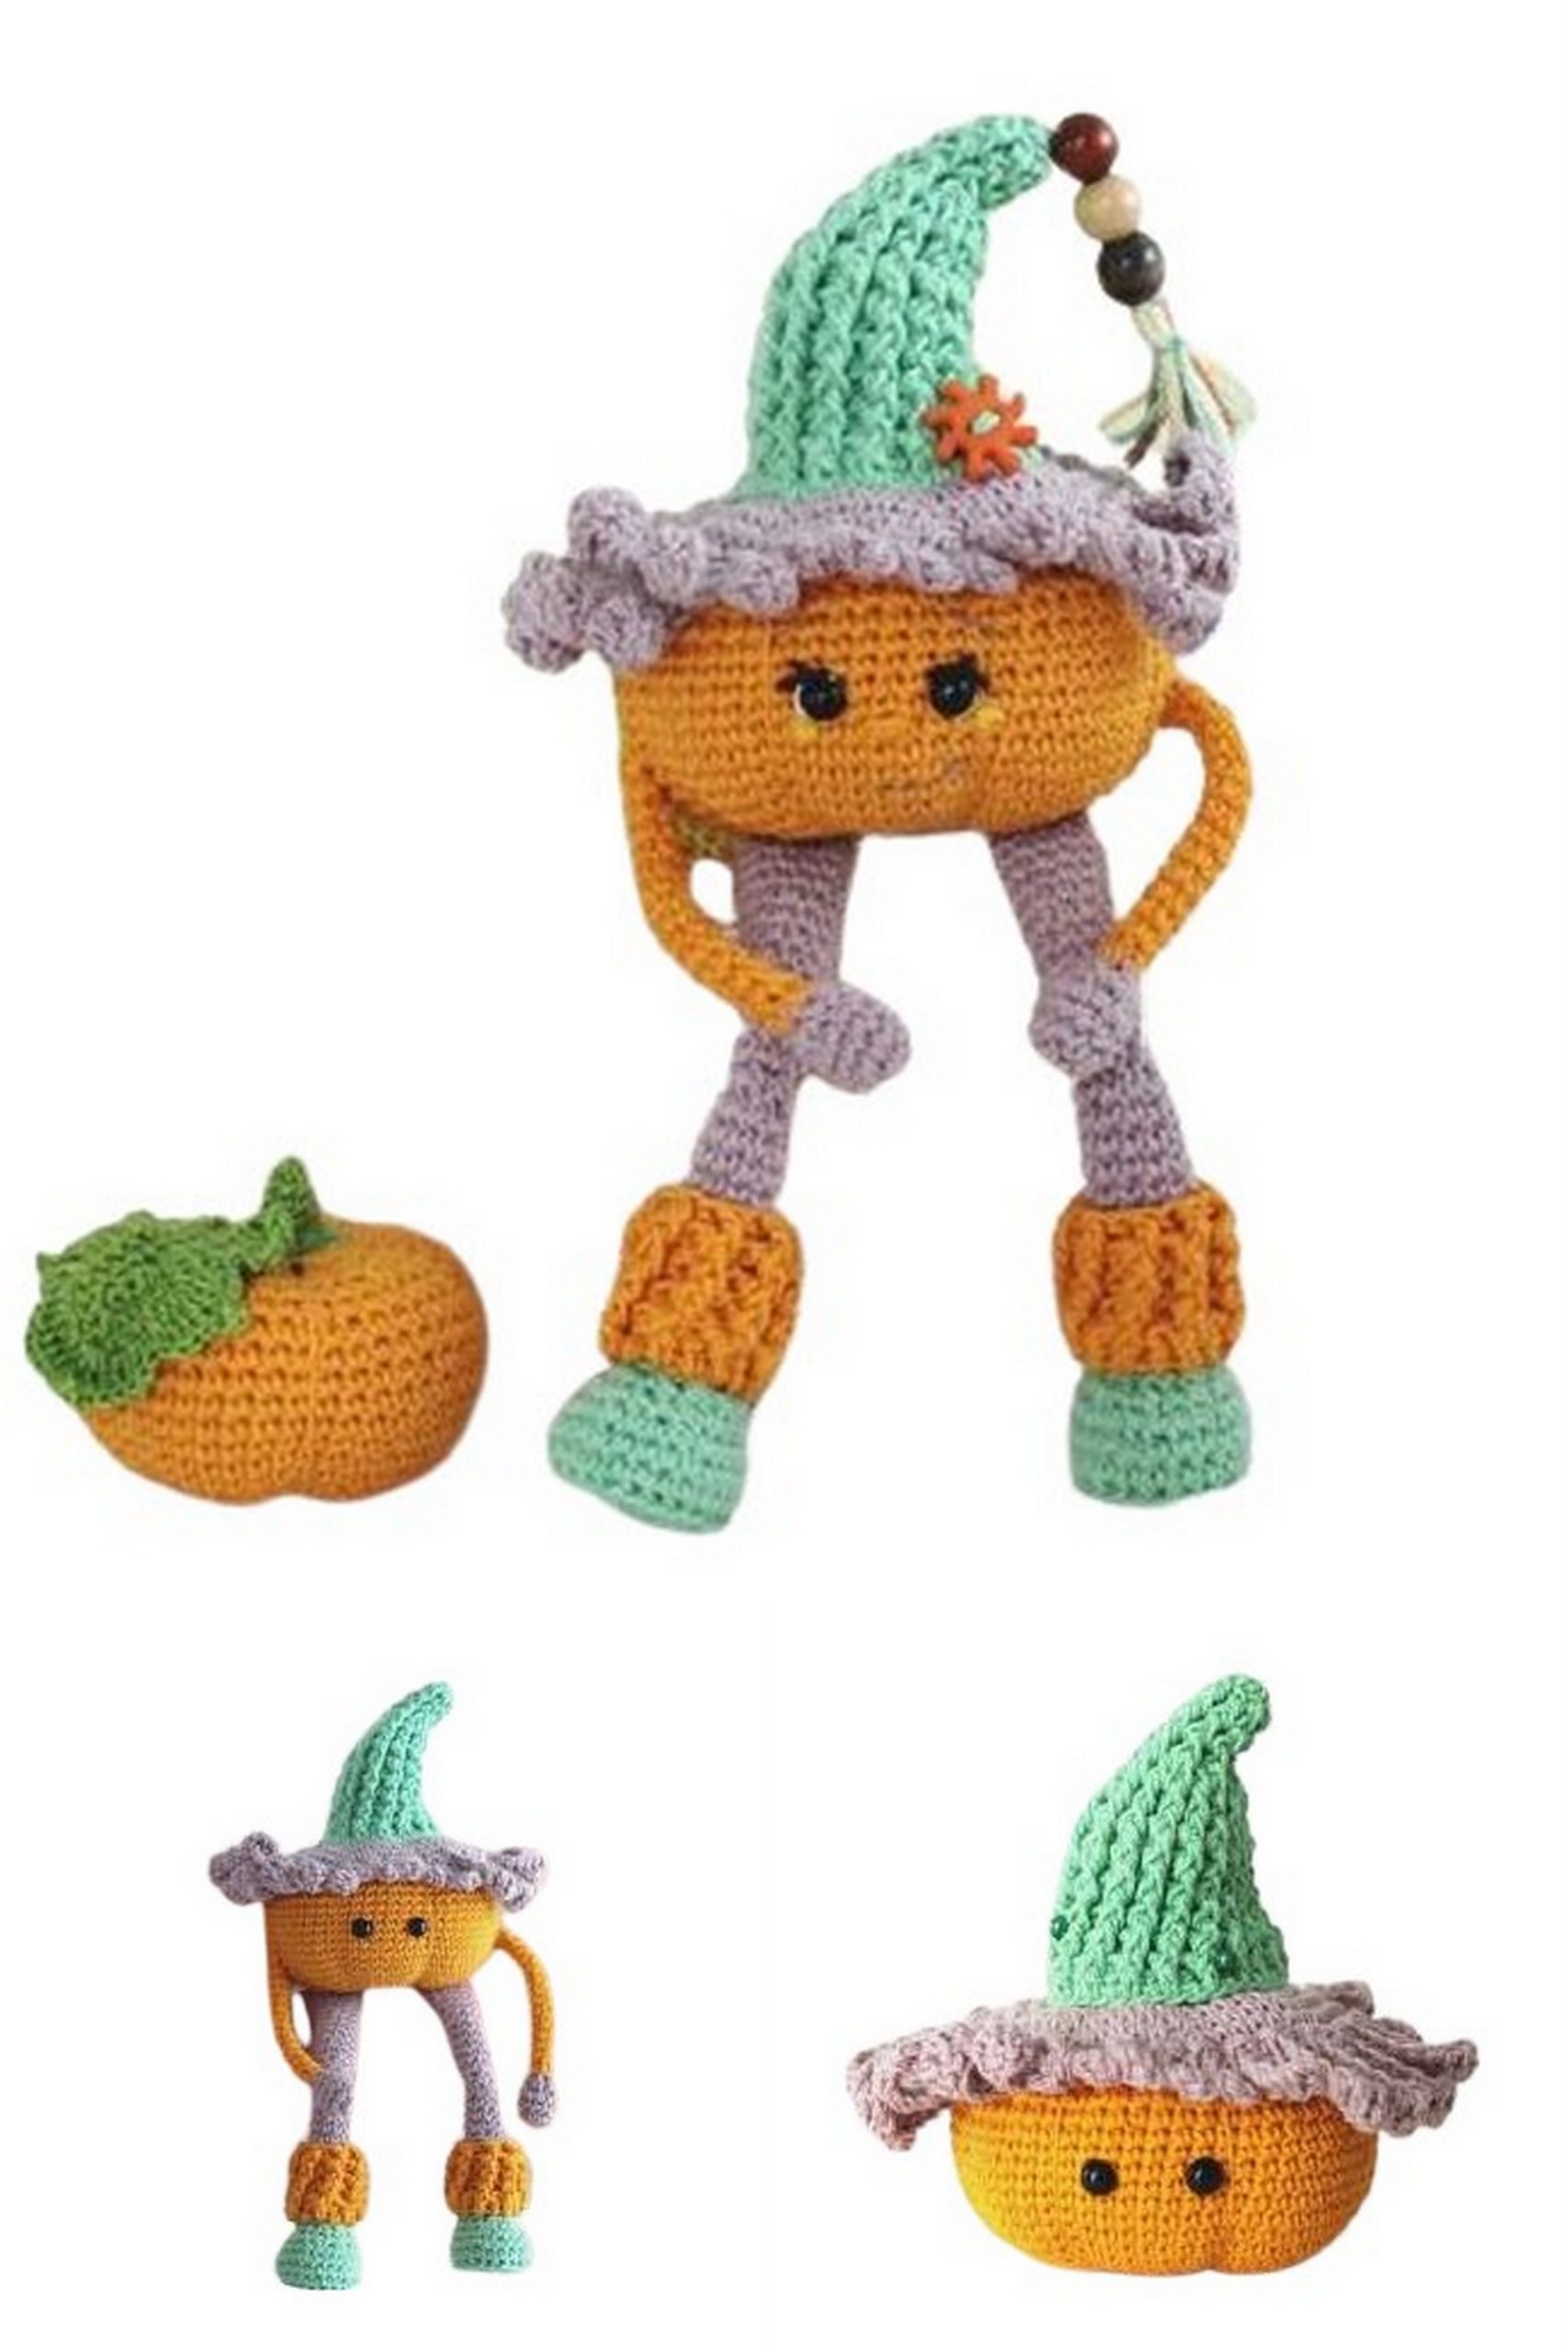
Sew the wig around in about the 5-6th row through the stitch. Make one stitch 1 sc high and pull through the head to the 3rd and so on. Then sew through the middle, into the MR. Pull the needle out at the last row of the wig. Sew around the perimeter. I left the curls free. They are mischievous, sticking out in different directions. You can neatly curl each long curl at the face.
Glue on the eyes. Optionally, embroider eyelashes, mouth.
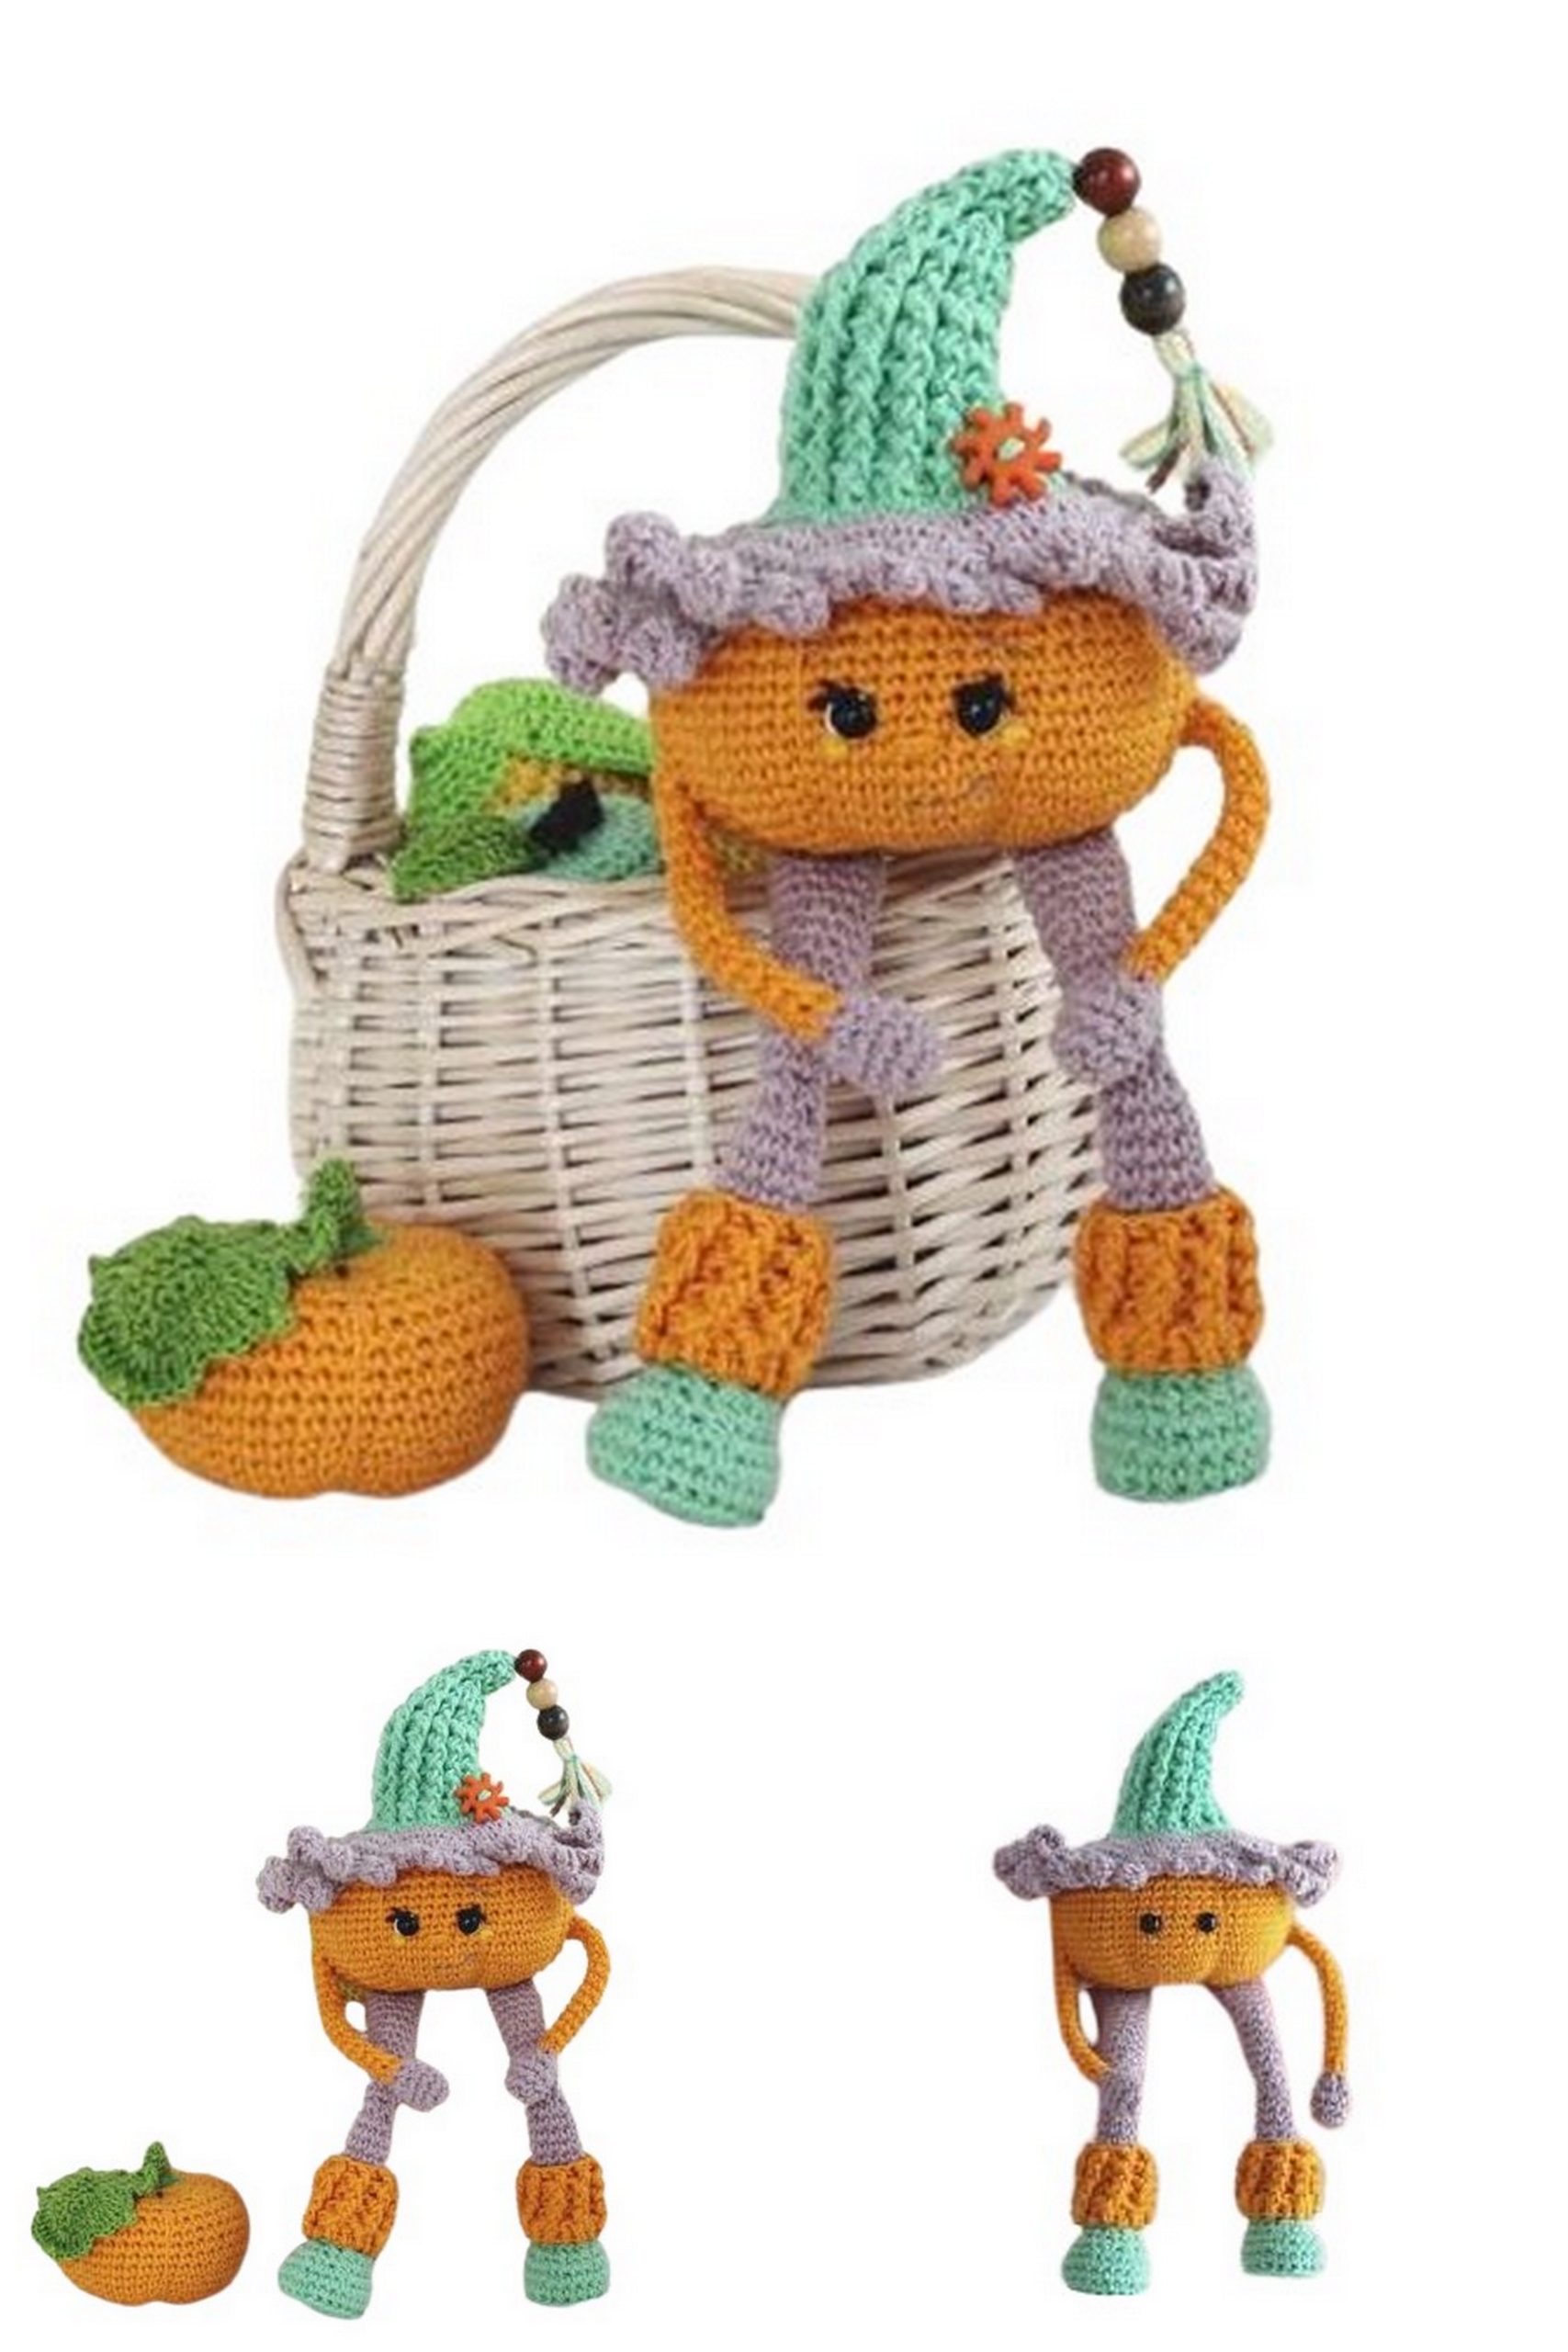
Sew on the legs and arms. Sew the hat around the 5-6th row of the wig.
Decorate with beads, buttons. The pumpkin is ready!