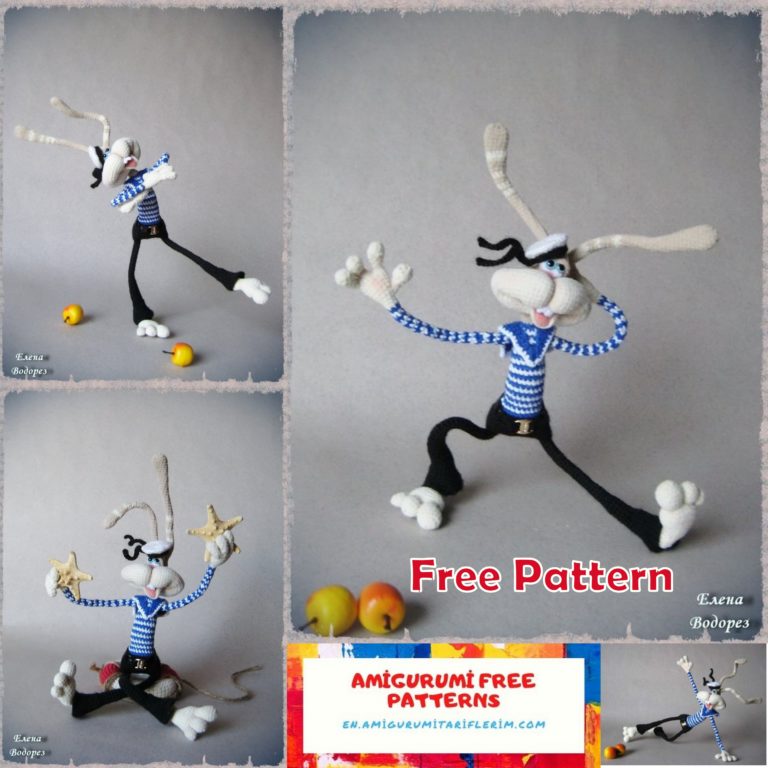
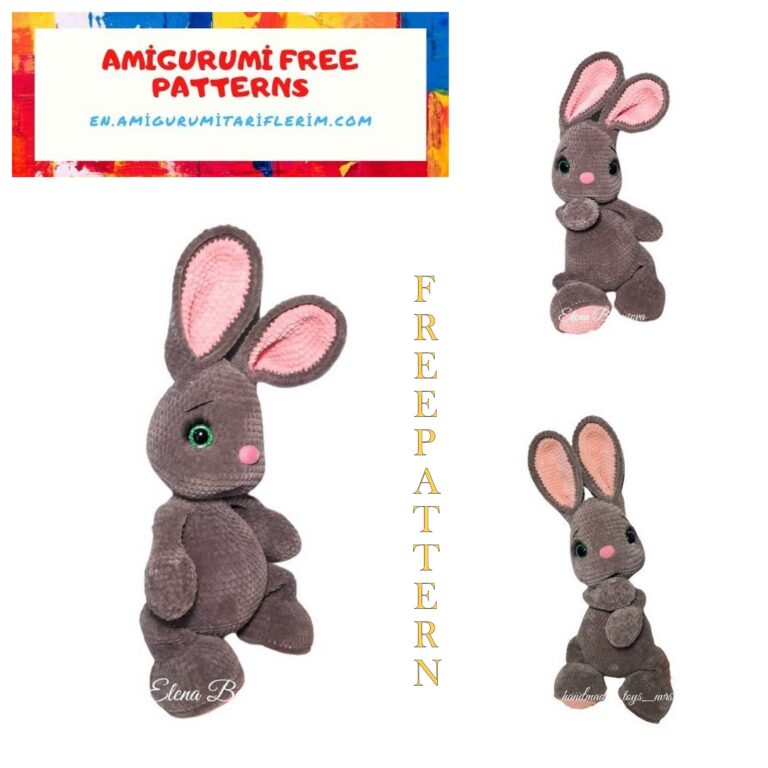
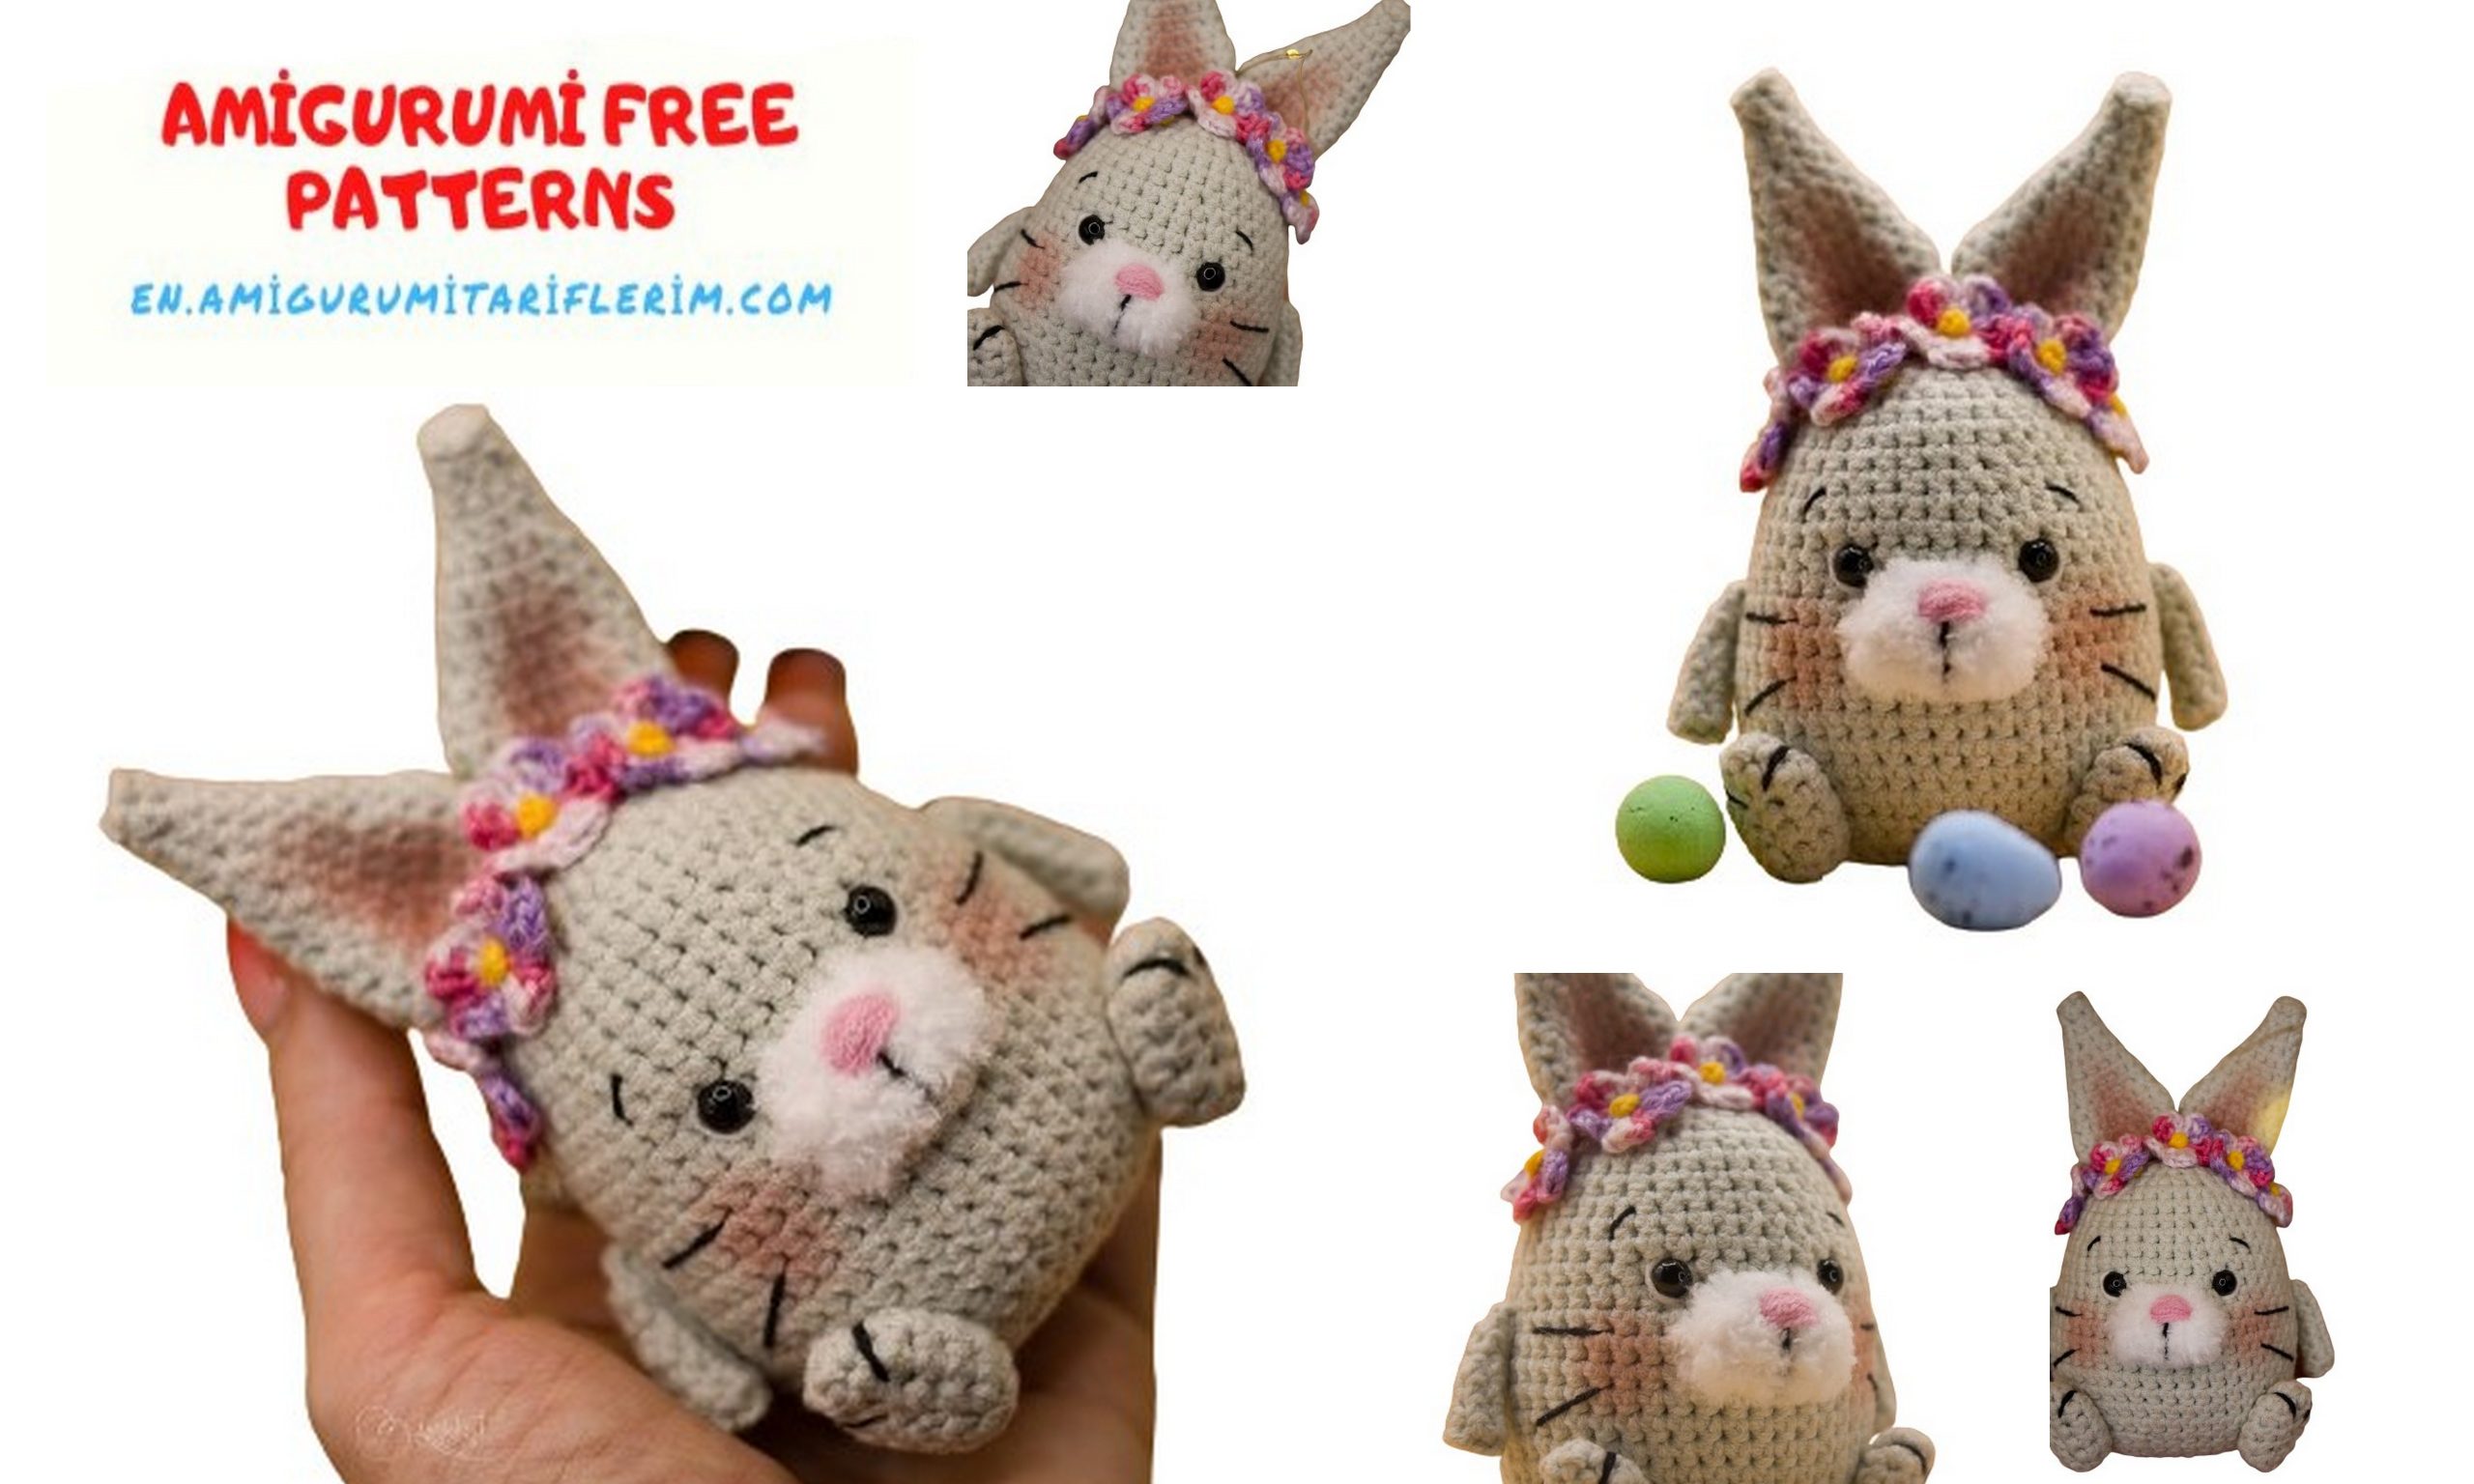
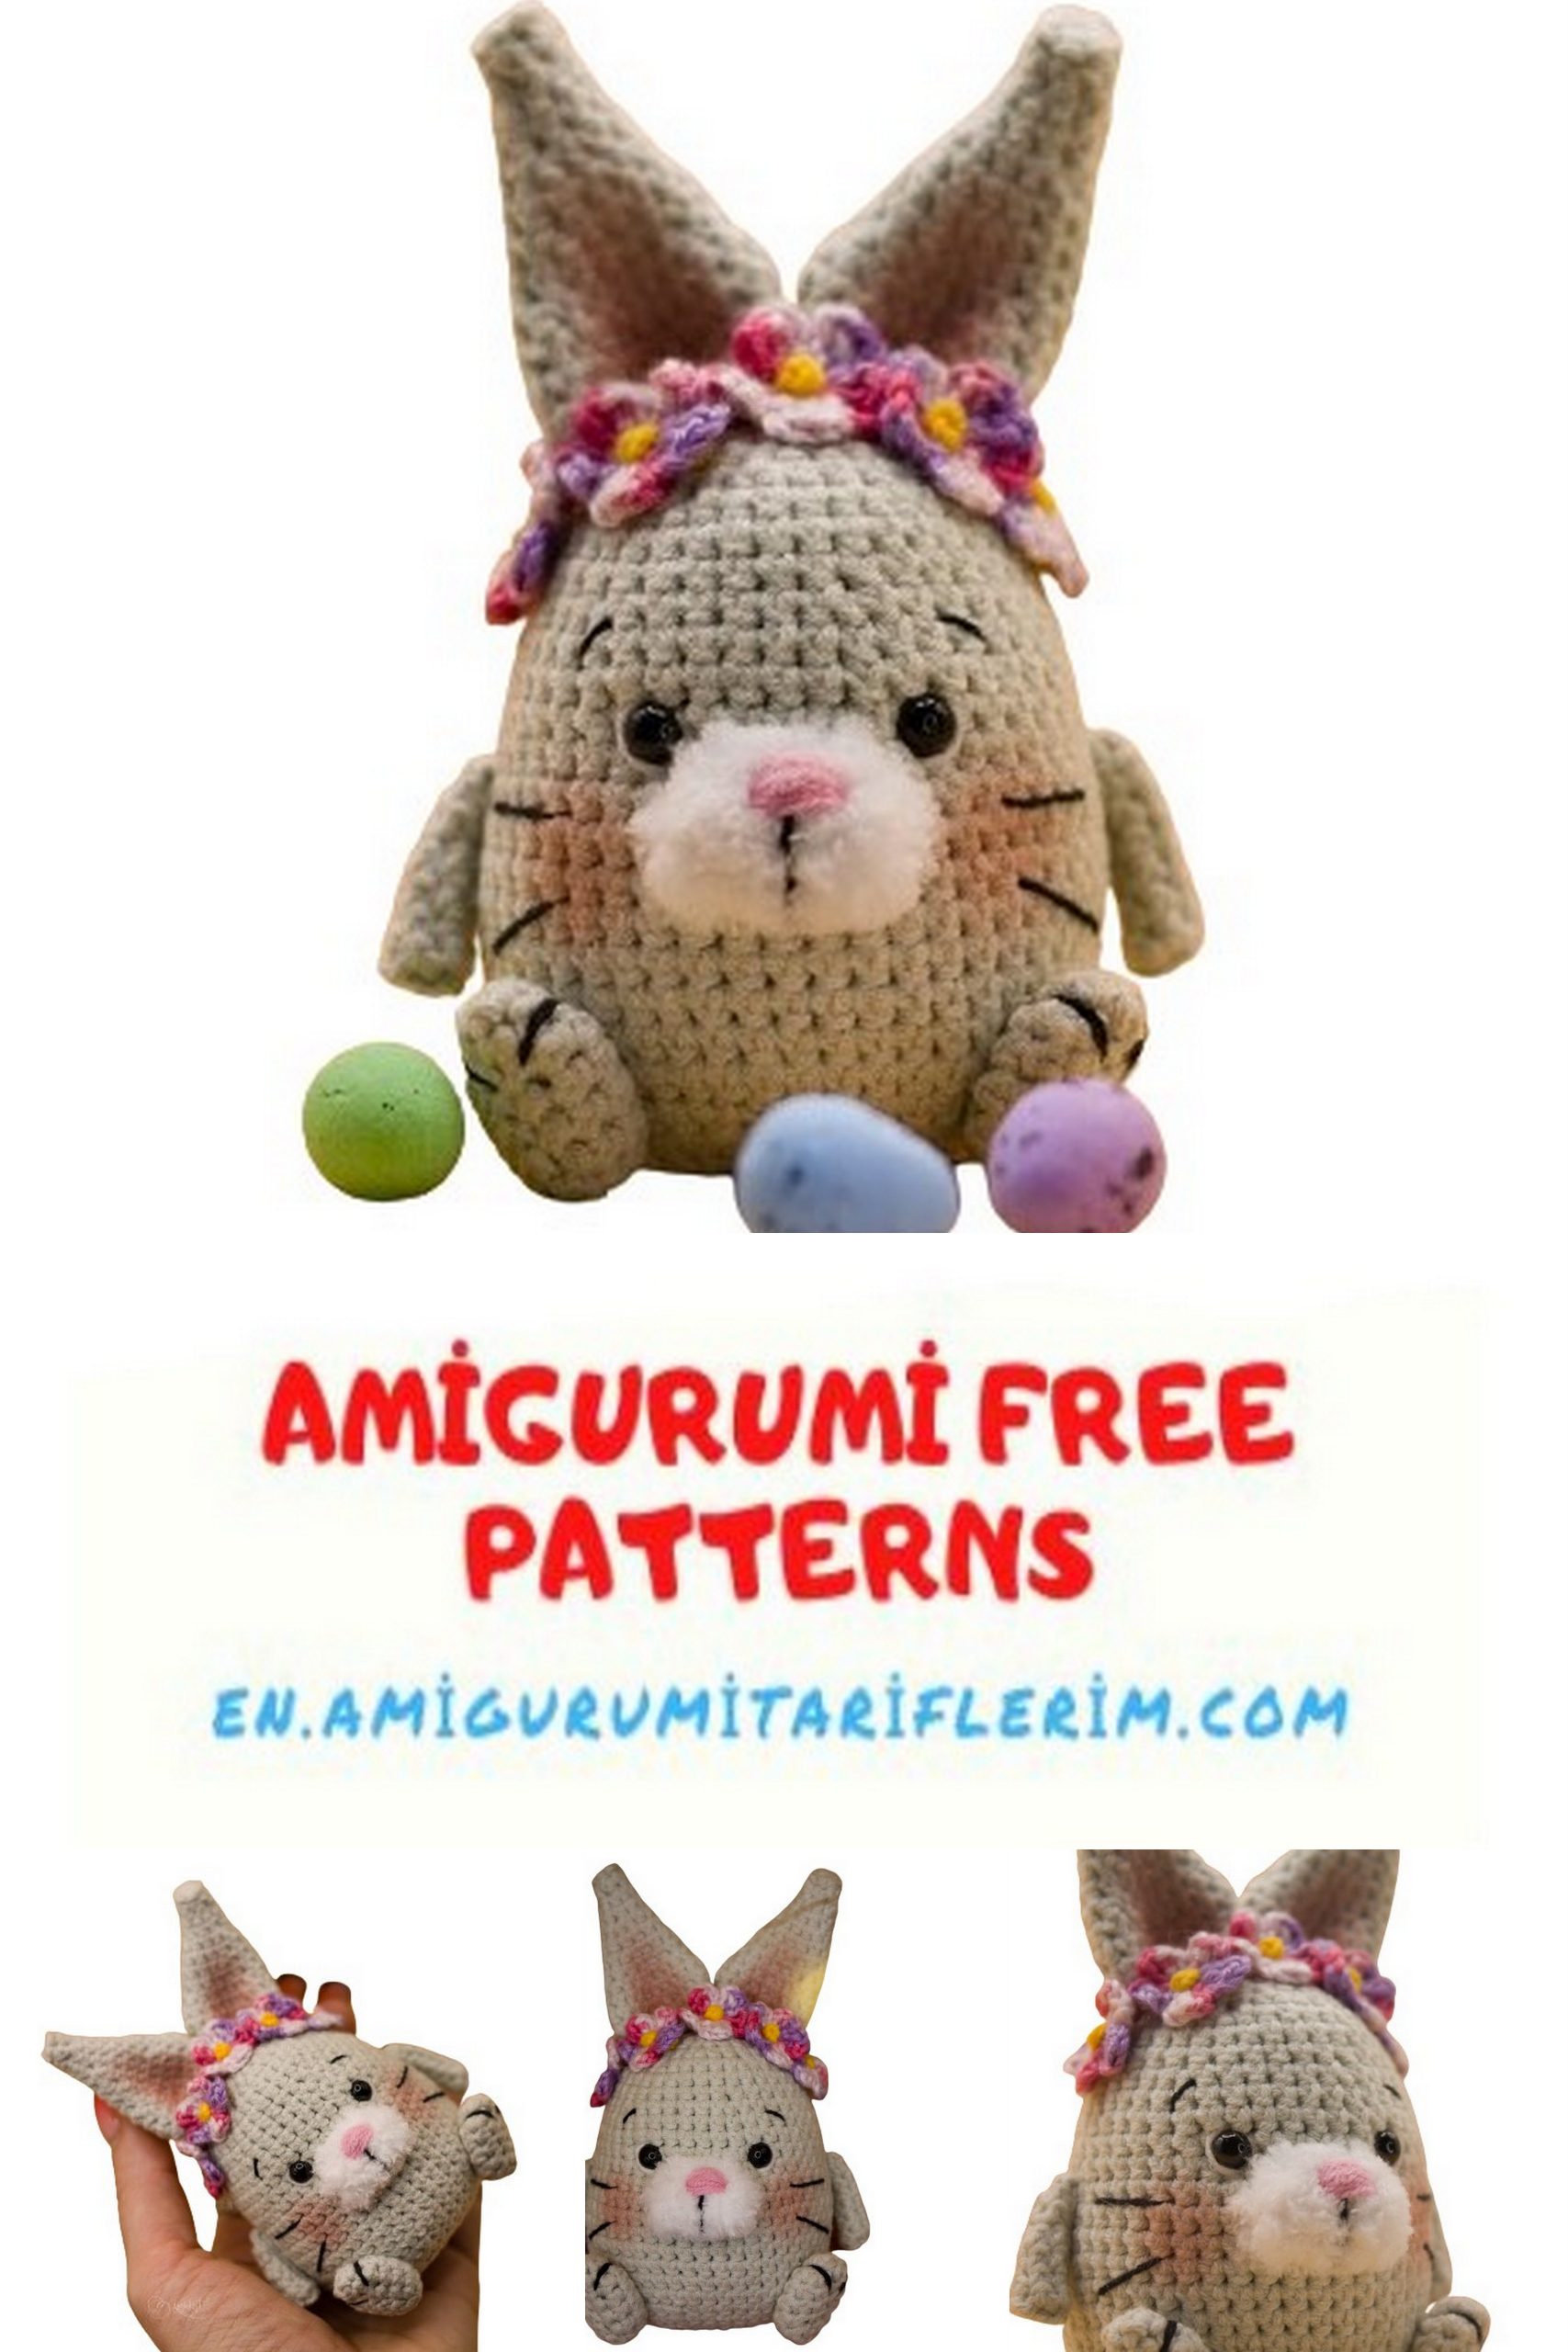
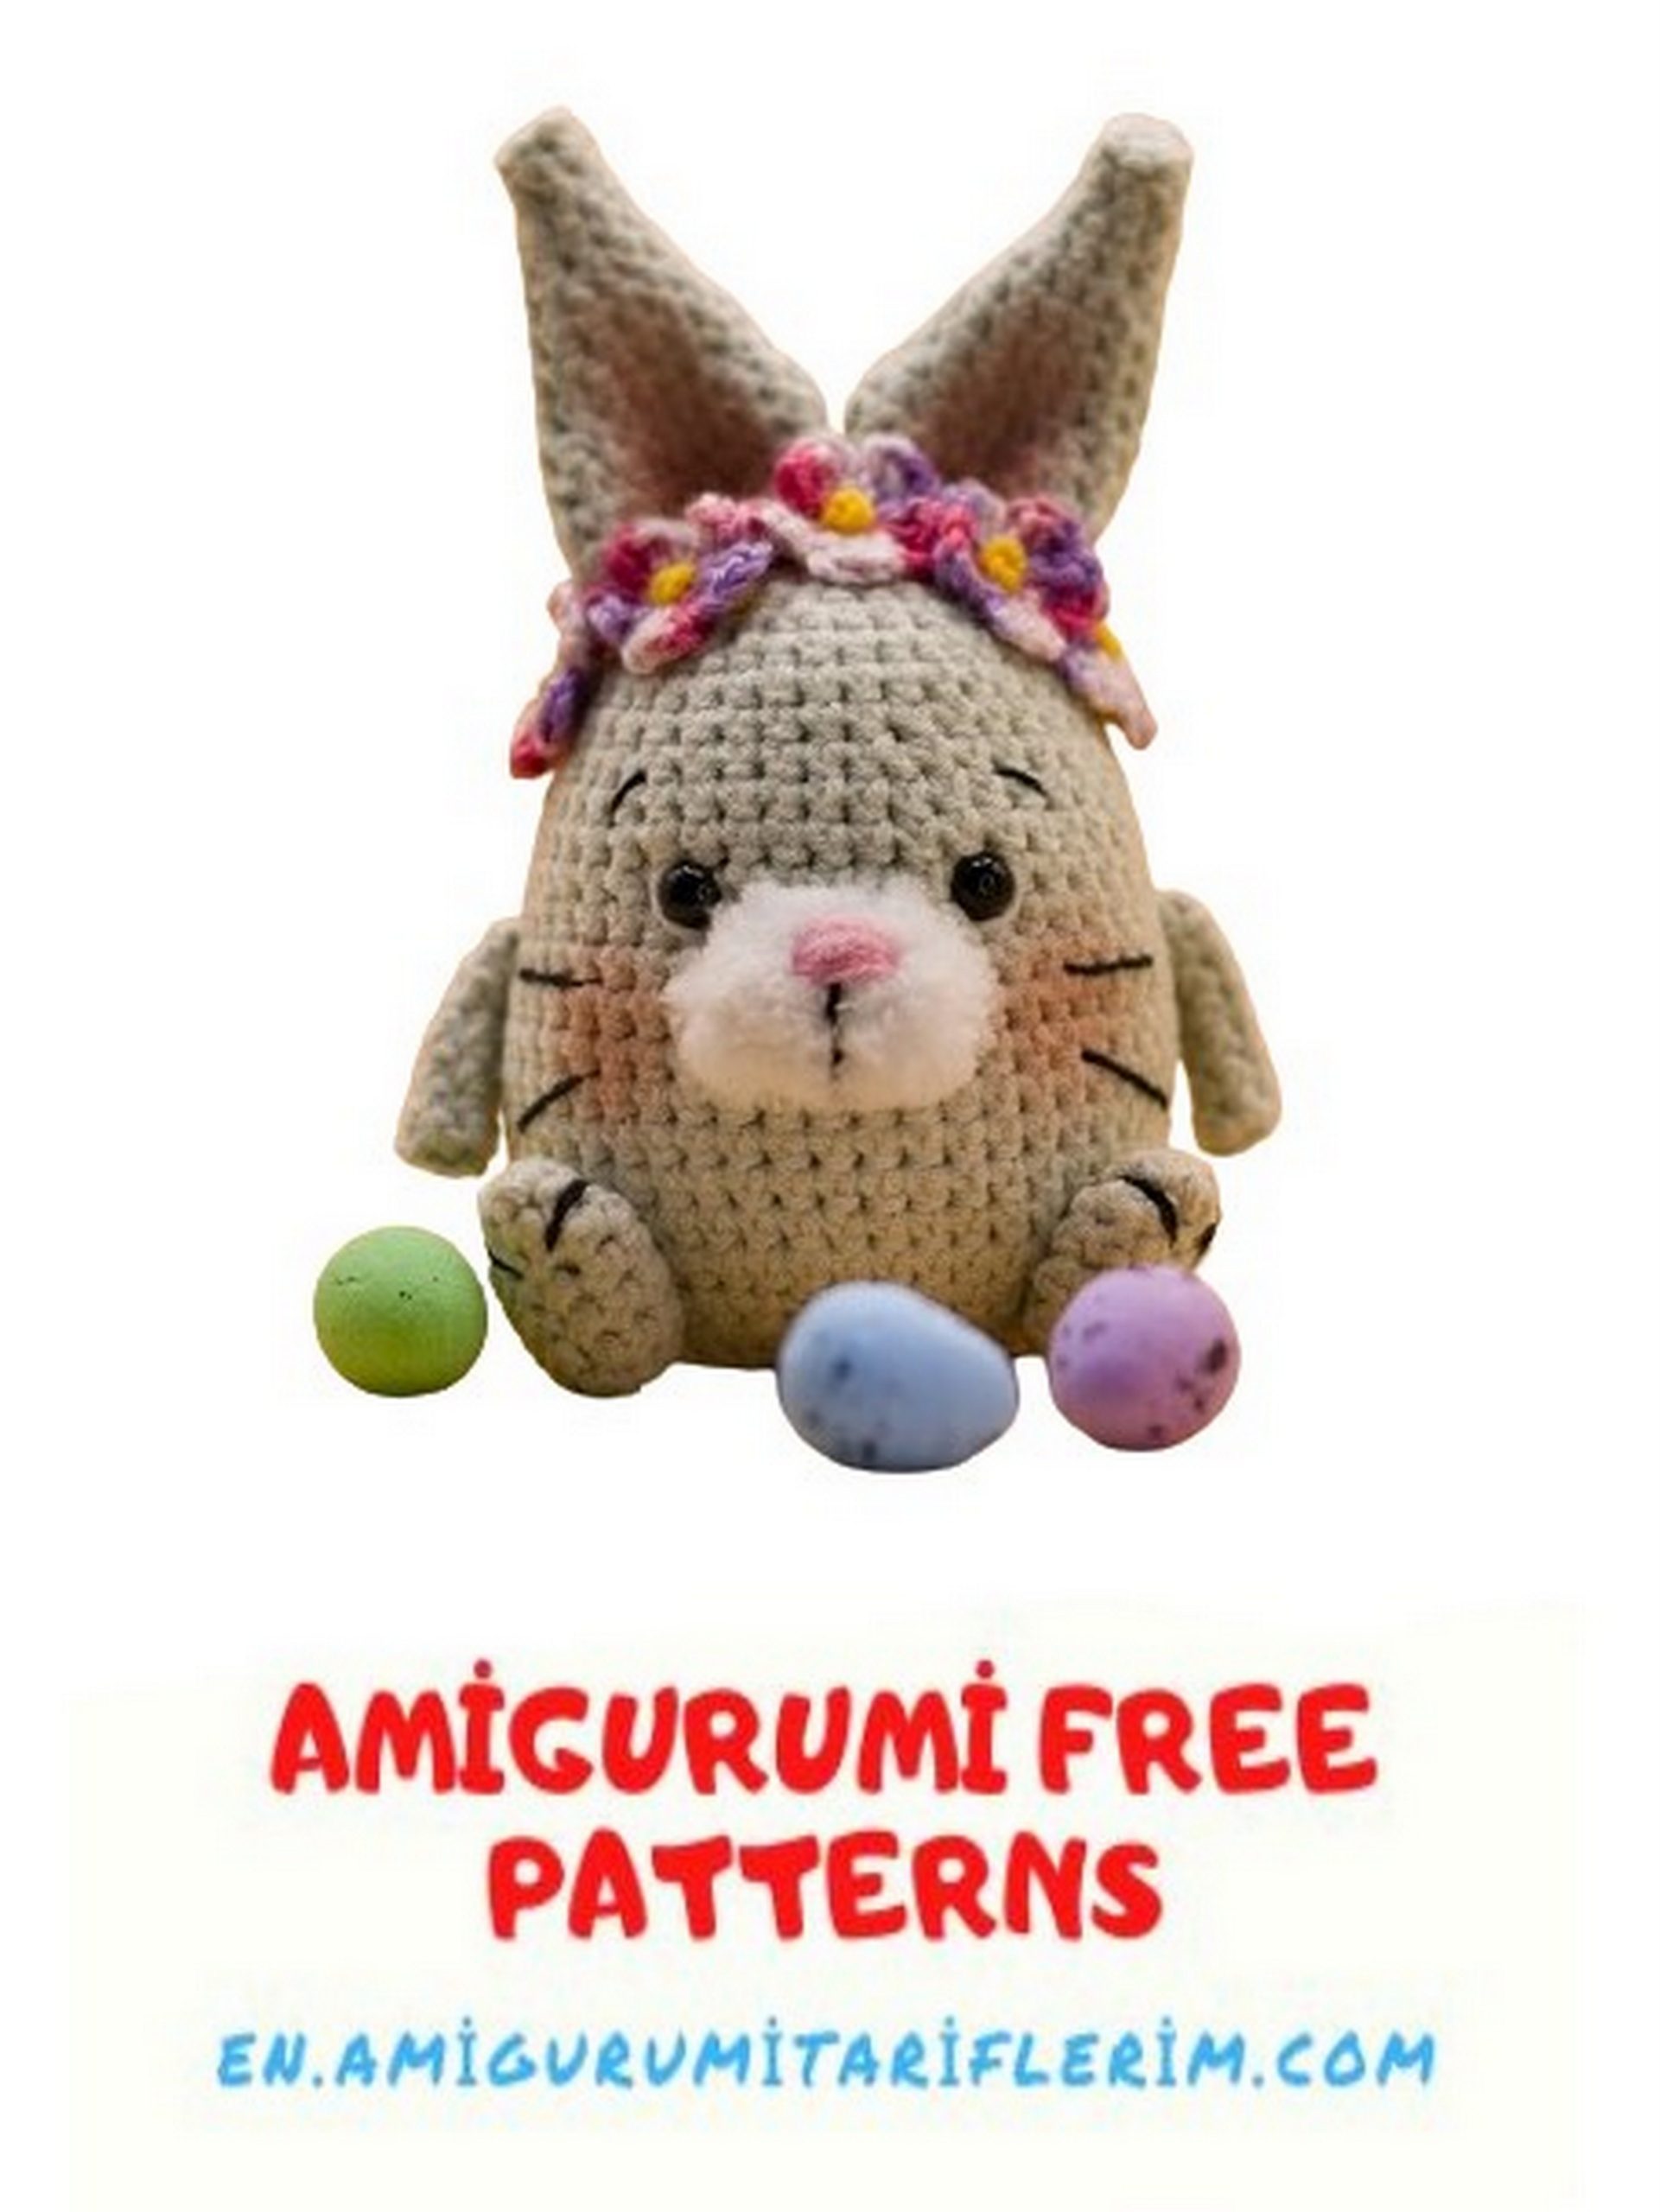
Adorable Easter Bunny Amigurumi Free Pattern: Crochet Fun for Springtime Joy!
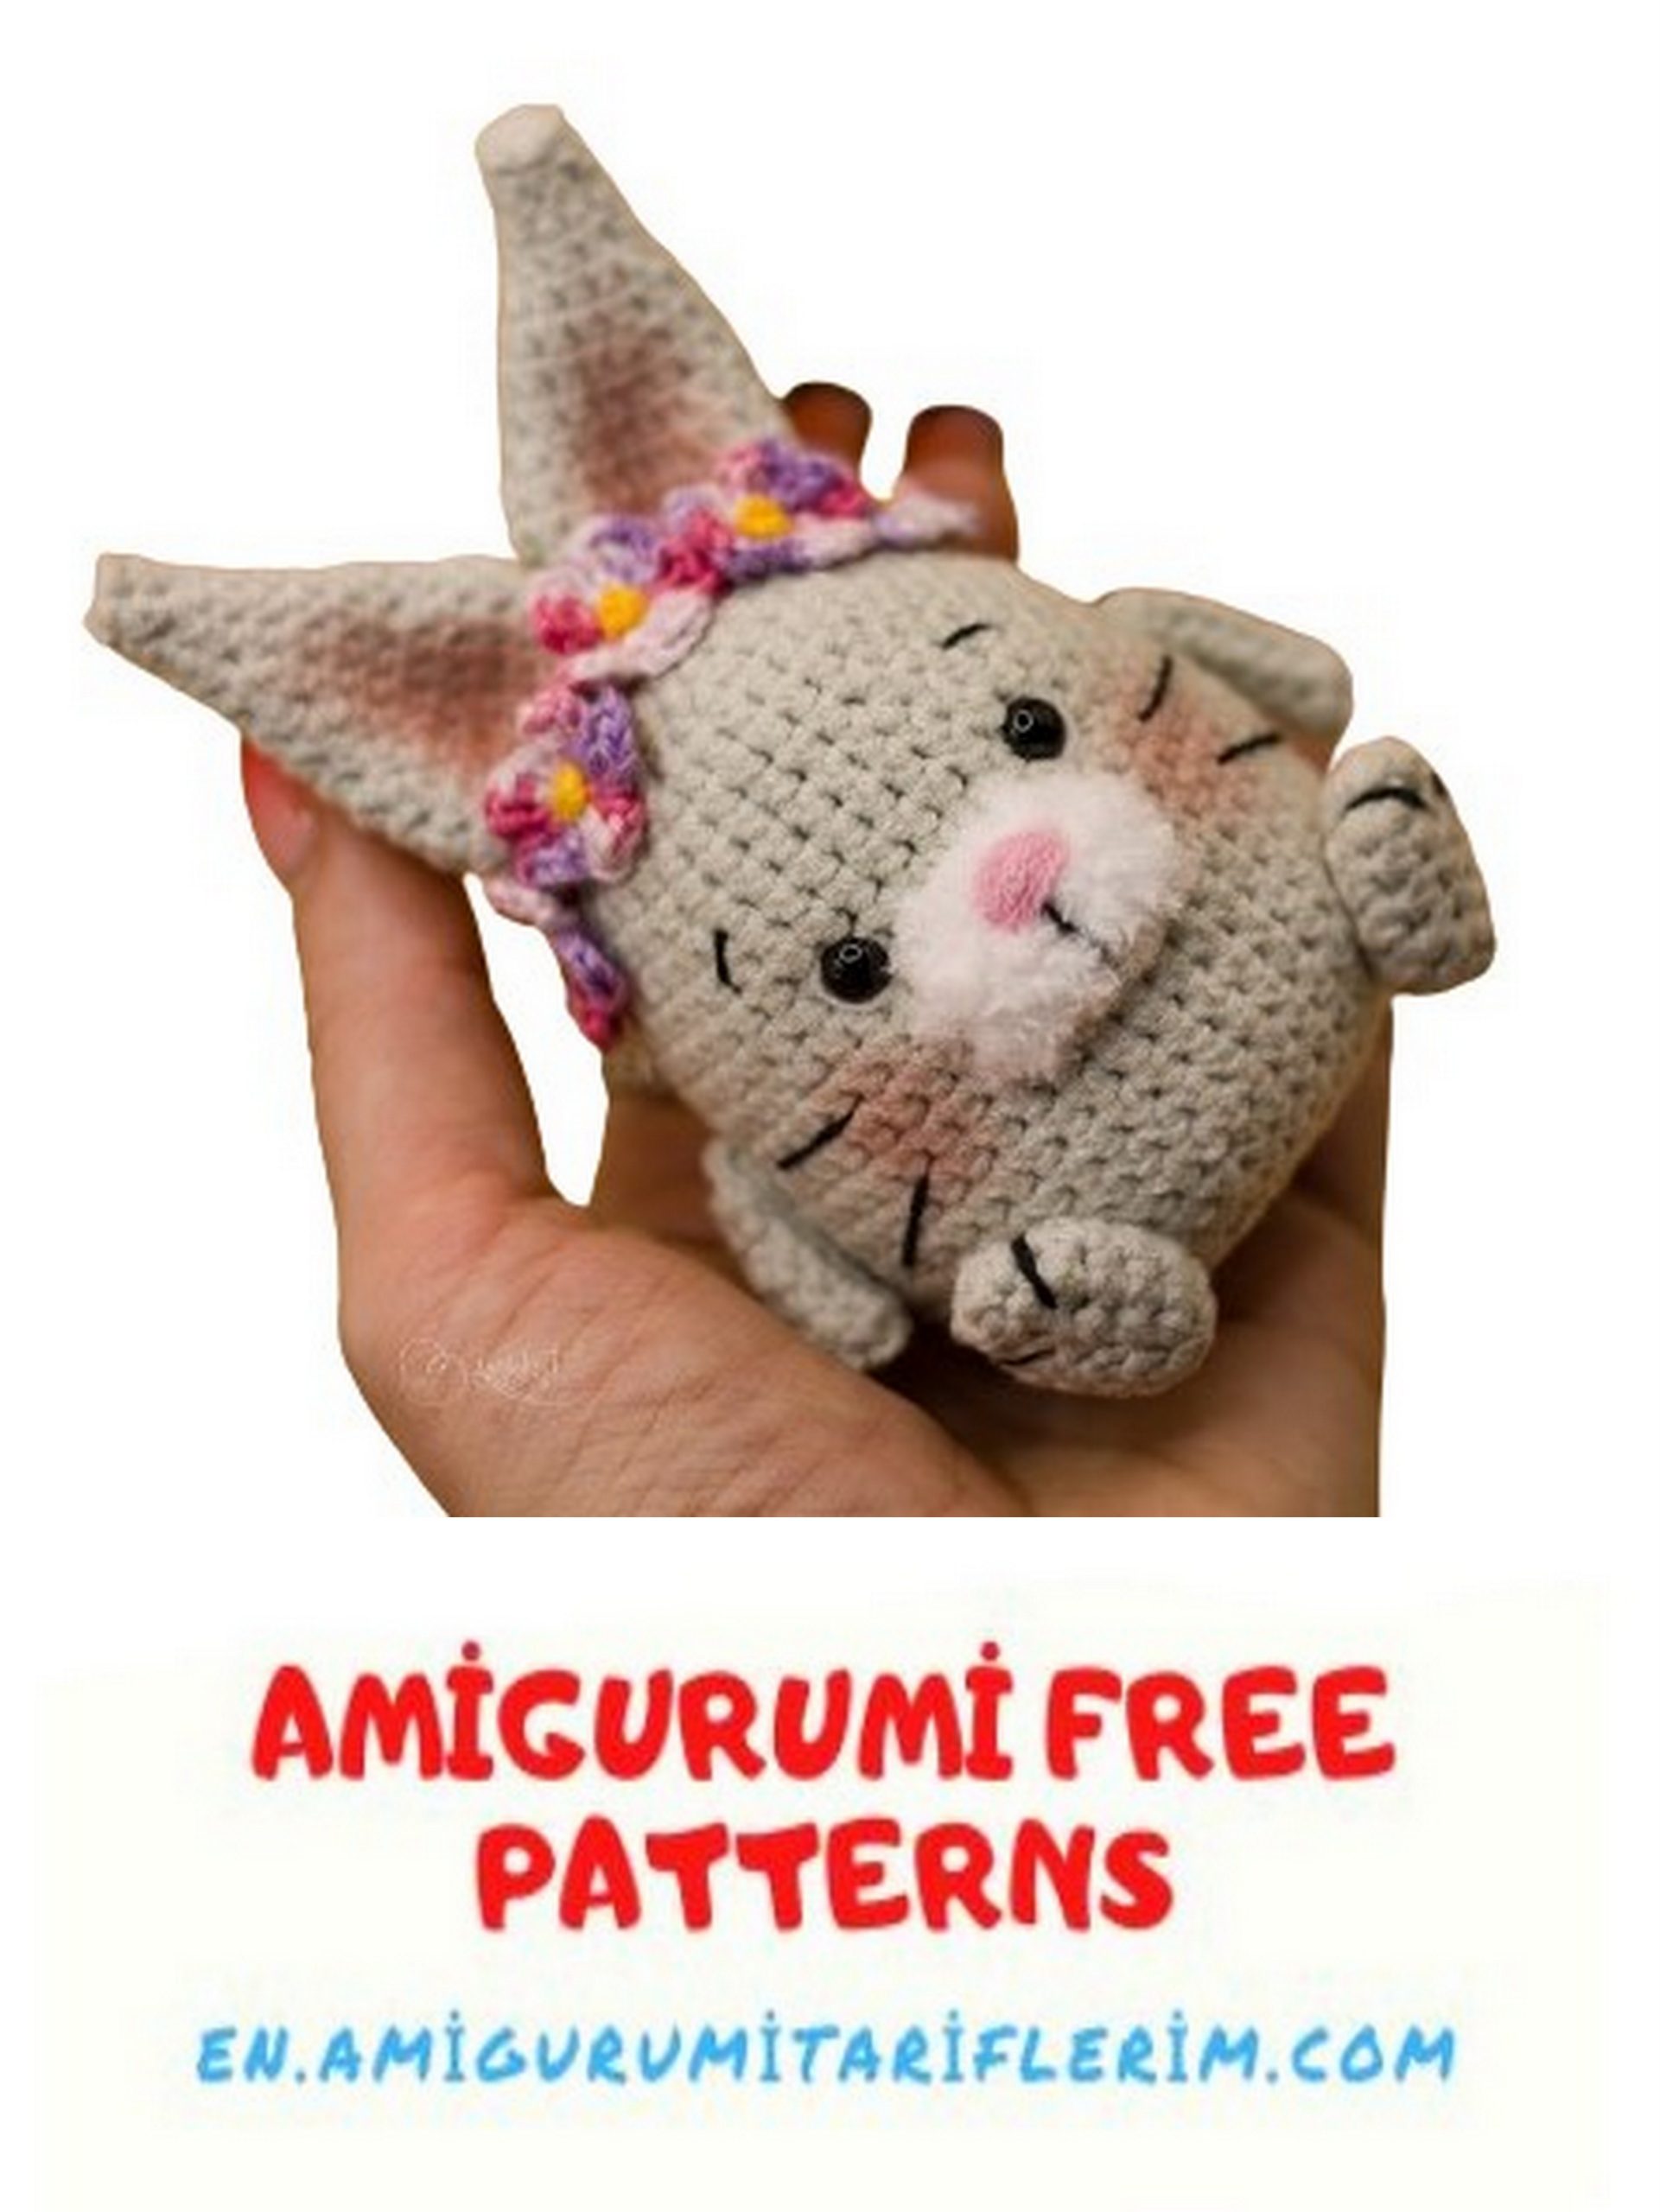
Celebrate the spirit of Easter with our charming amigurumi free pattern for an adorable Easter bunny amigurumi! Whether you’re a seasoned crocheter or new to the craft, this delightful project is bound to add a touch of whimsy to your springtime celebrations. Perfect for Easter baskets, decorations, or as gifts, this bunny exudes joy with its fluffy tail and cheerful demeanor. With easy-to-follow instructions and helpful tips, crocheting your own Easter bunny is as delightful as an egg hunt. So, gather your yarn and let’s hop into the Easter spirit!
MATERIALS AND TOOLS
YarnArt Jeans yarn in gray Color 49 (main color)
YarnArt Jeans yarn in pink Color 36 (nose)
Alize Softy yarn in white Color 55 (face, tail)
YarnArt Summer yarn Color 134 (flowers)
YarnArt Jeans yarn in yellow Color 35 (flower center)
YarnArt Jeans yarn in gray Color 01 (eyes)
Black sewing thread or YarnArt Jeans yarn in black Color 53 (face decoration, paws)
Crochet hook No. 1.5 (or No. 2)
Large needle or blunt-end needle
Fine sewing needle
Row counter
Scissors
6mm diameter eyes on stoppers
Polyester fiberfill
Pins
Tweezers
Blush or dry pastels (for cheek and ear shading)
Cotton swab or brush for shading (for blush)
ABBREVIATIONS:
sc – single crochet
sl st – slip stitch
inc – increase
dec – decrease
ch – chain
DC – double crochet
In parentheses: number of stitches in a row and number of rows.
All crochet work will be done in rounds with the wrong side facing out.
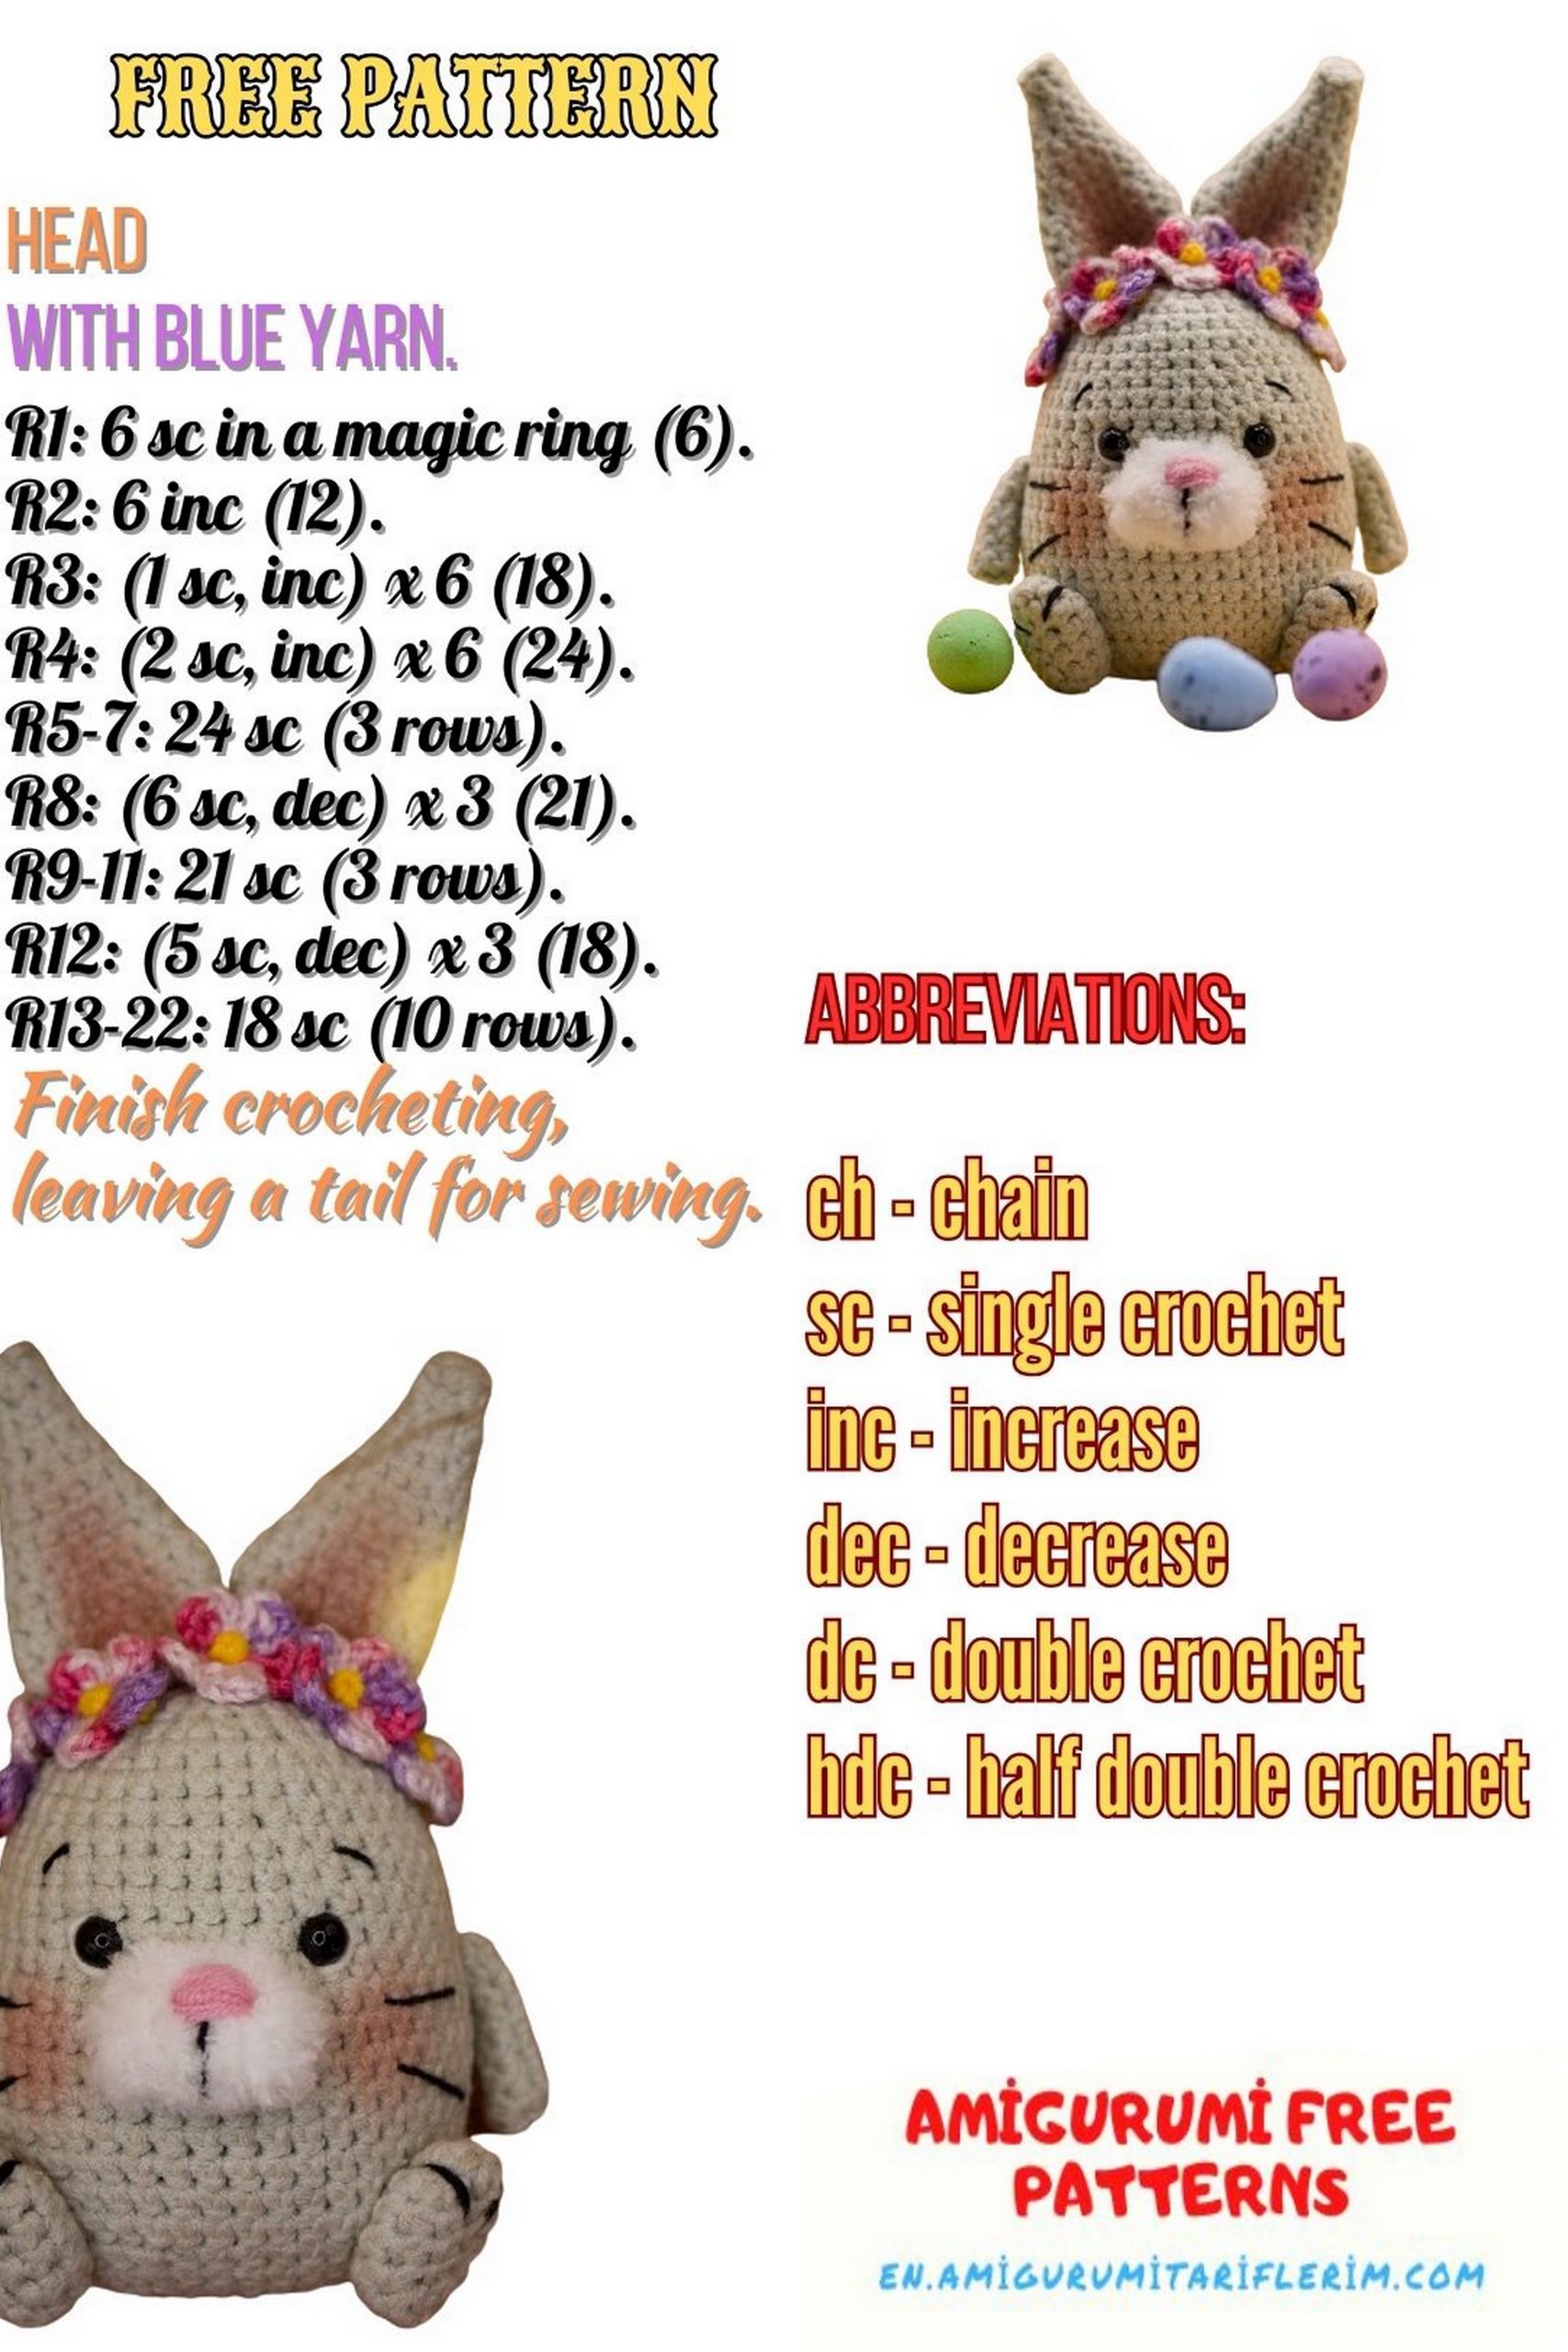
PATTERN
HEAD-BODY
Crochet with the main color, gray. Hook 1.5.
1: 6 sc in magic ring (6)
2: (inc) x 6 (12)
3: (1 sc, inc) x 6 (18)
4: (inc, 2 sc) x 6 (24)
5: 1 sc, inc, (3 sc, inc) x 5, 2 sc (30)
6: (4 sc, inc) x 6 (36)
7-8: 36 sc (2 rows)
9: (inc, 5 sc) x 6 (42)
10-12: 42 sc (3 rows)
13: (6 sc, inc) x 6 (48)
16-23: 48 sc (8 rows)
24: (6 sc, dec) x 6 (42)
25: 42 sc
26: (dec, 5 sc) x 6 (36)
Place the eyes between rows 12 and 13 from the top. Distance between eyes: 7 sc.
Start stuffing the body.
27: (4 sc, dec) x 6 (30)
28: 1 sc, dec, (3 sc, dec) x 5, 2 sc (24)
29: (2 sc, dec) x 6 (18)
Finish stuffing the toy.
30: (dec, 1 sc) x 6 (12)
31: (dec) x 6 (6)
Cut the yarn. Close the hole. Hide the thread inside the toy using a needle.
FACE
Crochet with white Alize Softy yarn. Hook 1.5. Crochet loosely, do not tighten too much (it will be easier to see the stitches).
1: Chain 4. From the second chain from the hook: 2 sc, in the last chain 3 sc, turn, crochet 2 sc (7)
2: 7 sc
Cut the yarn, leaving a small tail for sewing to the body.
Do not stuff the part.
Position the face under the eyes, secure with a pin, and sew.
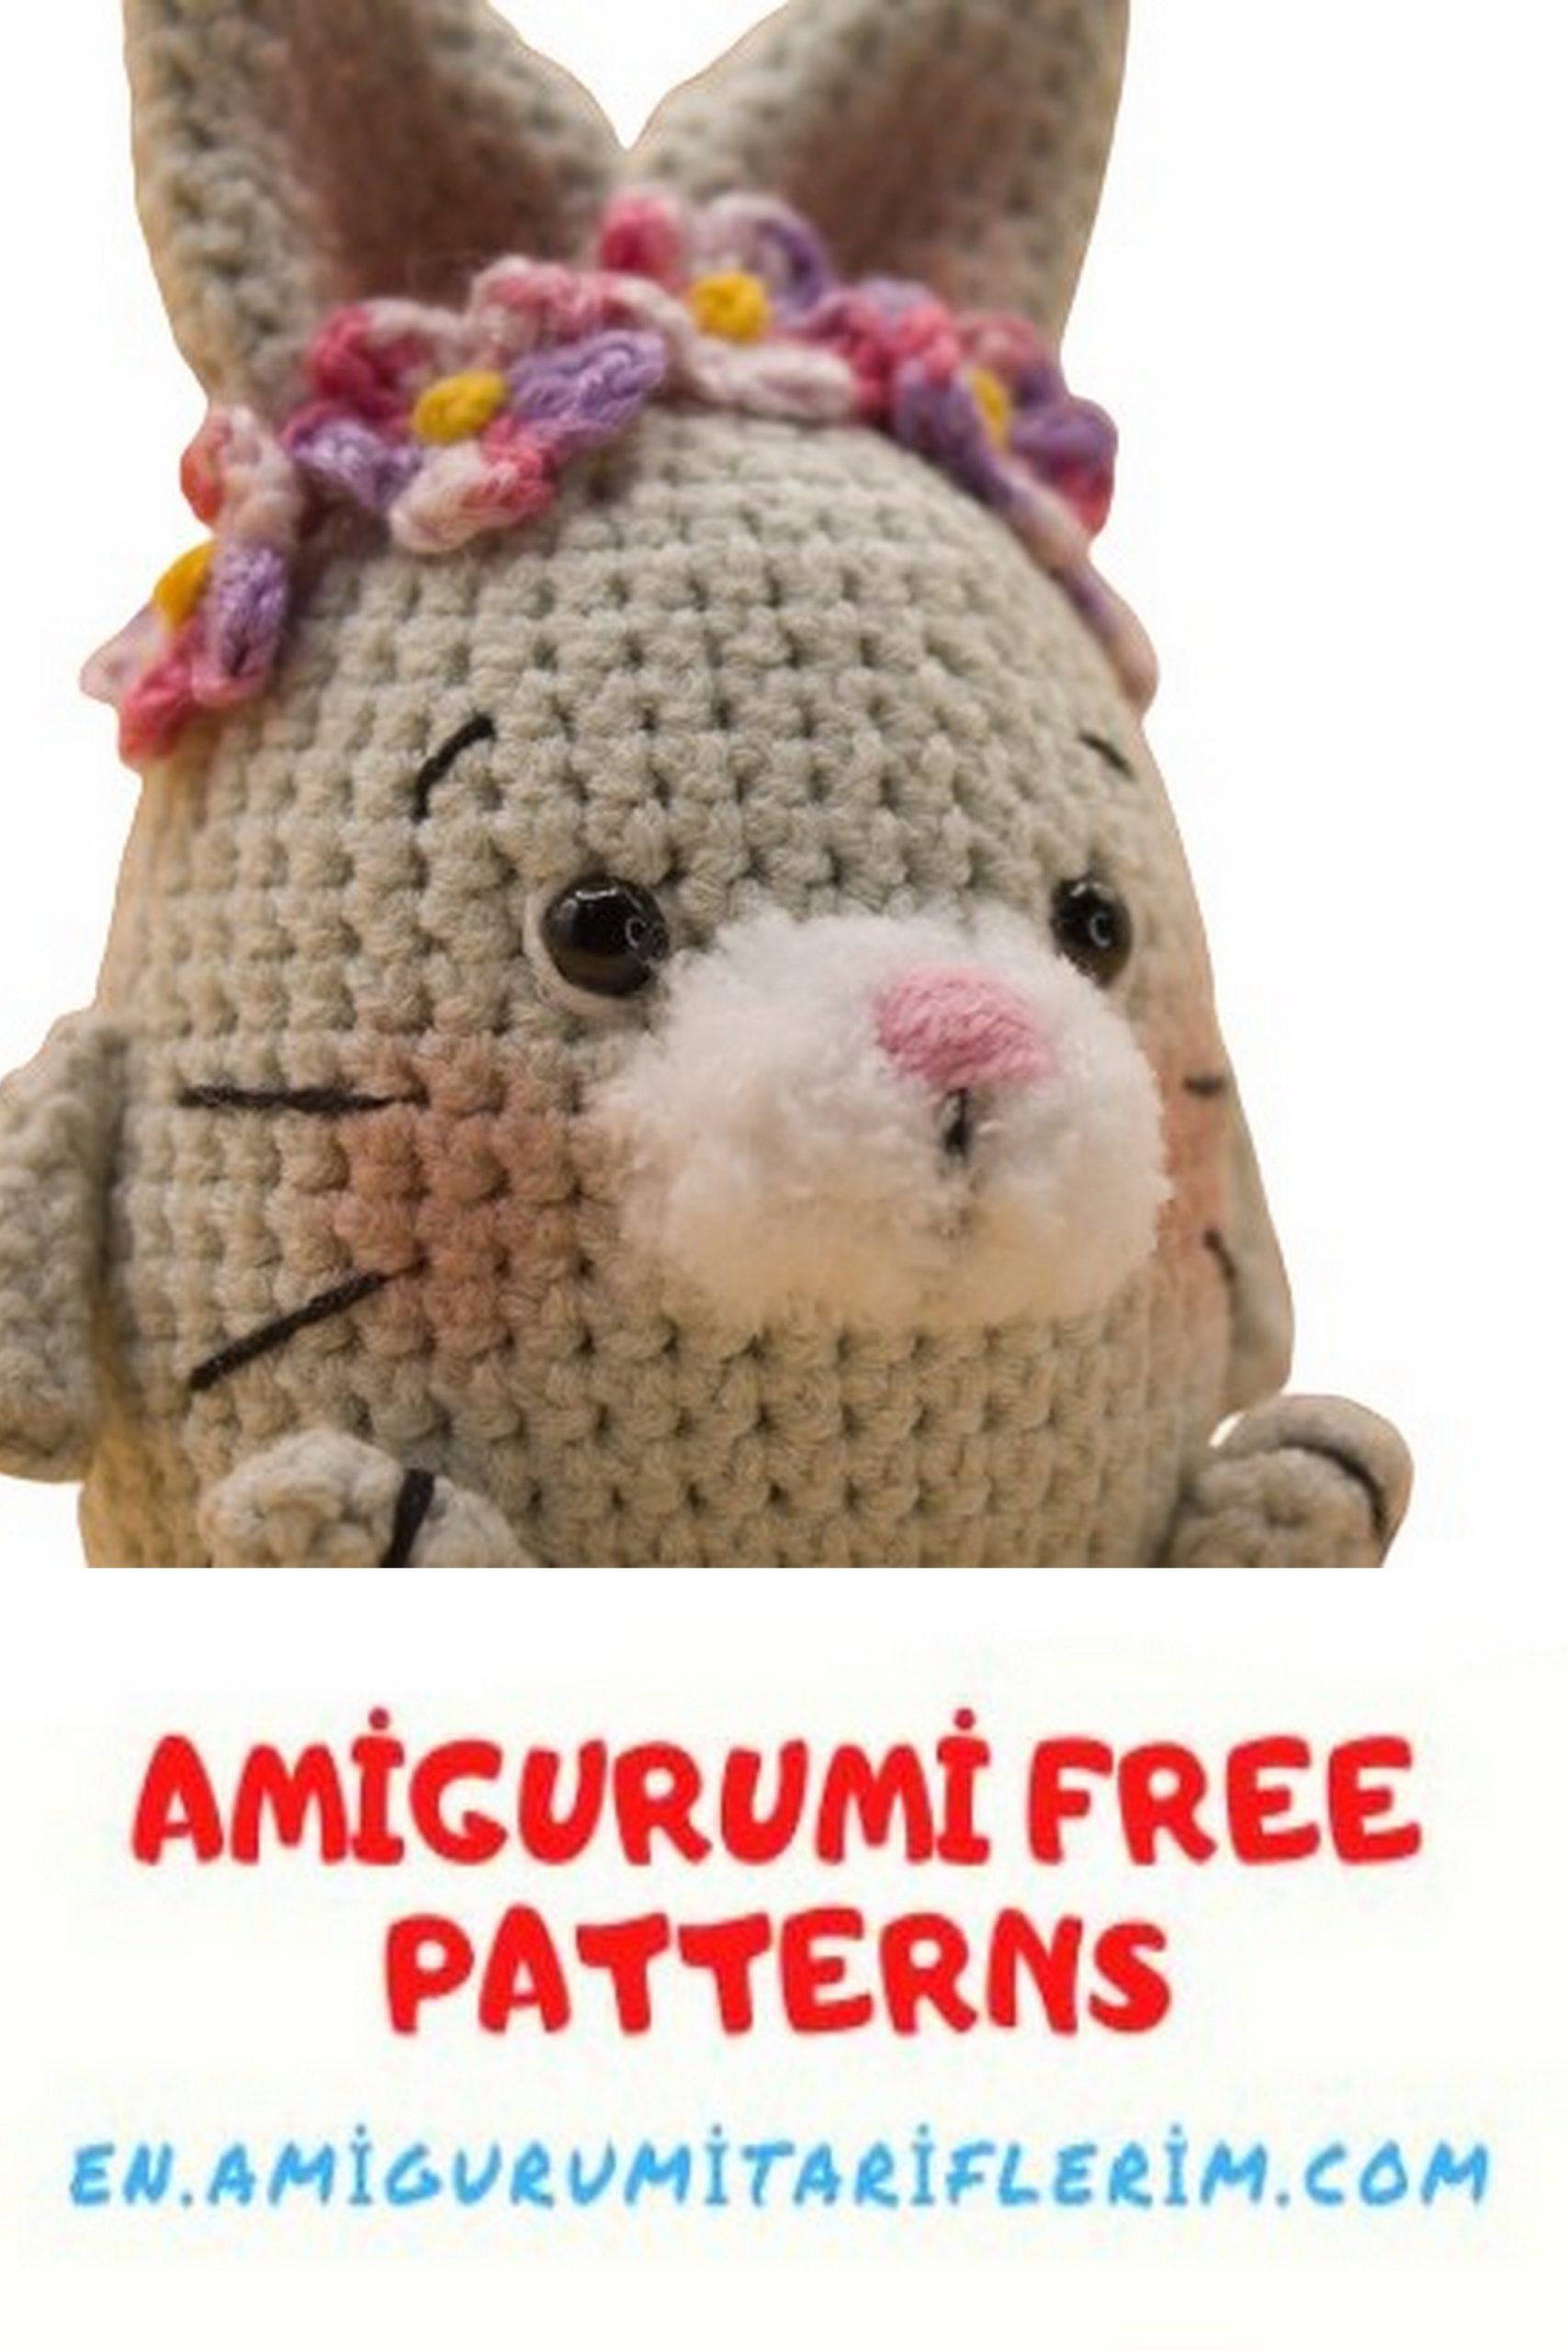
Use pink thread to embroider the nose on the face – make about 5 horizontal stitches.
Embroider the face with black sewing thread (vertical stitch from the middle of the nose to the bottom of the face), whiskers, and eyebrows. You can use YarnArt Jeans yarn instead of sewing thread, separating one strand of yarn.
Embroider the eye whites with white thread.
EARS (make 2)
Crochet with the main color facing out. Hook 1.5.
1: 6 sc in magic ring (6)
2: 6 sc
3: (inc, sc) x 3 (9)
4: 9 sc
5: (2 sc, inc) x 3 (12)
6: 12 sc
7: (3 sc, inc) x 3 (15)
8: 15 sc
9: (inc, 4 sc) x 3 (18)
10: (5 sc, inc) x 3 (21)
11: 3 sc, inc, (6 sc, inc) x 2, 3 sc (24)
12: (6 sc, dec) x 3 (21)
13: 1 sc, dec, (5 sc, dec) x 2, 4 sc (18)
14: (dec, 1 sc) x 6 (12)
15: (dec) x 6
Cut the yarn, close the hole, leaving a small tail for sewing to the body.
Do not stuff the parts.
LOWER PAWS (make 2)
Crochet with the main color facing out. Hook 1.5.
1: Chain 6. From the second chain from the hook: 4 sc, in the last chain 4 sc, turn, crochet 3 sc, inc (13)
2-3: 13 sc (2 rows)
4: 4 sc, 3 dec, 3 sc (10)
Stuff the part. You can use tweezers for convenience. Cut the yarn, leaving a small tail for sewing to the body. Close the hole with a needle.
Embroider “fingers” with black sewing thread – make two vertical stitches at the top of the paw.
UPPER PAWS (make 2)
Crochet with the main color facing out. Hook 1.5.
1: 6 sc in magic ring (6)
2-5: 6 sc (4 rows)
6: dec, 4 sc (5)
7: 5 sc
Cut the yarn, close the hole, leaving a small tail for sewing to the body.
Do not stuff the parts.

TAIL
Crochet with white Alize Softy yarn. Hook 1.5.
Crochet loosely, do not tighten too much (it will be easier to see the stitches).
1: 6 sc in magic ring (6)
2: 6 sc
Cut the yarn, leaving a small tail for sewing to the body.
Do not stuff the part.
FLOWER (make 5)
For crocheting flowers, use YarnArt Summer and hook 1.5.
Crochet in the magic ring. First petal: (Chain 3, 1 DC, 3 chains, 1 slip stitch), repeat four more petals. There should be a total of 5 petals. Tighten the magic ring.
Cut the yarn, leaving a small tail for sewing.
Embroider the flower center with yellow yarn – make one French knot.
To make a French knot, follow the photos below or watch the video here.
ASSEMBLY
Pin the ears to the top of the rabbit’s head.
Sew on the ears.
After sewing on the ears, you can attach the paws. Pin them: place the lower paws between rows 23 and 24, the upper ones between rows 16 and 17. Sew on the paws.
Now it’s time for the tail. Sew it on the back.
Now it’s time for the flowers. You also need to pin them to determine their placement. First, place the flower in the center – right between the ears. Pin the next two on the sides under the ears, and place the remaining two between the center and the sides. After determining the placement of the flowers, proceed with their final attachment. You can sew or glue the flowers. Gluing will be easier than sewing. For this, you can use “Moment Crystal” glue. Apply a small drop of glue to the wrong side of the flower, place it in the desired location, press firmly, and hold for a while for the glue to set. Repeat these steps for the remaining flowers.
Now you’re on the home stretch. All that’s left is to add shading. Use blush or dry pastels. Apply shading with a brush or cotton swab.
Start by shading the ears, then the cheeks.