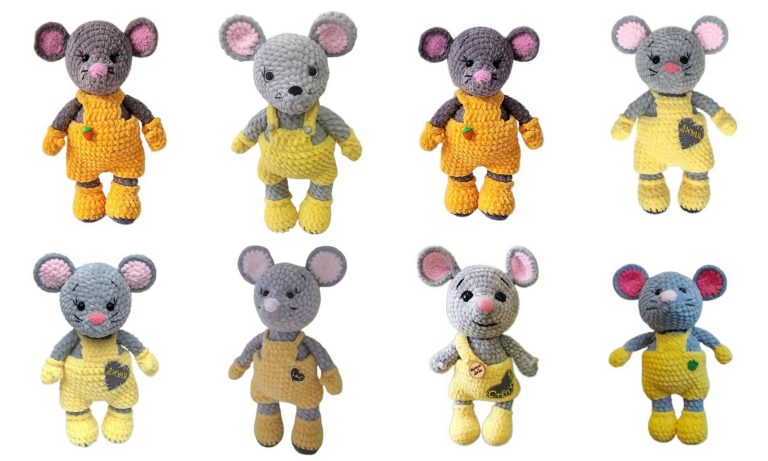
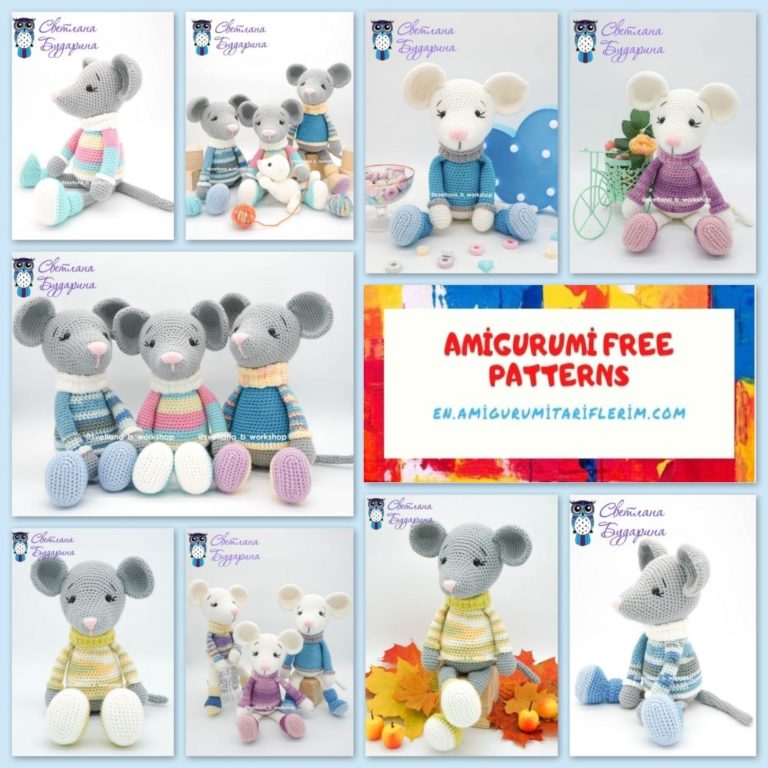
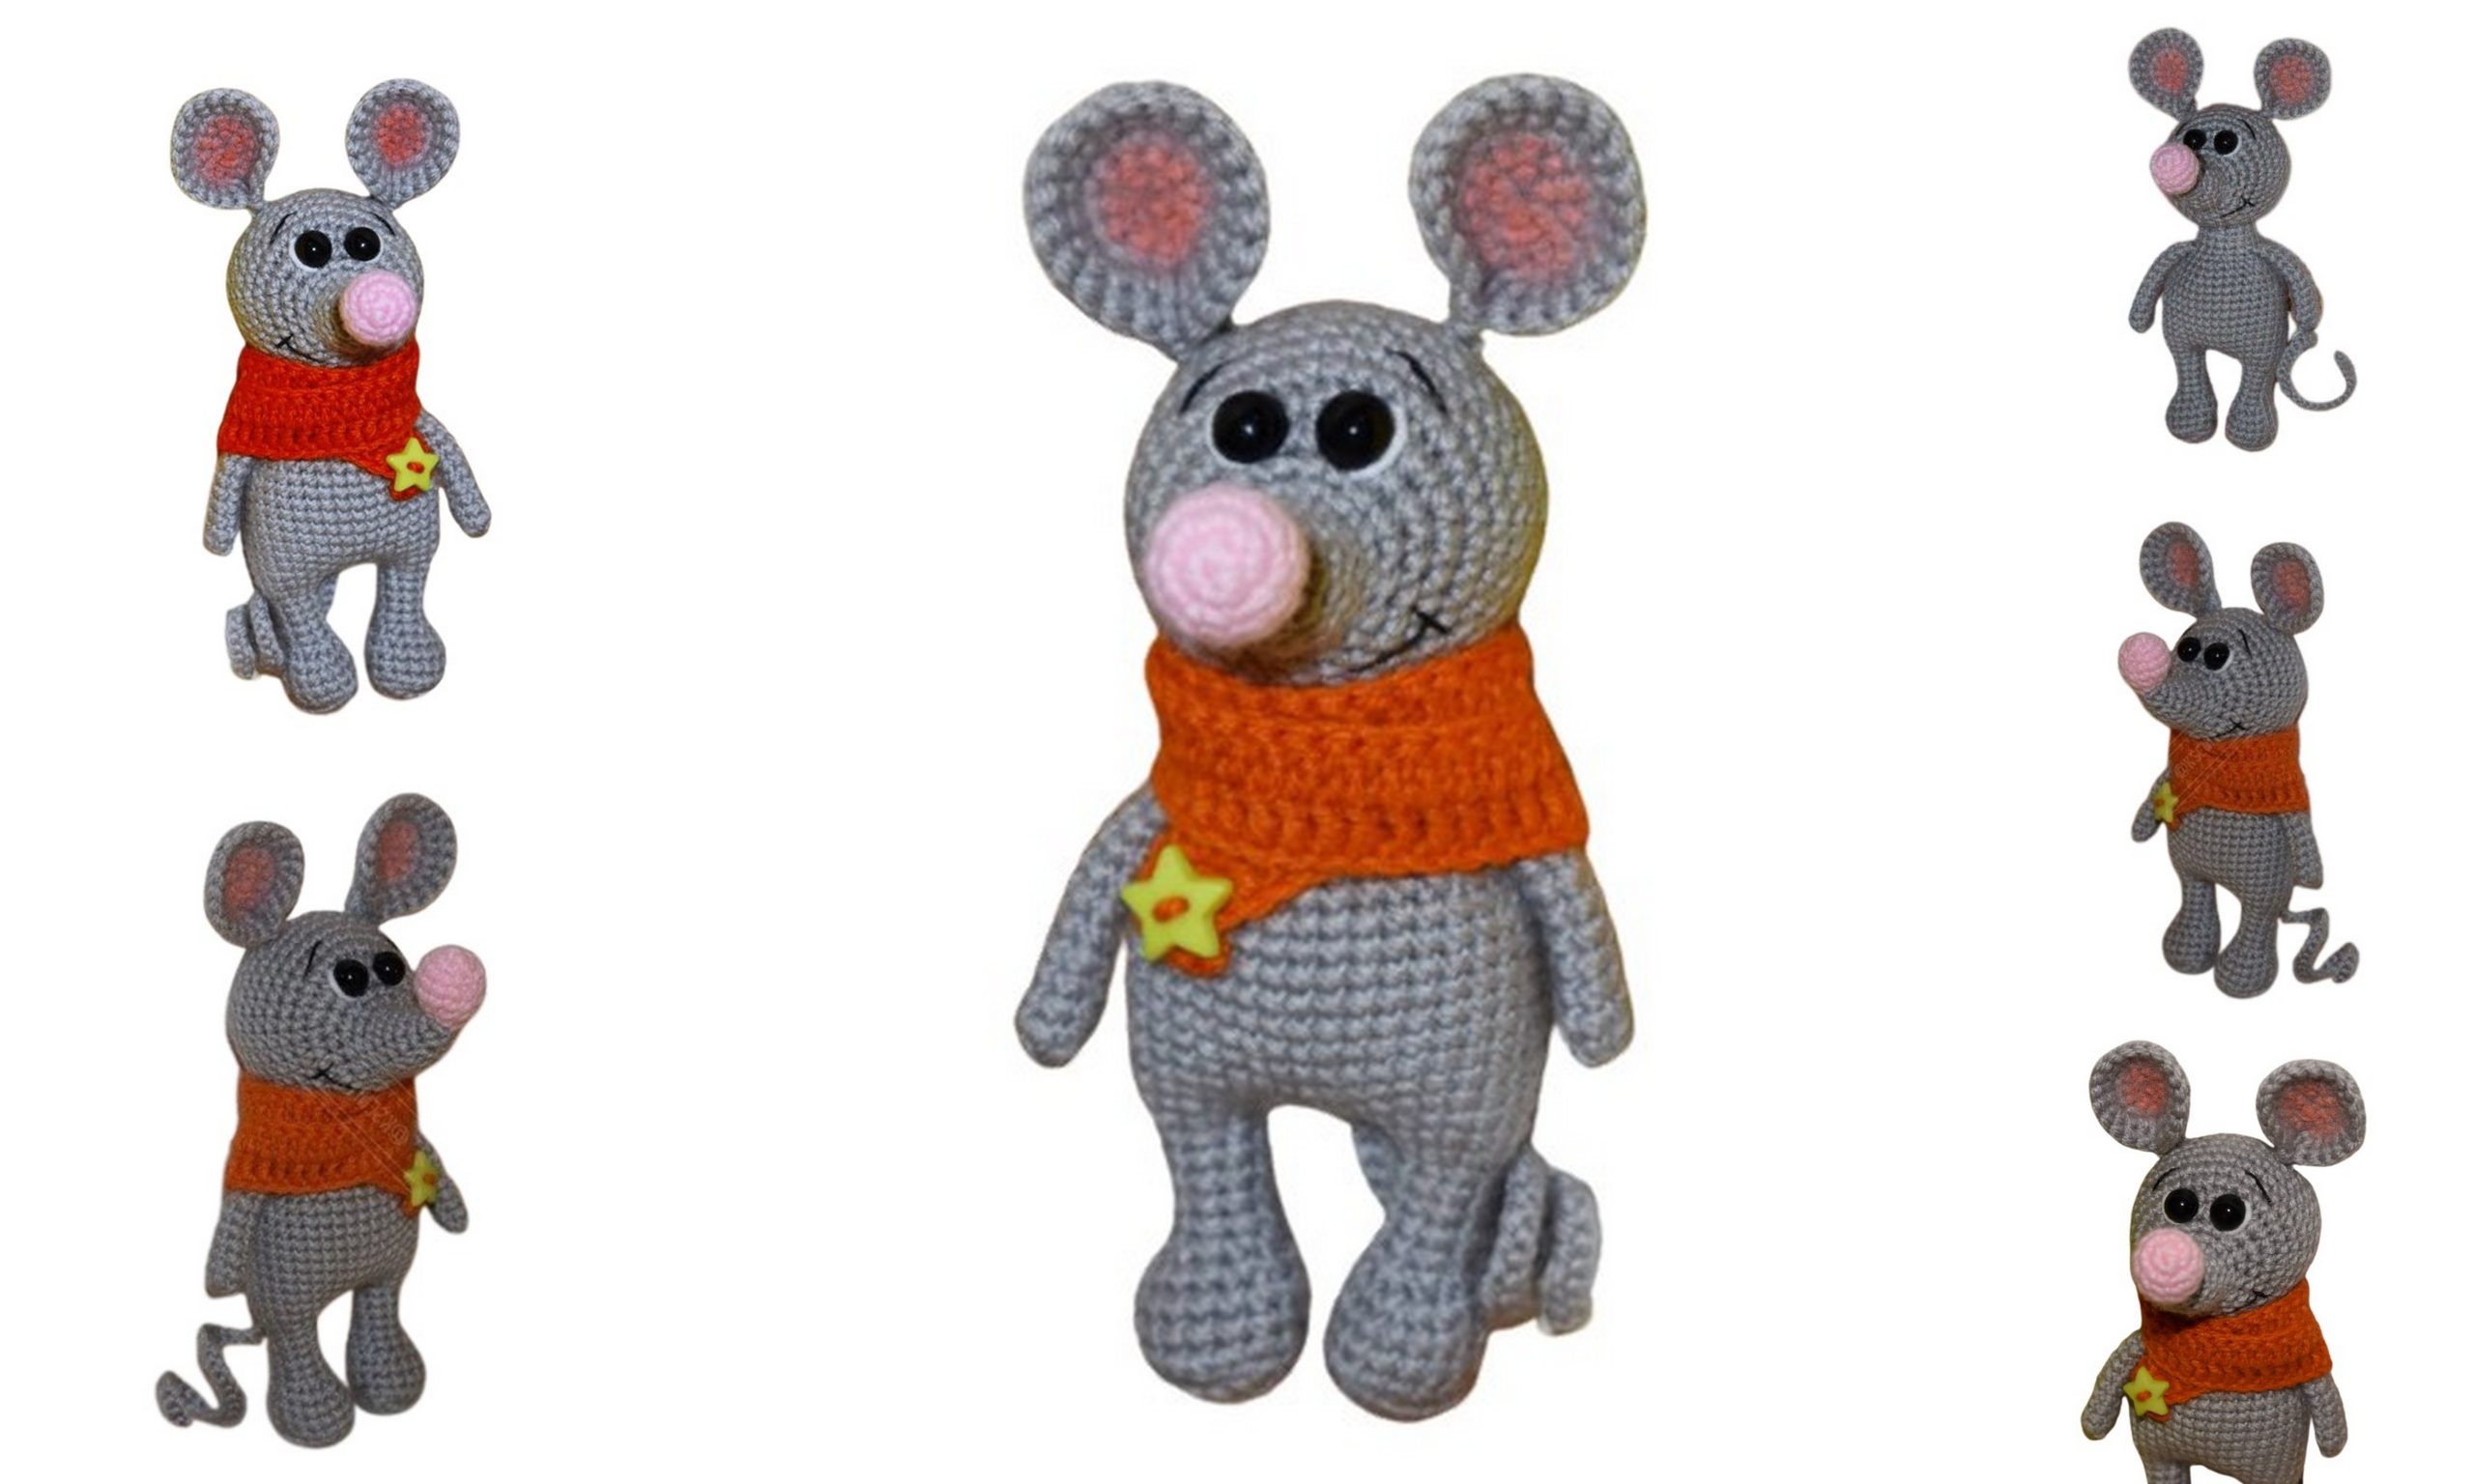
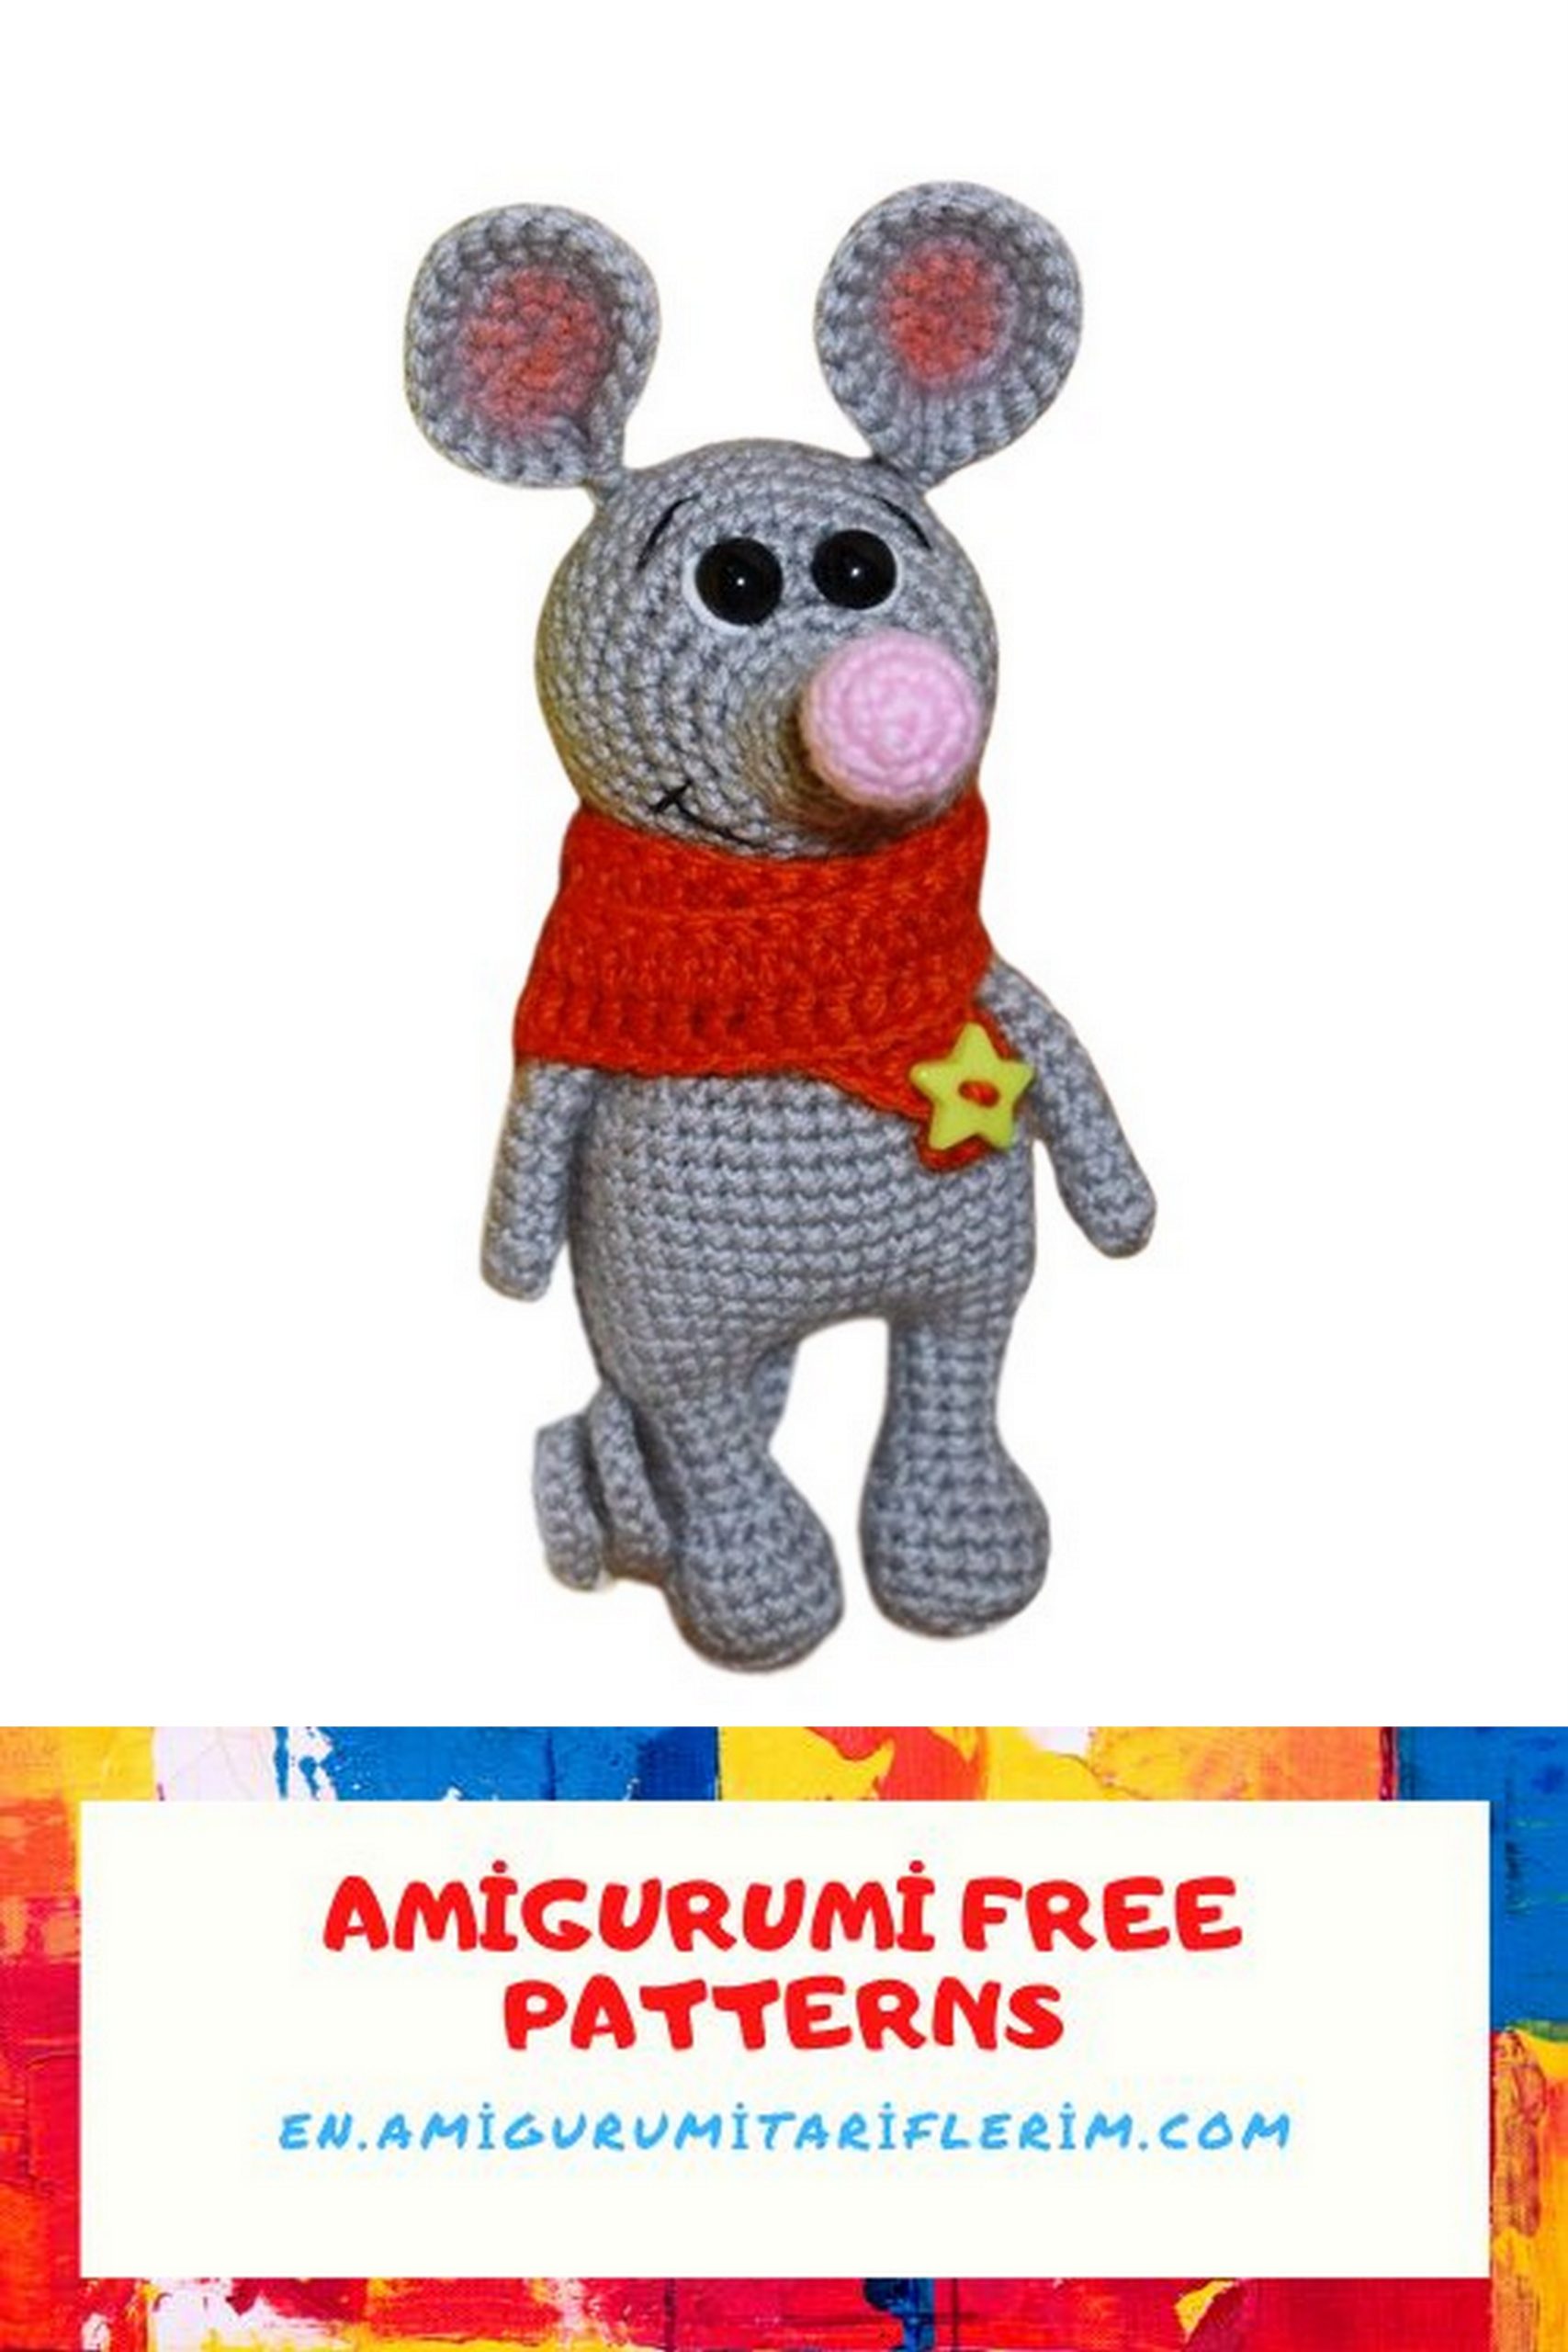
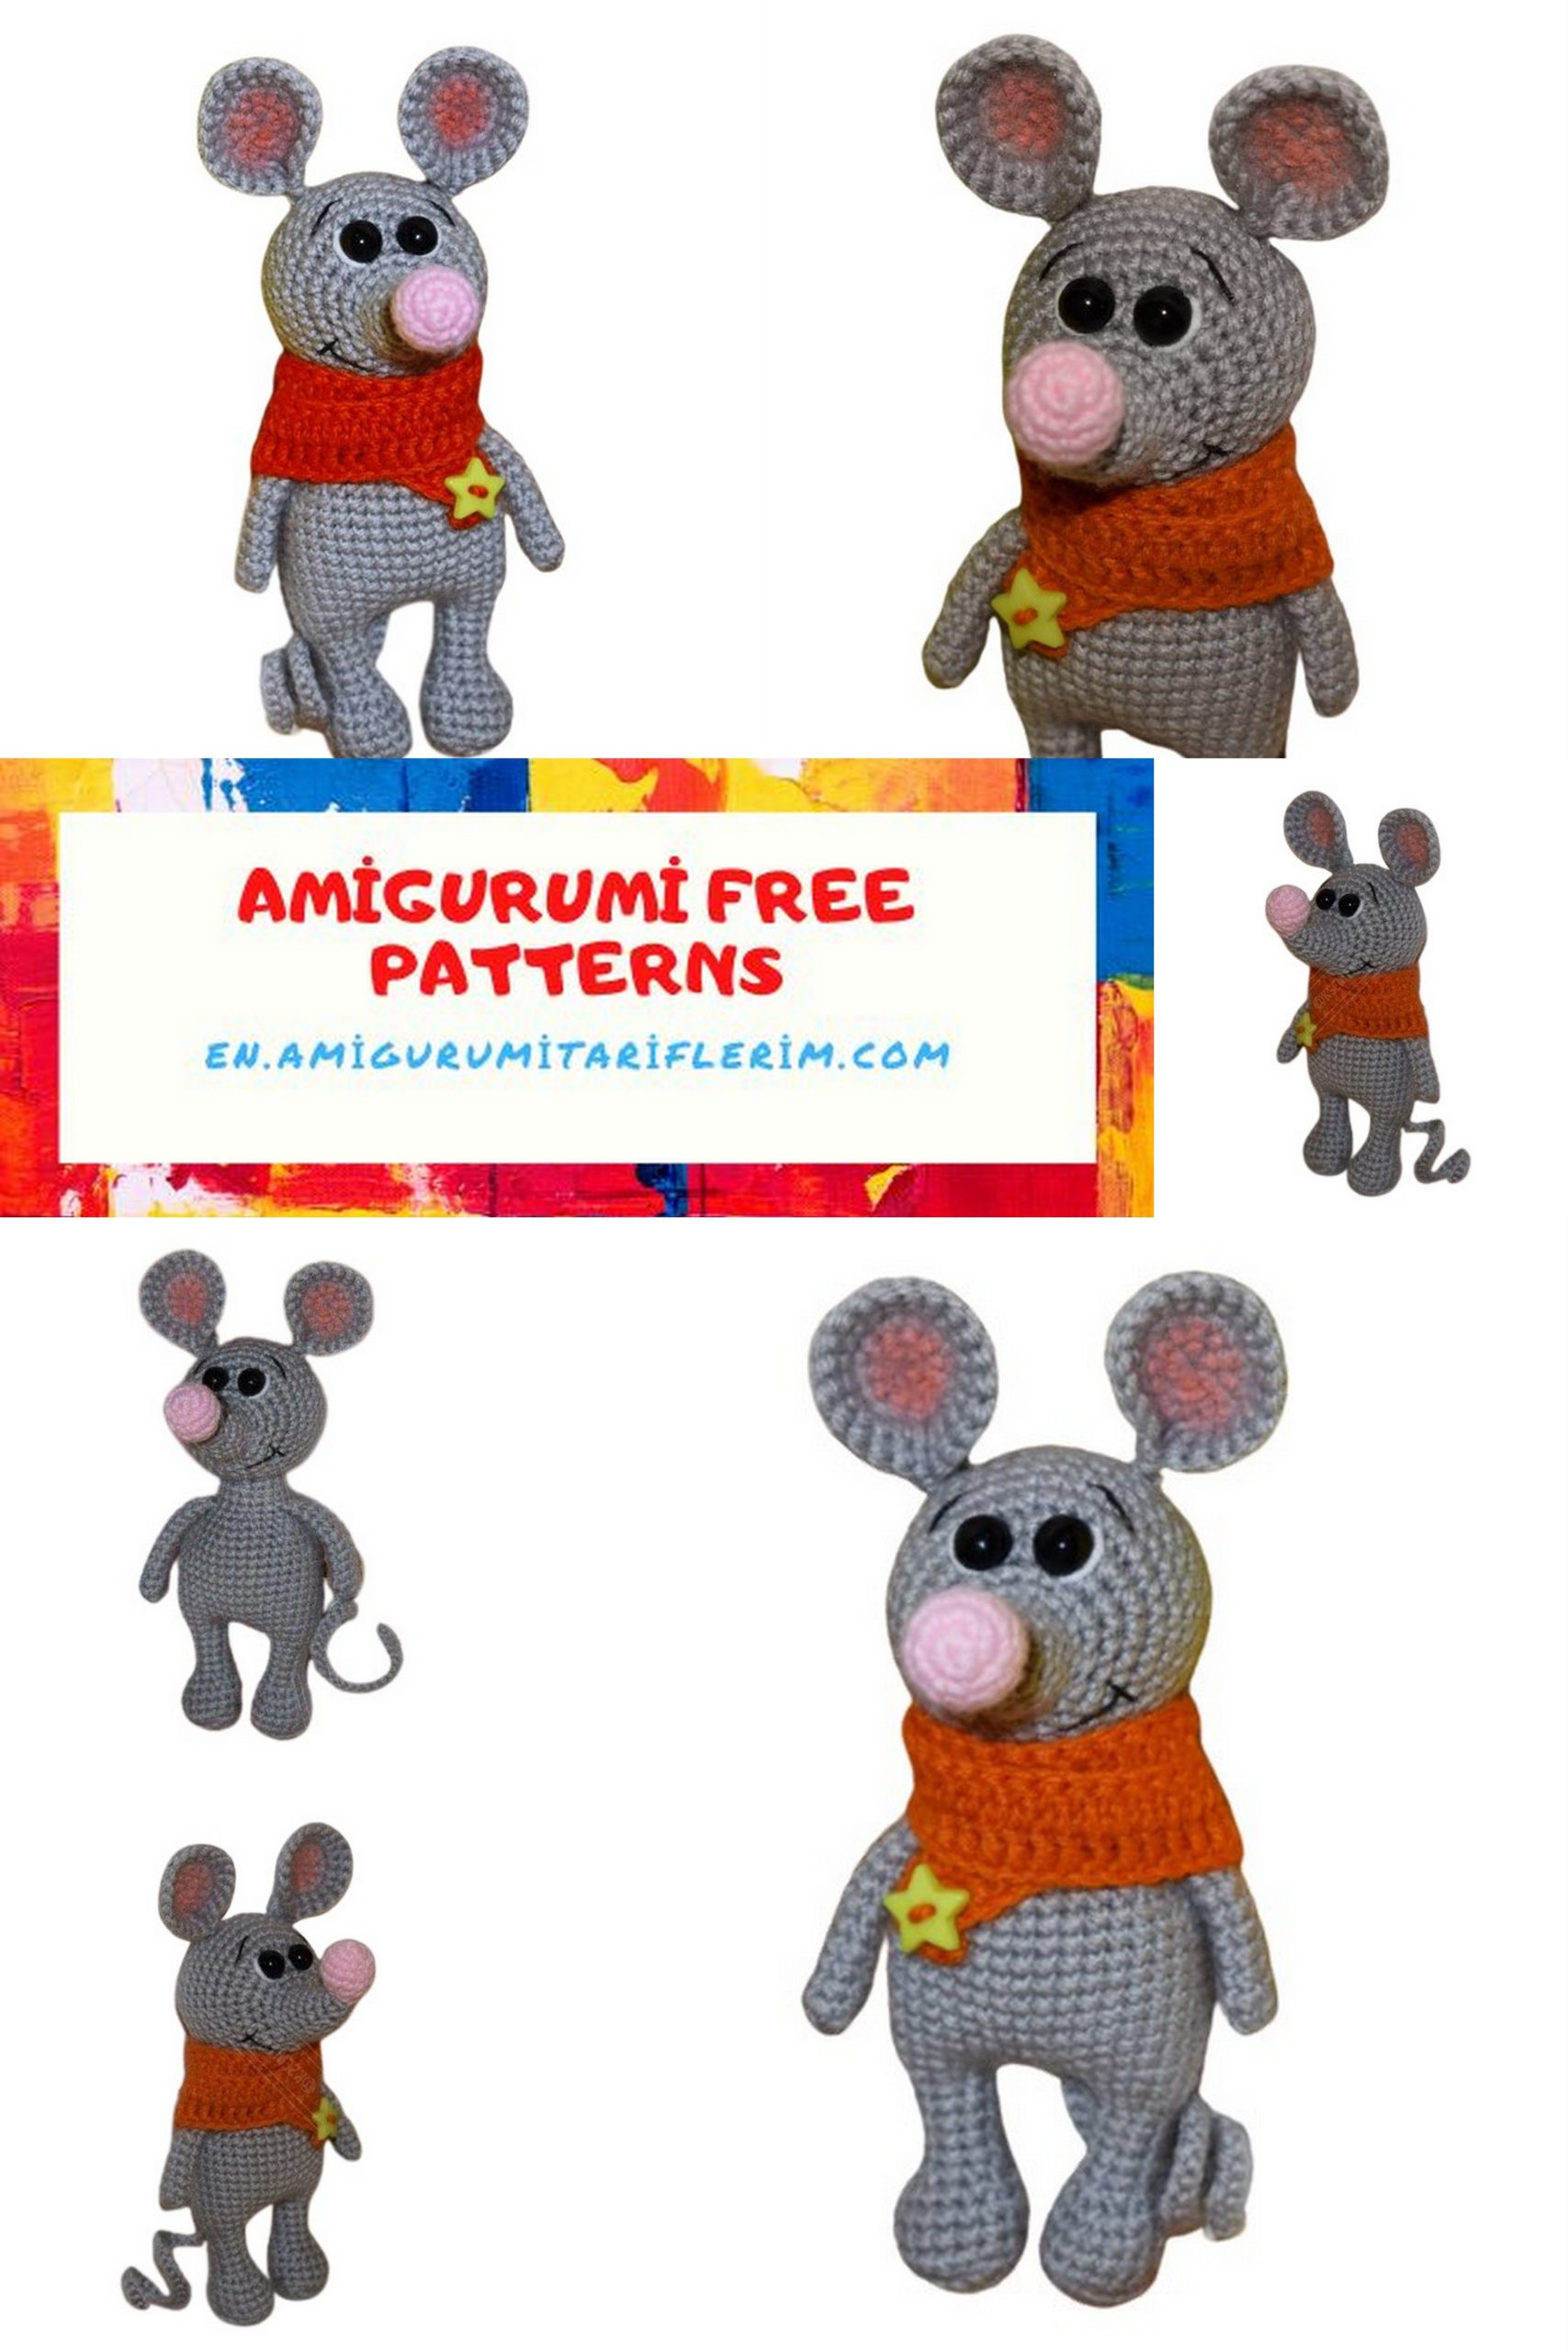
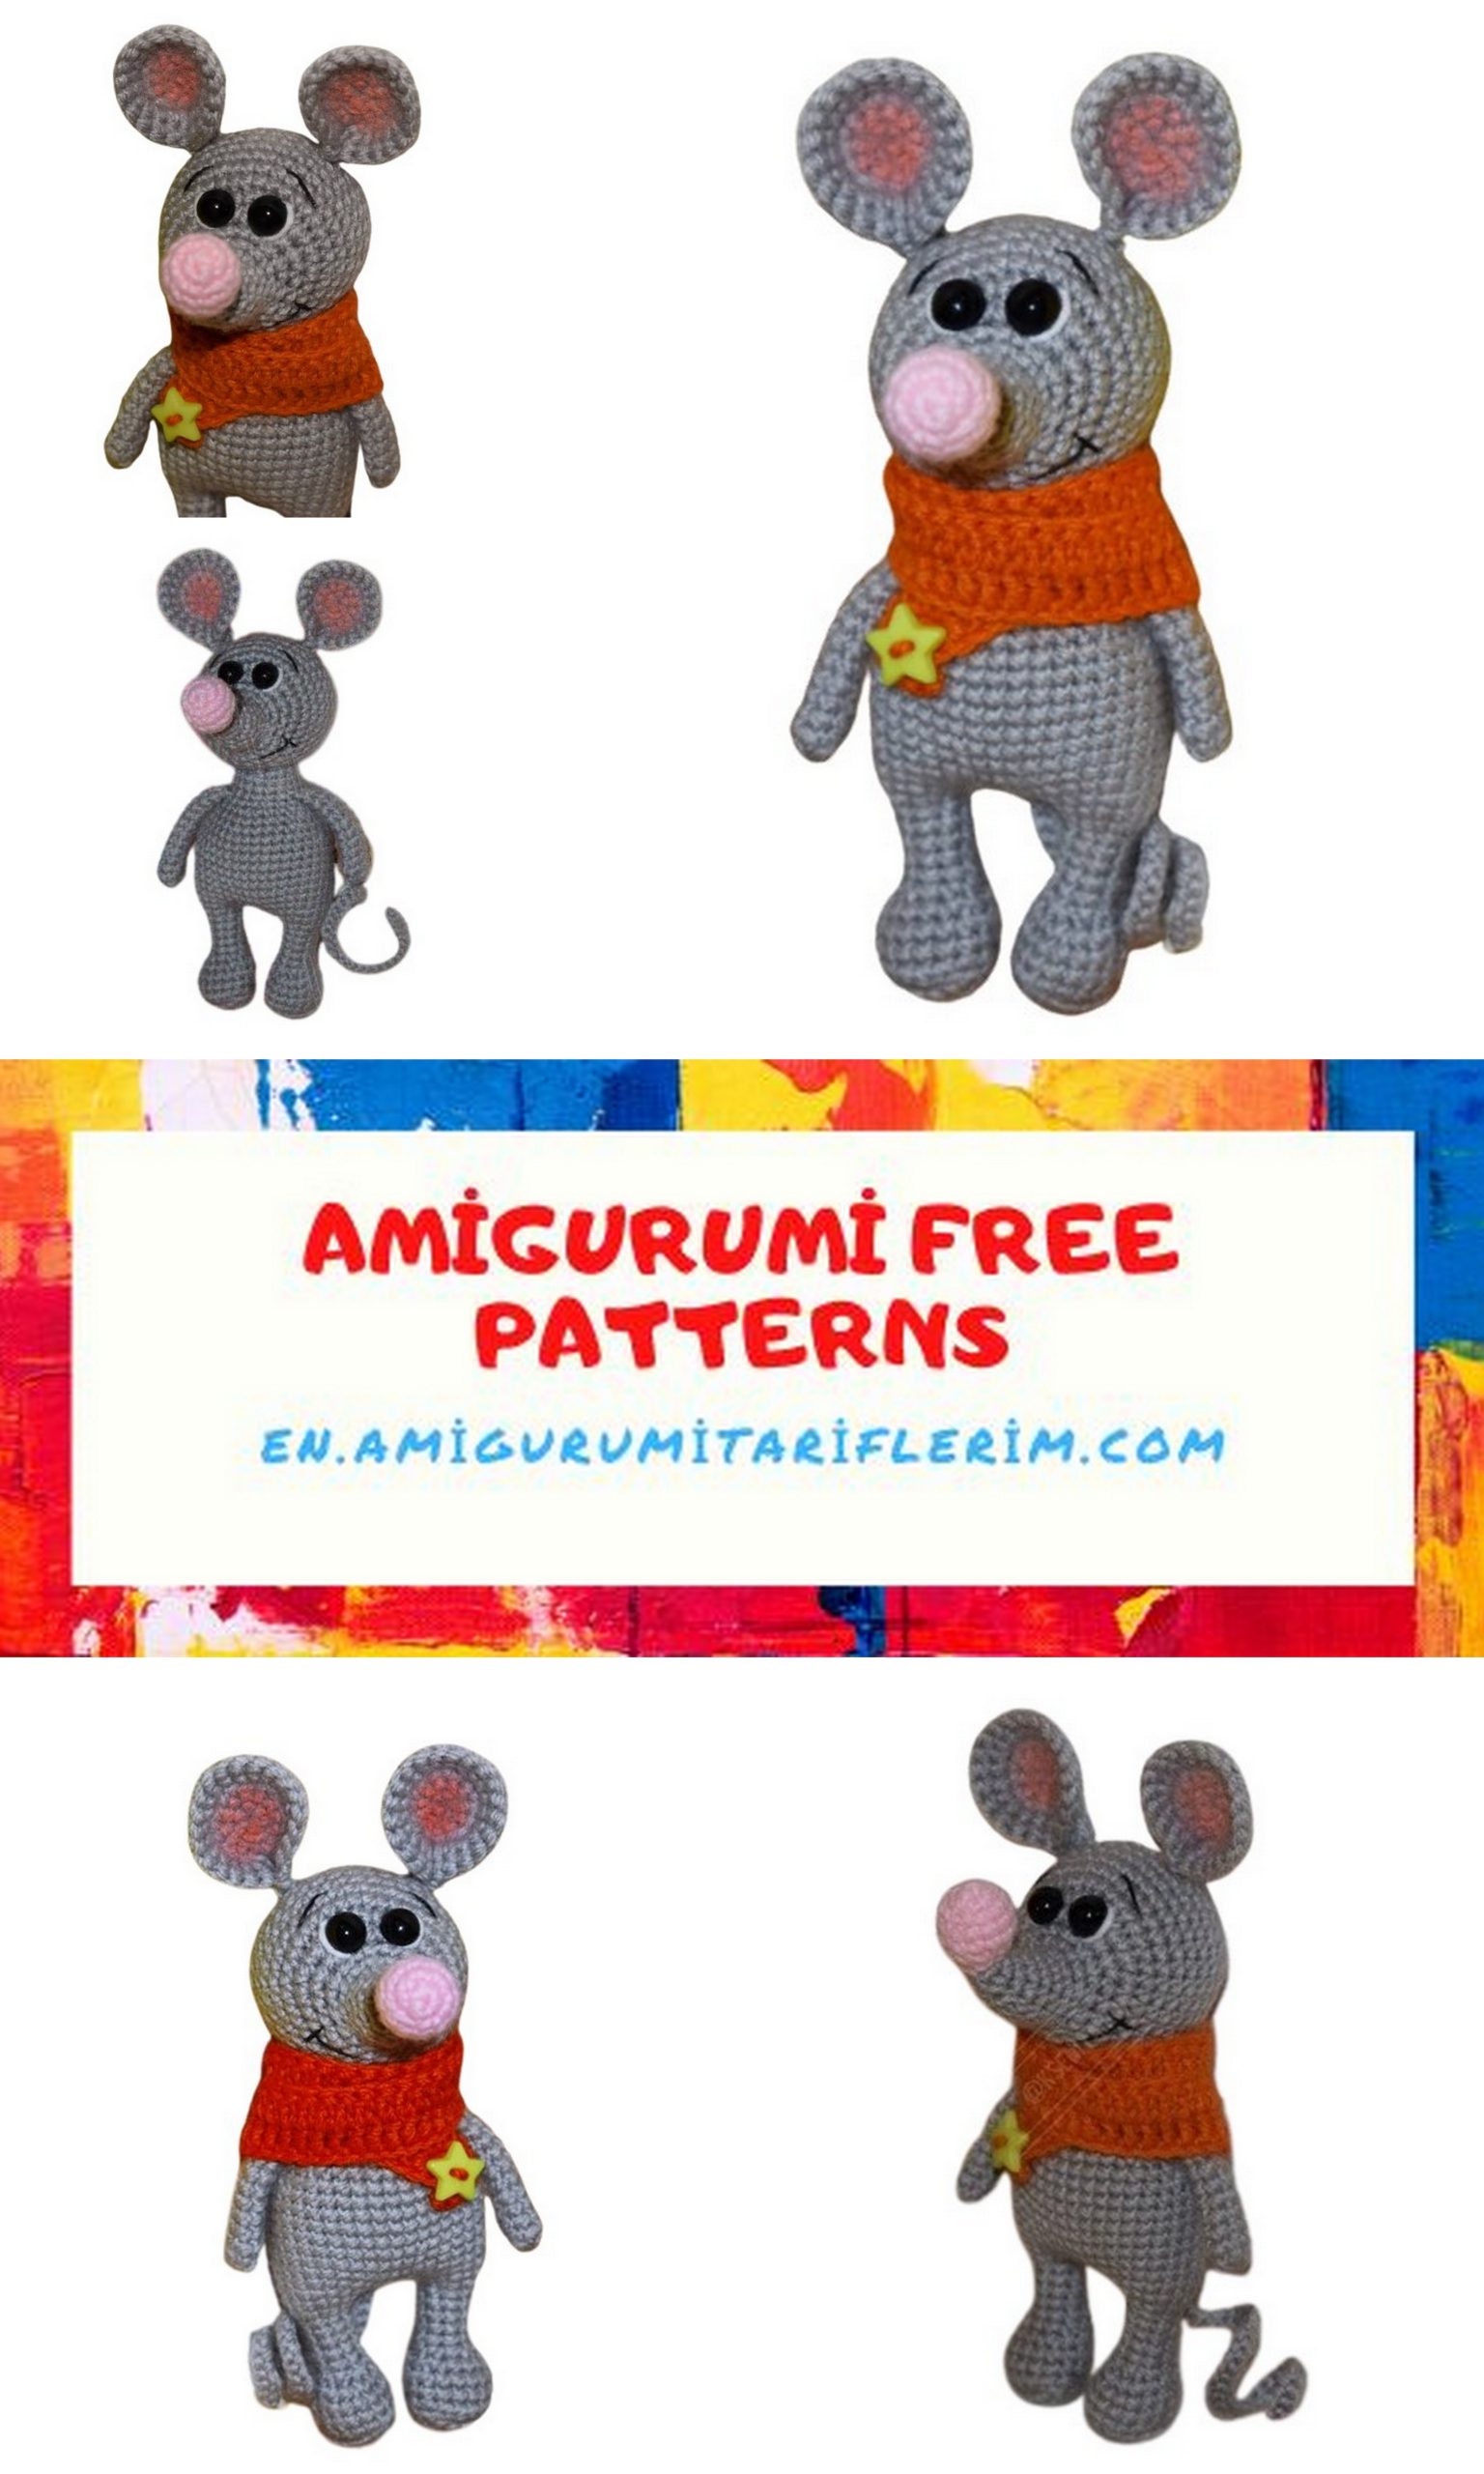
Adorable Mouse Amigurumi Free Pattern: Crochet Cuteness Unleashed
Welcome, amigurumi enthusiasts! We’re excited to share a delightful project that you and your loved ones are sure to adore. Get ready to create the “Cute Mouse” character with this free amigurumi crochet pattern. Join us on this journey to bring this charming mouse to life and discover what you can achieve.
Abbreviations:
CA – amigurumi ring
Sc – single crochet
Inc – increase
Dec – decrease
Ch – chain
Sl st – slip stitch
Dc – double crochet
Materials:
Yarn “Children’s Novelty” 08 – Light Gray, 180 – Light Begonia (for the nose), 79 – Calendula (for the scarf)
Yarn YarnArt Jeans – Color 62 (for embroidering the squirrel)
Black Iris yarn for embroidering the mouth and eyebrows
8mm safety eyes
Crochet hooks 1.5mm and 2.0mm
Scissors and a needle for sewing the pieces together
Art pastels for shading
A button for the scarf
Polyester fiberfill for stuffing
Pattern
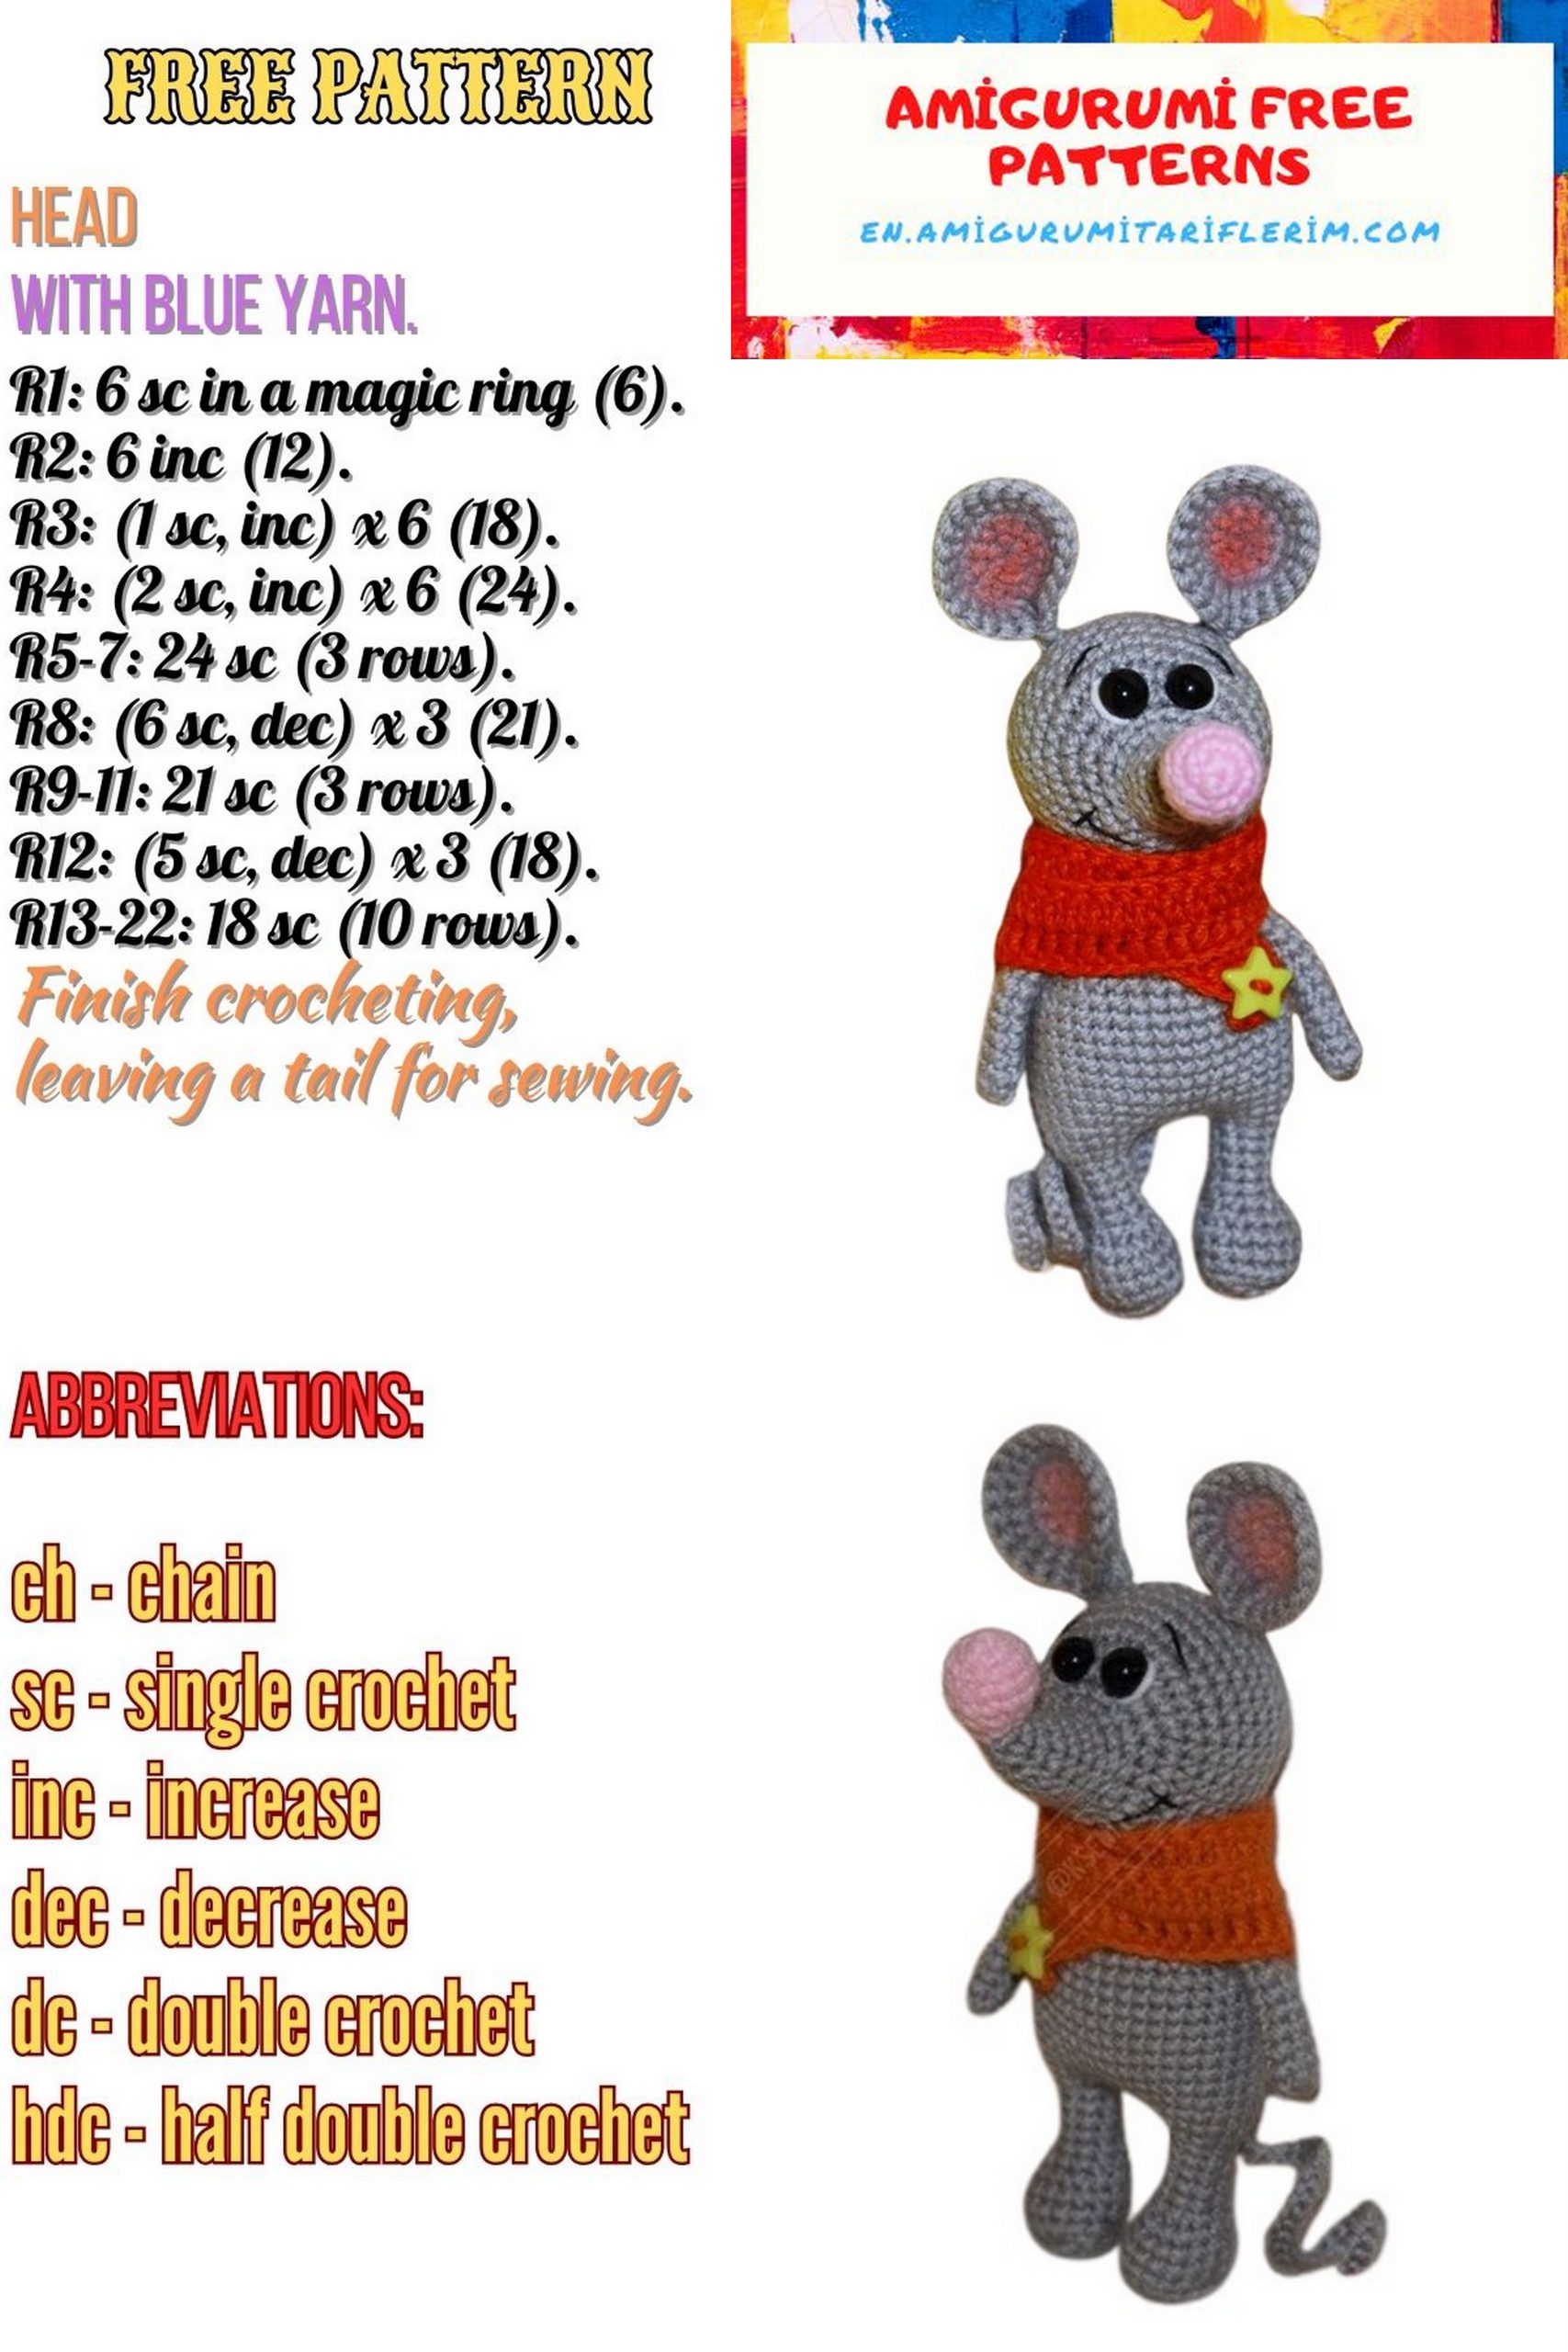
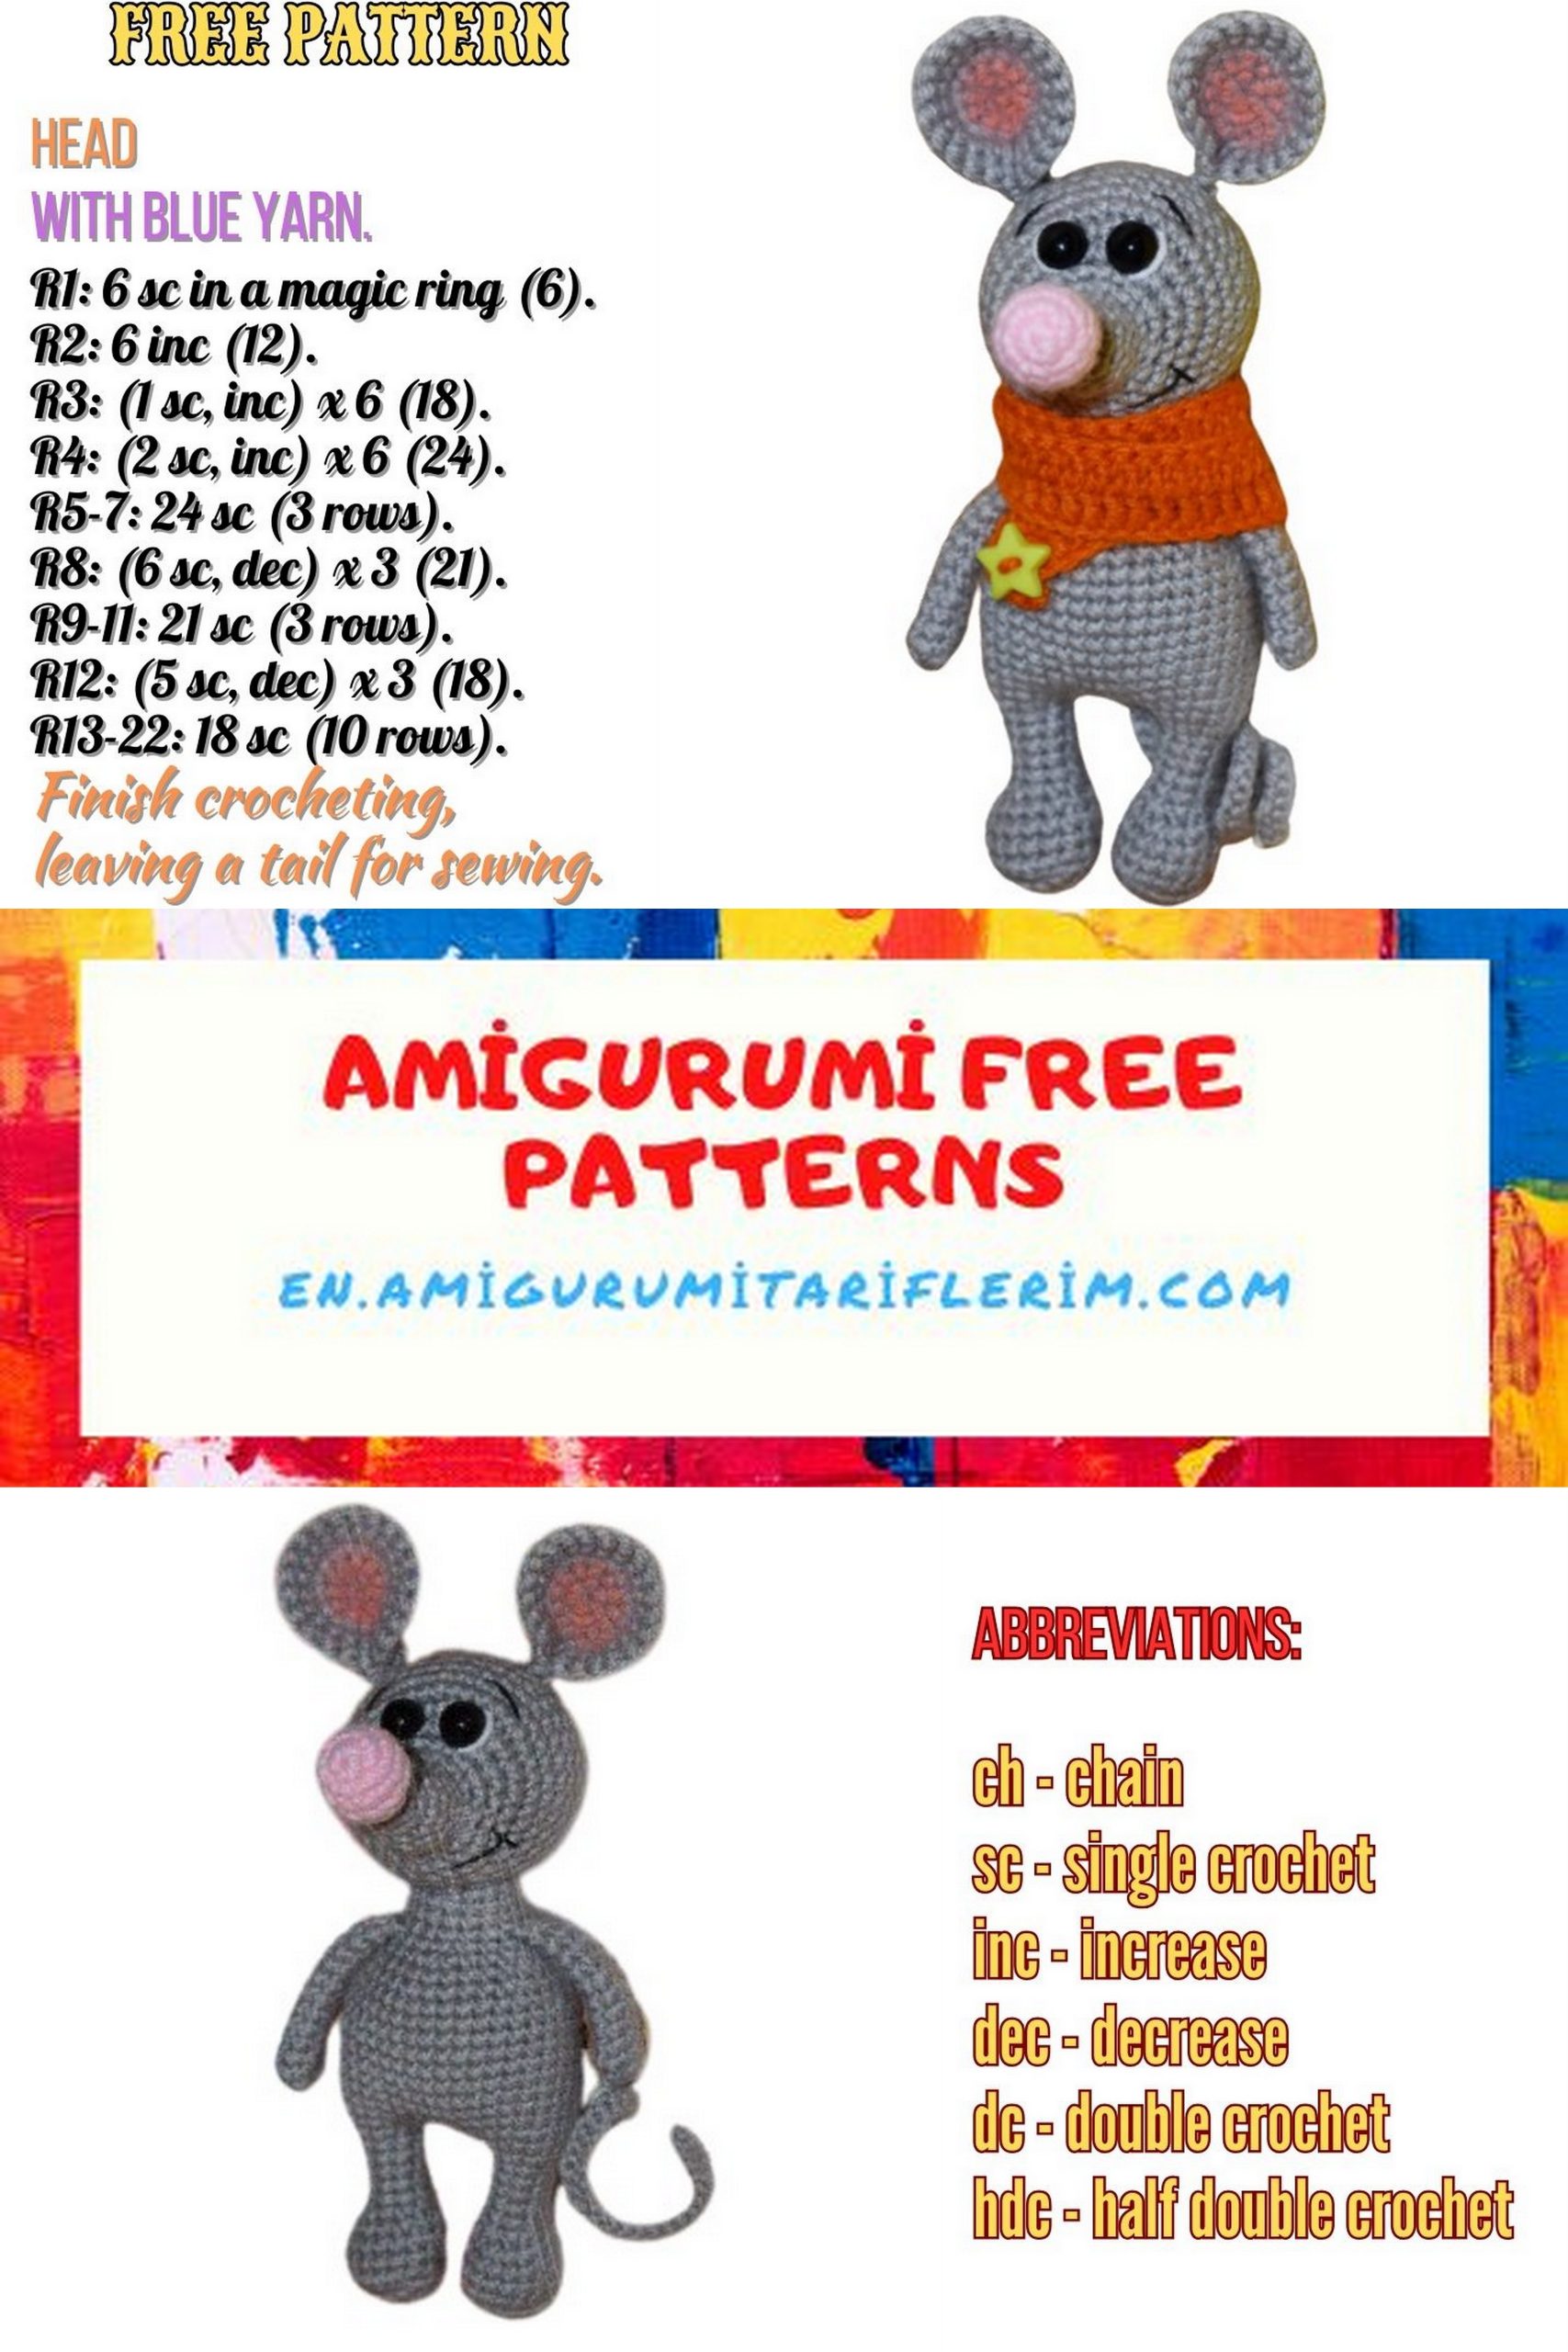
Head
Hook 2.0mm
Rnd 1: Make an amigurumi ring (CA) with 5 sc
Rnd 2: 5 sc
Rnd 3: Inc around = 10
Rnd 4-6: 10 sc
Rnd 7: Inc, 8 sc, inc = 12
Rnd 8: 12 sc
Rnd 9: Sc, inc repeat 6 times = 18
Rnd 10: 2 sc, inc repeat 6 times = 24
Rnd 11: Inc 6 times, 12 sc, inc 6 times = 36
Rnd 12-18: 36 sc
Insert the safety eyes between rounds 10 and 11.
Rnd 19: 4 sc, dec repeat 6 times = 30
Rnd 20: 30 sc
Rnd 21: 3 sc, dec repeat 6 times = 24
Rnd 22: 2 sc, dec repeat 6 times = 18
Rnd 23: Sc, dec repeat 6 times = 12
Rnd 24: Dec 6 times = 6
Pull the hole tight and hide the thread.
Embroider the mouse eyes using black yarn.
Ears (Make 2)
Hook 2.0mm
Rnd 1: Make an amigurumi ring (CA) with 6 sc
Rnd 2: Inc 6 times = 12
Continue in turning rows.
Rnd 3: Ch 1, turn, (1 sc, inc) = 18
Rnd 4: Ch 1, turn, (2 sc, inc) = 24
Rnd 5: Ch 1, sc in each stitch around, then sl st to join.
Leave a thread for sewing.
Tone the ears and sew them to the head on rounds 16-17.
Nose
Hook 1.5mm
Rnd 1: Make an amigurumi ring (CA) with 6 sc
Rnd 2: Inc 6 times = 12
Rnd 3-5: 12 sc
Rnd 6: Dec 6 times
Pull the hole tight and leave a thread for sewing.
Arms (Make 2)
Hook 1.5mm
Rnd 1: Make an amigurumi ring (CA) with 6 sc
Rnd 2-12: 6 sc
Fold in half and crochet 3 sc.
Legs (Make 2)
Hook 1.5mm
Chain 6.
Crochet on both sides of the chain, forming an oval.
Rnd 1: Starting from the 2nd chain, crochet 4 sc, 3 sc in the last chain, 3 sc on the other side, inc = 12
Rnd 2: Inc, 3 sc, inc 3 times, 5 sc = 16
Rnd 3: Work 16 sc in the back loops
Rnd 4-5: 16 sc
Rnd 6: Dec, 3 sc, dec, 1 sc, dec, 4 sc, dec = 12
Rnd 7: 2 sc, dec 4 times, 2 sc = 8
Stuff the leg. I used a pen for convenience.
Rnd 8-12: 8 sc
Rnd 13: Inc 8 times = 16. Sl st to finish.
Cut the thread.
Crochet a second leg, but don’t cut the thread.
Next, connect both legs and crochet the body:
Rnd 1: Crochet 12 sc (on the second leg), chain 3 and attach to the first leg’s slip stitch. This forms a loop.
Rnd 2: Place a marker here and start crocheting 16 sc around one leg, 3 sc in the chain space, 16 sc around the other leg, 3 sc in the chain space = 38
Rnd 3-10: 38 sc
As you crochet, stuff the legs with polyester fiberfill using a hook or a pen.
Rnd 11: 6 sc, dec, 19 sc, dec, 9 sc = 36
Rnd 12: 4 sc, dec 6 times = 30
Rnd 13: 3 sc, dec 6 times = 24
Rnd 14: 2 sc, dec 6 times = 18
Rnd 15: Attach the arms. 2 sc, 3 sc on the arm, 7 sc, 3 sc on the arm, 3 sc = 18
Rnd 16-18: 18 sc. Sl st to finish.
Stuff the body completely and sew it to the head.
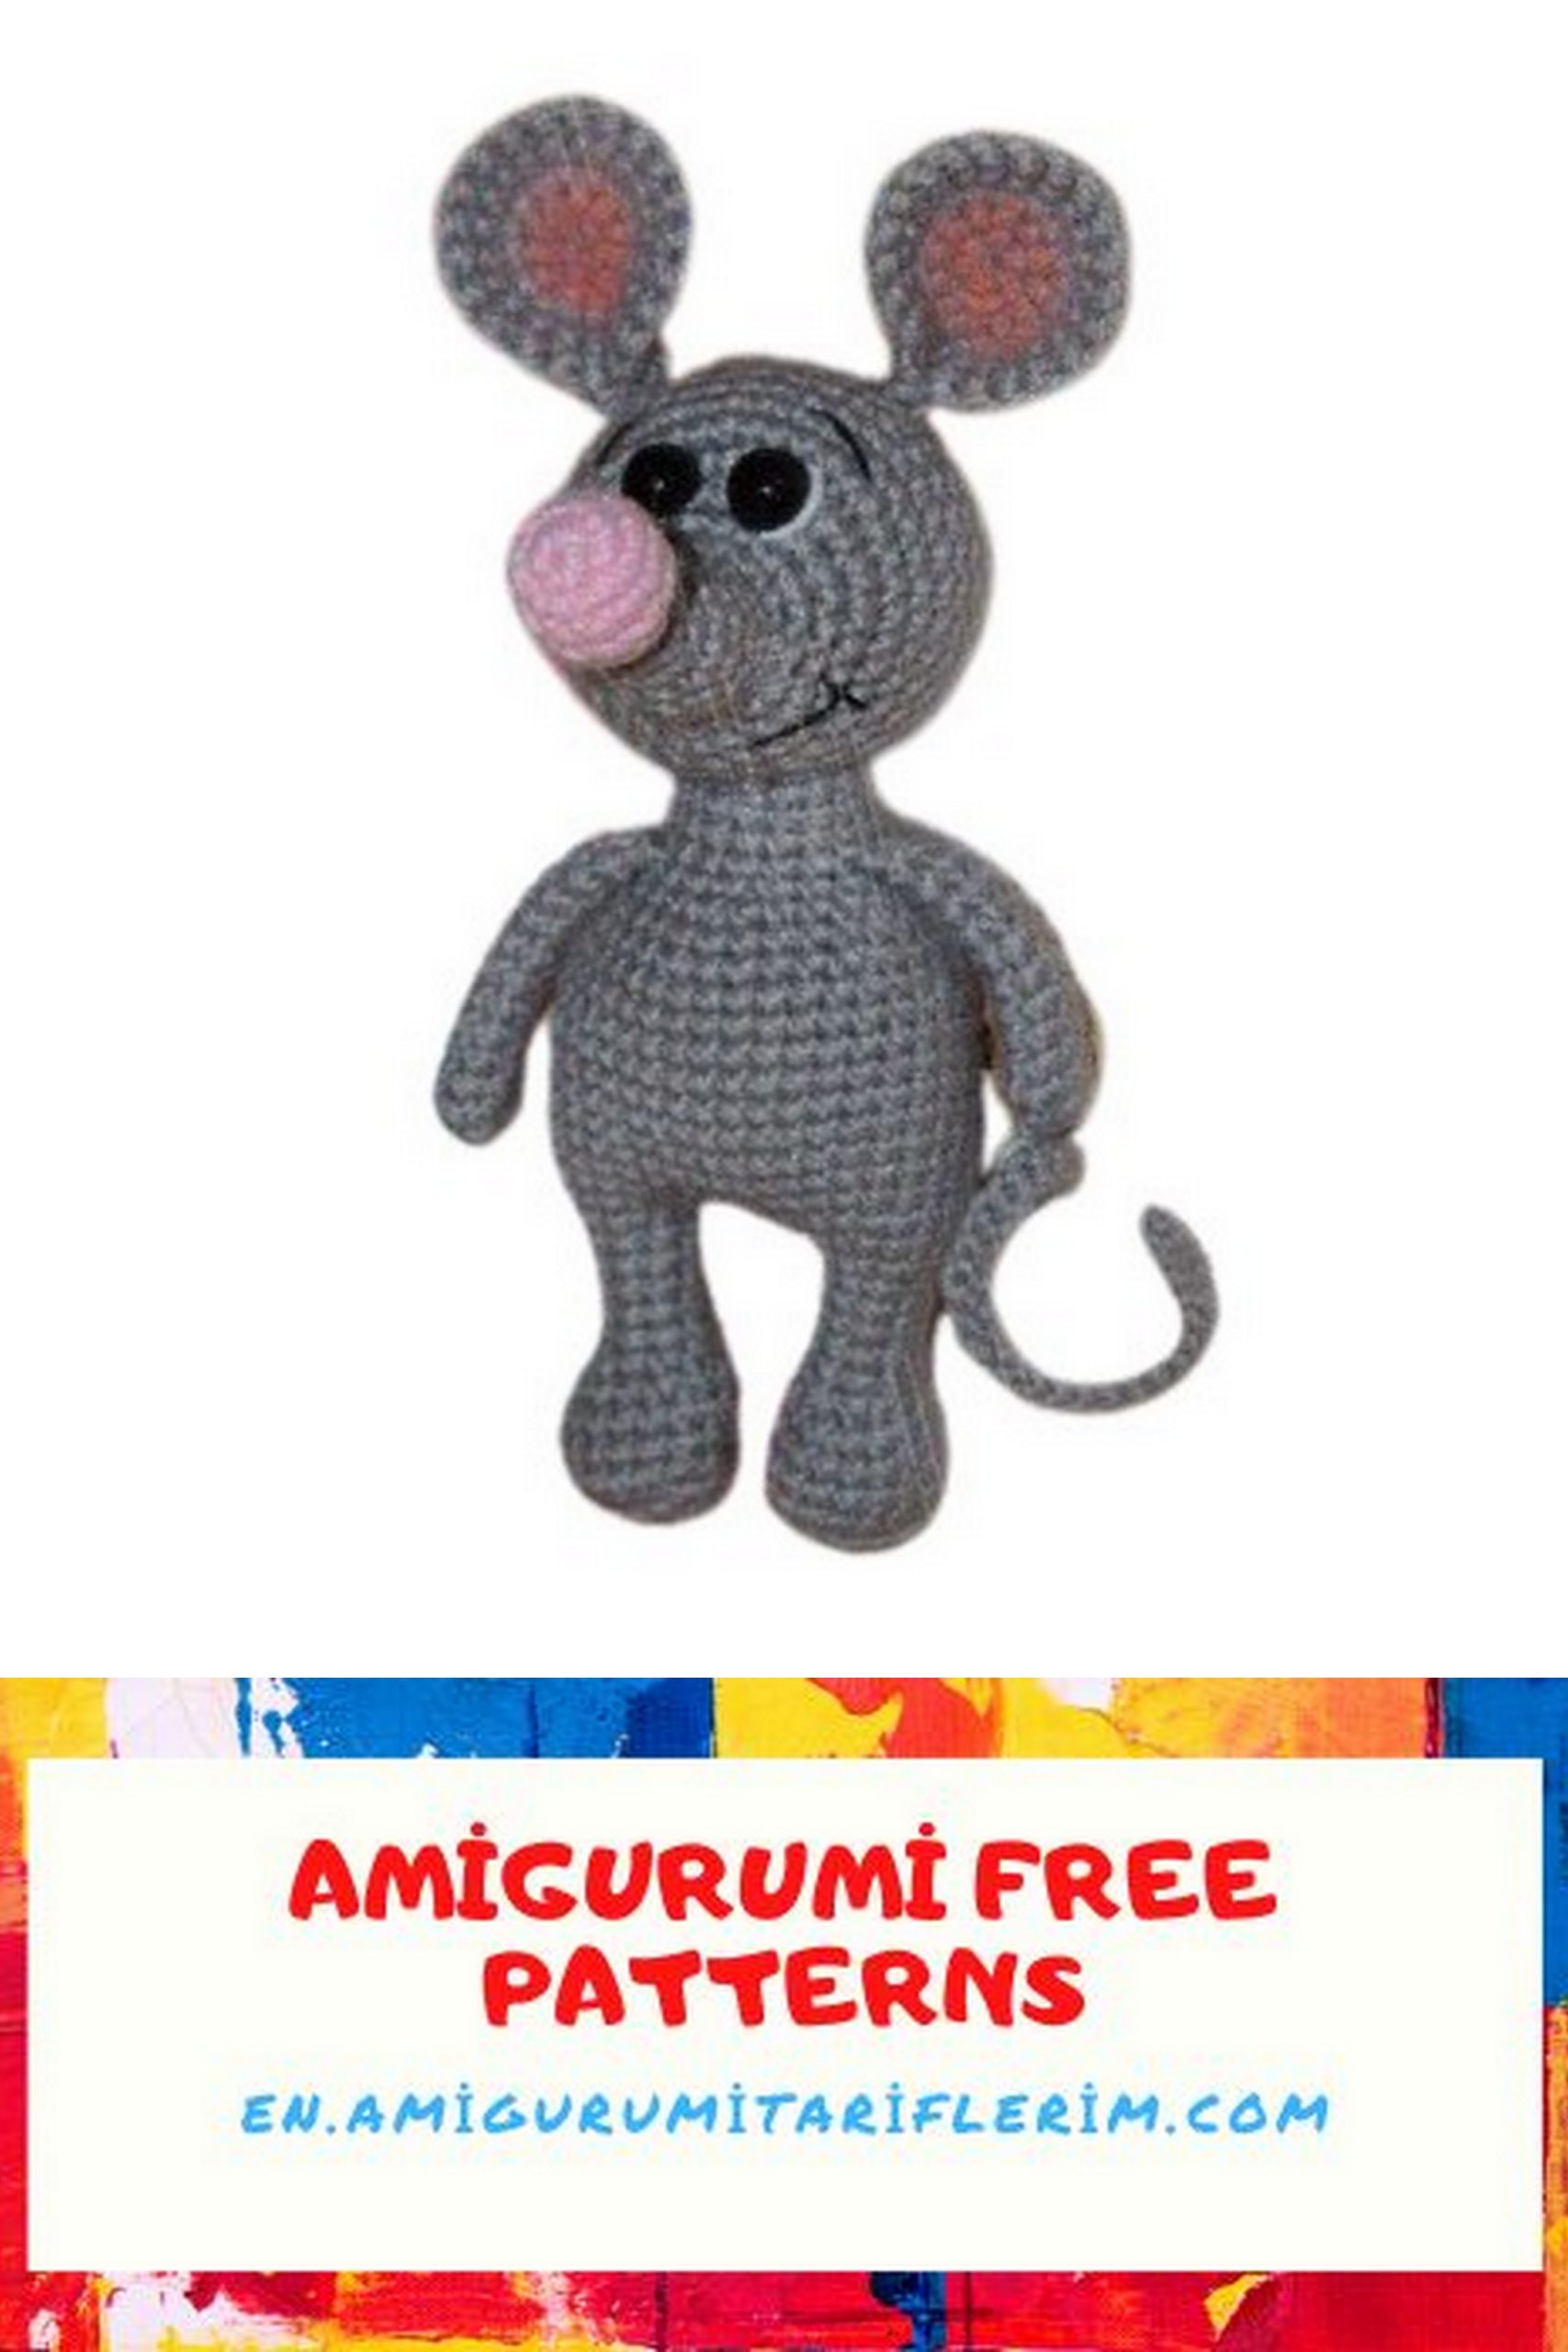
Tail
Hook 1.5mm
Chain 41.
Starting from the 2nd chain, crochet 40 sl st.
At the end, make a ch, catching the initial thread.
Pull tight and leave a thread for sewing.
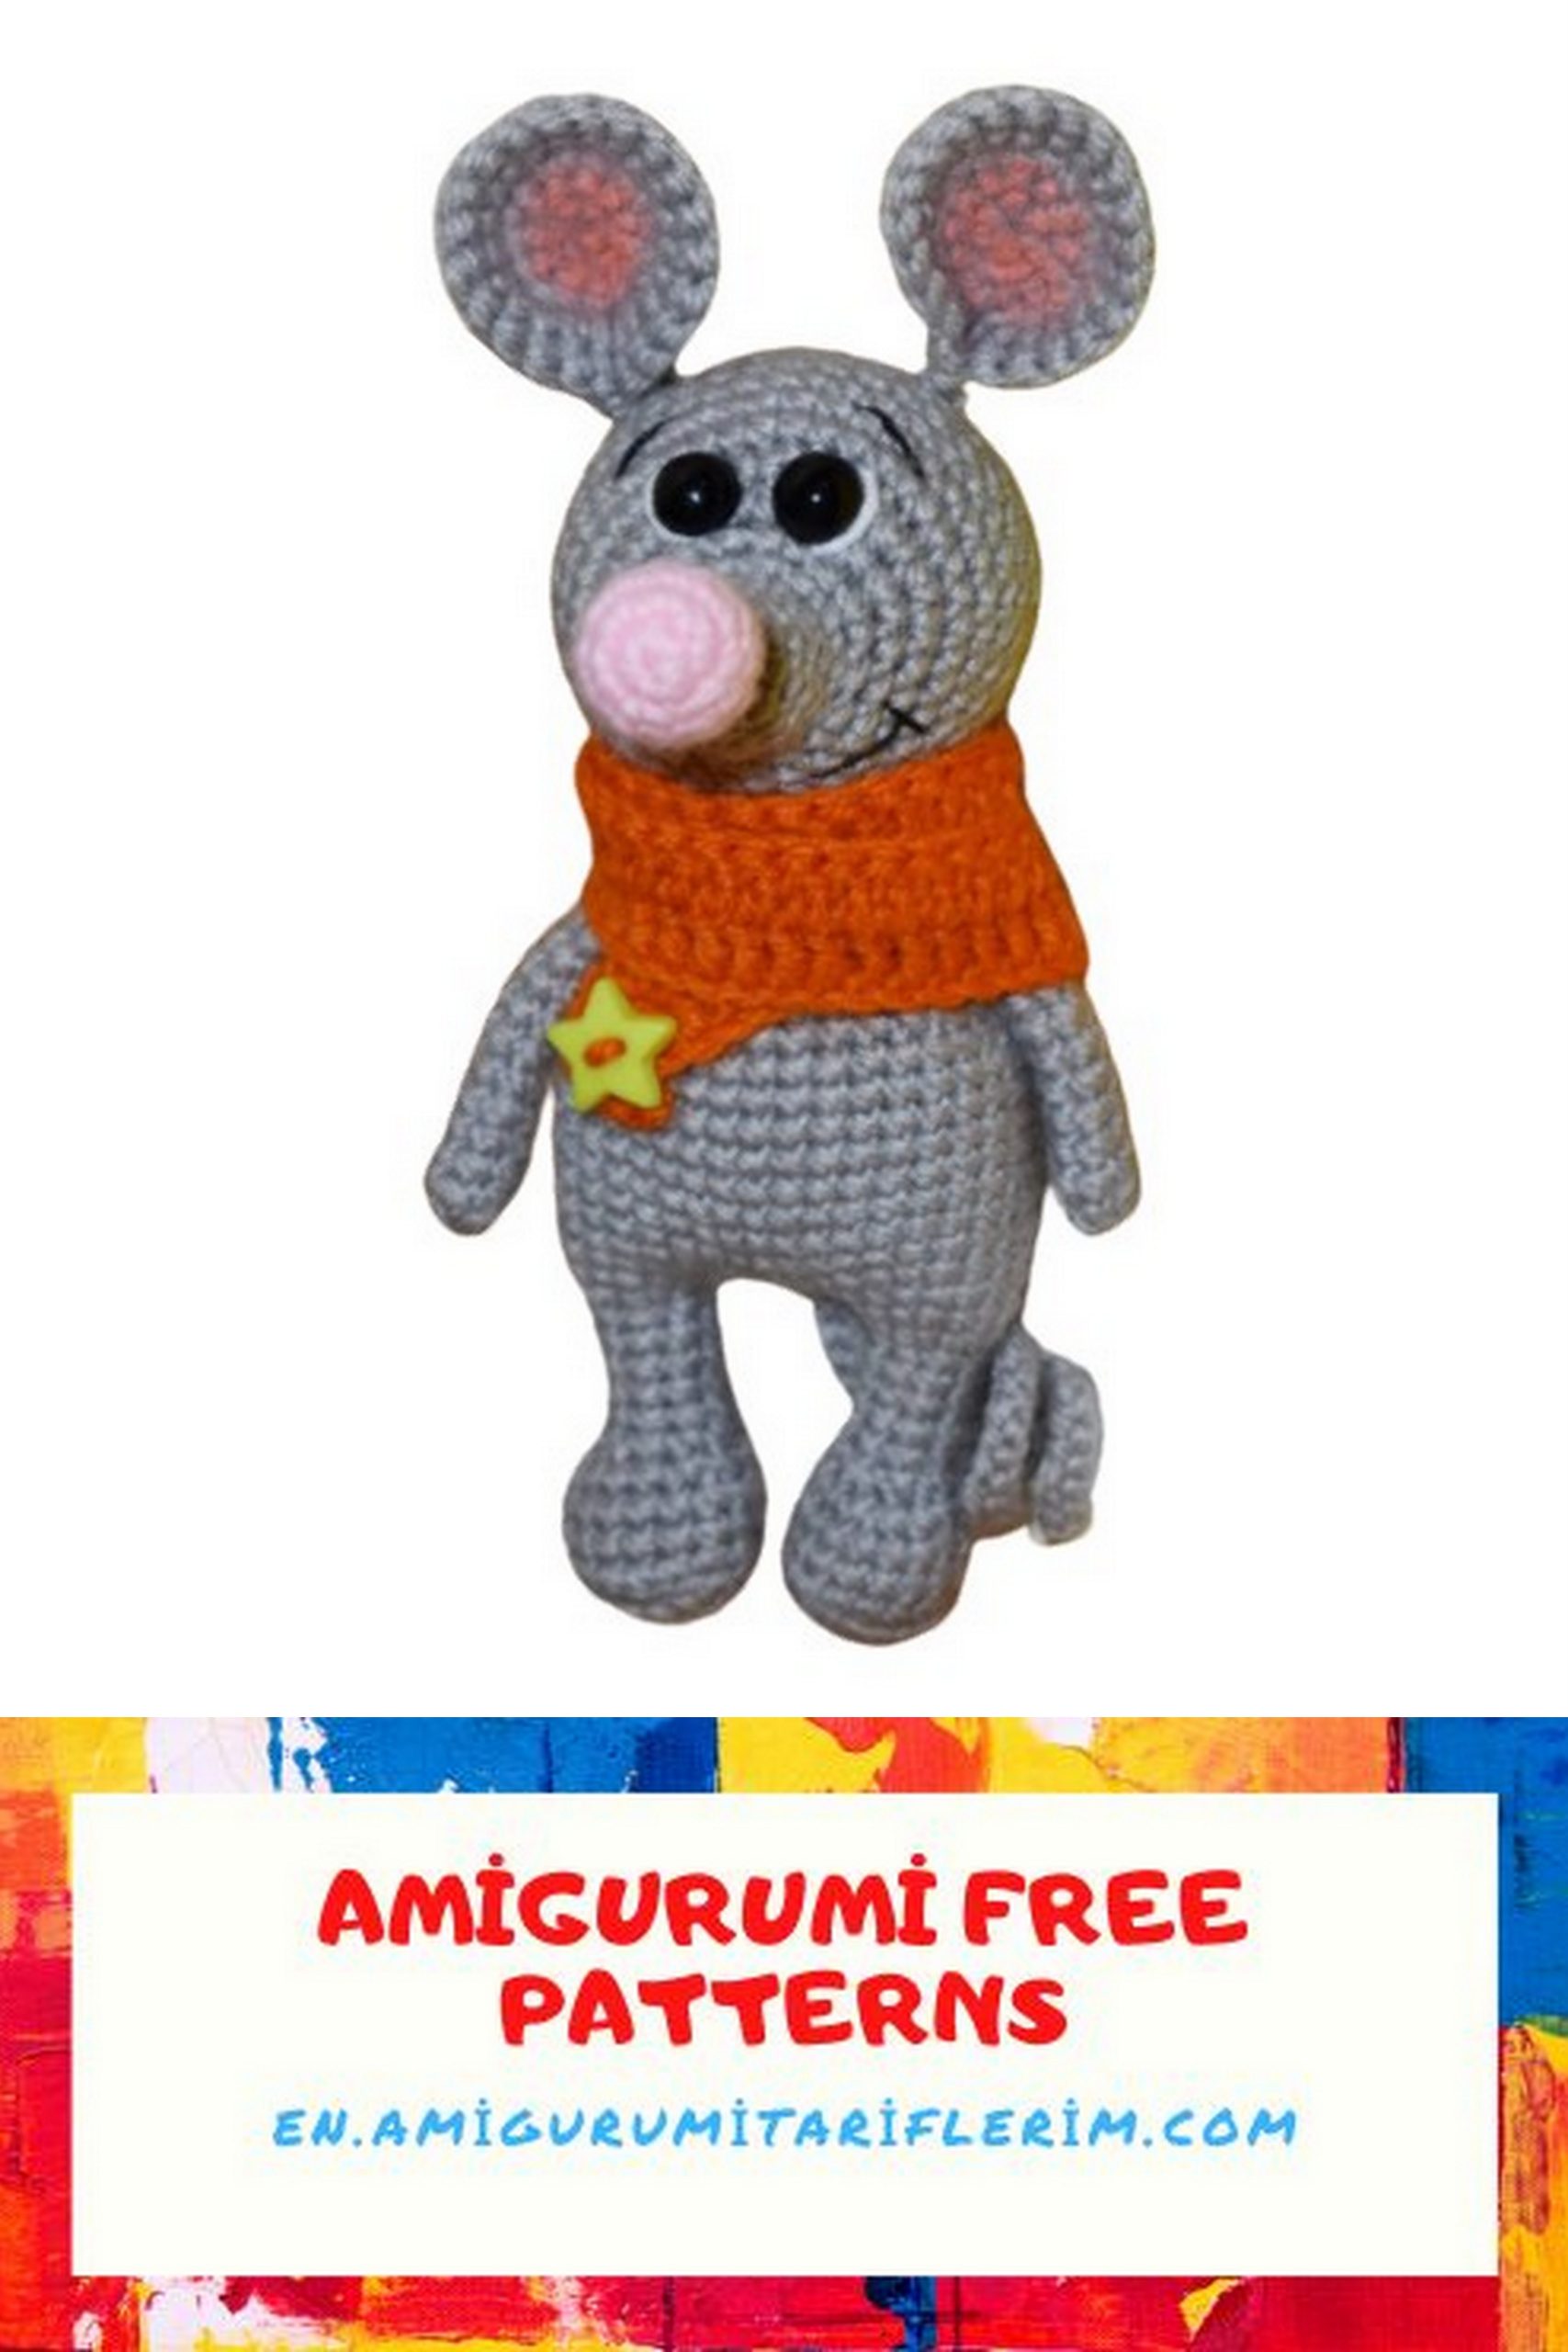
Scarf
Hook 2.0mm
Chain 71.
Starting from the 2nd chain, crochet 70 dc.
Make a ch, turn, and crochet 70 dc again.
Secure the thread and cut it. Leave a thread for sewing the button.
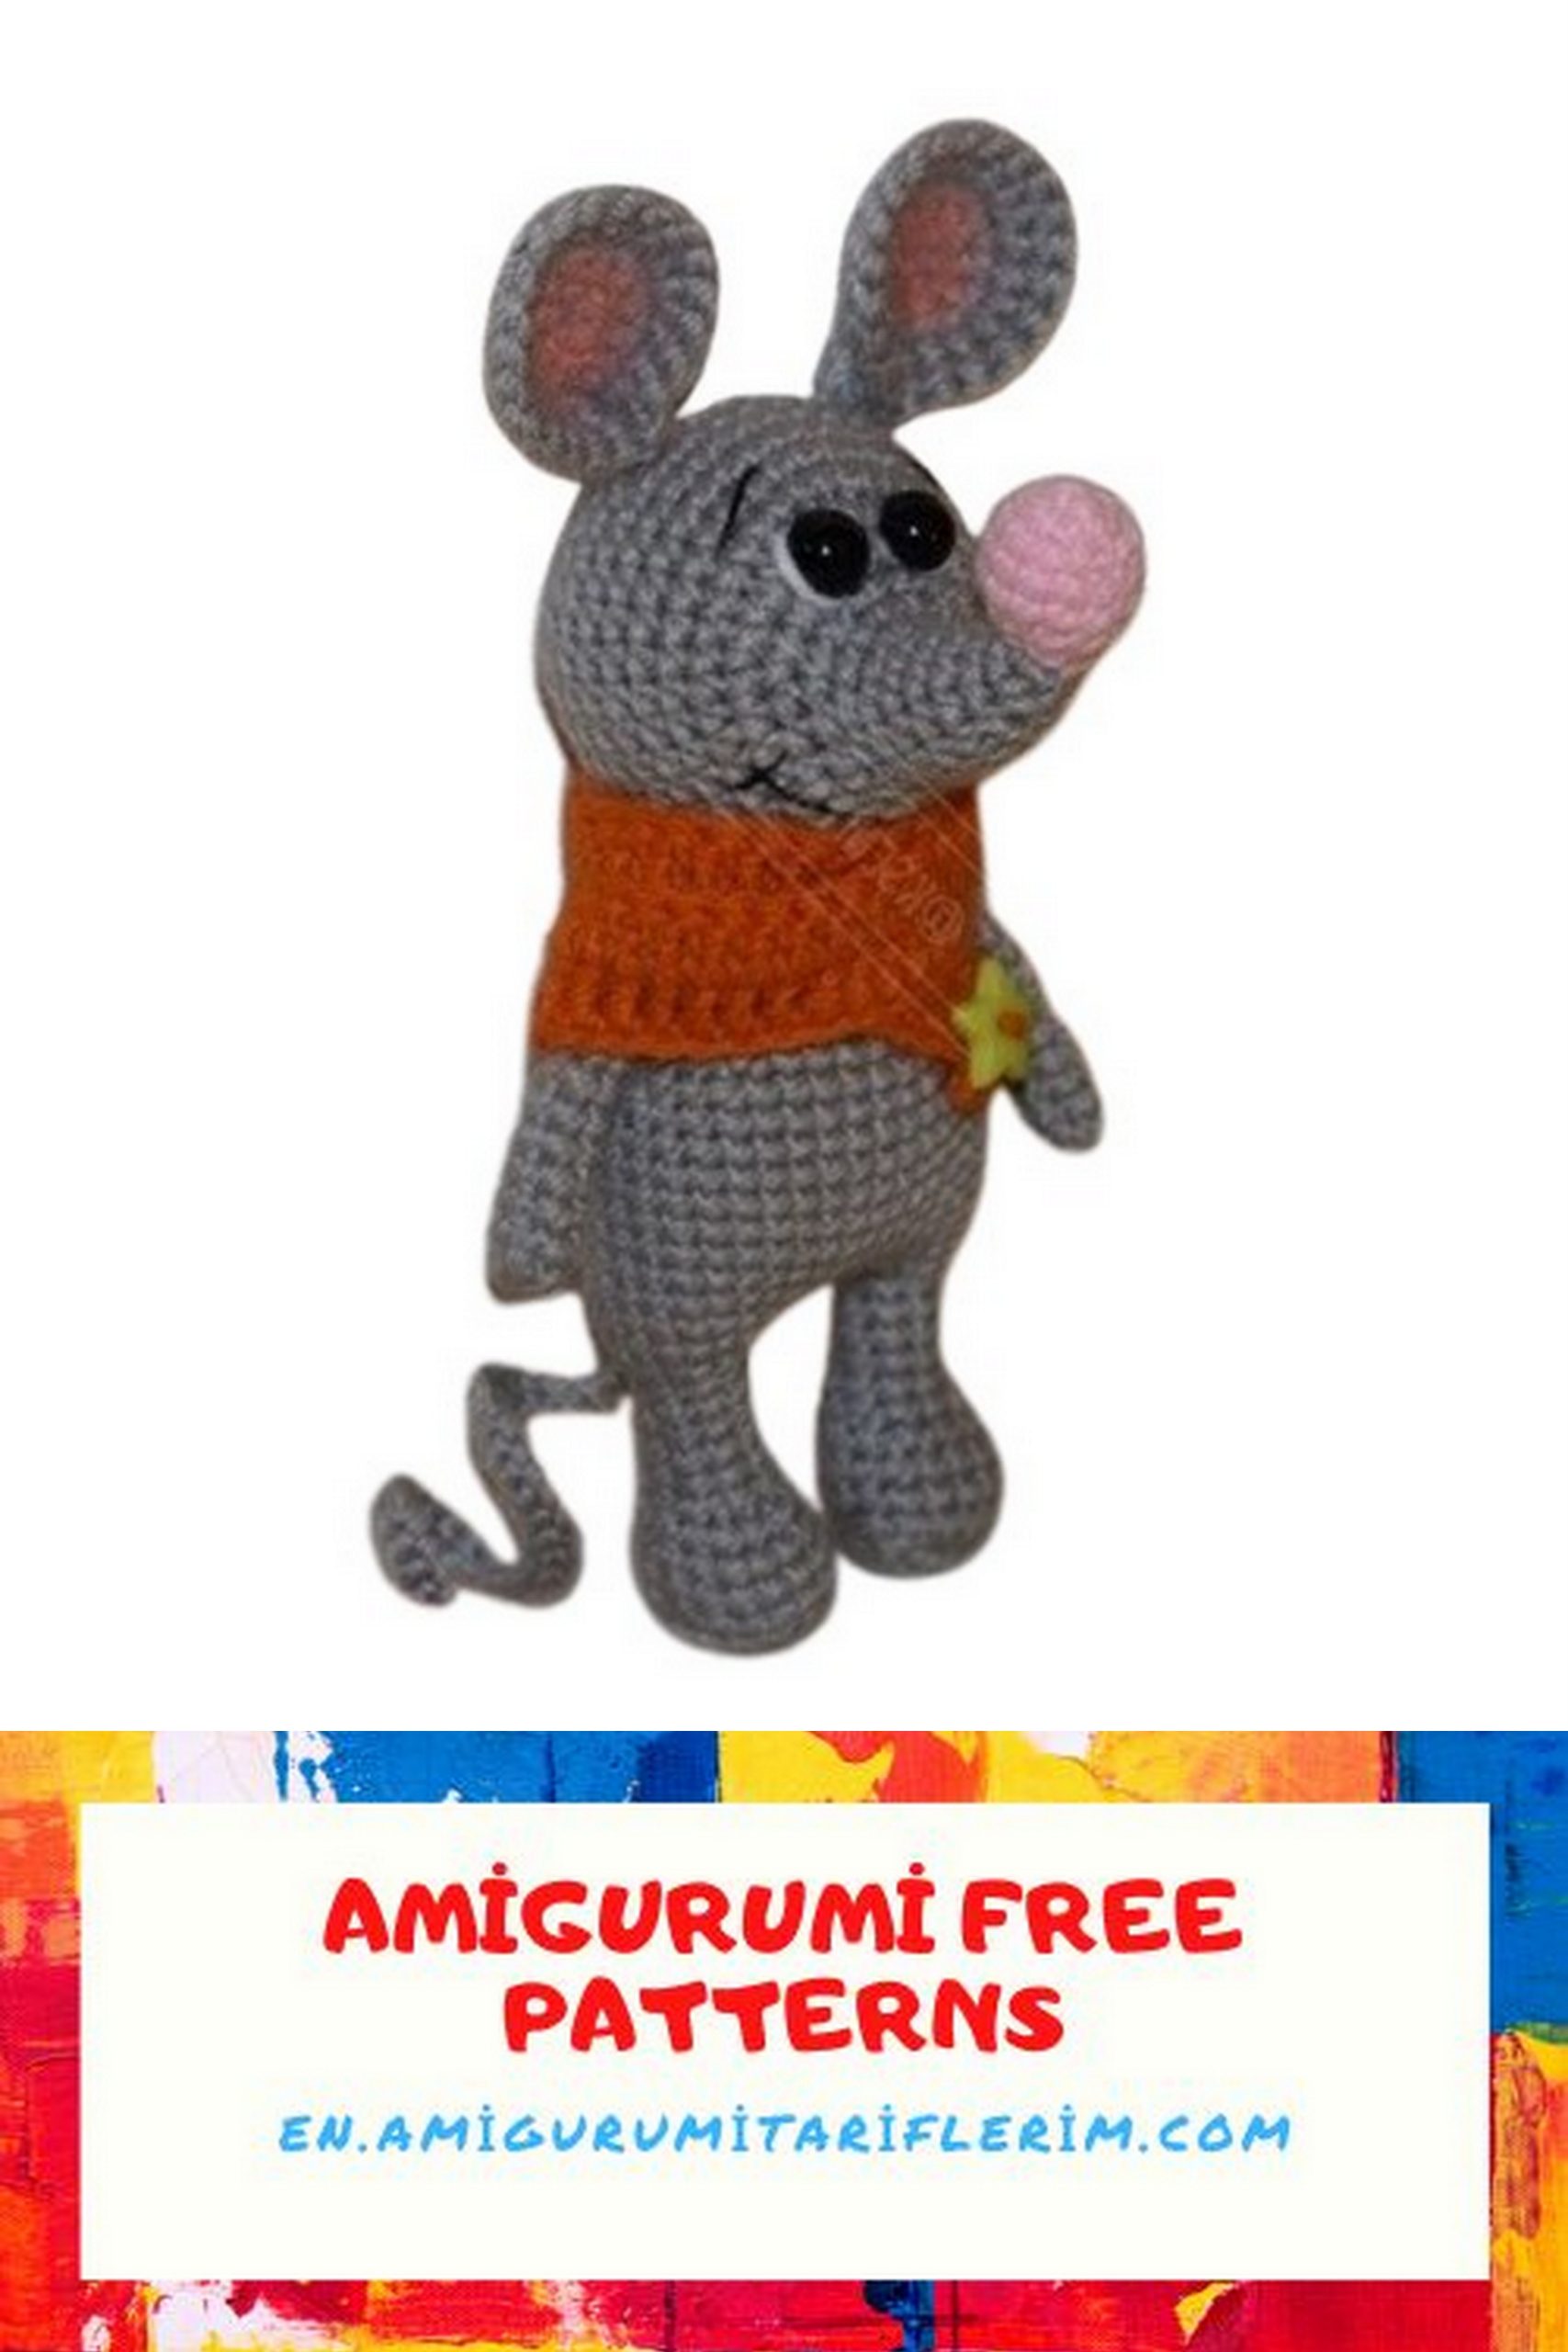
Attach the nose and tail to the mouse, embroider the eyebrows and mouth, wrap the scarf around the neck and attach it to the body. Sew on the button.
Your mouse is ready!