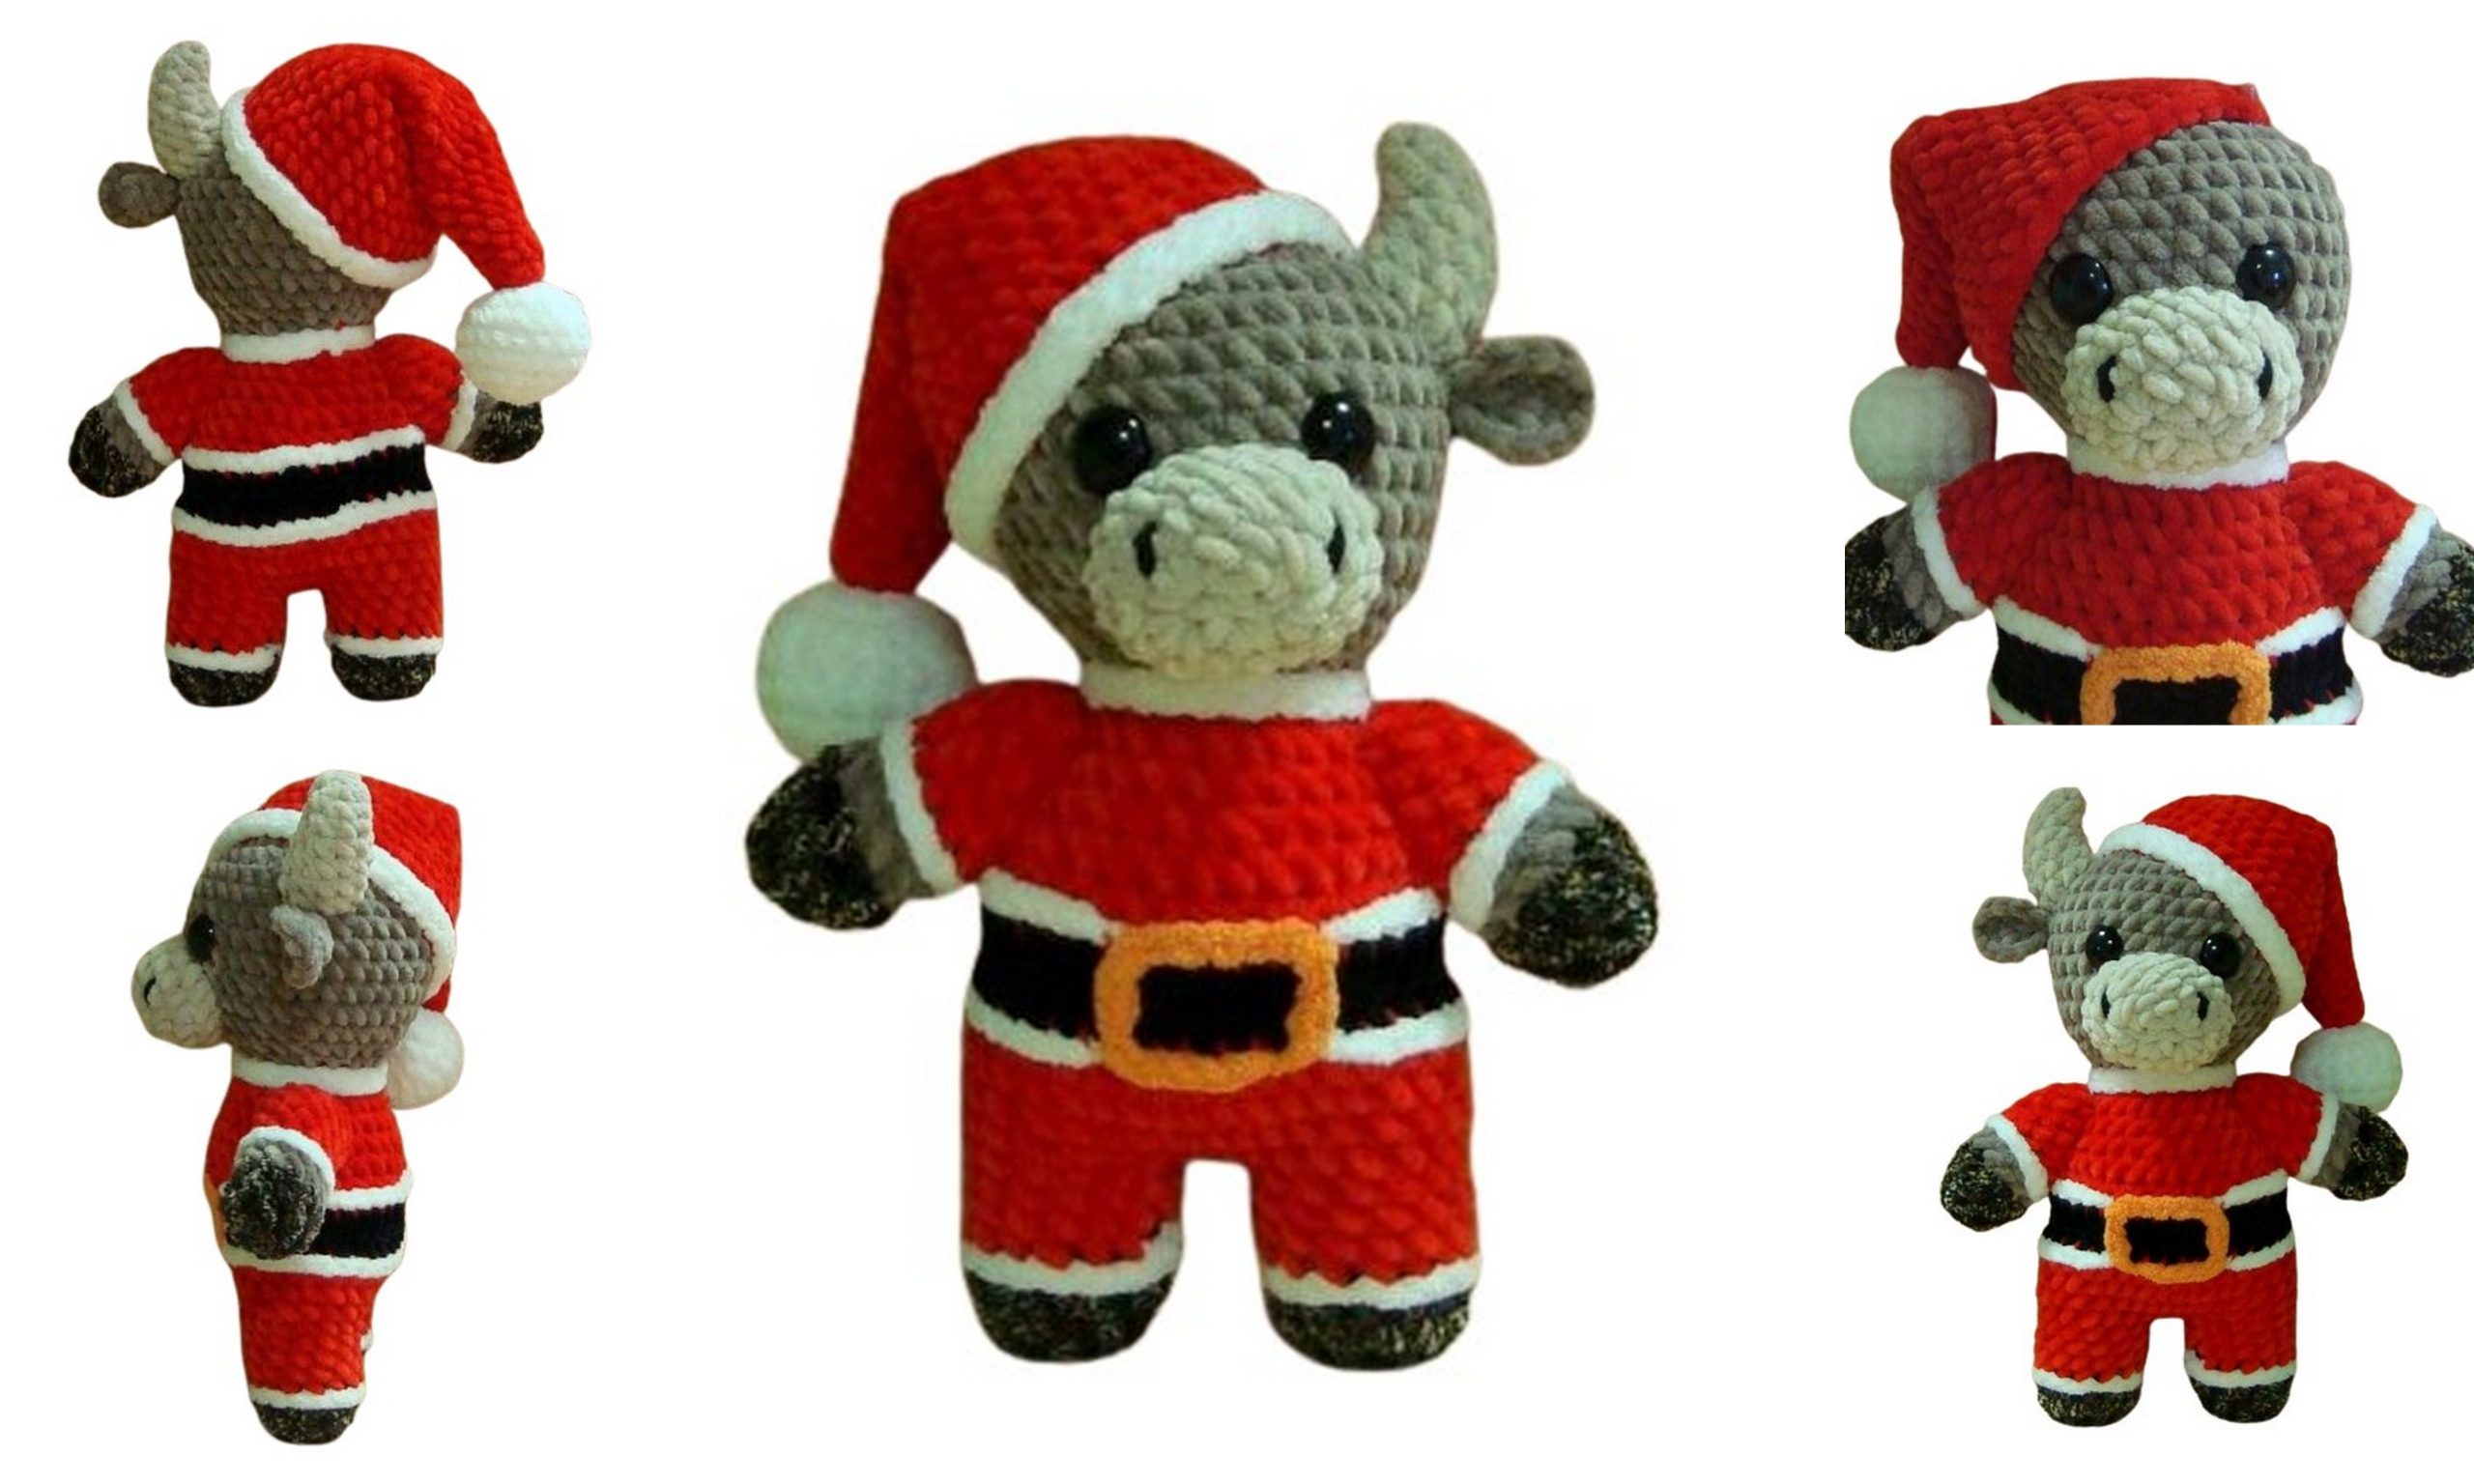
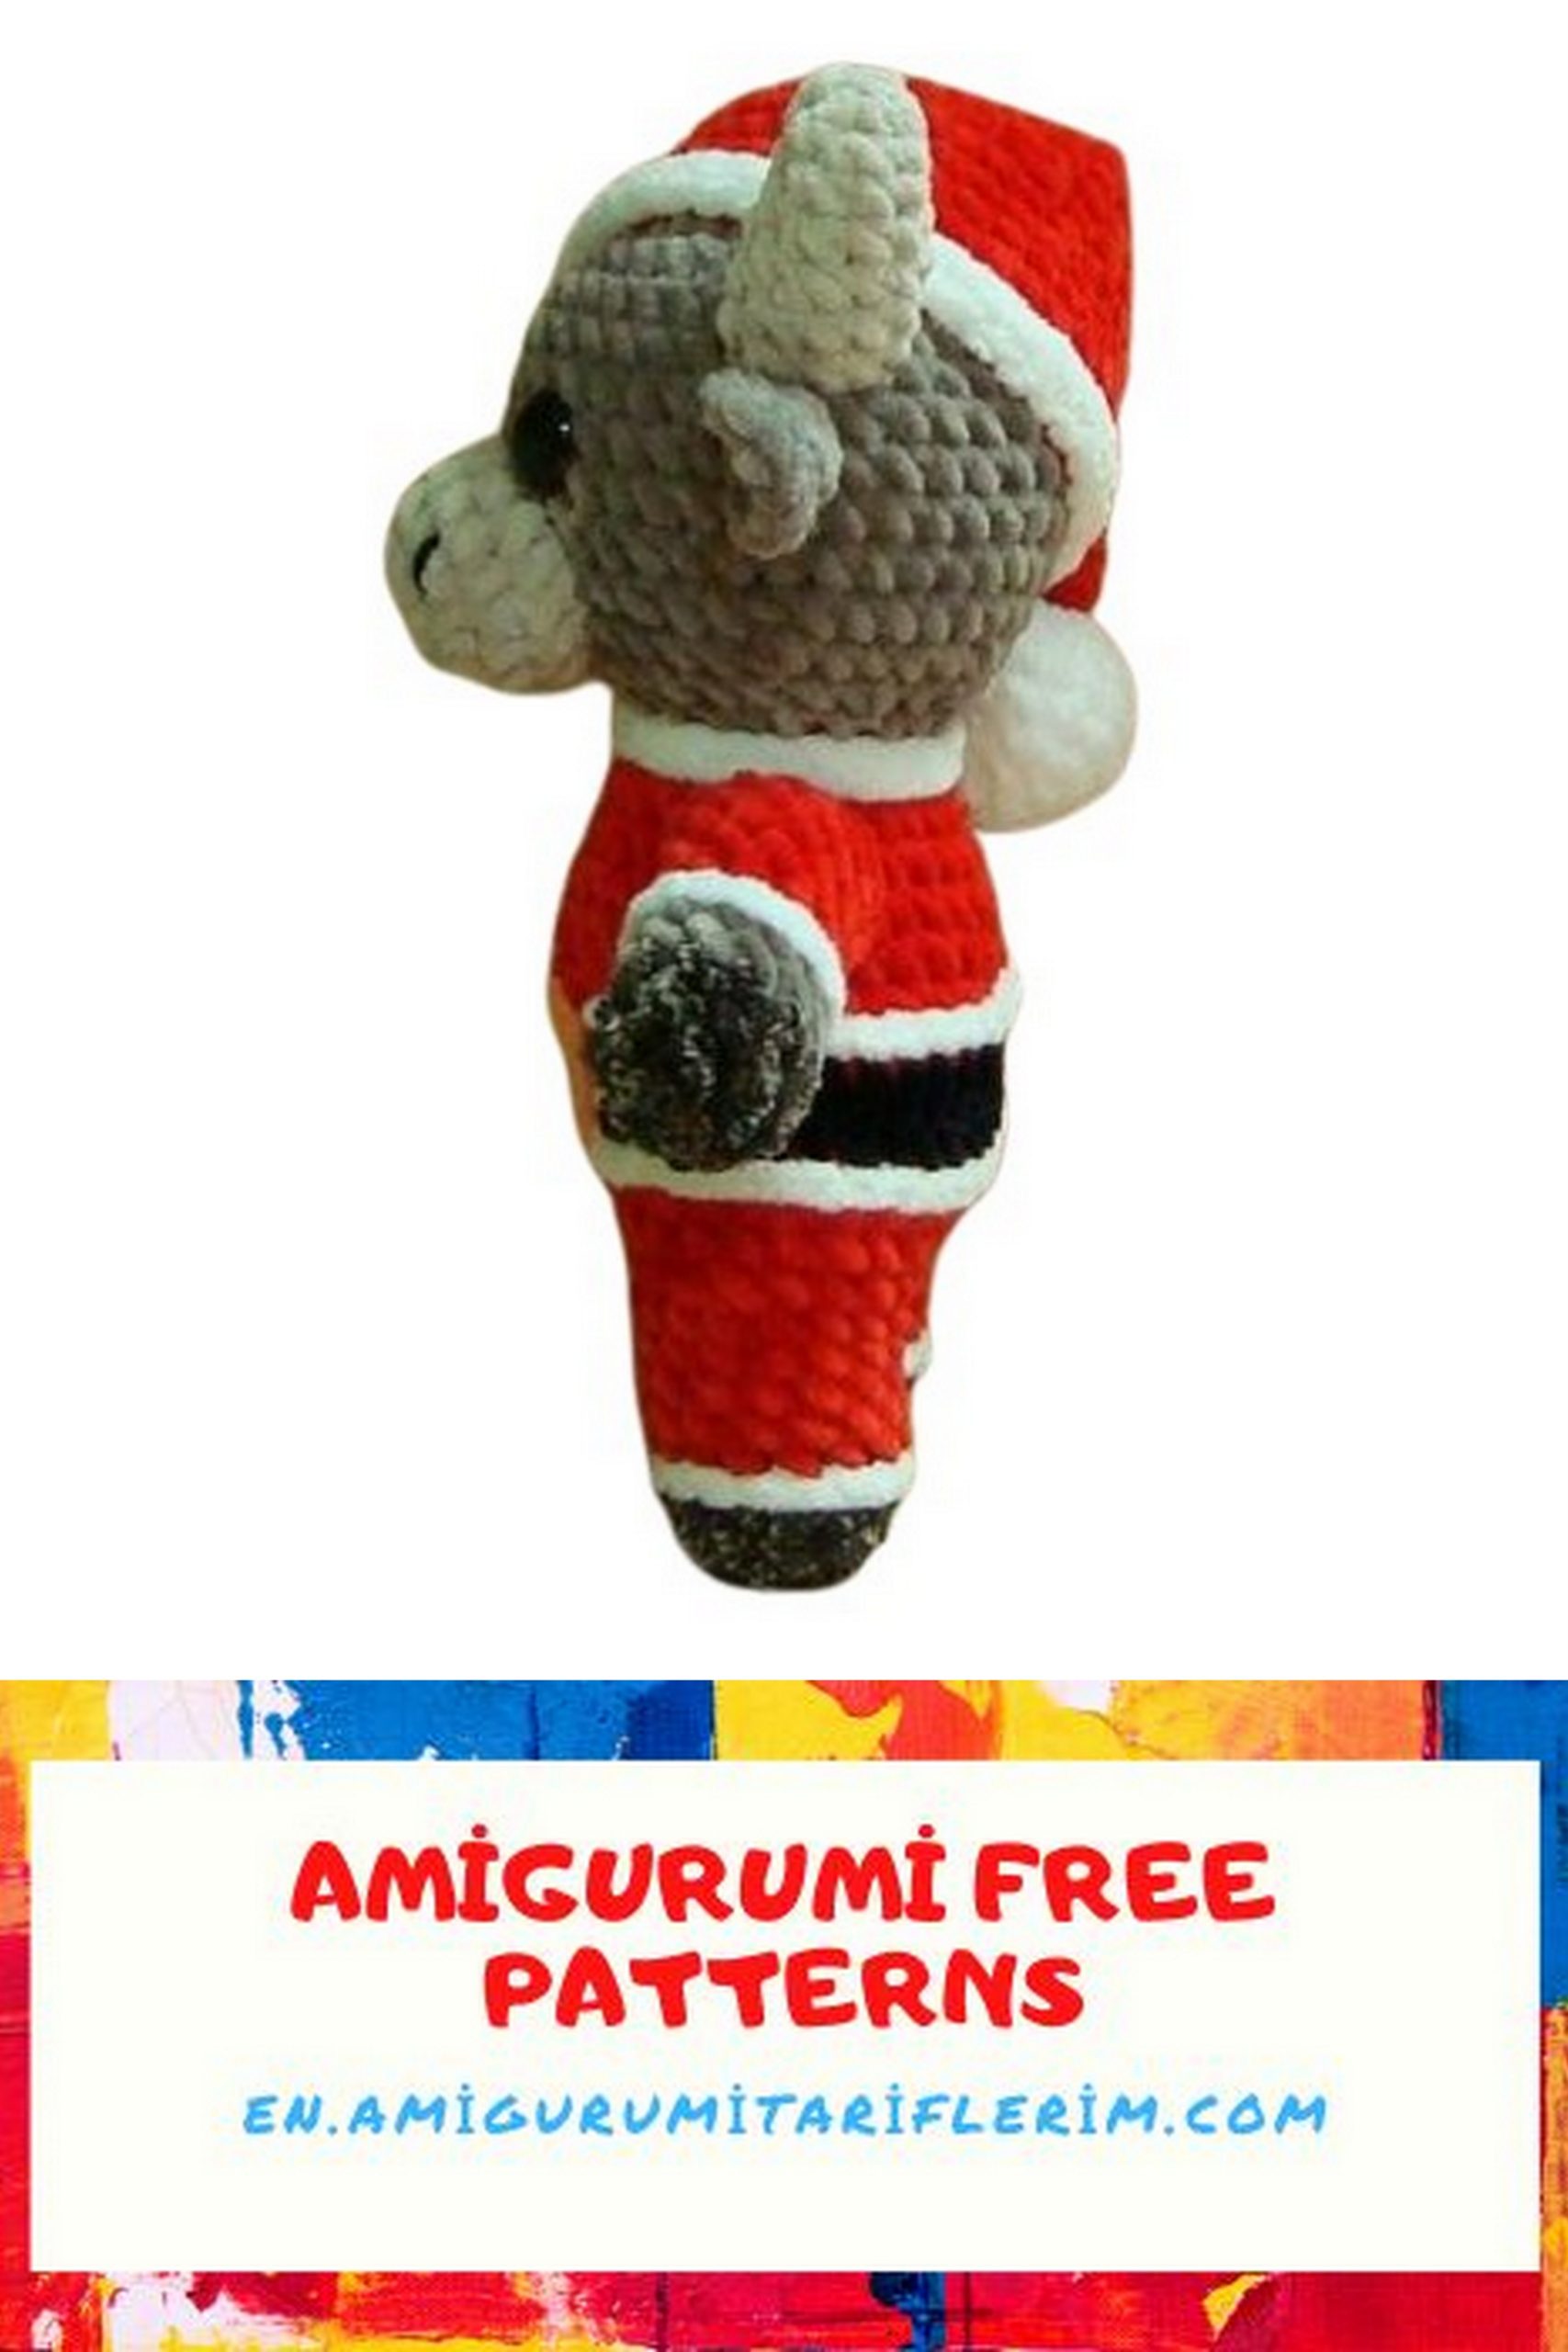
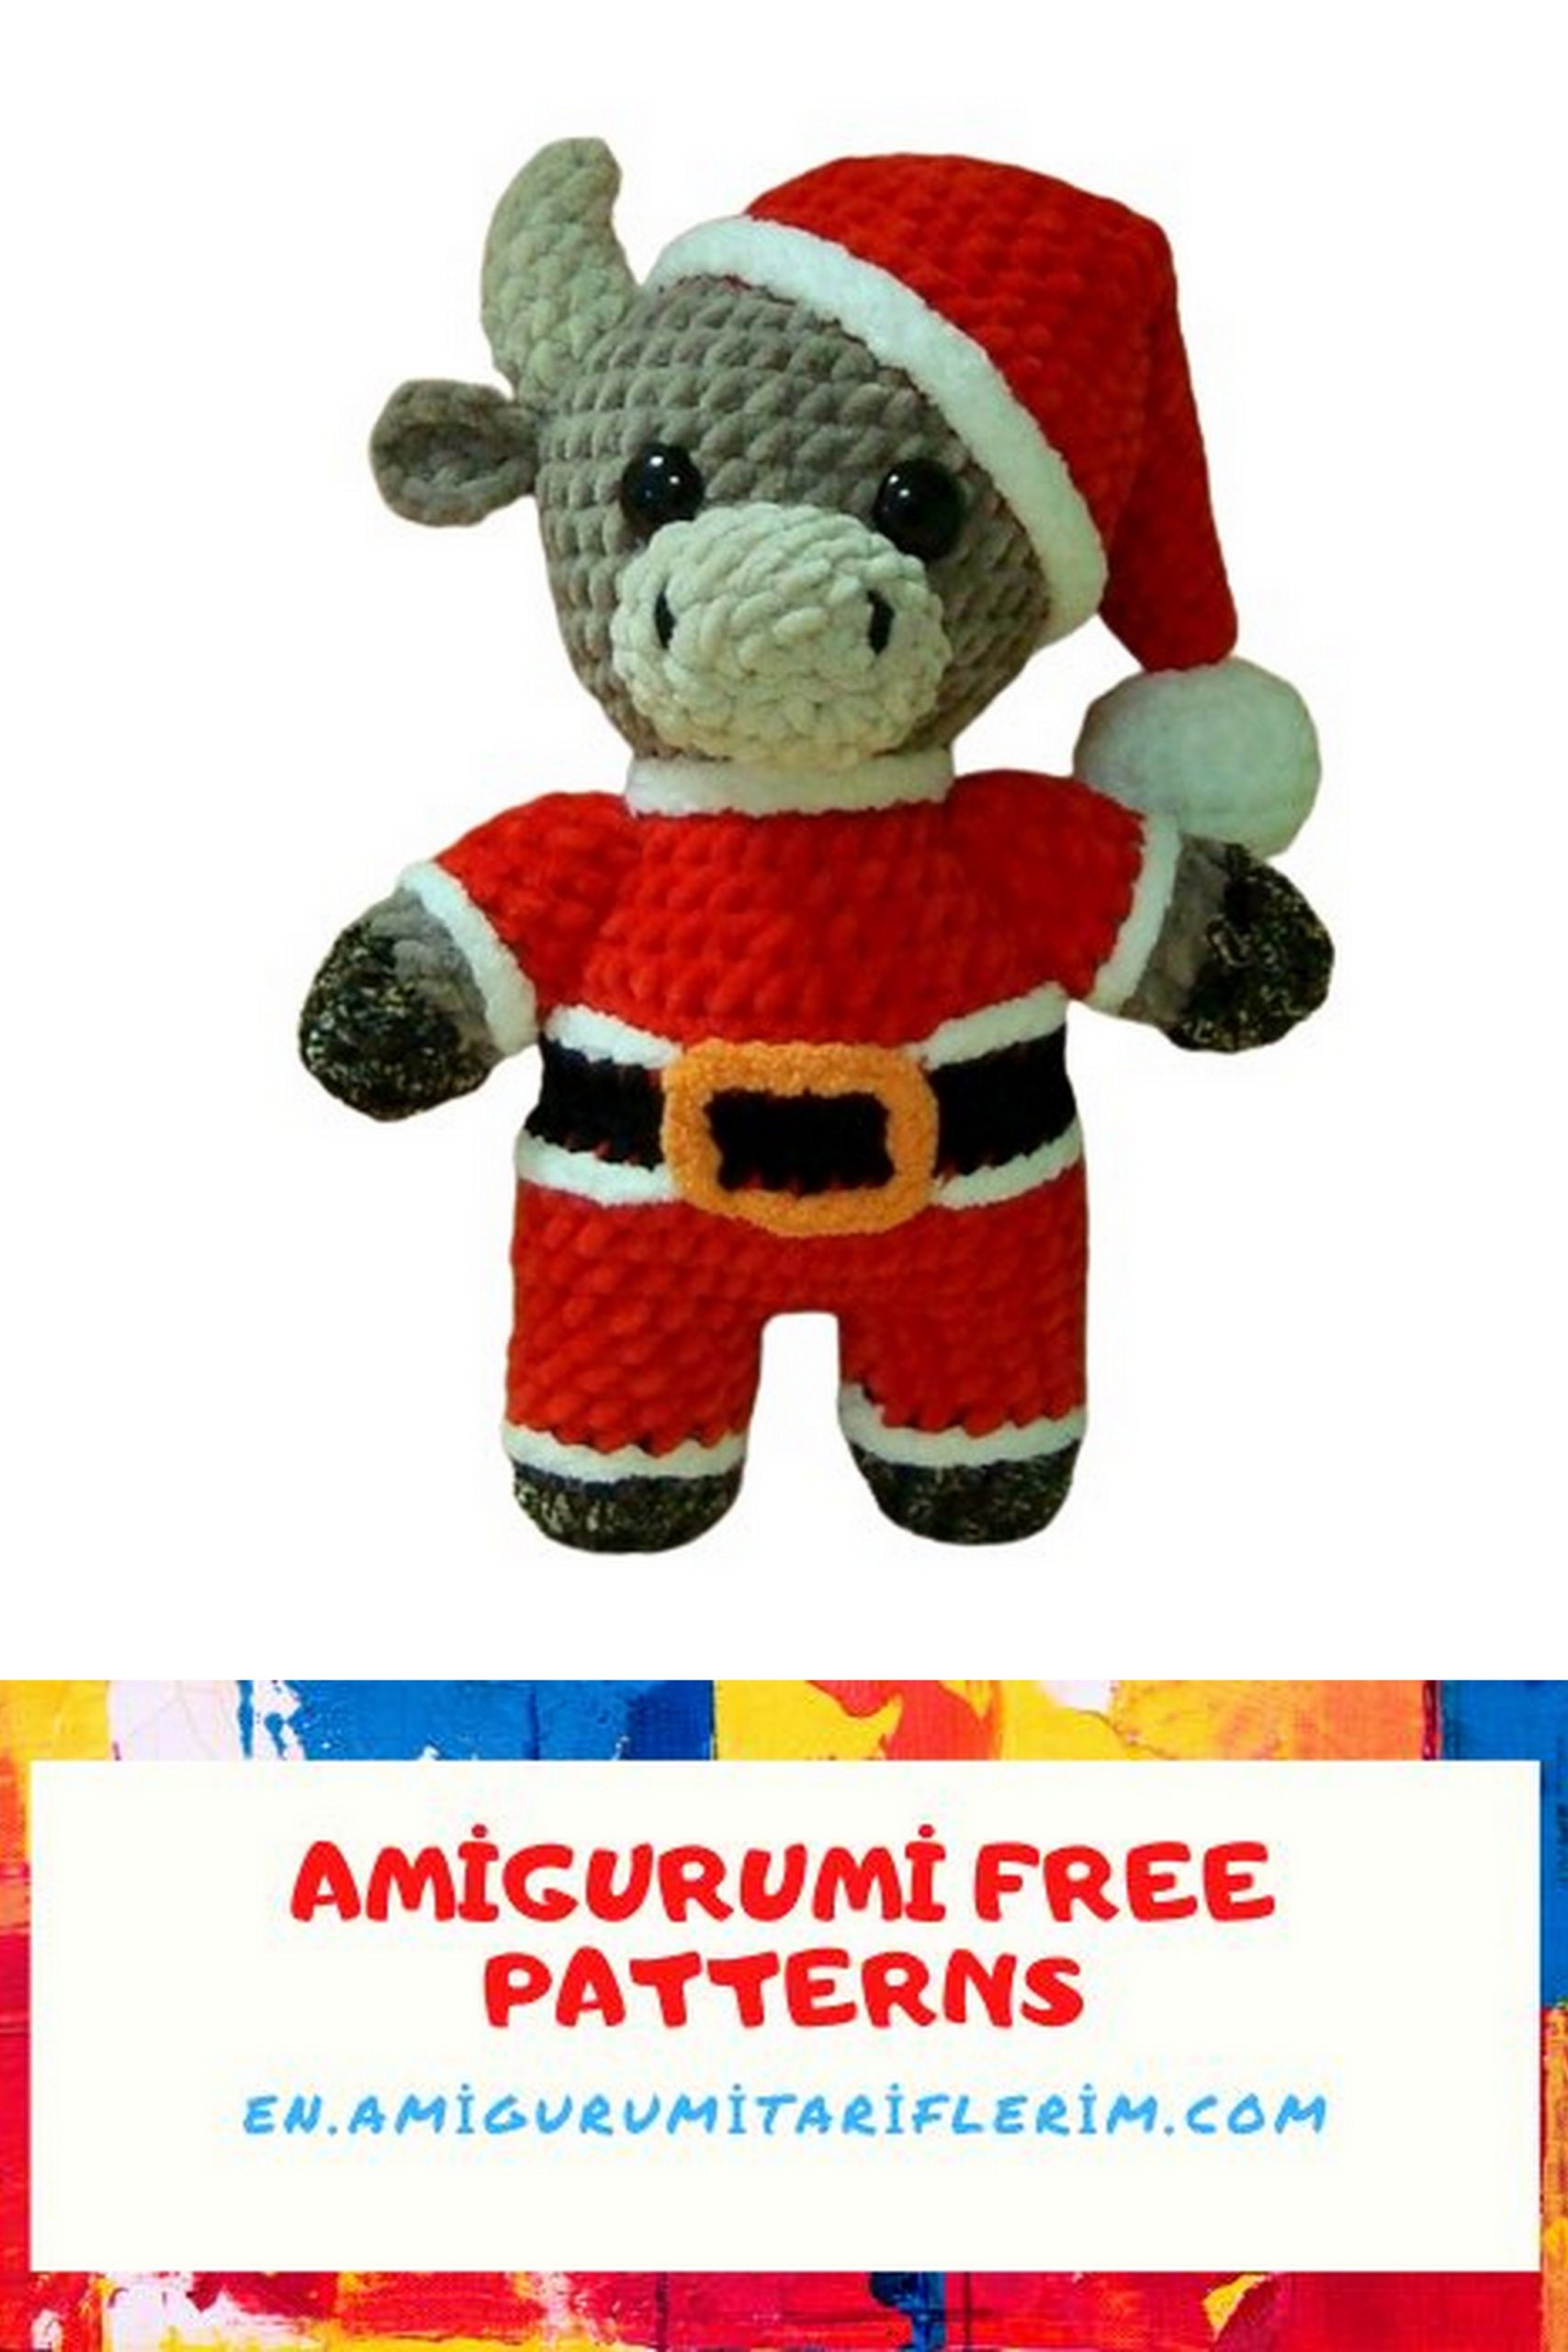
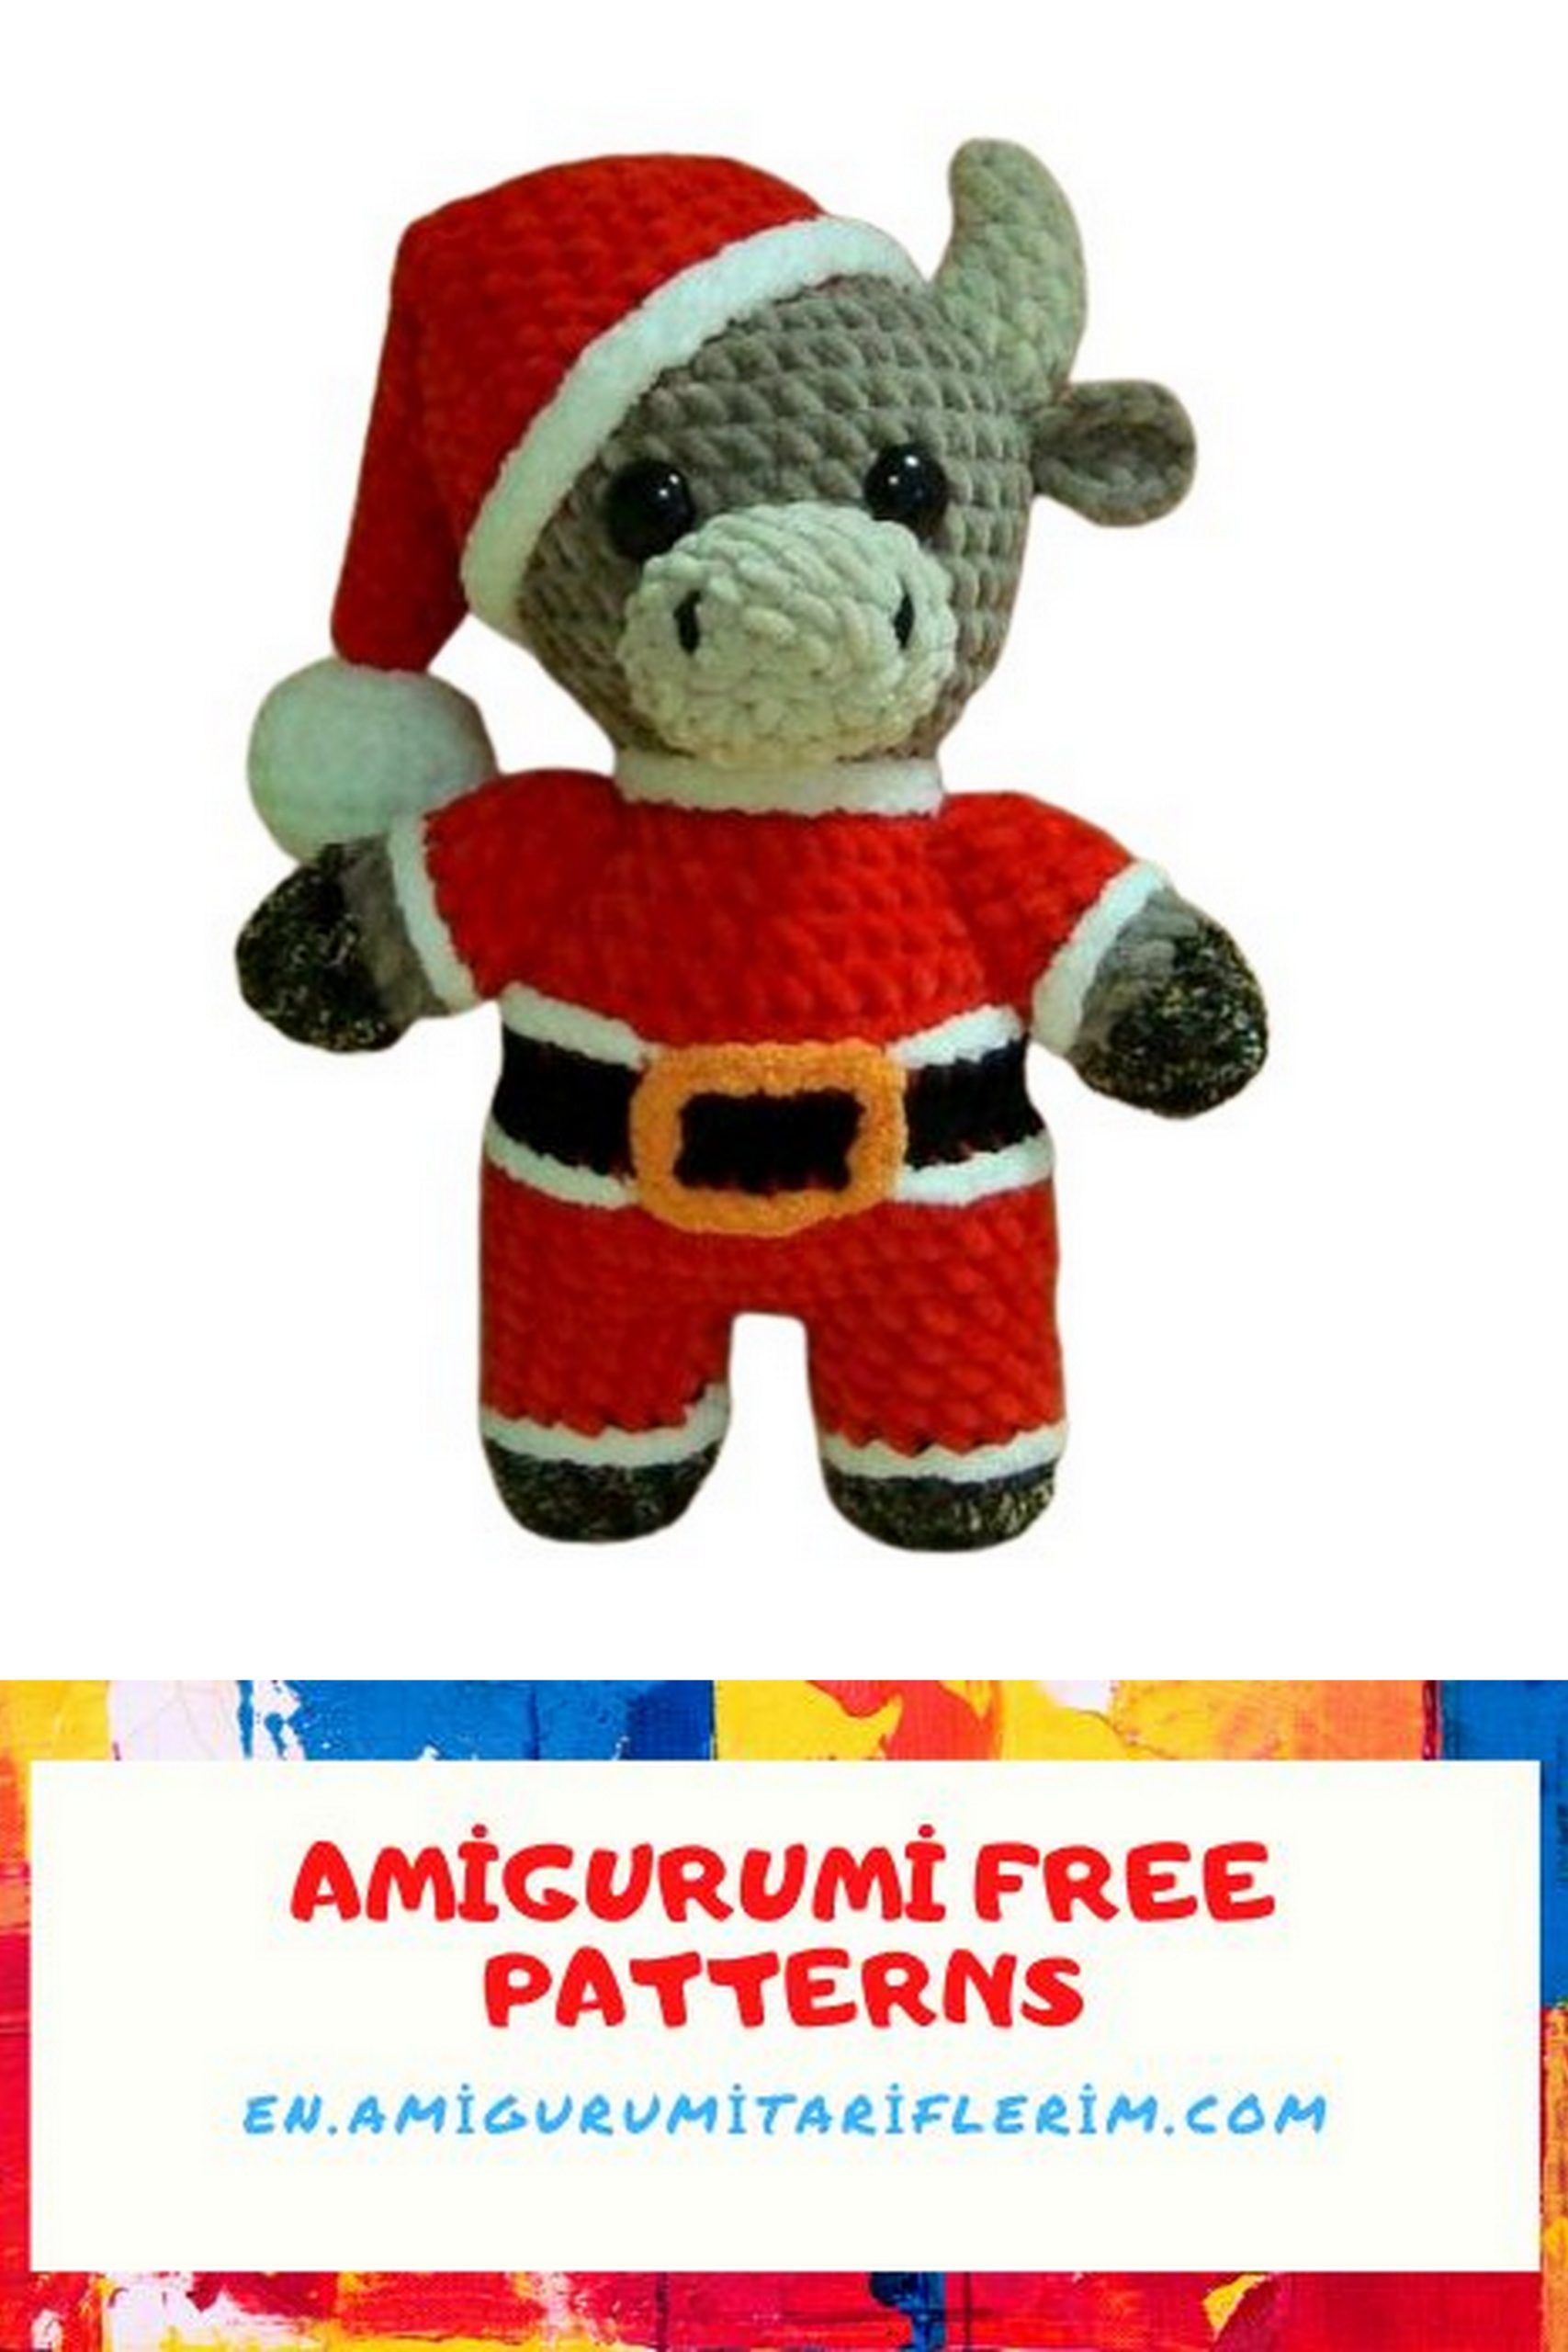
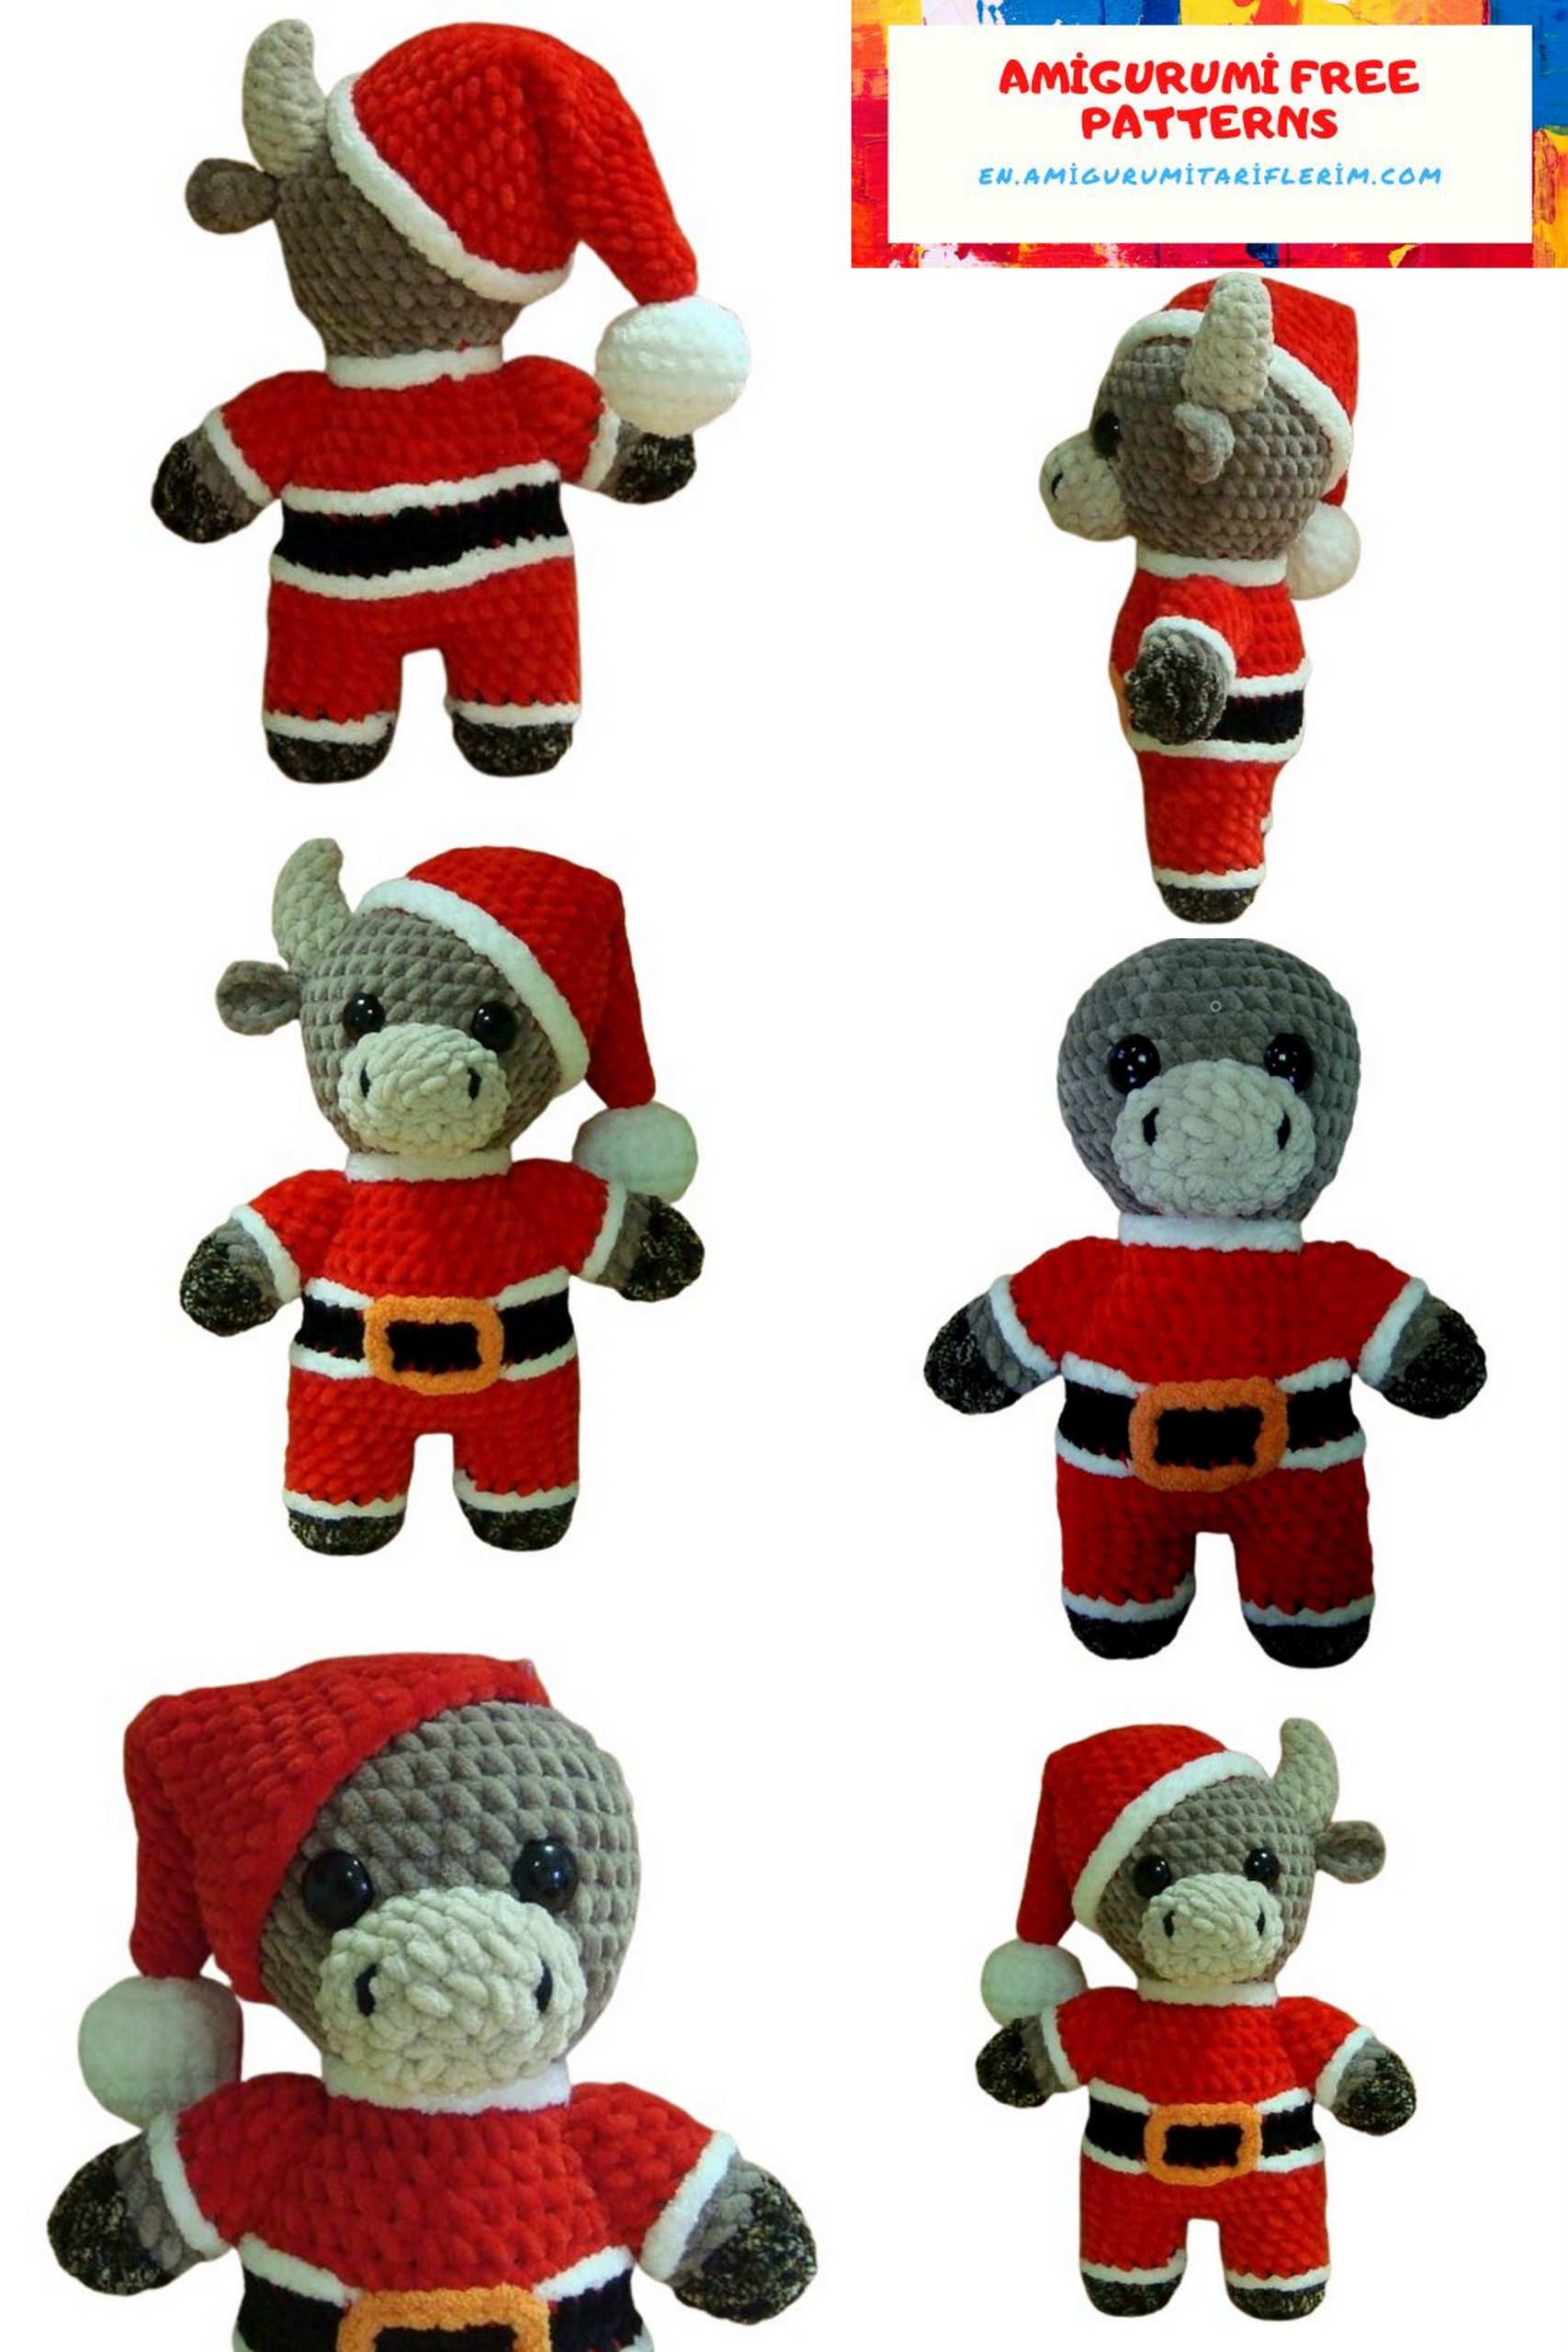
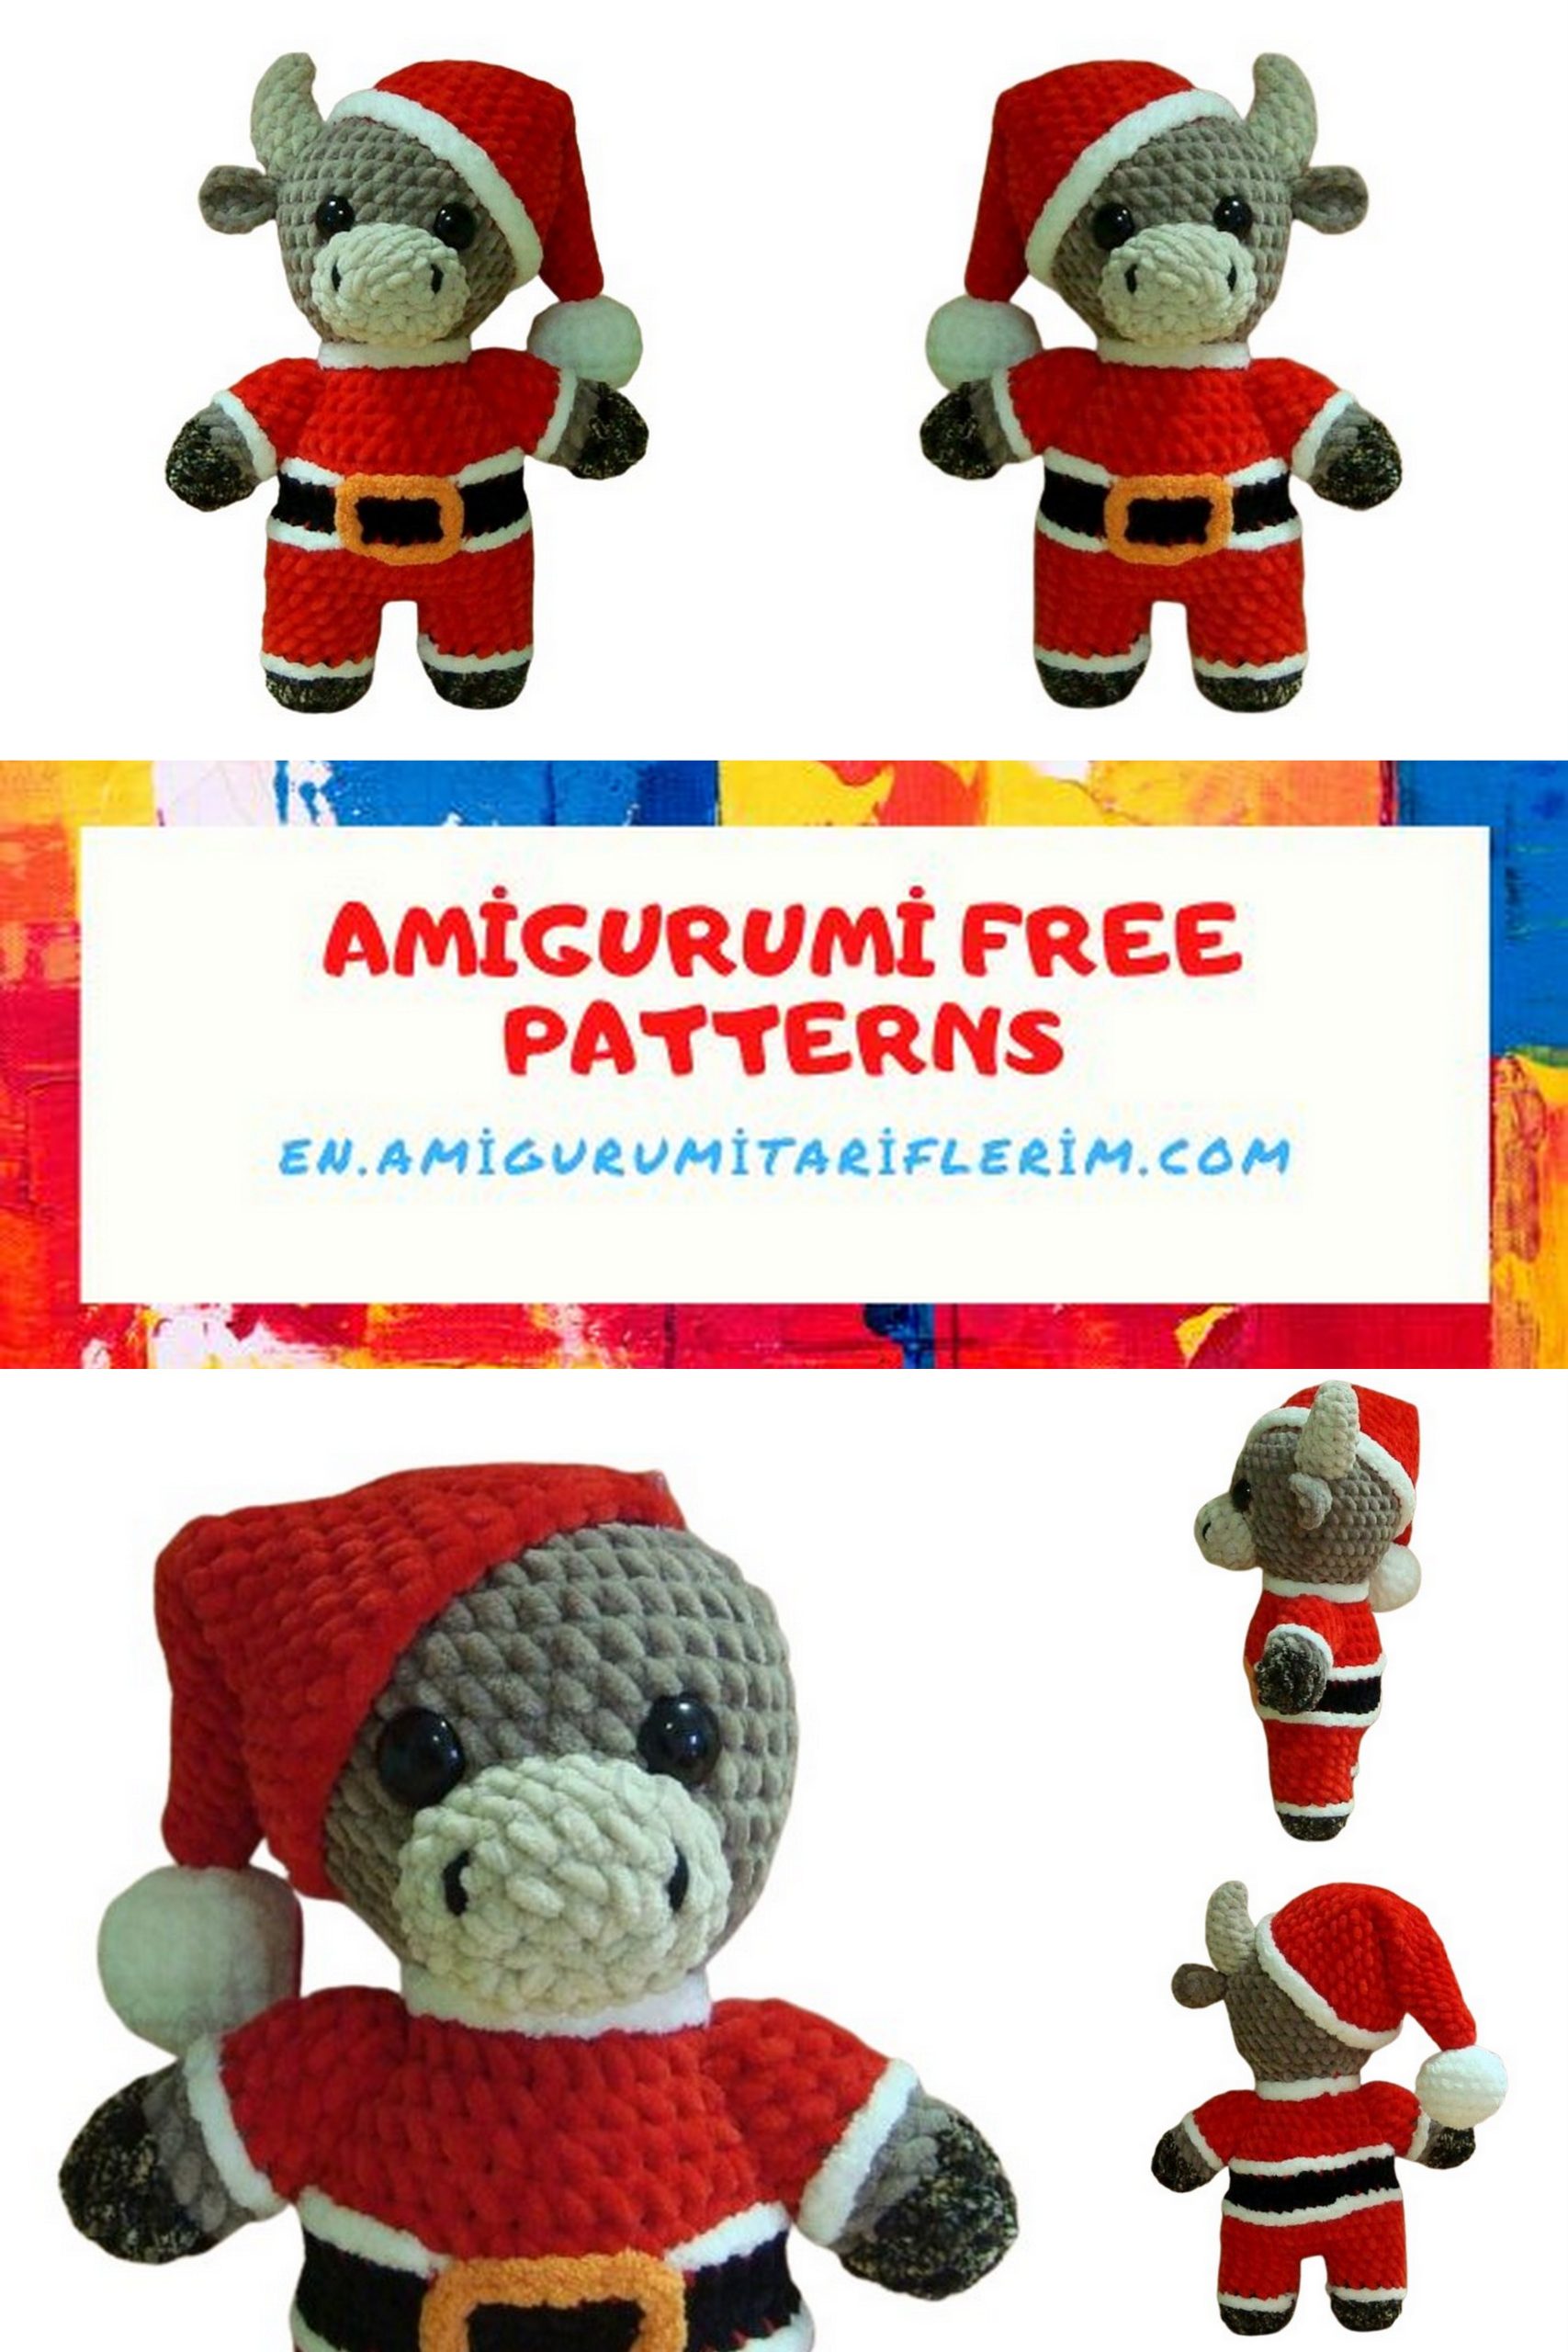
Free Christmas Bull Amigurumi Pattern – Festive Crochet Tutorial
Celebrate the holiday season with a touch of handmade charm! Our free Christmas Bull Amigurumi pattern is the perfect project to add a festive flair to your decor or to give as a heartfelt, homemade gift. Whether you’re new to crocheting or an experienced crafter, this adorable bull plushie will brighten up your holiday festivities. Follow our step-by-step instructions below to create your very own Christmas Bull Amigurumi and make this holiday season extra special.
Height approximately 25 cm.
Tools and Materials:
Hook 5-6 mm
Stuffing – polyester fiberfill.
YarnArt Dolce yarn. You can use any plush yarn 95-120 m/100 g.
Colors: brown, beige, red, black, dark for hooves
ALIZE Softy, 100% microfiber, 115 m/50 g in white and orange.
Safety eyes with 20 mm black stems.
Abbreviations:
CH – chain stitch
SC – single crochet
SLST – slip stitch
INC – increase
DEC – decrease
INC 3-in-1 – 3 SC worked into the same stitch of the previous row
All parts, unless specified otherwise, are crocheted in a continuous spiral.
Before starting the crochet, make sure to read the tips for working with plush yarn.
PATTERN
Head-Torso (brown, red, black):
Begin with brown yarn:
Round 1: CH 2, SC 6 in the 1st CH, join in a circle.
Round 2: INC in each SC around = 12 SC
Round 3: (INC, 1 SC)*6 = 18 SC (Repeat ( )*6 – 6 times)
Round 4: (2 SC, INC)*6 = 24 SC
Round 5: (INC, 3 SC)*6 = 30 SC
Round 6: (3 SC, INC, 1 SC)*6 = 36 SC
Rounds 7-13: 36 SC
Insert the eyes, leaving 3 rounds from the end of crocheting, with 6 stitches between them.
Round 14: (DEC, 4 SC)*6 = 30 SC
Round 15: (2 SC, DEC, 1 SC)*6 = 24 SC
Round 16: (DEC, 2 SC)*6 = 18 SC, switch to red color on the last stitch of the round. Pick up the brown yarn and continue crocheting with the red yarn. You can cut the brown yarn.
Round 17: 18 SC
Round 18: (INC, 5 SC)*3 = 21 SC
Round 19: (4 SC, INC, 2 SC)*3 = 24 SC
Round 20: (INC, 7 SC)*3 = 27 SC
Round 21: (5 SC, INC, 3 SC)*3 = 30 SC
Round 22: (INC, 9 SC)*3 = 33 SC
Round 23: (6 SC, INC, 4 SC)*3 = 36 SC, switch to black color on the last stitch of the round. You can cut the red yarn.
Round 24: 36 SC
Finish with SLST, cut the yarn, and fasten off.
3 rounds
6 stitches
Legs (dark, red, black):
Begin with dark yarn:
Round 1: CH 2, SC 7 in the 1st CH, join in a circle.
Round 2: INC in each SC around = 14 SC
Rounds 3-4: 14 SC, switch to red color on the last stitch of the 4th round, you can cut the dark yarn.
Rounds 5-7: 14 SC
Finish with SLST, cut the yarn, and fasten off.
Repeat the same steps to make the second leg, following rounds 1-7, but do not cut the red yarn on the second leg.
Now, join the legs:
Round 8: CH 2, SC 14 of the first leg, crochet 2 SC through the back loops of the CH, SC 14 of the second leg = 32 SC
For convenience, you can use a smaller hook to crochet through the back loops. In the end, you should have regular stitches on both sides of the chain stitches.
Round 9: 2 INC, 14 SC, 2 INC, 14 SC = 36 SC (increases should be on CH)
Rounds 10-12: 36 SC, switch to black color on the last stitch of the 12th round, you can cut the red yarn.
Round 13: 36 SC
Finish with SLST, cut the yarn, and fasten off.
Stuff both connected parts and sew them together. Use black yarn for sewing as plush yarn won’t work well for this. Sew until there is a small opening left, then stuff more tightly and finish sewing.
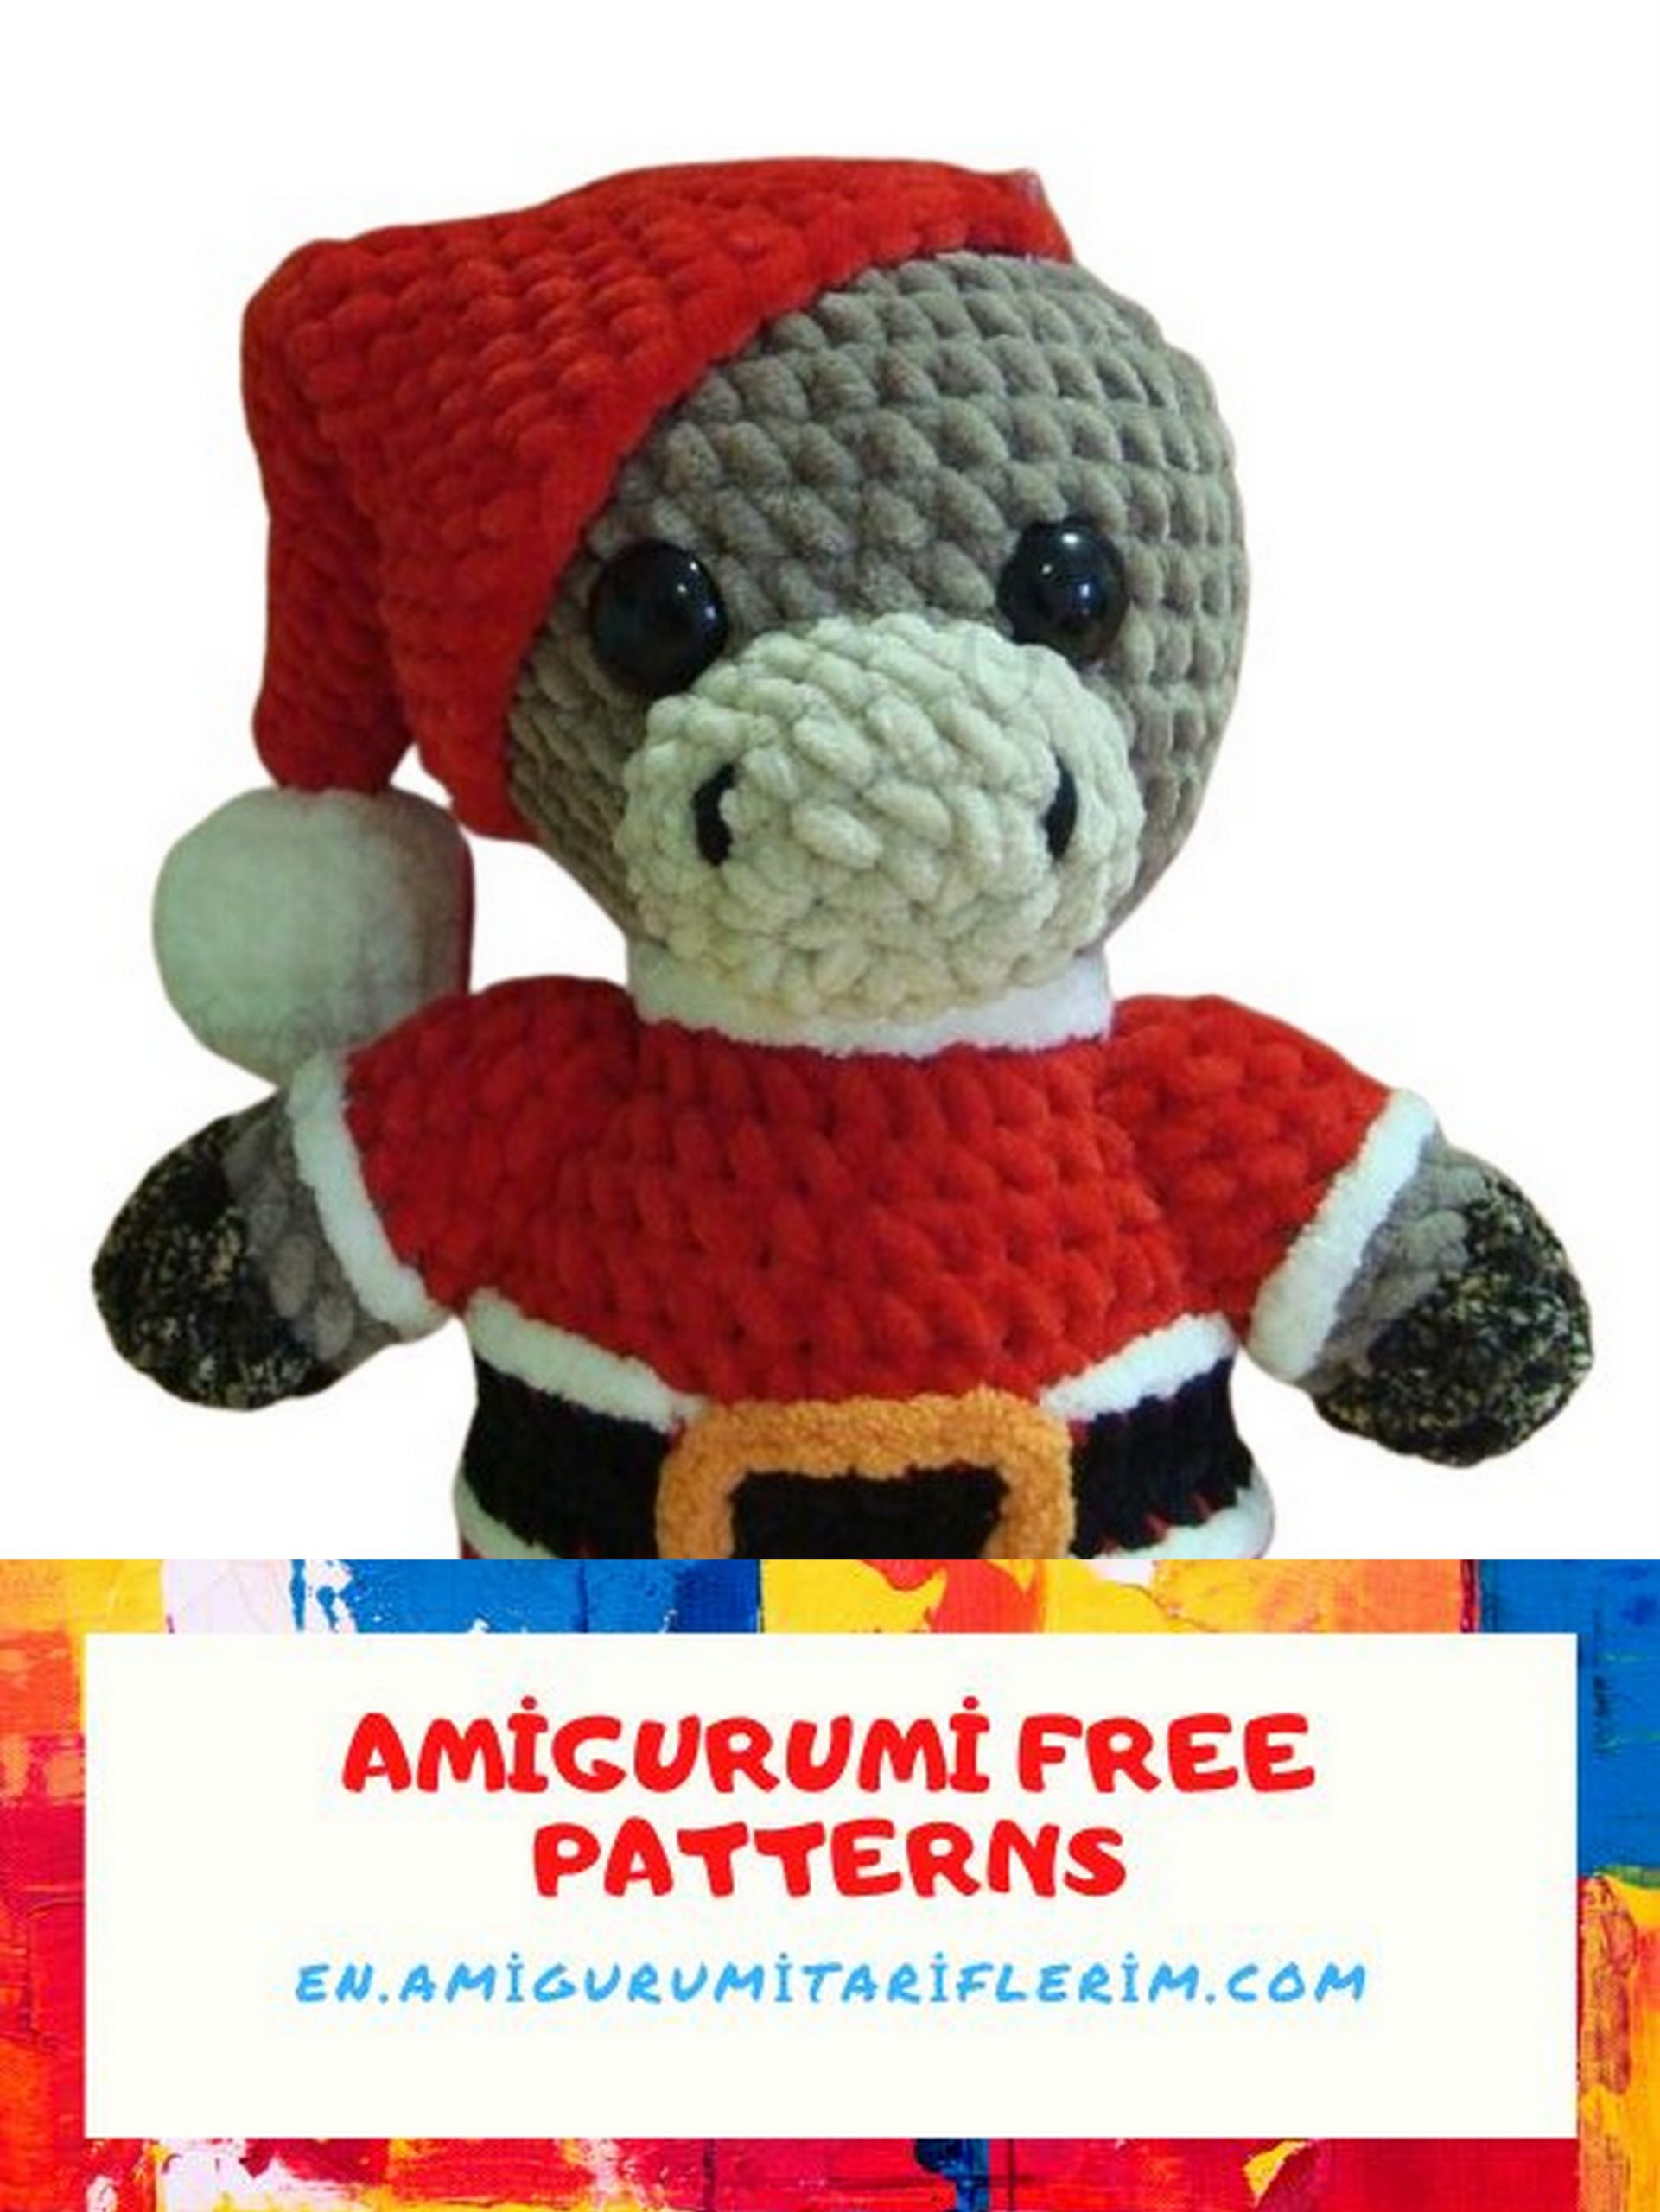
Muzzle (beige):
Round 1: CH 2, SC 8 in the 1st CH.
Round 2: (2 INC 3-in-1, 2 SC)*2 = 16 SC
Round 3: 2 SC, 2 INC, 6 SC, 2 INC, 4 SC = 20 SC
Rounds 4-5: 20 SC
Finish with SLST, cut the yarn, and fasten off.
Sew the muzzle in place.
Embroider nostrils with regular black yarn, approximately 300 m/100 g, using 2 stitches of tambour embroidery in the same spot. Make the stitches approximately from the middle of the muzzle upward, one row high, at the level of the inner side of the eye. Make a stitch, bring the yarn back to the beginning, and make another stitch in the same holes.
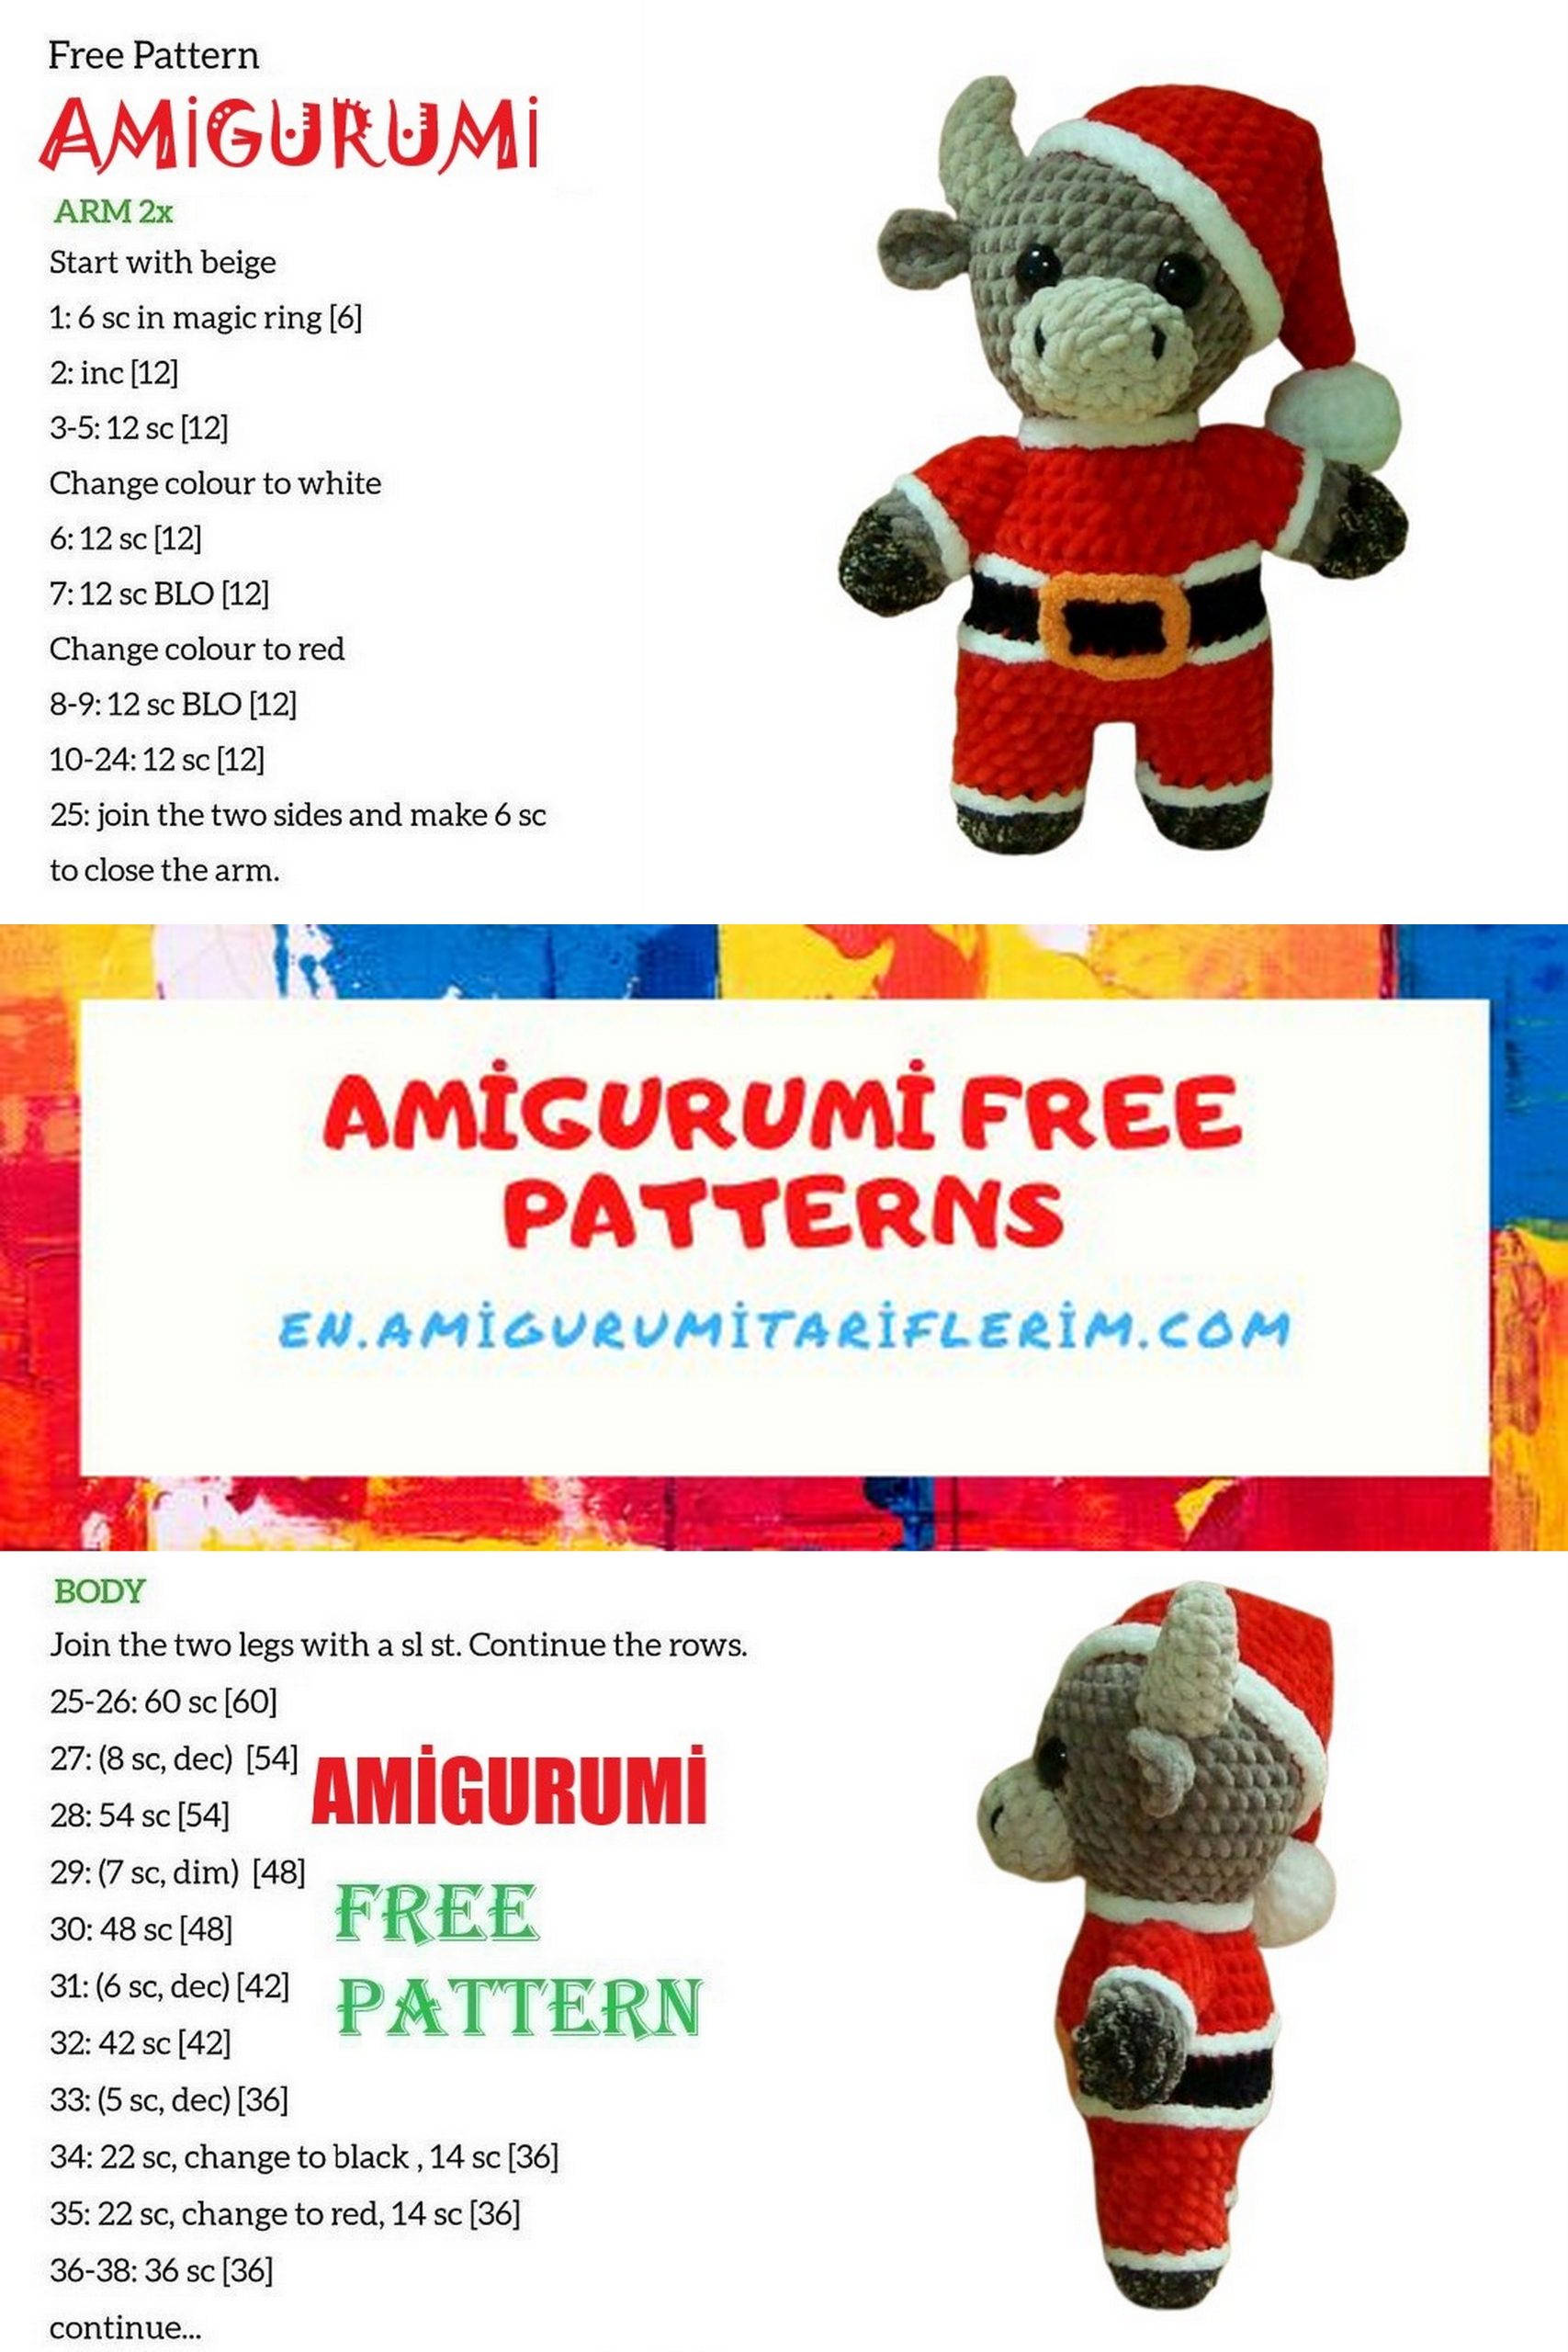
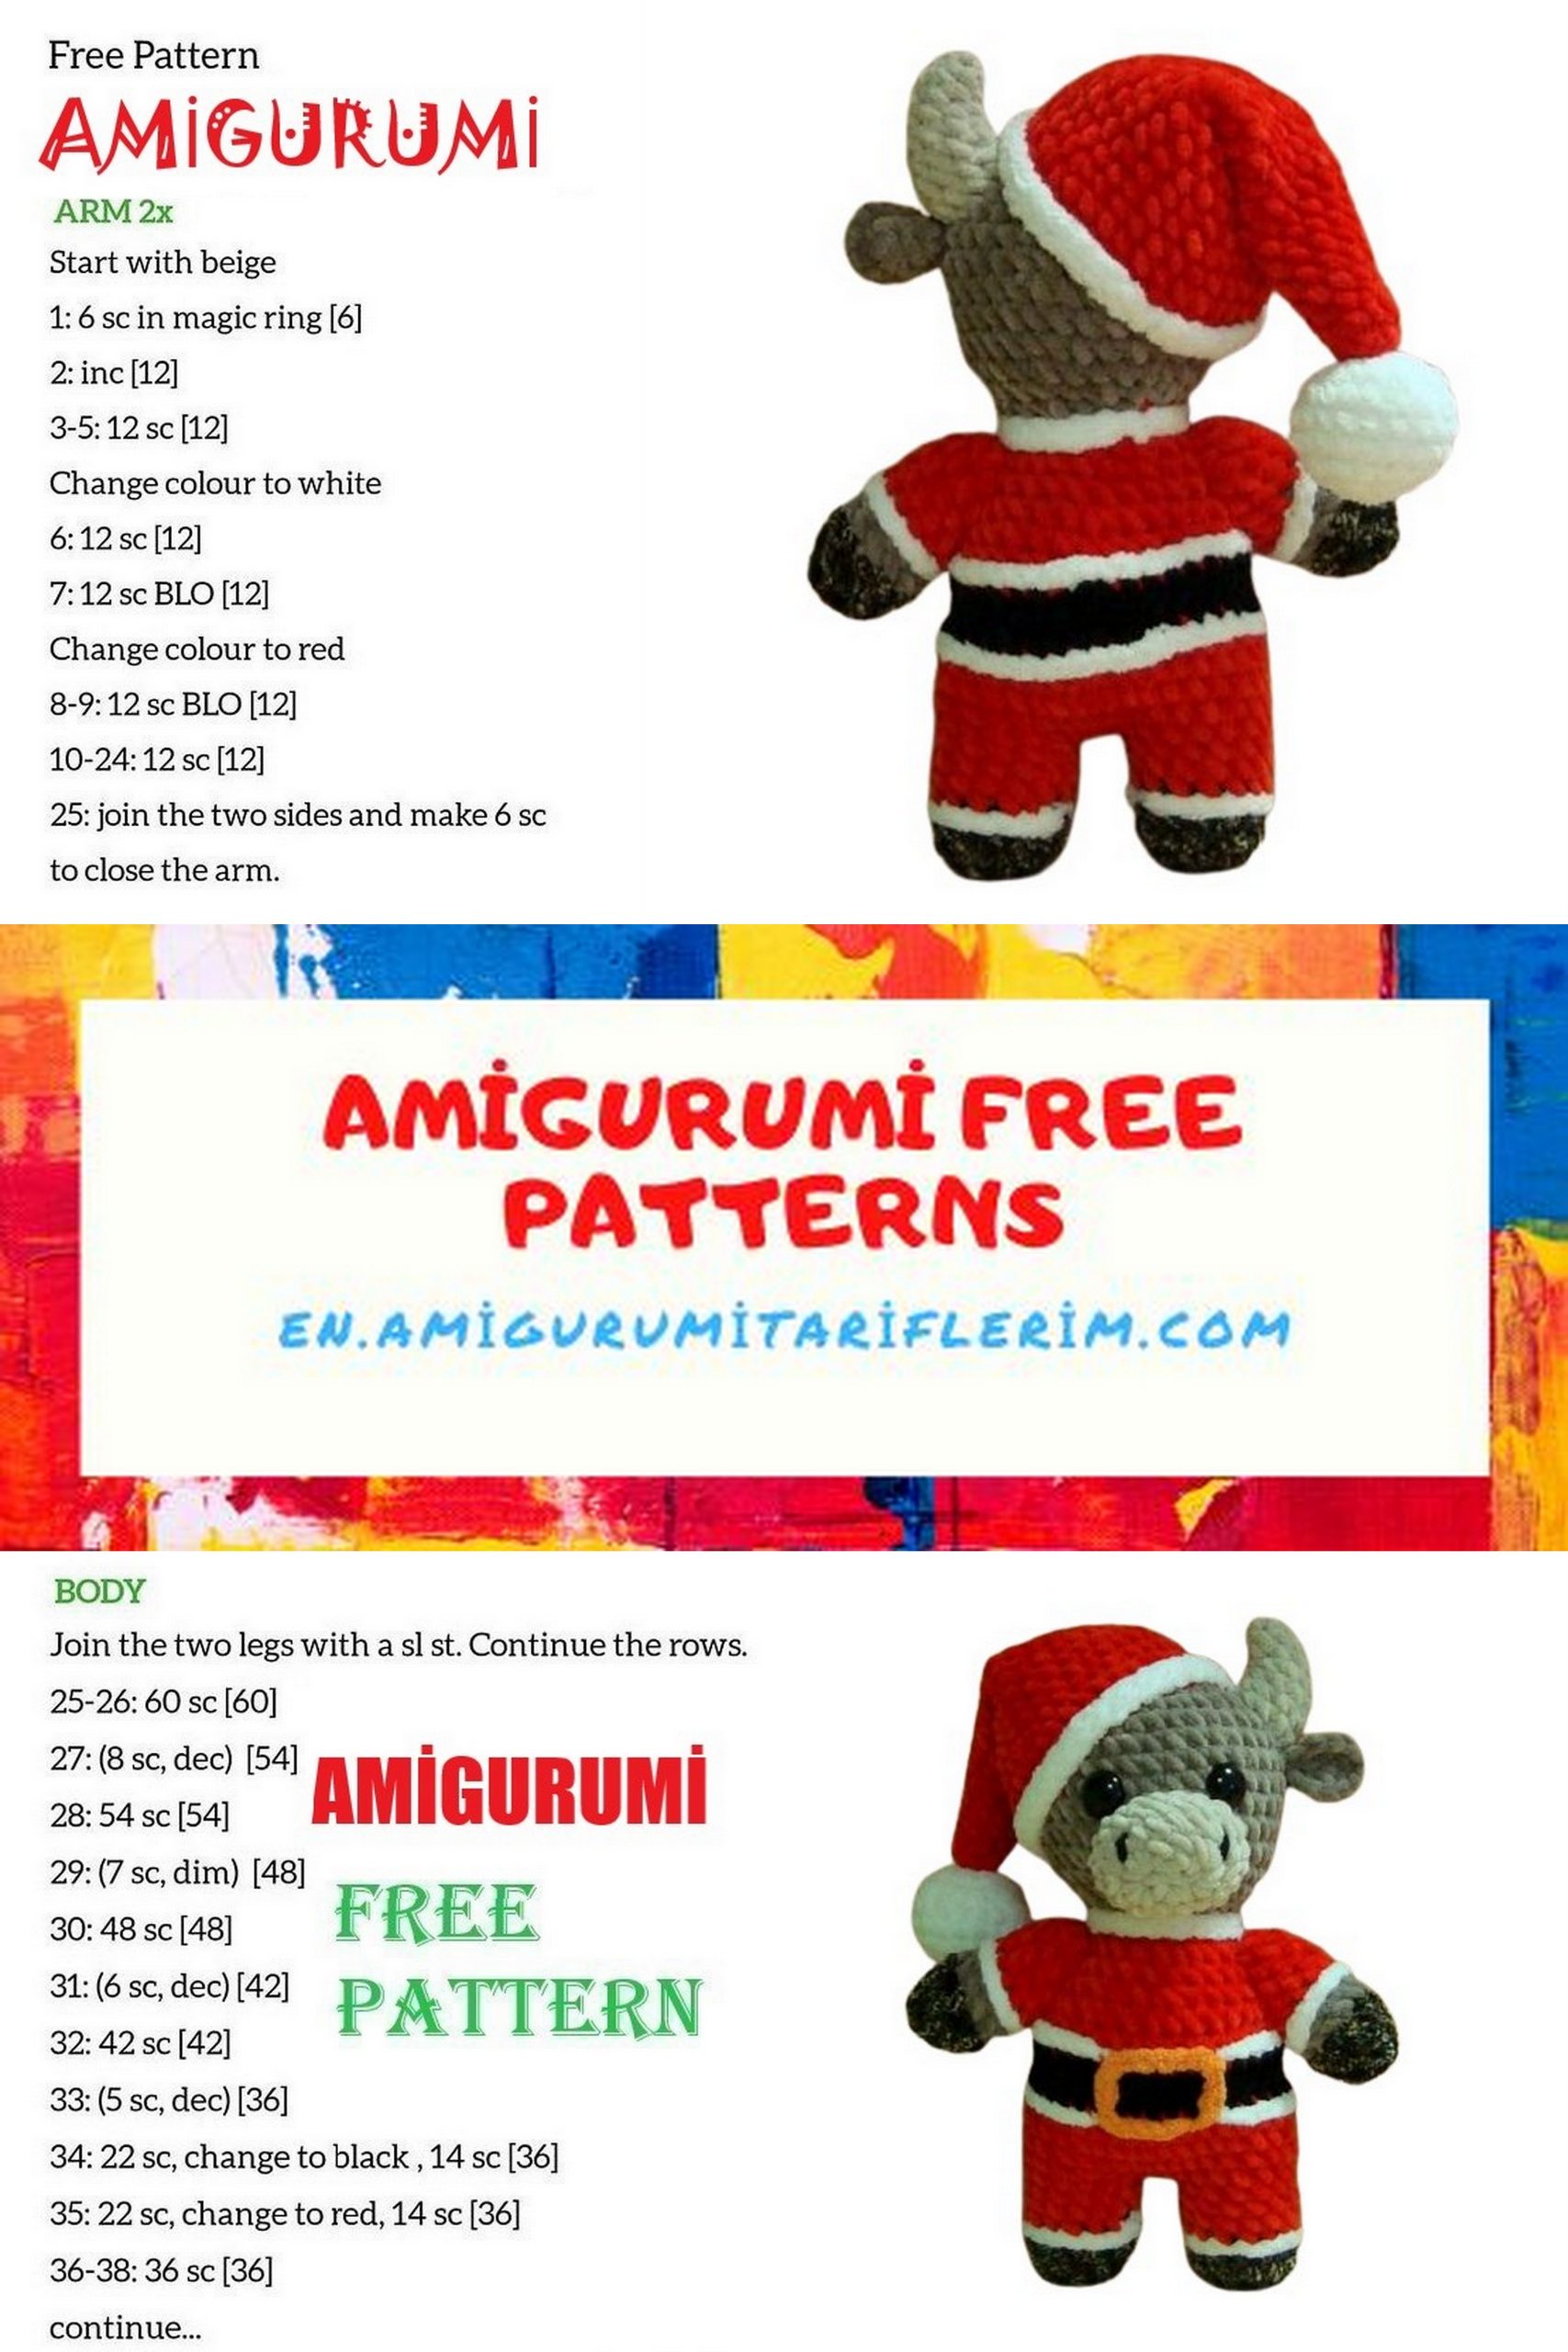
Arms (dark, brown, red), make 2:
Begin with dark yarn:
Round 1: CH 2, SC 6 in the 1st CH, join in a circle.
Round 2: INC in each SC around = 12 SC
Rounds 3-4: 12 SC
Finish with SLST, cut the yarn, and fasten off. Continue crocheting with brown yarn. For the next (5th) round, work relief front loop SC.
Round 5: Attach the yarn, CH 1 (this counts as the first stitch of the round), work 11 more relief front loop SC = 12
Round 6: 12 SC, switch to red color on the last stitch of the round, you can cut the brown yarn.
Rounds 7-11: 12 SC
Stuff the arm.
Round 12: DEC 6 times = 6 SC
Finish stuffing, cut the yarn, thread the end through all the loops, and pull to close the opening. Secure the yarn end and hide it inside the arm.
Now, create the fringes on the arms. Use Alize Softy yarn held in 3 strands. You can see how to work with 3 strands from one skein here: [link provided].
Start with the arms. Hold the arm with the hoof towards you and work the fringe along the brown row, in the spaces between the stitches. Insert the hook, pull up a loop, insert it again, pull up another loop, and pull it through the first loop, and so on. This will create a fringe of slip stitches, similar to tambour embroidery.
The fringe in the first row will not completely cover the color change line. If you want it to look neater, it’s better to make two rows close to each other (you can see how we do this on the neck and cap below).
After making the last loop, cut the yarn, pull out the yarn end, tie the cut and starting ends together with a knot, and tuck them inside the arm. It’s easier to tuck them in with a smaller hook.
Create fringes on the legs in the same way, along the dark row, with the hoof facing you. It’s better to start from the back or the inner side.
Use the same method to embroider an orange fringe on the front of the belt. Wrap the remaining belt with white yarn. Sew along the red row, with the red side facing you.
Around the neck, sew along the red row, with the head away from you, first one row, and then another, trying to match the red row, into the same holes between the stitches.
Attach the arms on both sides of the fringe at the neck, down to the belt.
Bombochka (white):
We’ll crochet Bombochka using ALIZE Softy yarn held in 3 strands.
Read the tips for working with Softy yarn. But no matter what you read, don’t use any additional threads; they will be very visible.
Round 1: CH 2, SC 6 in the 1st CH.
Round 2: INC in each SC around = 12 SC
Round 3: (INC, 1 SC)*6 = 18 SC
Rounds 4-6: 18 SC
Round 7: (DEC, 1 SC)*6 = 12 SC
Stuff the piece.
Round 8: DEC 6 times = 6 SC
Finish stuffing, cut the yarn, and pull to close the opening.
Hat (red):
Round 1: CH 2, SC 6 in the 1st CH.
Round 2: 6 SC
Round 3: INC, 5 SC = 7 SC
Round 4: 4 SC, INC, 2 SC = 8 SC
Pull the loop longer so it doesn’t get lost while attaching Bombochka conveniently.
On Bombochka, separate three strands of yarn and pull them out with a hook in different places. In the hat, also pull them out in three places and tie knots between them.
Continue crocheting the hat.
Round 5: INC, 7 SC = 9 SC
Round 6: 5 SC, INC, 3 SC = 10 SC
Round 7: INC, 9 SC = 11 SC
Round 8: 6 SC, INC, 4 SC = 12 SC
Round 9: INC, 11 SC = 13 SC
Round 10: 7 SC, INC, 5 SC = 14 SC
Round 11: INC, 13 SC = 15 SC
Round 12: 8 SC, INC, 6 SC = 16 SC
Round 13: INC, 15 SC = 17 SC
Round 14: 9 SC, INC, 7 SC = 18 SC
Round 15: (5 SC, INC, 3 SC)*2 = 20 SC
Round 16: (INC, 9 SC)*2 = 22 SC
Round 17: (6 SC, INC, 4 SC)*2 = 24 SC
Round 18: (INC, 11 SC)*2 = 26 SC
Round 19: (7 SC, INC, 5 SC)*2 = 28 SC
Round 20: (INC, 13 SC)*2 = 30 SC
Round 21: (INC, 9 SC)*3 = 33 SC
Round 22: (6 SC, INC, 4 SC)*3 = 36 SC
Round 23: (INC, 11 SC)*3 = 39 SC
Rounds 24-25: 39 SC
Finish with SLST, cut the yarn, and fasten off.
Put on and attach the cap.
Position the bull, fold the cap as you like, and attach the folded part with a few stitches to the part already on the head. We’ll stuff the cap only up to the fold.
Sew it not all the way, leaving a small opening. Stuff the base of the cap (just a little, to give it shape) and finish sewing.
Create a fringe. Hold the cap towards you and crochet along the edge of the red fabric. Do it in two rows, as on the neck.
Horn (beige):
Round 1: CH 2, SC 5 in the 1st CH.
Round 2: INC, 4 SC = 6 SC
Round 3: 1 SC, INC, 4 SC = 7 SC
Round 4: 1 SC, INC, 5 SC = 8 SC
Round 5: 2 SC, INC, 5 SC = 9 SC
Round 6: 3 SC, INC, 5 SC = 10 SC
Round 7: 3 SC, INC, 6 SC = 11 SC
Round 8: 4 SC, INC, 6 SC = 12 SC
Finish with SLST, fasten off, and cut the yarn.
Stuff the piece and sew it to the side, just below the cap.
Ear (brown):
Round 1: CH 2, SC 8 in the 1st CH.
Cut the yarn, fasten off.
Crochet another identical piece without cutting the yarn.
Fold the pieces with the wrong side facing each other and join them together in the next (2nd) round, through both edges.
Round 2: 8 INC = 16 SC
Finish with SLST, cut the yarn, fasten off, and tuck it inside the ear.
Sew 3 pairs of loops together, pulling the yarn back.
Attach the ear to the head, just below the horn, using the sewn part.
THE BULL IS READY!