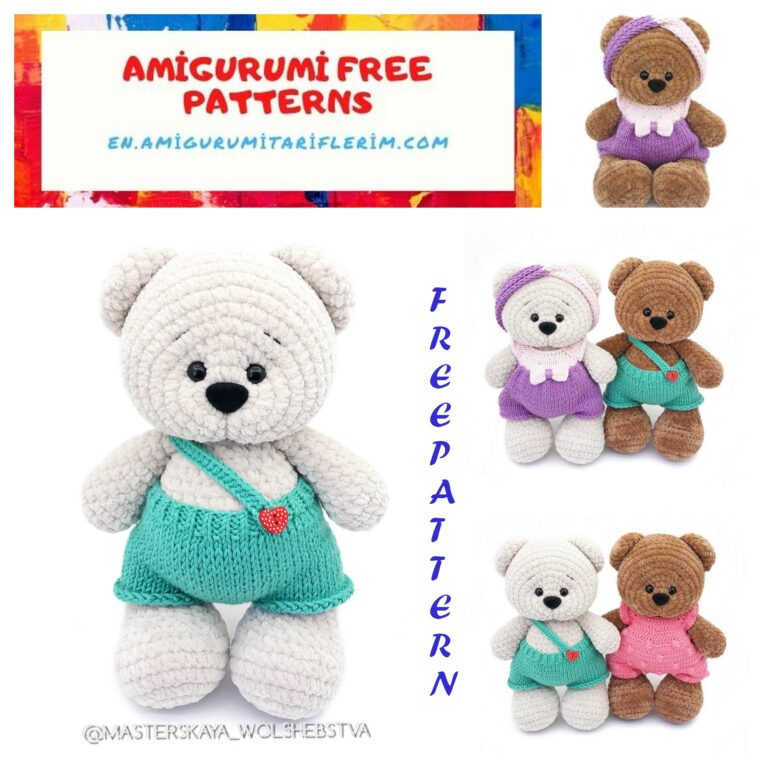
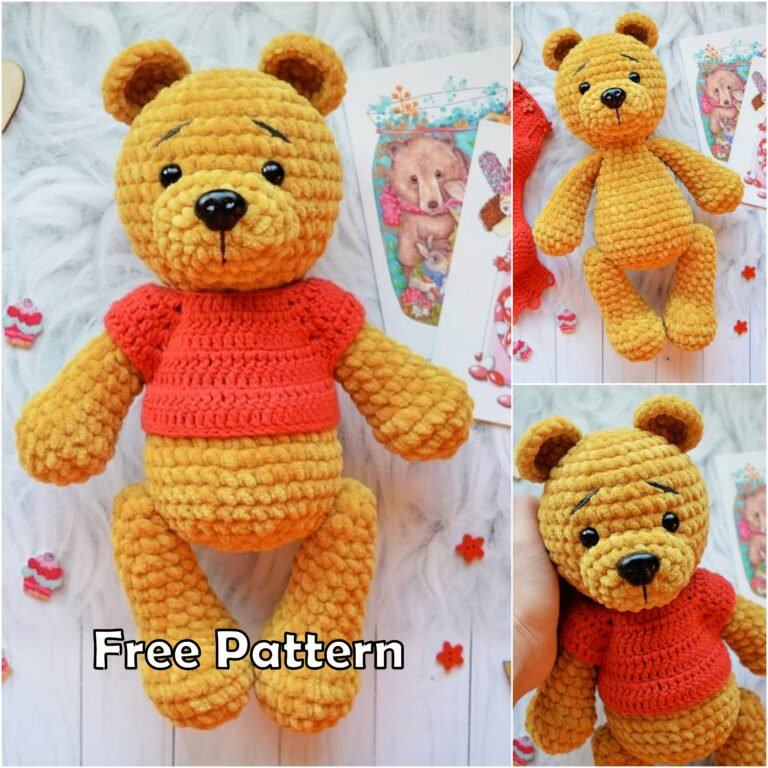
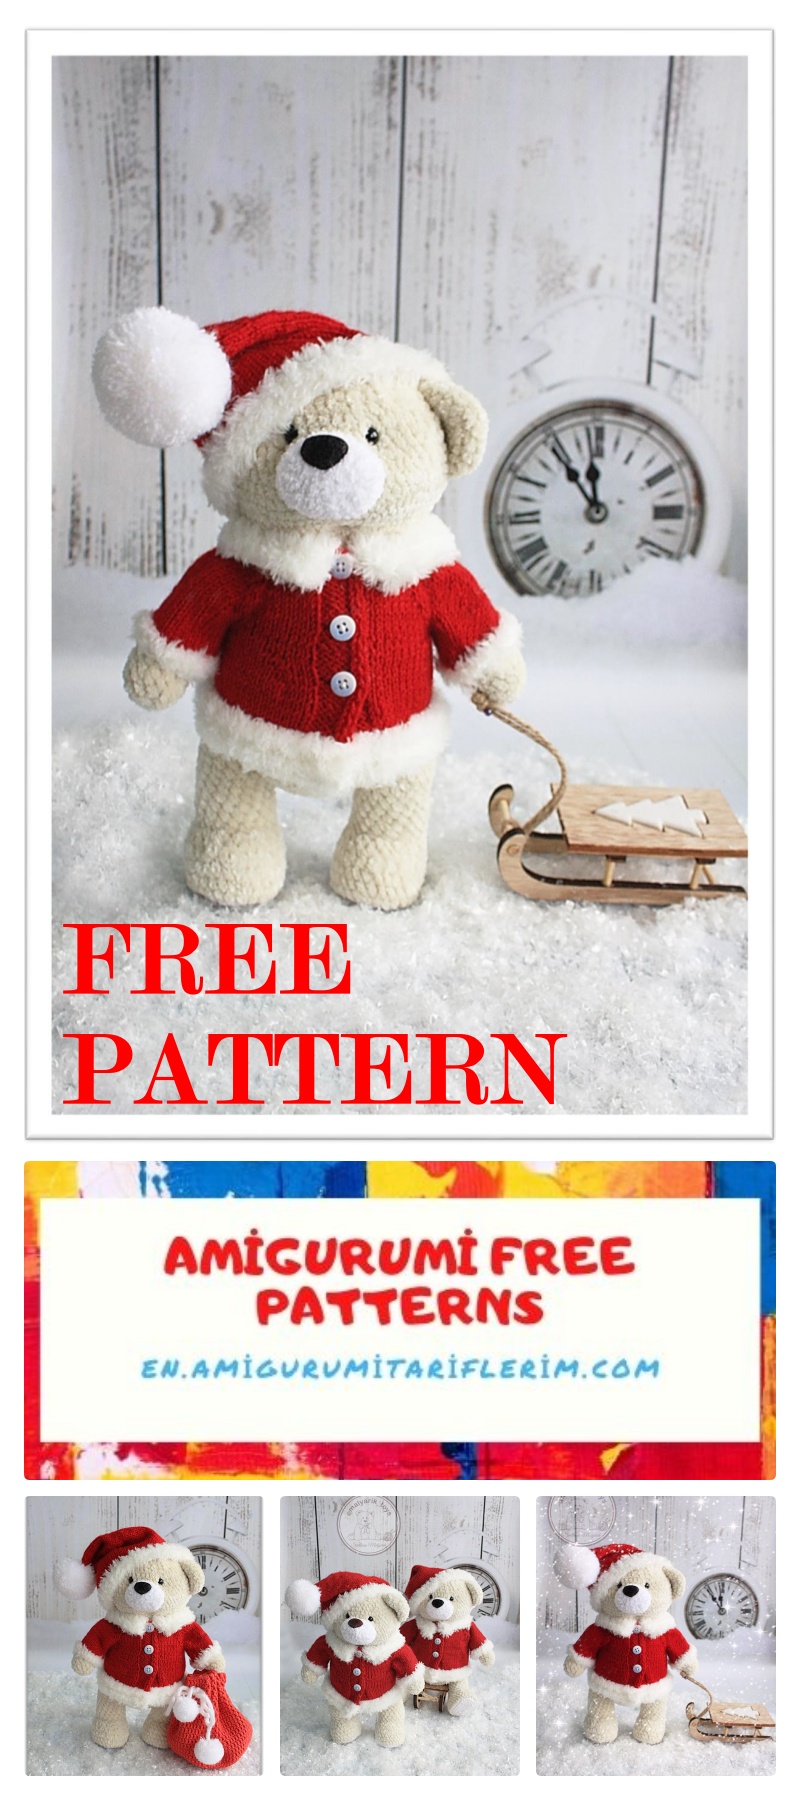
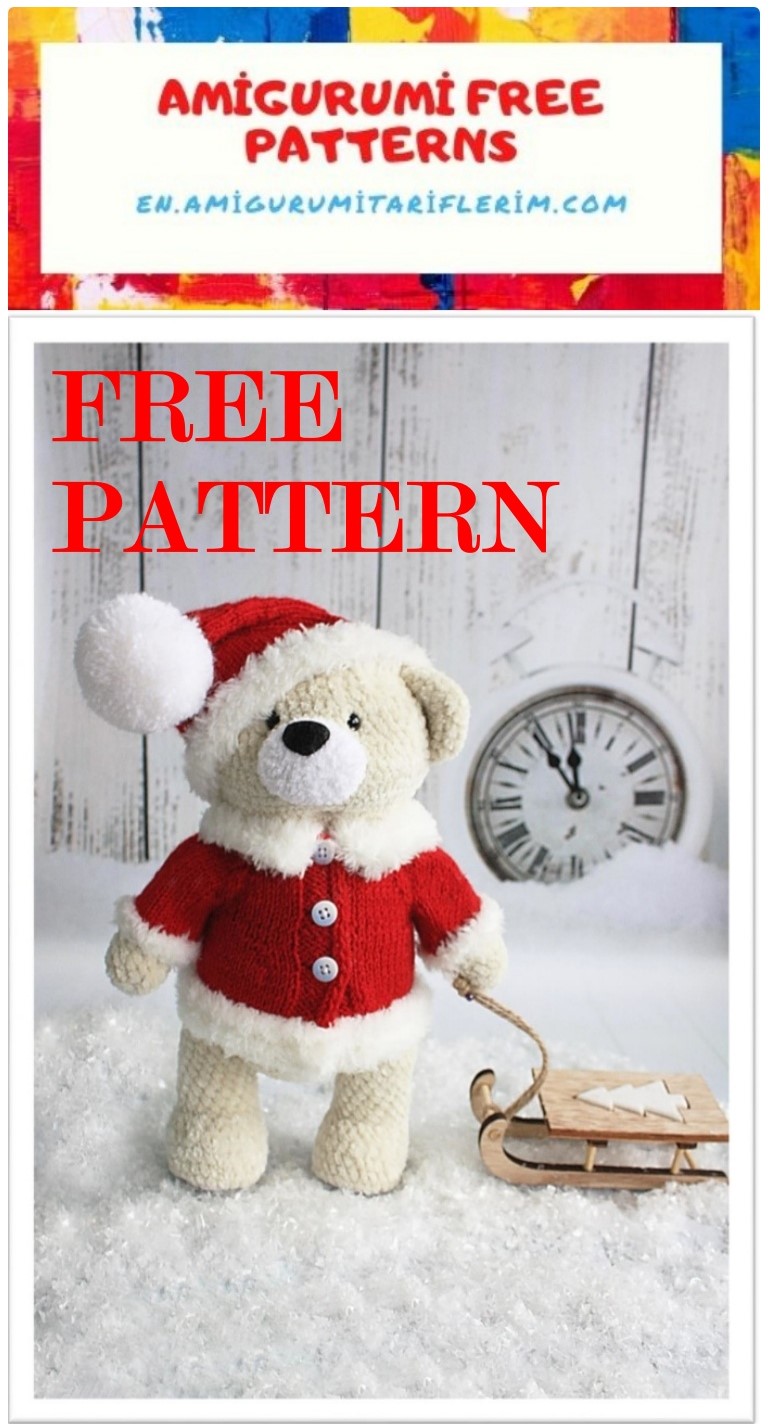
Christmas Bear Amigurumi Free Crochet Pattern
I will share with you the amigurumi teddy bear recipe that can be a great Christmas gift. This beautiful chrismas bear amigurumi pattern is waiting for you in this article.
I wish you pleasant work.
Material used:
- Yarn: Nako Lily (100g – 180m, 100% polyester), color 6651 cream – 1 skein, body bears.
Alize Lanagold Classik (100g – 240m, 49% wool, 51% acrylic), color 55 white – 1 skein, foot
Alize Softy (50g – 115m, 100% micropolyester), color 55 white – 1 skein, for nose
Alize Superlana klasik (100g – 280m, 25% wool, 75% acrylic), color 56 red – 1
a skein, for a coat and a hat.
YarnArt Jeans (50g – 160m, 55% cotton, 45% acrylic), color 26 red – 1 skein, for bag.
YarnArt Mink (50g – 75m, 100% polyamide), color 330 white – 1 skein, for coats and
hats.
Nako Mohair Delicate (100g – 500m, 40% mohair, 60% acrylic), color 6101 white – 1
skein, for pompons
- Filler (holofiber or synipuch)
- Hook No. 2.5
- Needles No. 2.5 (5 pcs) and circular needles on line No. 2.5 – 2 pcs.
- A needle with a wide eye for stitching details
- Thick cardboard (plastic) for the insoles (I use plastic covers for
cans)
- Cotter pins (2.5 cm) and discs (20 mm) for attaching handles and legs
- Buttons white-blue (11 mm) for a coat – 3 pieces
- Half-beads with fastening, for eyes (8 mm) – 2 pieces
- Spout with fastening, 20 mm wide, 15 mm high
- Scissors and nippers
- Yarn in the color of the bear’s body, for tightening the muzzle
- English clubs to hold parts together
Abbrevations
Ch – chain loop
ss – connecting post
Sc – single crochet
Inc – increase (knit 2 sc in 1 loop)
Dec – decrease (knit 2 sc together)
- – repeat the specified number of times
The number in brackets at the end of each row of the description indicates how much should be
loops in this row.
Face – front loop
purl – purl loop
k – edge (we remove the first loop, we knit the last one with the purl)
inc – an increase (from one loop we knit two, first for the front wall of the loop,
then behind the back)
dec – decrease (we knit two loops together)
Cotter pin connection:
What is a cotter pin joint that is traditionally used in knitted
a toy, in particular in bears. This is
flexible connection
handles and legs. They can rotate freely,
the connection is very reliable.
To make in your toy
we need a cotter pin: cotter pins
T-shaped, discs, pliers and toy parts.
Take the cotter pin, thread it into the disc and
we fix it in the first part of the toy.
Then we insert into the second part
cotter pin, we put on the disk on top and with
using pliers we twist the antennae
cotter pin clockwise. Everything is very just!
Legs (2pcs):
Feet (2 pcs):
White thread Alize Lanagold Classik:
1st row: we collect 7 ch, starting from the 2nd
crochet loops: 5 sc, 3 sc in
the last loop, then we knit along
the other side of the chain: 4 sc, inc (14)
We continue to knit in a circle.
2nd row: inc, 4 sc, 3 inc, 4 sc, 2 inc (20)
3rd row: 1 sc, inc, 4 sc, (1 sc, inc) * 3, 4
sc, (1 sc, inc) * 2 (26)
4th row: 2 sc, inc, 4 sc, (2 sc, inc) * 3, 4
sc, (2 sc, inc) * 2 (32)
Circle the foot on the plastic and
cut two plastic insoles. IN
I used the quality of plastic
ordinary plastic lids for
cans.
Change thread to Nako Lily cream
colors. Cut off the white thread, fasten
and hide.
5 row: for the front half of the loop
knit: 32 sc
6-7 row: 32 sc
8 row: 6 sc, (dec, 1 sc) * 6, dec, 6 sc (25)
9 row: 25 sc
10 row: 6 sc, 7 dec, 5 sc (18)
We insert the plastic insole into
foot:
11-20 row: 18 sc
21 row: (1 sc, dec) * 6 (12)
We stuff the leg tightly enough.
The tighter we pack, the more stable
there will be a bear.
Insert a disc between 20 and 21 rows
with a cotter pin on the side of the leg. About
the cotter pin can be
read at the beginning of mk.
22 row: dec * 6 (6)
23 row: dec to the end
We knit the second leg in the same way,
we only insert the cotter pin with
the opposite side of the leg. Here
we got such legs:
Hands (2 pcs):
1st row: dial 2 CH and knit in
second loop from hook 6 sc (6)
Continue knitting in a circle.
2nd row: inc * 6 (12)
3rd row: (inc, 3 sc) * 3 (15)
4-5 row: 15 sc
6 row: 4 ss, 11 sc (15)
7 row: 6 sc, 2 dec, 5 sc (13)
8 row: 6 sc, dec, 5 sc (12)
9-17 row: 12 sc
18 row: dec * 6 (6)
We fill our hand tightly. By hands
give the shape of the fold where we had
connecting posts.
Since our hand is narrow enough,
first, insert the disk from above:
And then between rows 17 and 18
cotter pin:
19 row: subtract to the end.
We knit the second hand in the same way:
Torso, head, neck:
1st row: dial 2 CH and knit in
second loop from hook 6 sc (6)
Continue knitting in a circle.
2nd row: inc * 6 (12)
3rd row: (sc, inc) * 6 (18)
4th row: (2 sc, inc) * 6 (24)
5 row: (3 sc, inc) * 6 (30)
6 row: (4 sc, inc) * 6 (36)
7 row: (5 sc, inc) * 6 (42)
8 row: (6 sc, inc) * 6 (48)
9th row: (7 sc, inc) * 6 (54)
10 row: (8 sc, inc) * 6 (60)
Between 8 and 9 rows of the trunk
insert the cotter pin from the leg:
Attention: since the toy fits on
spirals, it is possible that with one
side of the leg (arm or eye)
will need to be omitted or
raise. So that the legs (arms and eyes)
were on the same level.
From the inside we put on
cotter pin disc:
And we twist it very, very tight
cutters “antennae” from the cotter pin. Than
the tighter you twist, the more stable
Bear will stand.
Exactly parallel, with
opposite side of the torso
insert the cotter pin of the second leg:
And we fix it in the same way as the first leg.
We got the following legs:
11-20 row: 60 sc
21 row: (18 sc, dec) * 3 (57)
22 row: 57 sc
23 row: (17 sc, dec) * 3 (54)
24 row: 54 sc
25 row: (16 sc, dec) * 3 (51)
26 row: (15 sc, dec) * 3 (48)
27 row: (6 sc, dec) * 6 (42)
We fill the body tightly with filler.
Next, we attach the handles. At the level 26-27
rows, exactly over the legs, insert
cotter pins from handles:
Like the legs, we twist the “antennae” from
cotter pin with pliers:
28 row: (5 sc, dec) * 6 (36)
29 row: (4 sc, dec) * 6 (30)
30 row: (3 sc, dec) * 6 (24)
31 row: (sc, inc) * 12 (36)
32 row: (2 sc, inc) * 12 (48)
33 row: (3 sc, inc) * 12 (60)
34 row: (4 sc, inc) * 12 (72)
35-40 row: 72 sc
41 row: (10 sc, dec) * 6 (66)
42 row: (9 sc, dec) * 6 (60)
43 row: (8 sc, dec) * 6 (54)
44 row: (7 sc, dec) * 6 (48)
Insert between 42 and 43 rows eyes.
There should be
distance of 6 loops or 3 cm:
45 row: (6 sc, dec) * 6 (42)
46 row: (5 sc, dec) * 6 (36)
47 row: (4 sc, dec) * 6 (30)
48 row: (3 sc, dec) * 6 (24)
49 row: (2 sc, dec) * 6 (18)
50 row: (sc, dec) * 6 (12)
51 row: dec * 6 (6)
52 row: dec to the end.
Straighteners:
Needle with thread for knitting (color
the bear itself), we introduce on the neck,
in the middle, as shown in the photo:
We fix the thread and display it near
outer corner of the right eye:
Slightly tighten, then grab
one loop and re-insert the needle and
we display it on the neck. Slightly tighten.
Grab the loop on the neck again and
remove the needle near the outer corner left eye:
You can also repeat the tightening, but
you need to pull down slightly. A thread
cut and hide.
We got this form muzzles:
The eyes seem to be slightly depressed.
Nose:
We knit with Alize Softy white yarn:
1st row: dial 2 CH and knit in
second loop from hook 6 sc (6)
Continue knitting in a circle.
2nd row: inc * 6 (12)
3rd row: (sc, inc) * 6 (18)
4th row: inchdc * 3, 6 sc, inchdc * 3, 6 sc (24)
5-6 row: 24 sc
Cut the thread, leaving 30 cm for
sewing.
Having counted two rows from above on the nose,
insert the nose:
On the inside, spout
fix:
We attach the nose to the
muzzle:
We carefully sew on our nose:
At the end, the spout needs to be slightly filled:
Below, in the middle of the nose, we
we make a slight tightening, as shown in
Our muzzle is ready:
Ears (2 pcs):
1st row: dial 2 CH and knit in
second loop from hook 6 sc (6)
Continue knitting in a circle.
2nd row: inc * 6 (12)
3rd row: (sc, inc) * 6 (18)
4th row: (2 sc, inc) * 6 (24)
5-6 row: 24 sc
Cut the thread, leaving 30 cm for sewing.
Fold the ear in half and
sew to the head, from about
center counting 4 rows:
From the inside of the ear, too sew on:
Sew the second ear in the same way:
Tail:
1st row: dial 2 CH and knit in
second loop from hook 6 sc (6)
Continue knitting in a circle.
2nd row: inc * 6 (12)
3rd row: (sc, inc) * 6 (18)
4-5 row: 18 sc
Cut the thread, leaving 30 cm for sewing.
We attach with English clubs
behind our tail and sew on:
At the end, fill the tail lightly, and we sew to the end:
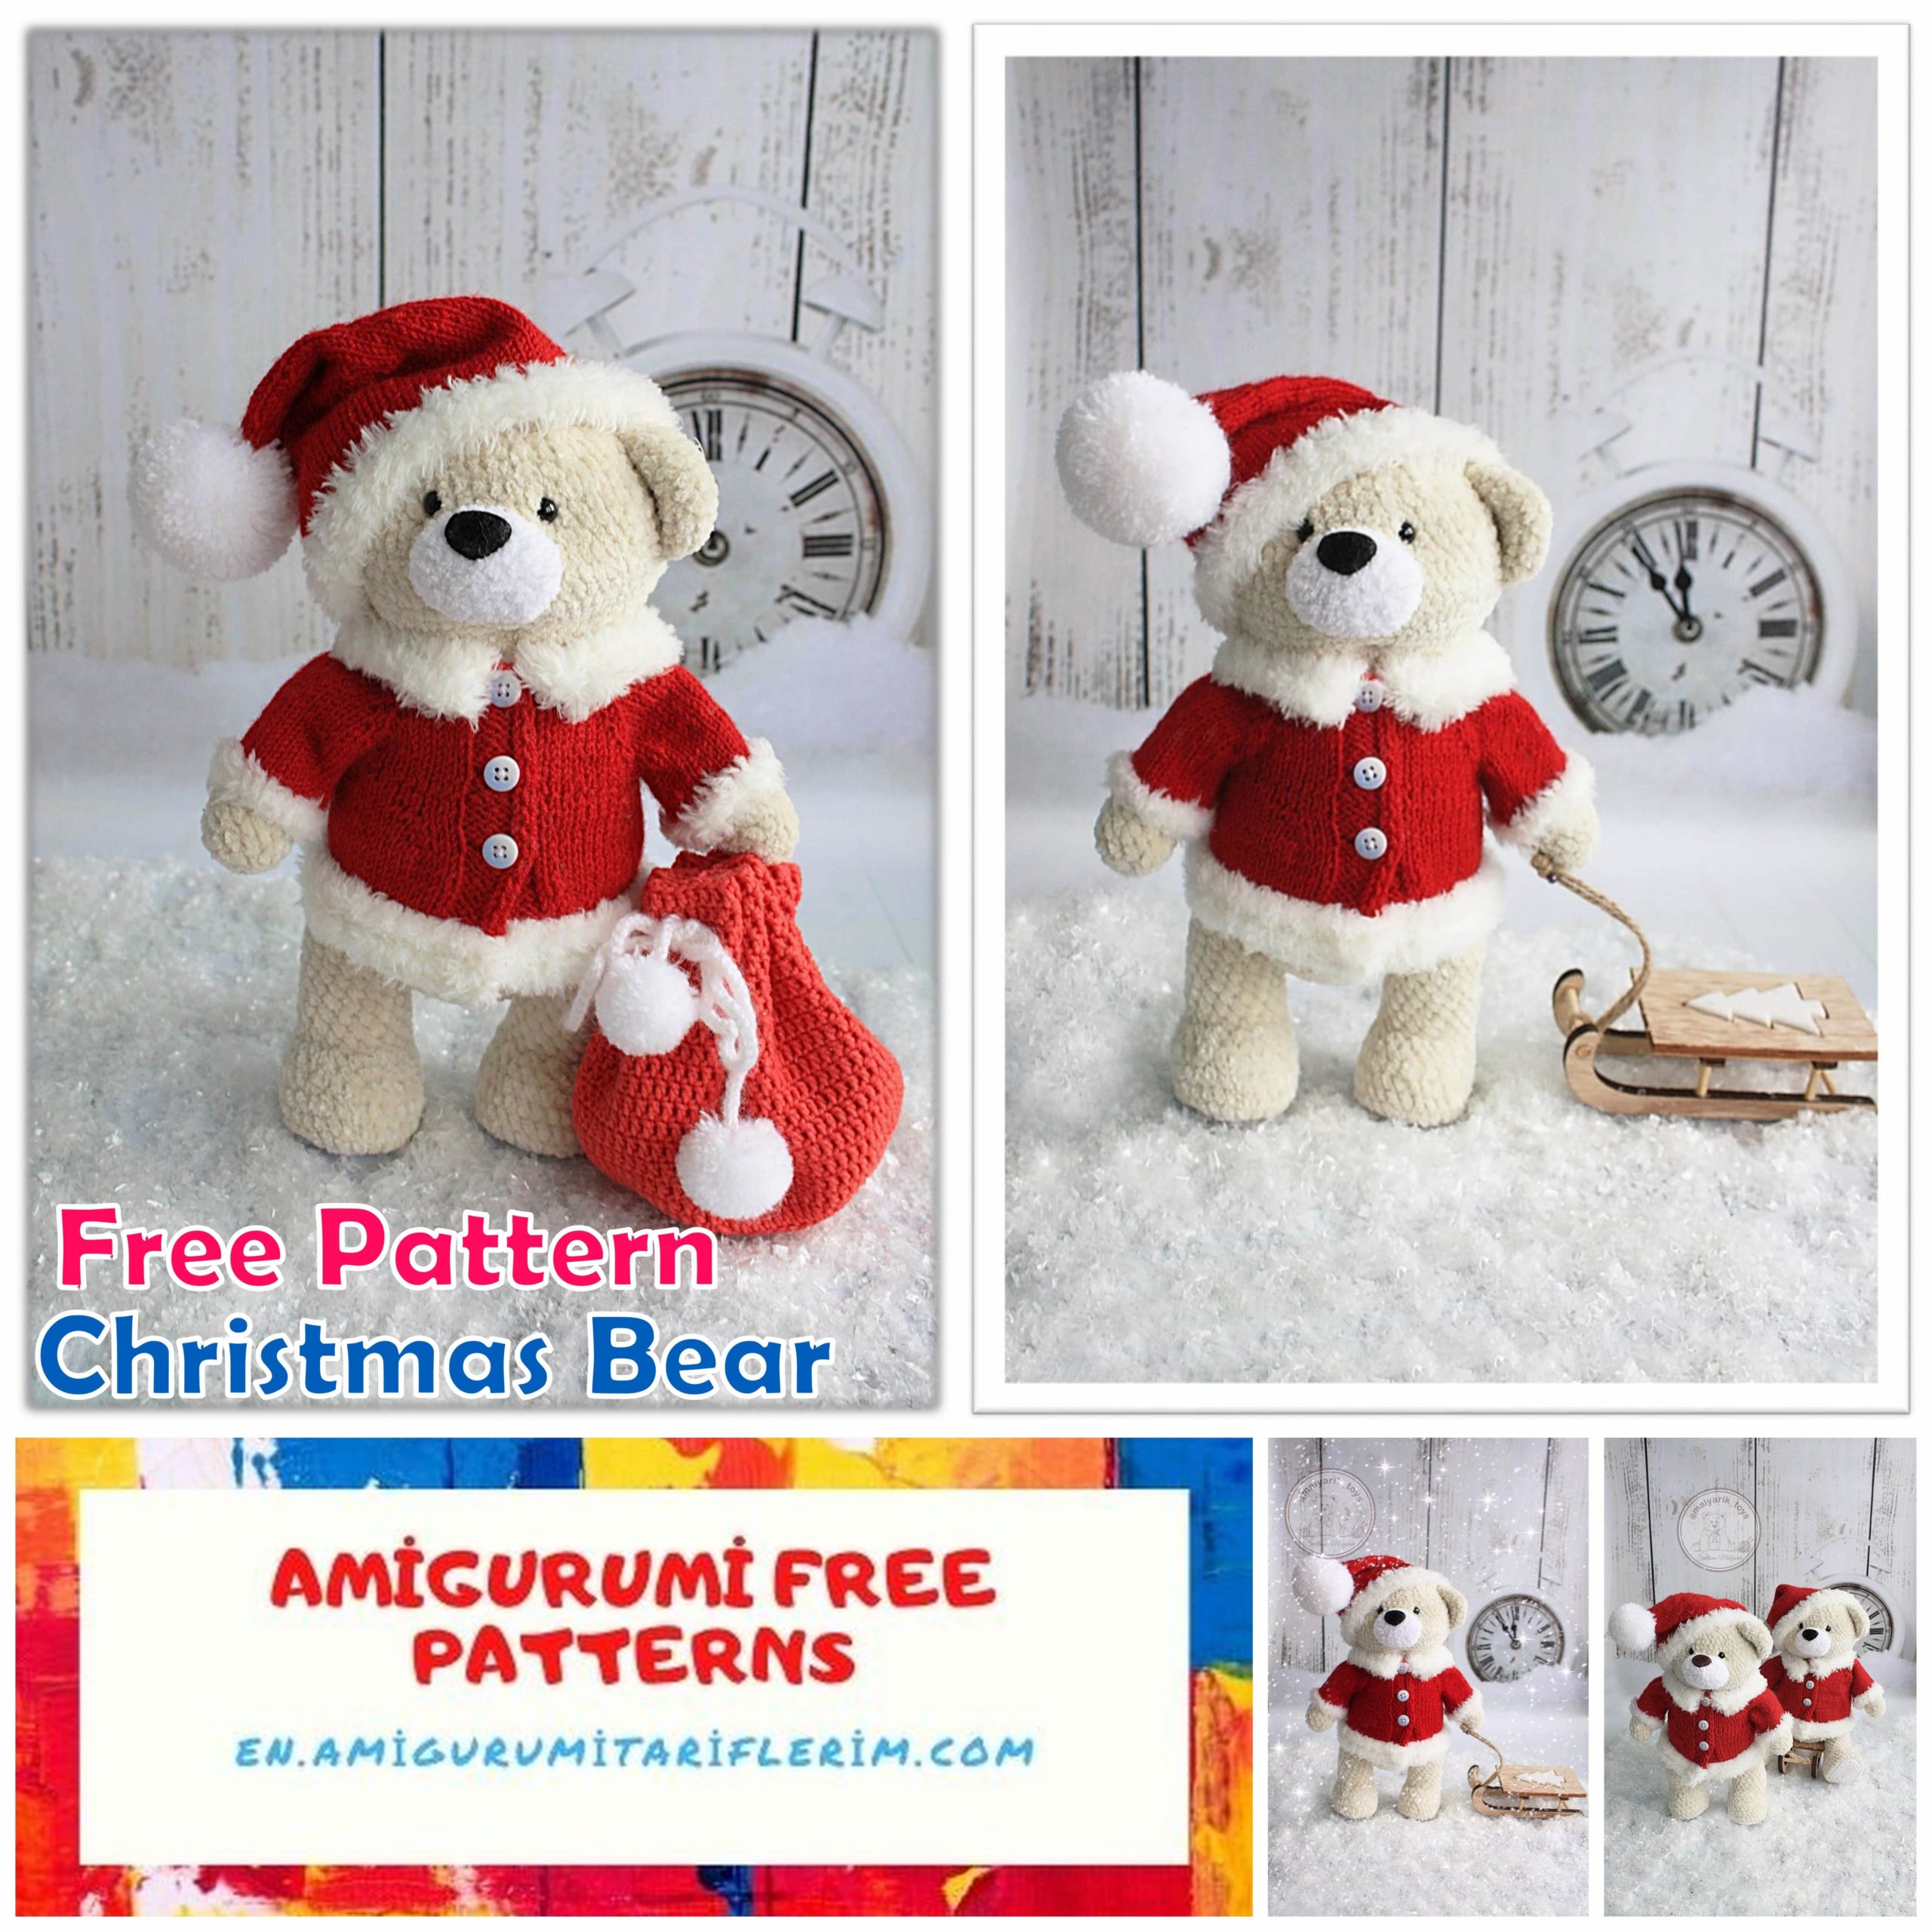
Well, our bear is ready!
It remains to tie a kit for him clothes …
Set of clothes:
First of all, I want to say
when we knit clothes we always need it
try on. Otherwise it might turn out
so that the kit turns out to be large or
small. Everyone knits differently: someone
freely, someone denser. If a
feel that nevertheless, for example,
coat is not enough, “step back” a little
from the scheme proposed in this
master class, and add extra
loop. In general, a flight of fantasies and
forward…
Let’s start this kit with a hat.
Beanie:
(YarnArt Mink white yarn,
yarn Alize Superlana klasik red
colors, stocking needles No. 2.5 – 5 pieces,
scissors)
With a white thread we collect 70
loops and distribute them on 4 knitting needles
(17 + 18 + 17 + 18).
Then we knit in a circle.
1 row: 70 persons
2-5 row: (1 person, 1 out) * 35 (70)
Change the thread to red. White
cut off, fix and hide.
6-38 row: 70 persons
39 row: (5 persons, dec) * 10 (60)
40-43 row: 60 persons
44 row: (4 persons, dec) * 10 (50)
45-48 row: 50 persons
49 row: (3 persons, dec) * 10 (40)
50-53 row: 40 persons
54 row: (2 persons, dec) * 10 (30)
55-58 row: 30 persons
59 row: (1 persons, dec) * 10 (20)
60-63 row: 20 persons
In the next row, using
hook, remove all loops from the needles by one a thread.
Pull off the top of the cap.
Turn the hat on the wrong side
side and tie this thread tight knot.
Attention: do not pull the thread too much
otherwise it may break.
Pompon:
(Nako Mohair Delicate white yarn
colors, hook, scissors).
We take a white thread and wind it on
fingers in a thick layer.
Then we thread the hook between
middle and ring finger:
We grab the cut off thread, length
30 cm.And pull it to another
side. With this thread we tie our bunch.
Next, remove the bundle from the hand. AND
cut the threads on the sides with scissors.
It turned out like this pompom:
We begin to trim it. Cut off
threads about 1.5 cm to our
the pompom was tight. The threads by which
tied our pom-pom, do not touch.
For the remaining white threads
tie the pompom to our
hat. We put the hook through
loops at the end of the cap and
grab the white thread:
We do the same with the second end
white thread. We pass it with
the opposite side.
We tie our threads to a strong
knot and cut to length for a pompom:
Our hat is ready:
Coat:
(YarnArt Mink white yarn, yarn Alize Superlana klasik red colors, circular needles No. 2.5 – 2 pieces, scissors, buttons – 3 pcs)
We begin to knit a coat with “raglan”,
back rows. According to the rules
knitting: first outer loop
just take off, the last
we knit purl. When
knitting, we will observe this too rule.
Cast on 58 stitches.
1 row: k, 1 knit, 4 purl, 7 knit, yarn, 1
knit, yarn, 7 knit, yarn, 1 knit, yarn,
14 knit, yarn, 1 knit, yarn, 7 knit, yarn, 1 knit, yarn, 7 knit, 4 purl, 1 knit, to (66)
In the next row we will knit button hole.
2nd row: k, 1 purl, 1 knit, close 2 loops,
55 purl, 4 knit, 1 purl, k (64)
3 row: k, 1 knit, 4 purl, 8 knit, yarn, 1 knit, yarn, 9 knit, yarn, 1 knit, yarn, 16 knit, yarn, 1 knit, yarn, 9 knit, yarn, 1 knit, yarn, 8 knit, 1 purl, 2 nakida, 1 purl, 1 knit, k (74)
4th row: k, 1 purl, 4 knit, 62 purl, 4 knit, 1 purl, k (74)
5 row: k, 1 knit, 4 purl, 9 knit, yarn, 1 knit, yarn, 11 knit, yarn, 1 knit, yarn, 18 knit, yarn, 1 knit, yarn, 11 knit, yarn, 1 knit, yarn, 9 knit, 4 purl, 1 purl, k (82)
6 row: k, 1 purl, 4 knit, 70 purl, 4 knit, 1 purl, k (82)
7 row: k, 1 knit, 4 purl, 10 knit, yarn, 1 knit, yarn, 13 knit, yarn, 1 knit, yarn, 20 knit, yarn, 1 knit, yarn, 13 knit, yarn, 1 knit, yarn, 10 knit, 4 purl, 1 purl, k (90)
8 row: k, 1 purl, 4 knit, 78 purl, 4 knit, 1 purl, k (90)
9th row: k, 1 knit, 4 purl, 11 knit, yarn, 1 knit, yarn, 15 knit, yarn, 1 knit,yarn, 22 knit, yarn, 1 knit, yarn, 15 knit, yarn, 1 knit, yarn, 11 knit, 4 purl, 1 purl, k (98)
10 row: k, 1 purl, 4 knit, 86 purl, 4 knit, 1 purl, k (98)
11 row: k, 1 knit, 4 purl, 12 knit, yarn, 1 knit, yarn, 17 knit, yarn, 1 knit, yarn, 24 knit, yarn, 1 knit, yarn, 17 knit, yarn, 1 knit, yarn, 12 knit, 4 purl,1 purl, k (106)
12 row: k, 1 purl, 1 knit, close 2 loops, 94 purl, 4 knit, 1 purl, to (104) (In this a row of hole for a button)
13th row: k, 1 knit, 4 purl, 13 knit, yarn, 1 knit, yarn, 19 knit, yarn, 1 knit, yarn, 26 knit, yarn, 1 knit, yarn, 19 knit, yarn, 1 knit, yarn, 13 knit, 1 purl, 2 yarns, 1 purl, 1 knit, k (114)
14th row: k, 1 purl, 4 knit, 102 purl, 4 knit, 1purl, k (114)
15 row: k, 1 knit, 4 purl, 14 knit, 23 loops transfer to an additional spoke, 28 knit, 23 stitches transfer to extra knitting needle, 14 knit, 4 purl, 1 knit, k (68)
16 row: k, 1 purl, 4 knit, 14 purl, 5 yarns, 28 purl, 5 yarns, 14 purl, 4 knit, 1 purl, k (78)
We make nakida like this thread loops:
17 row: k, 1 knit, 4 purl, 7 knit, inc, (12 knit, inc) * 4, 6 knit, 4 purl, 1 knit, k (83)
18 row: k, 1 purl, 4 knit, 71 purl, 4 knit, 1 from, to (83)
These are the holes for the sleeves we have turned out:
19 row: k, 1 knit, 4 purl, 8 knit, inc, (13 knit, inc) * 4, 6 knit, 4 purl, 1 knit, k (88)
20 row: k, 1 purl, 4 knit, 76 purl, 4 knit, 1 from, to (88)
21 row: k, 1 knit, 4 purl, 9 knit, inc, (14 knit, inc) * 4, 6 knit, 4 purl, 1 knit, k (93)
22 row: k, 1 purl, 1 knit, 2 loops close, 81 purl, 4 knit, 1 out, to (91) (button hole in this row)
23 row: k, 1 knit, 4 purl, 81 knit, 1 purl, 2 nakida, 1, purl, 1 knit, k (93)
24,26,28,30 row: k, 1 purl, 4 knit, 81 purl, 4 knit, 1 purl, k (93)
25,27,29 row: k, 1 knit, 4 purl, 81 knit, 4 purl, 1 knit, k (93)
31 row: close all loops.
Cut the red thread, fix and hide.
32 row: attach a white thread and we knit by the front half of the loop:
93 sc, CH, turn (93)
33-35 row: 93 sc, CH, turn (93)
Row 36: 93 sc
Sleeve:
We attach a red thread and knit:
1 row: on our extra spoke
there are 23 loops and we also
we get 9 loops from the bottom of the sleeves,
knitting them with knit.
So we have all the loops
distributed on 4 knitting needles, 8 each
loops on each.
Row 2-11: 32 knit
Change the thread to white. Red
cut, fasten and hide.
12-14 row: 32 knit
15 row: close all loops.
Similarly, we knit the second sleeve:
Collar:
Attach a white thread from above
coat, from the purl side, like
shown in the photo:
and we knit:
1st row: 52 sc
2nd row: (9 sc, inc, 10 sc, inc) * 2, 9 sc, inc (57)
3rd row: inc, 10 sc, (inc, 11 sc, inc, 10 sc) * 2 (62)
4th row: (11 sc, inc, 12 sc, inc) * 2, 11 sc, inc (67)
5 row: inc, 12 sc, (inc, 13 sc, inc, 12 sc) * 2 (72)
From the knit side, opposite
buttonholes, sew on 3
buttons.
Our coat is ready:
Bag:
(red YarnArt Jeans yarn,
yarn yarn Nako Mohair Delicate
white, hook number 2.5, needle, scissors)
1st row: dial 2 ch and knit in second loop from 6 sc hook
2 row: 2 sc in 1 loop – 6 times (12)
3rd row: 2 dc in 1 loop – 12 times (24)
4th row: (1 dc, 2 dc in 1 loop) * 12 (36)
5 row: (2 dc, 2 dc in 1 loop) * 12 (48)
6 row: (3 dc, 2 dc in 1 loop) * 12 (60)
7 row: (4 dc, 2 dc in 1 loop) * 12 (72)
8 row: behind the back half of the loop: (5 dc, 2 dc in 1 loop) * 12 (84)
9 row: (6 dc, 2 dc in 1 loop) * 12 (96)
10-27 row: 96 dc
You can tie the bag higher
while adding rows.
Lace:
Knit lace with white thread – Nako
Mohair Delicate. Leaving about 30 see, do CH:
Then that thread we left behind
we throw on the hook:
And we stretch the main thread through
formed 2 loops:
Then again the remaining thread
sketch out, and again the main
stretching out. And so we knit a lace up
the length you need. I managed
150 stitches or long
approx. 45 cm.
We thread the lace at the top
pouch. I was stepping back from the top edge
2 rows, but for the top
the pouch looked more beautiful
retreat better 3-4 rows. Lace
thread through every 5 loops:
Next, we make 2 small pom-poms,
as for a hat:
And with a needle we sew them to
ends of the lace:
Our bag is ready:
We dress our bear and admire
result!