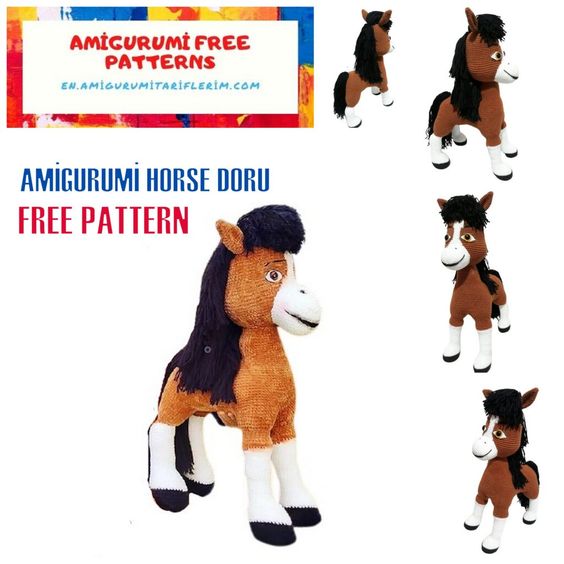
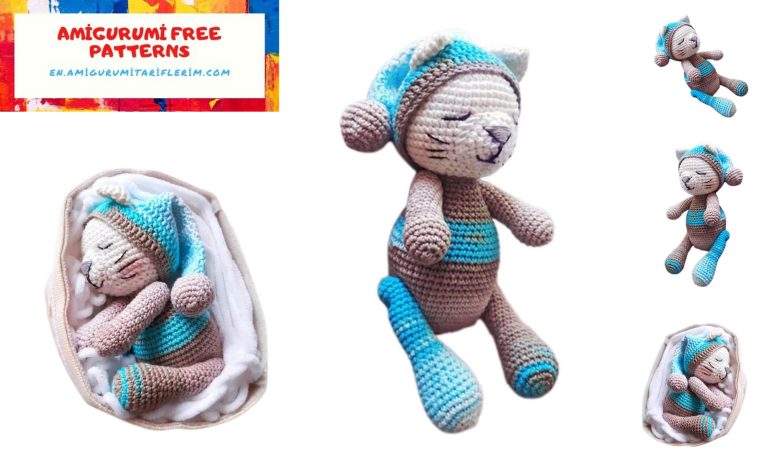
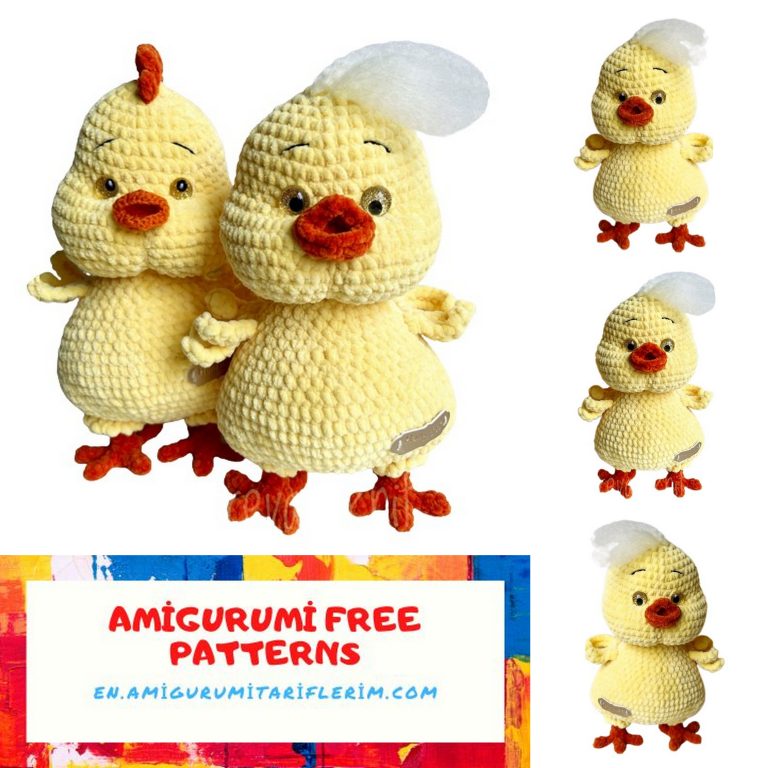
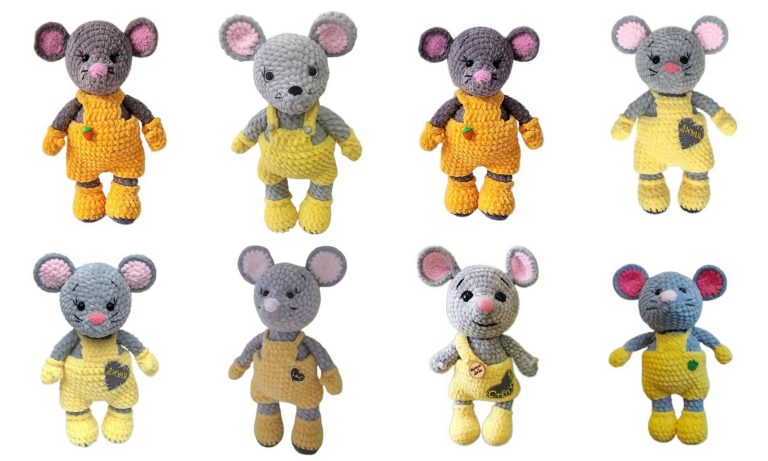
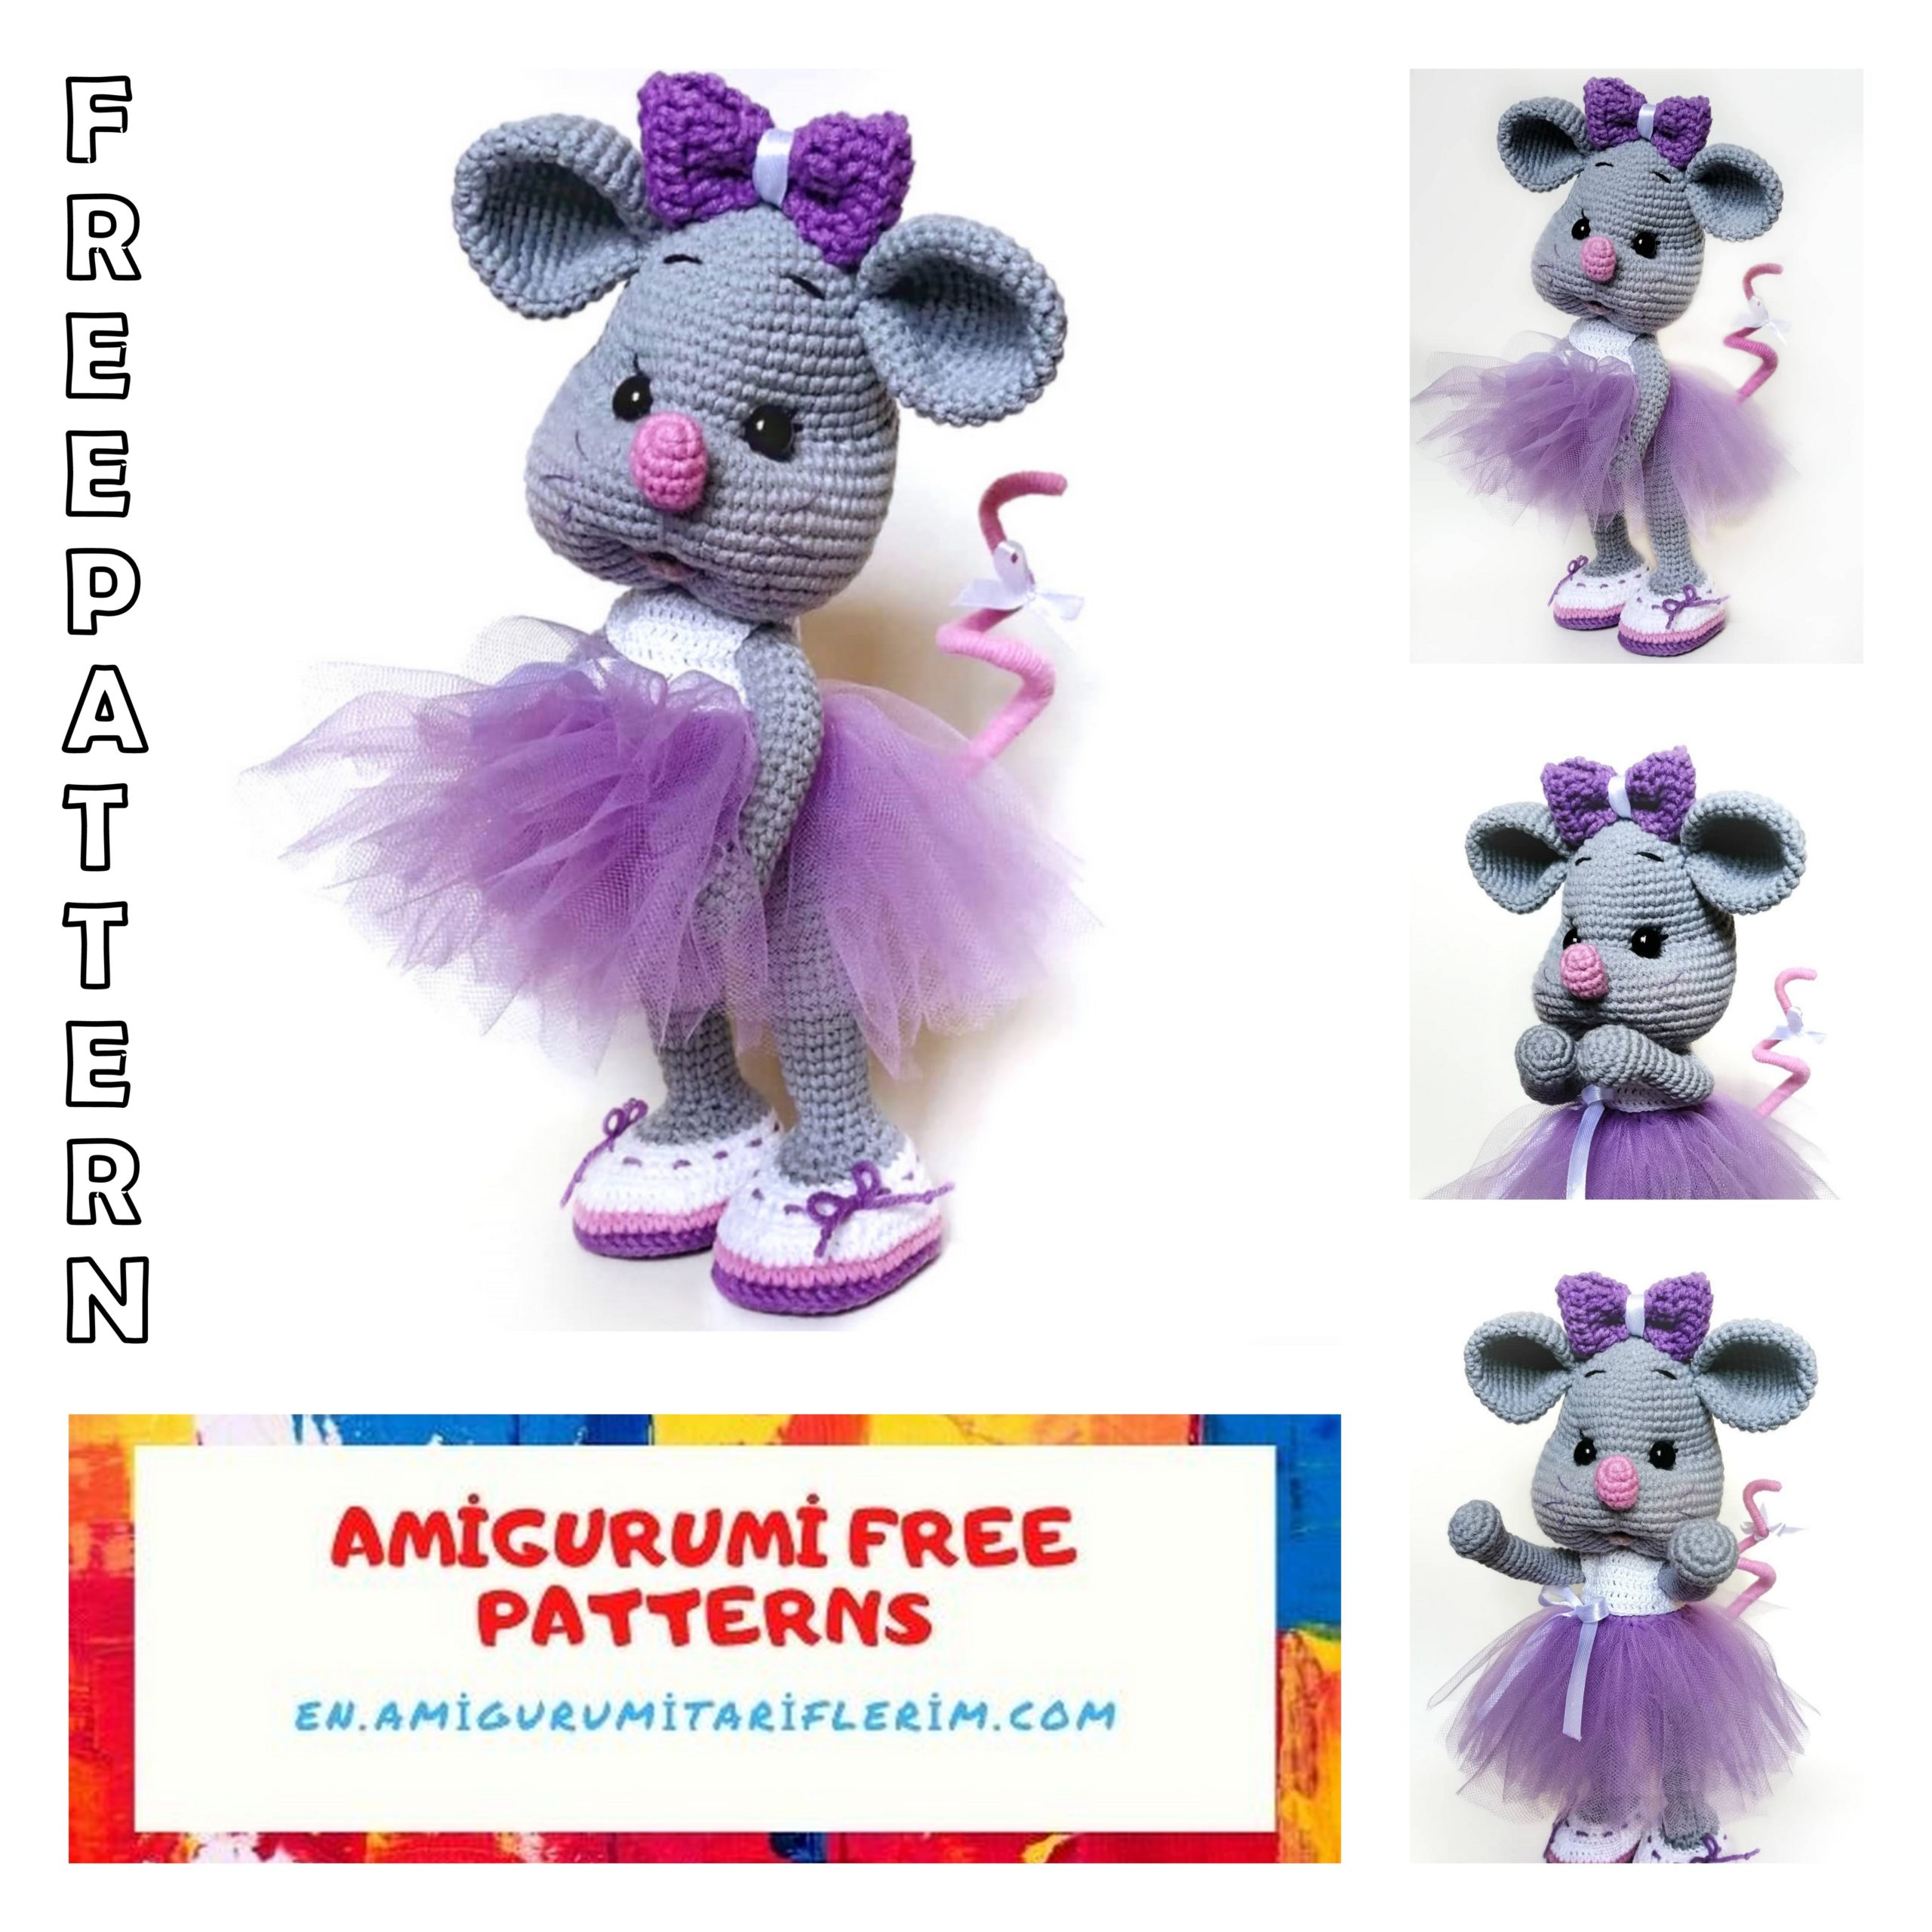
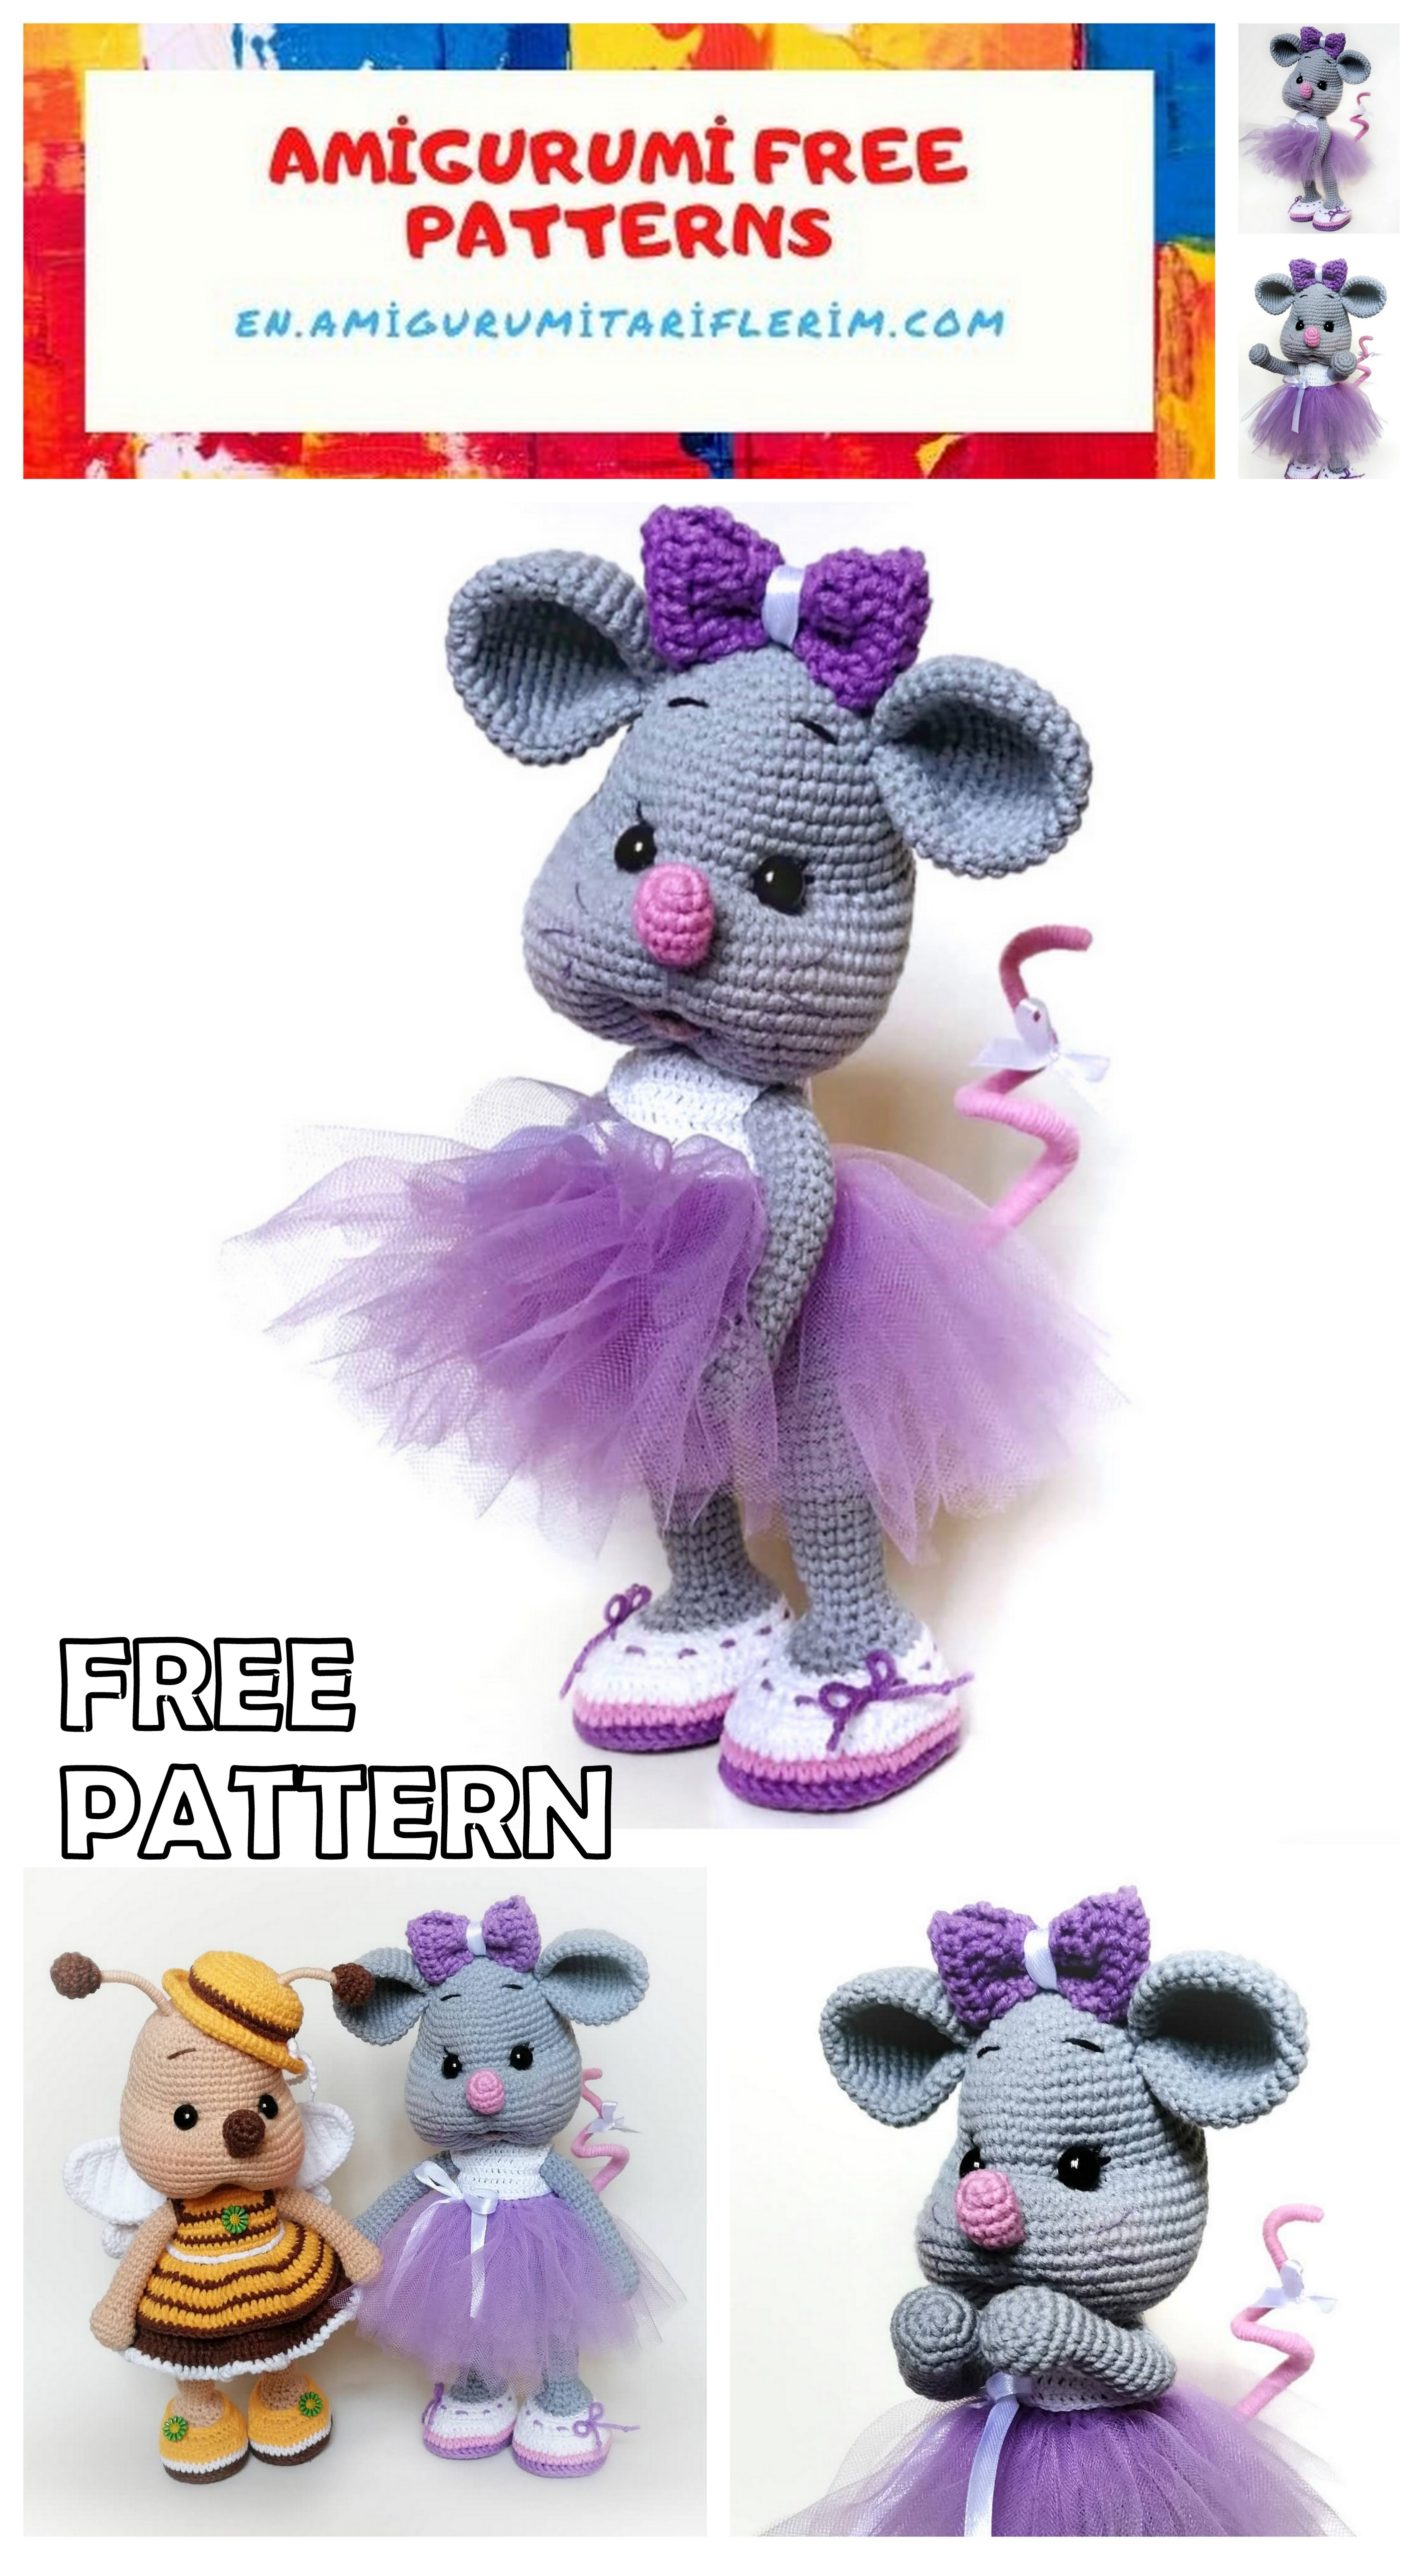
Cute Mouse Amigurumi Free Pattern
I continue to share the best quality amigurumi toy patterns with you for free. Today amigurumi cute mouse free pattern is waiting for you in this article.
ABBREVATİONS
CH –chain
SC – single crochet
DC – double crochet
HDC – half double crochet
İNC – increase (two columns are knitted in
one loop)
DEC – decrease (two columns are connected together)
PATTERN

Ears (2 pcs.)
1) 6 sc into magic ring
2) 6inc (12)
3) (1 sc, inc) * 6 (18)
4) 1 sc, inc, (2 sc, inc) * 5, 1 sc (24)
5) (3 sc, inc) * 6 (30)
6) 2 sc, inc (4 sc, inc) * 5, 2 sc (36)
7) (5 sc, inc) * 6 (42)
8-12) (5 rows) 42 sc
13) (5 sc, dec) * 6 (36)
14) 2 sc, dec, (4 sc, dec) * 5, 2 sc (30)
15) (3 sc, dec) * 6 (24)
16) 1 sc, dec, (2 sc, dec) * 5, 1 sc (18)
Finish knitting.
Leave the thread for sewing.
Fold the ears in half and sew the base.
Boots (2 pcs.)
1) we cast on 9 ch: from 2 loops from the hook 7 sc, and
3 sc in one loop, on the other side: 6 sc, inc (18)
2) 2 inc, 4 sc, 5 inc, 4 sc, 3 inc (28)
3) (1 sc, inc) * 2, 4 sc, (1 sc, inc) * 5, 4 sc, (1 sc, inc) * 3 (38)
4) (2 sc, inc) * 2, 4 sc, (2 sc, inc) * 5, 4 sc, (2 sc, inc) * 3 (48)
5) 48 sc
The sole of the boot is ready.
The soles must be steamed with an iron (through the fabric).
To make the transition from the sole to the sides of the boot at right angles, 6 row (48 sc)
We knit by the posts (not by the loops).
Next, knit in the usual way, for the loops of the previous row 7 and 8 rows without changes (48 sc).
Insert insoles and weighting agent (optional).
The frame can also be glued to the insole.
9) (6 sc, dec) * 6 (42)
10) 10 sc, 9 dec for back loop, 14 sc (33)
11) (9 sc, dec) * 3 (30)
12) 7 sc, 6dec, 11 sc (24)
We knit a boot, we begin to knit a leg in gray
13) behind the back loop (2 sc, dec) * 6 (18)
Then we knit according to the scheme (from the 13th row of the scheme).
We knit ss along the front loops of the 13th row, forming the edge of the boot.
Tail
We make the tail frame: cut off a piece of soft, not very thick wire of the required length and attach one side above the 9th row of the body to the main frame. In the next row, tie a wire in the center of the torso.
The withdrawn wire is tightly and carefully wrapped with yarn of the desired color, fixing the winding with glue (it is better to use the “moment crystal”):
– start the winding with the tip of the tail and lead to the body,
– then back from the body, but not reaching the tip 2/3 of the tail length,
– and again to the body.
Adjust the tension on the thread to create a smooth transition in the thickness of the tail.
Mouth We knit the lower lip with a turning row
1) З ch
2) 2 inc, ch (lifting loop) (4)
3) inc, 2 sc, inc (6)
When tightening the muzzle, we find a point in the center of the muzzle below the peephole by 9-10 rows (choose the most successful position of the mouth in the resulting mouse head), put a pin. We count 2 columns to the right and to the left and put on a pin. We pull these three points with the eyes and between ourselves.
We lay the thread from the center point to the point where the nose is located (we tighten it a little).
Sew the lower lip in the resulting recess.
Nose
1) 6 sc into magic ring
2) 6 inc (12)
3) 12 sc
4) 3 dec, 6 sc (9)
5) 3 dec, 3 sc (6)
Finish knitting. Leave the thread for sewing. Sew on between 19 and 20 rows of the head in the center.