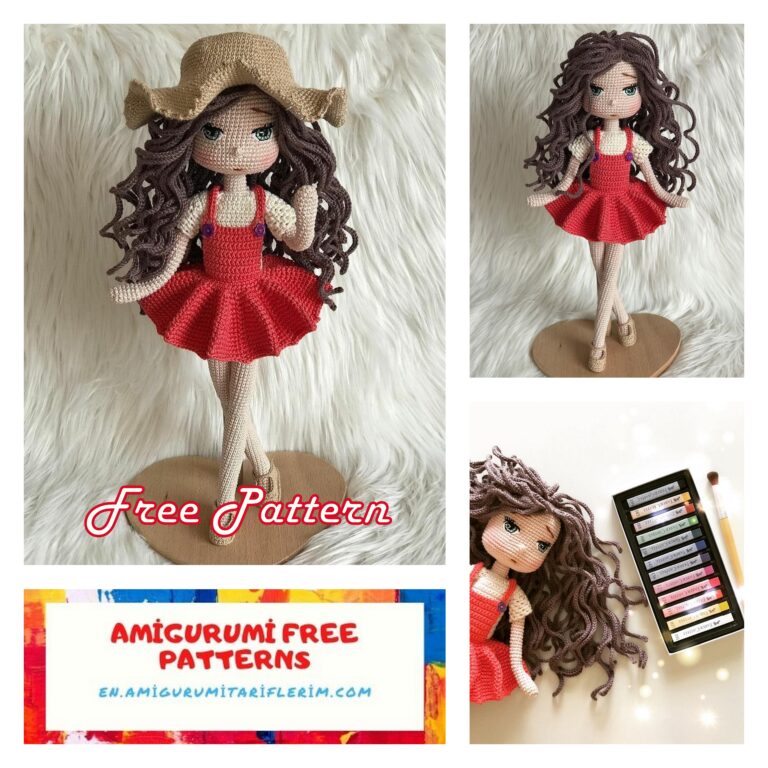
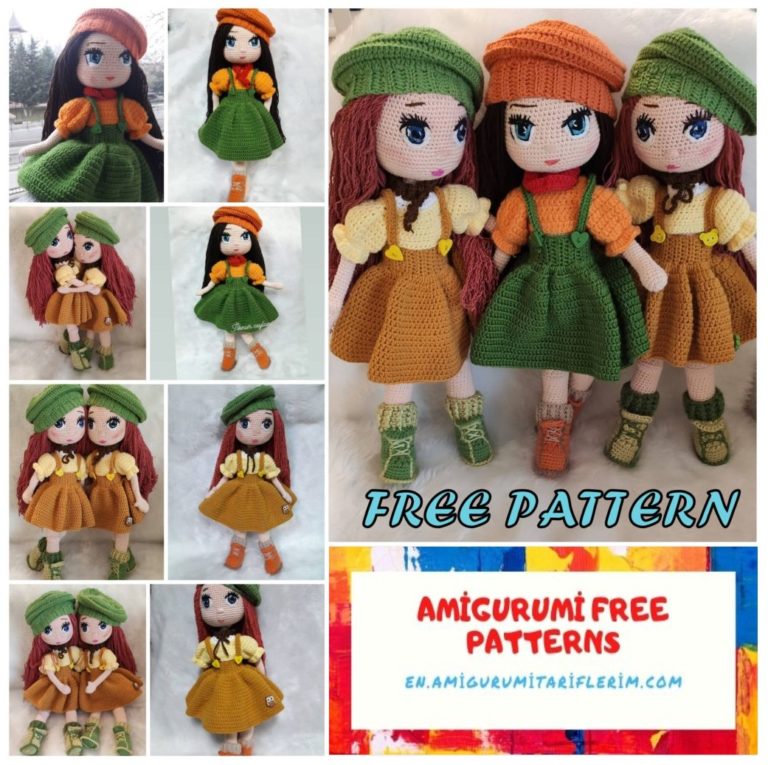
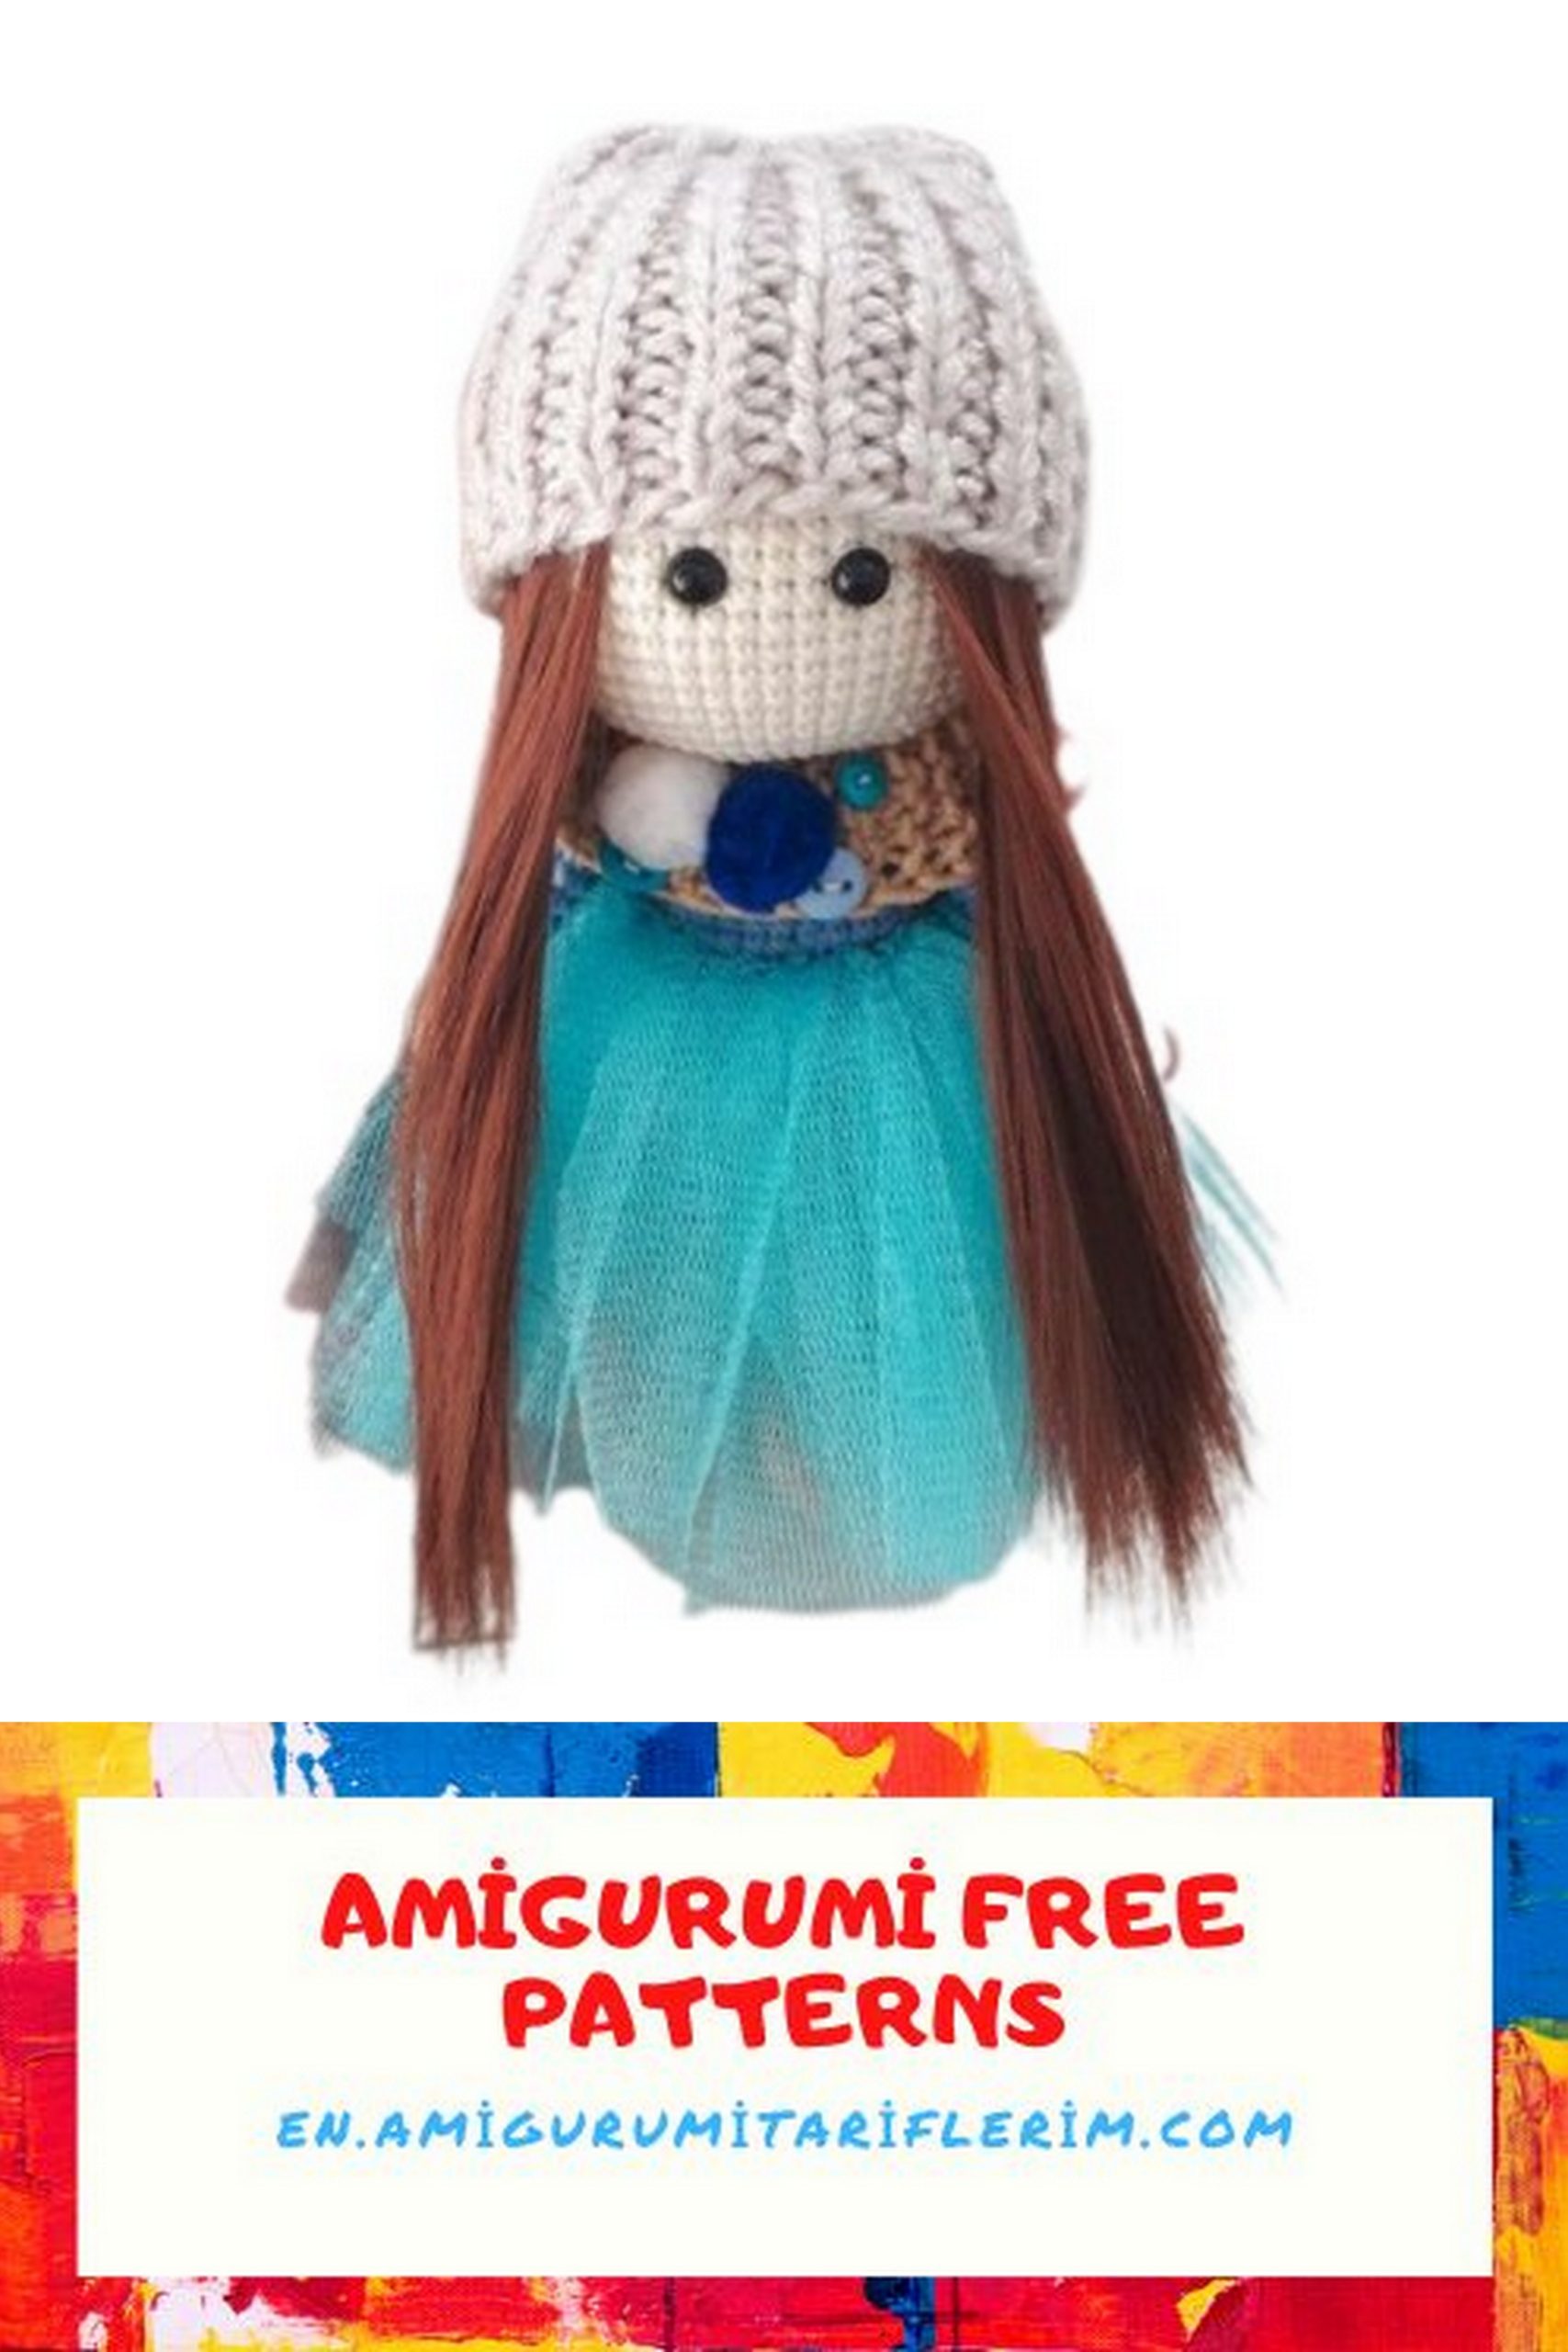
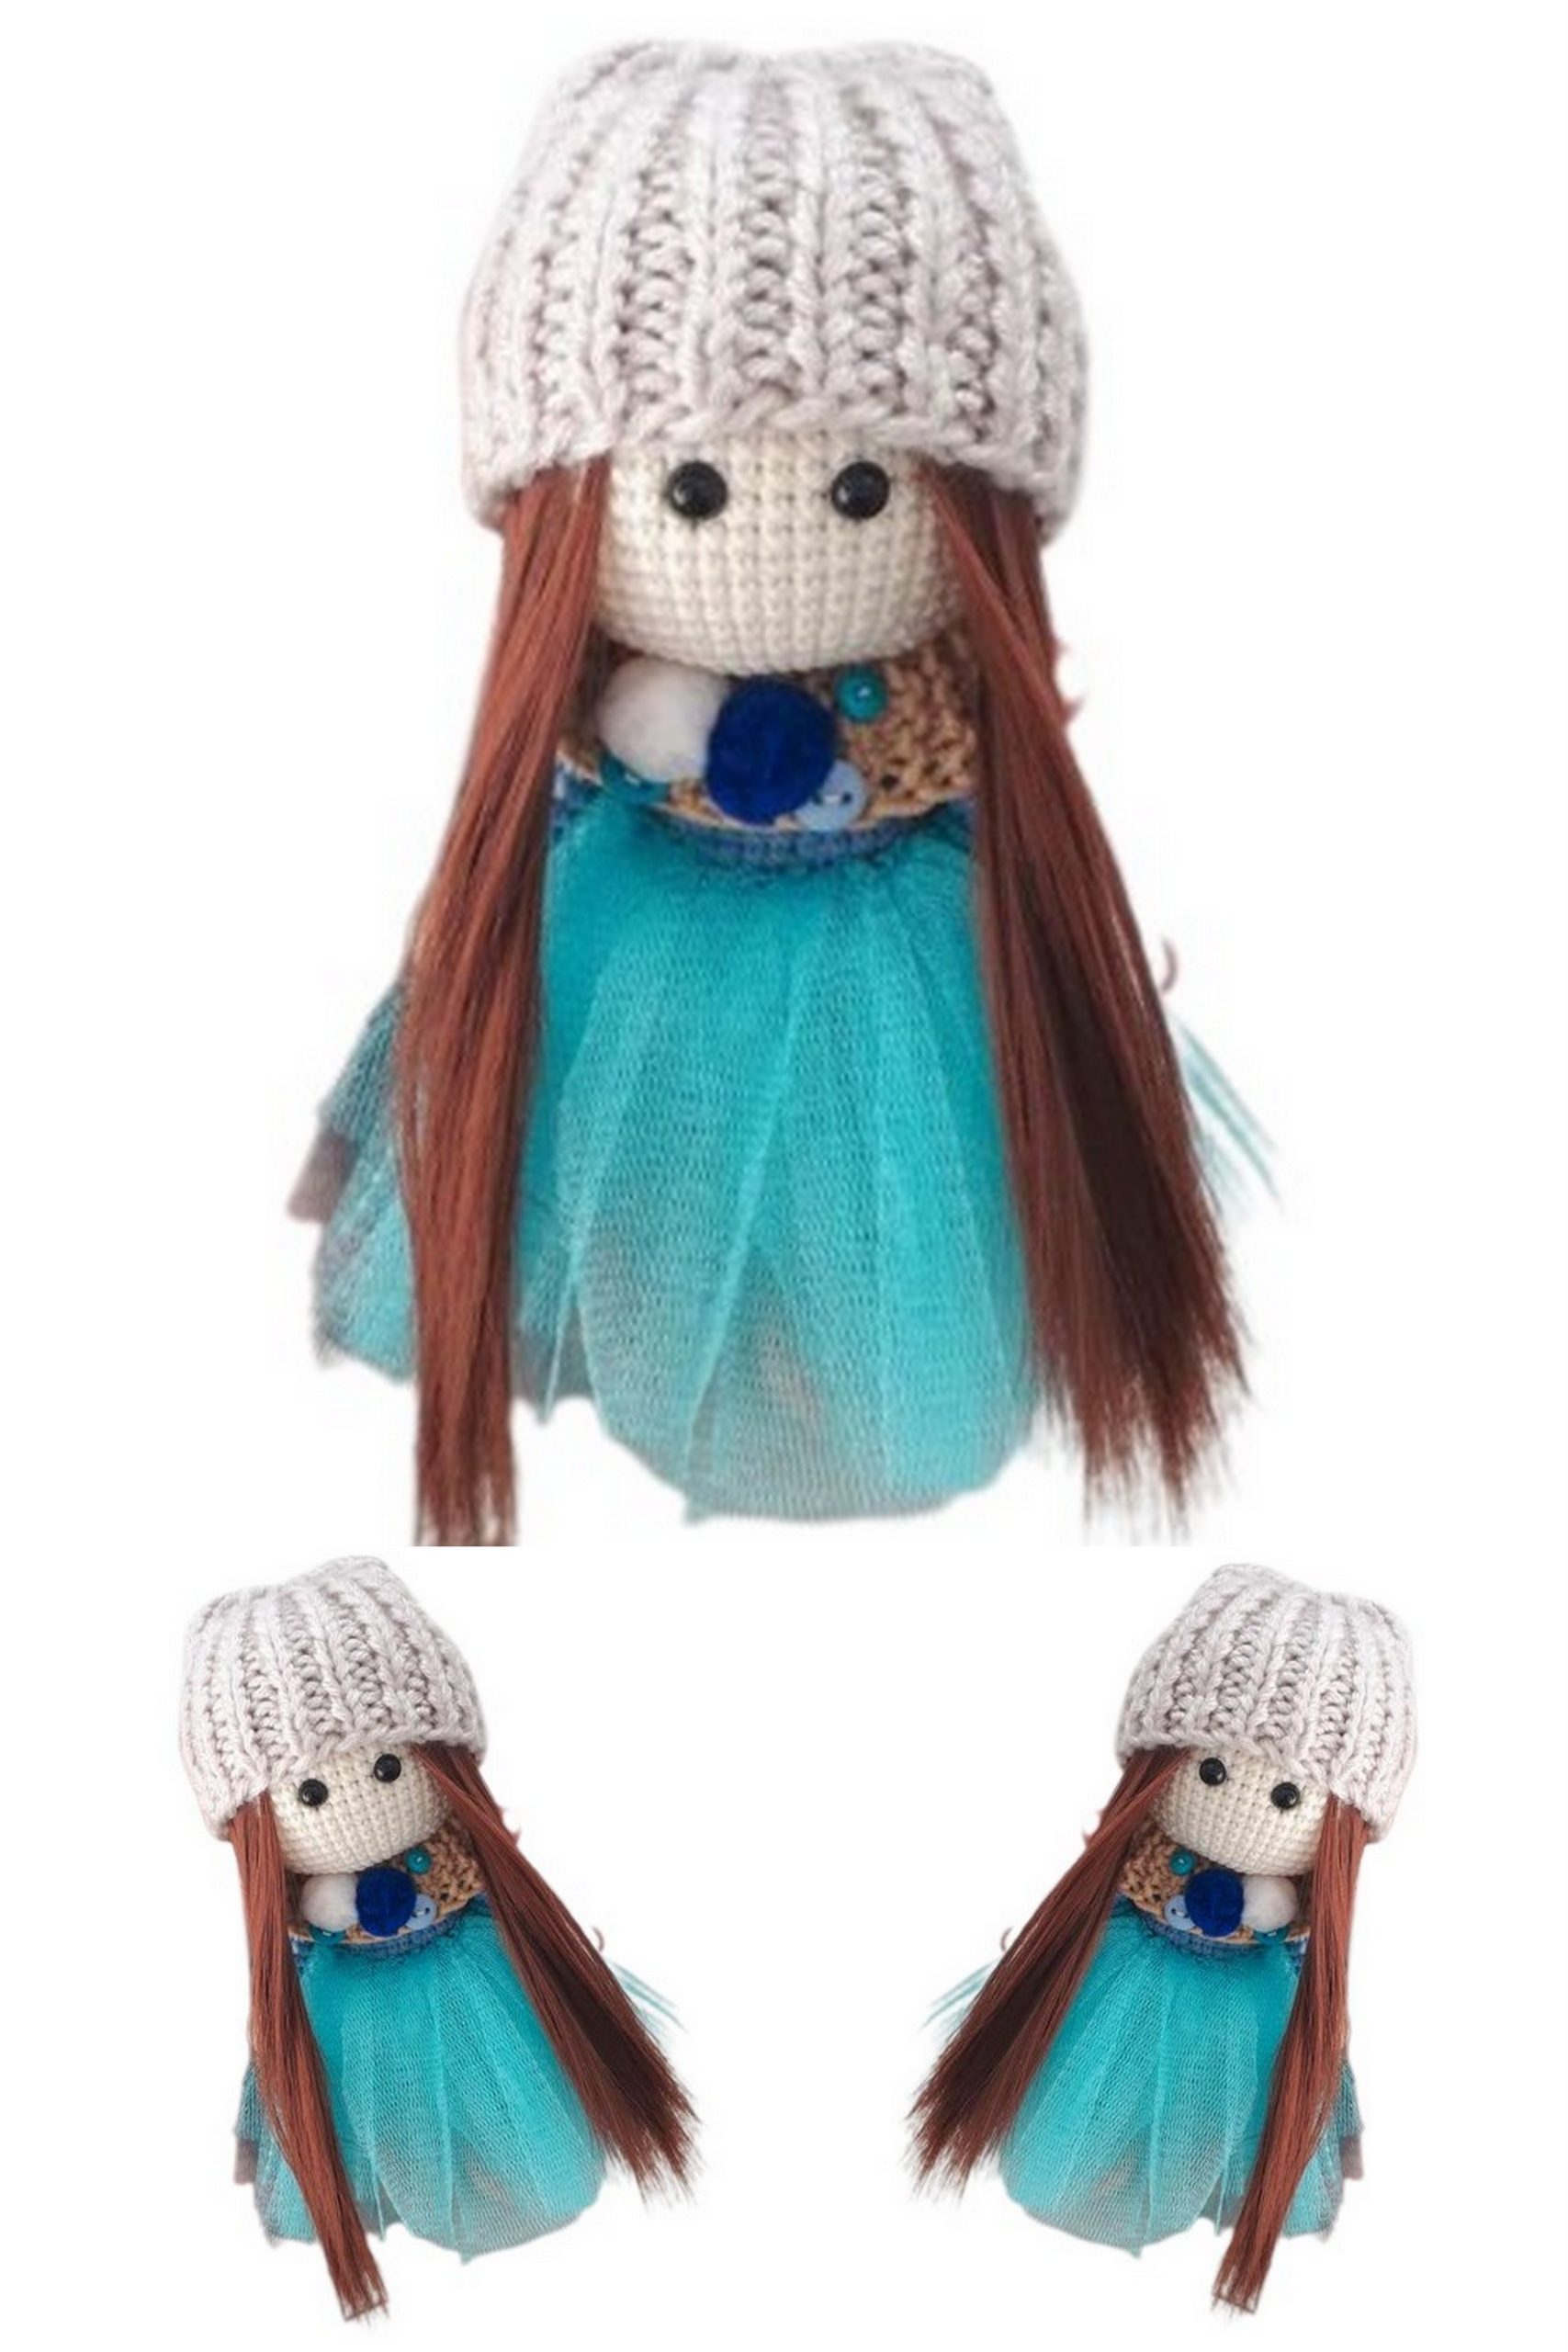
Free Tilda Doll Amigurumi Pattern: Craft Your Own Charming Crochet Doll
Welcome to our Tilda Doll Amigurumi free pattern, your gateway to crafting a captivating crochet doll full of charm and character. This pattern is tailored for crochet enthusiasts of all skill levels, providing step-by-step guidance to help you breathe life into this enchanting creation.
Amigurumi is a delightful and beloved crochet art form that allows you to fashion charming stuffed toys, and the Tilda Amigurumi Doll pattern is no exception. Whether you’re seeking to expand your crochet repertoire or gift a handmade treasure, this pattern promises a delightful and gratifying project.
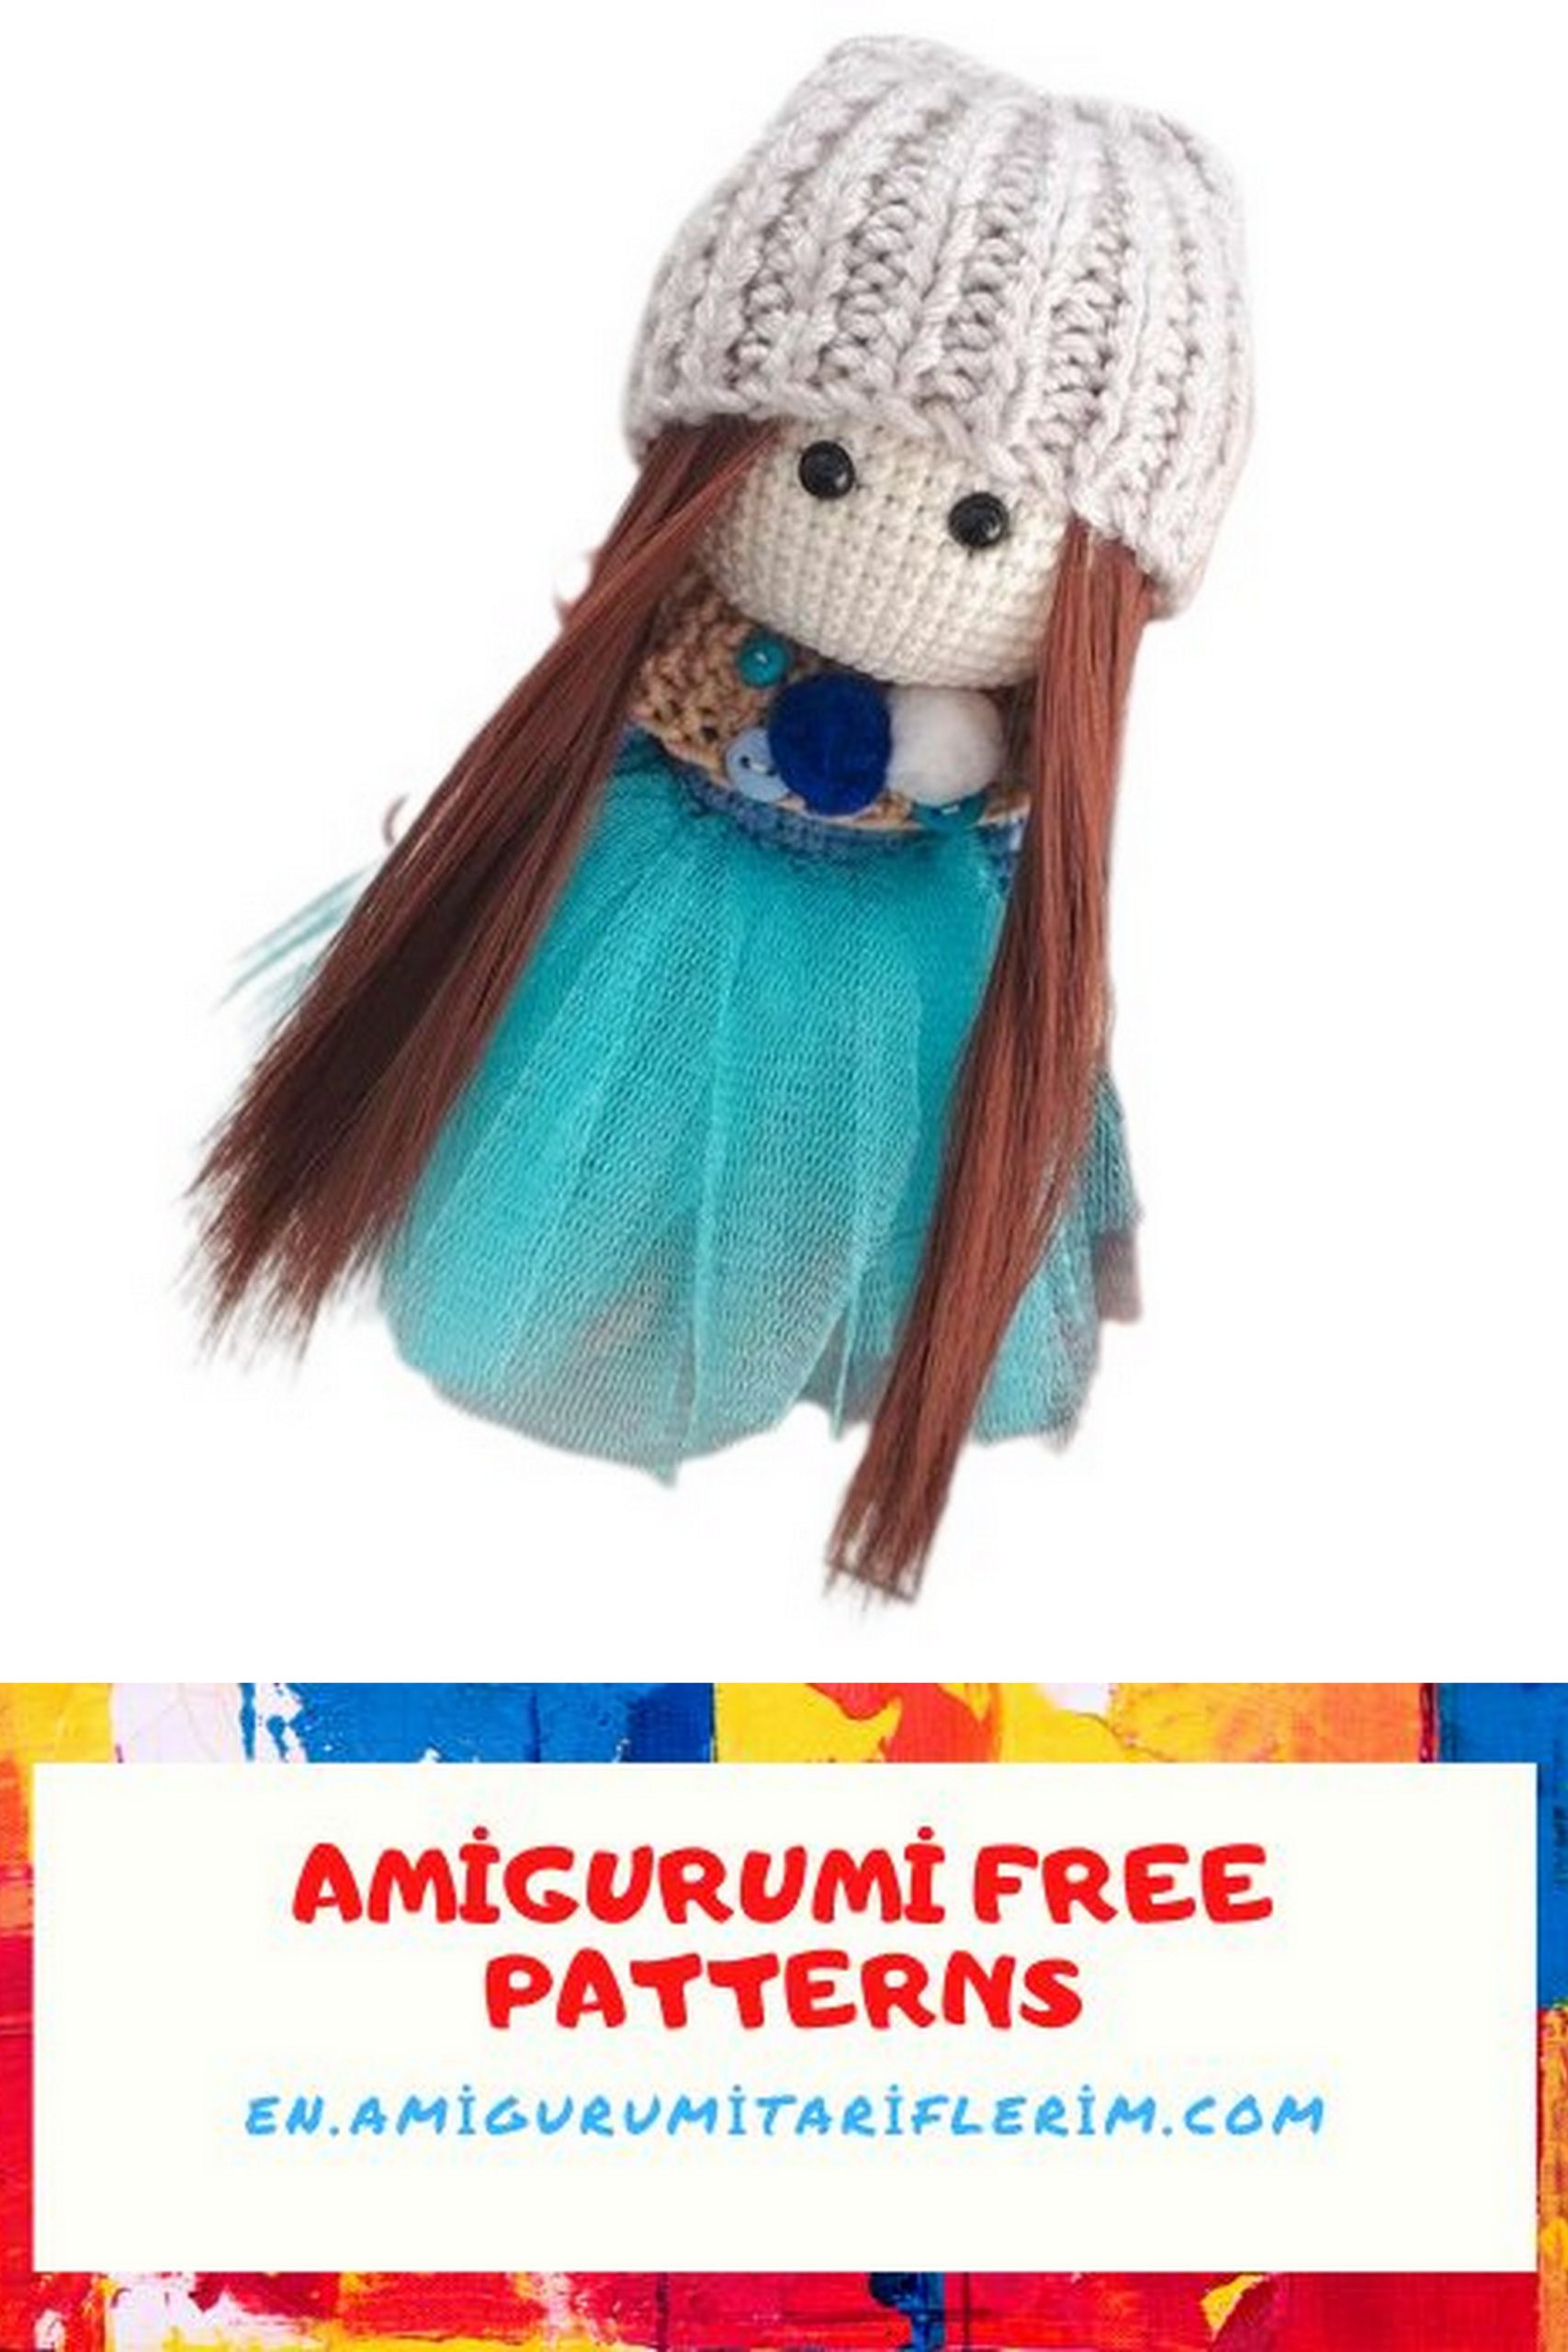
Our comprehensive instructions will walk you through the entire process, from crocheting the doll’s body to creating its distinctive outfit and accessories. Regardless of your crochet experience, this pattern offers an enjoyable and rewarding endeavor that culminates in a charming keepsake.
So, gather your crochet hooks, choose your preferred yarn hues, and embark on this whimsical amigurumi adventure. Your handcrafted Tilda Doll is destined to bring whimsy and joy to your crafting odyssey. Let’s embark on this creative crochet journey together, starting today!
Materials:
–YarnArt “Jeans” (50g/160m)
Colors:
07 beige – boots and cowl
48 sand – tights
15 blue – sweater
03 milk – head and hands
–Nako “Elit Baby” color 6792 (100g/250m) – hat.
–Crochet hook size 1.9
–Knitting needles size 2.5 for cowl and size 3.5 for hat
–2 cotton swabs for neck reinforcement
–2 pompoms and 3 buttons for cowl decoration
–Pair of 0.6cm safety eyes
–Tulle
–Approximately 30cm of hair for the doll’s hair, 15cm for the bangs
–Polyfill stuffing
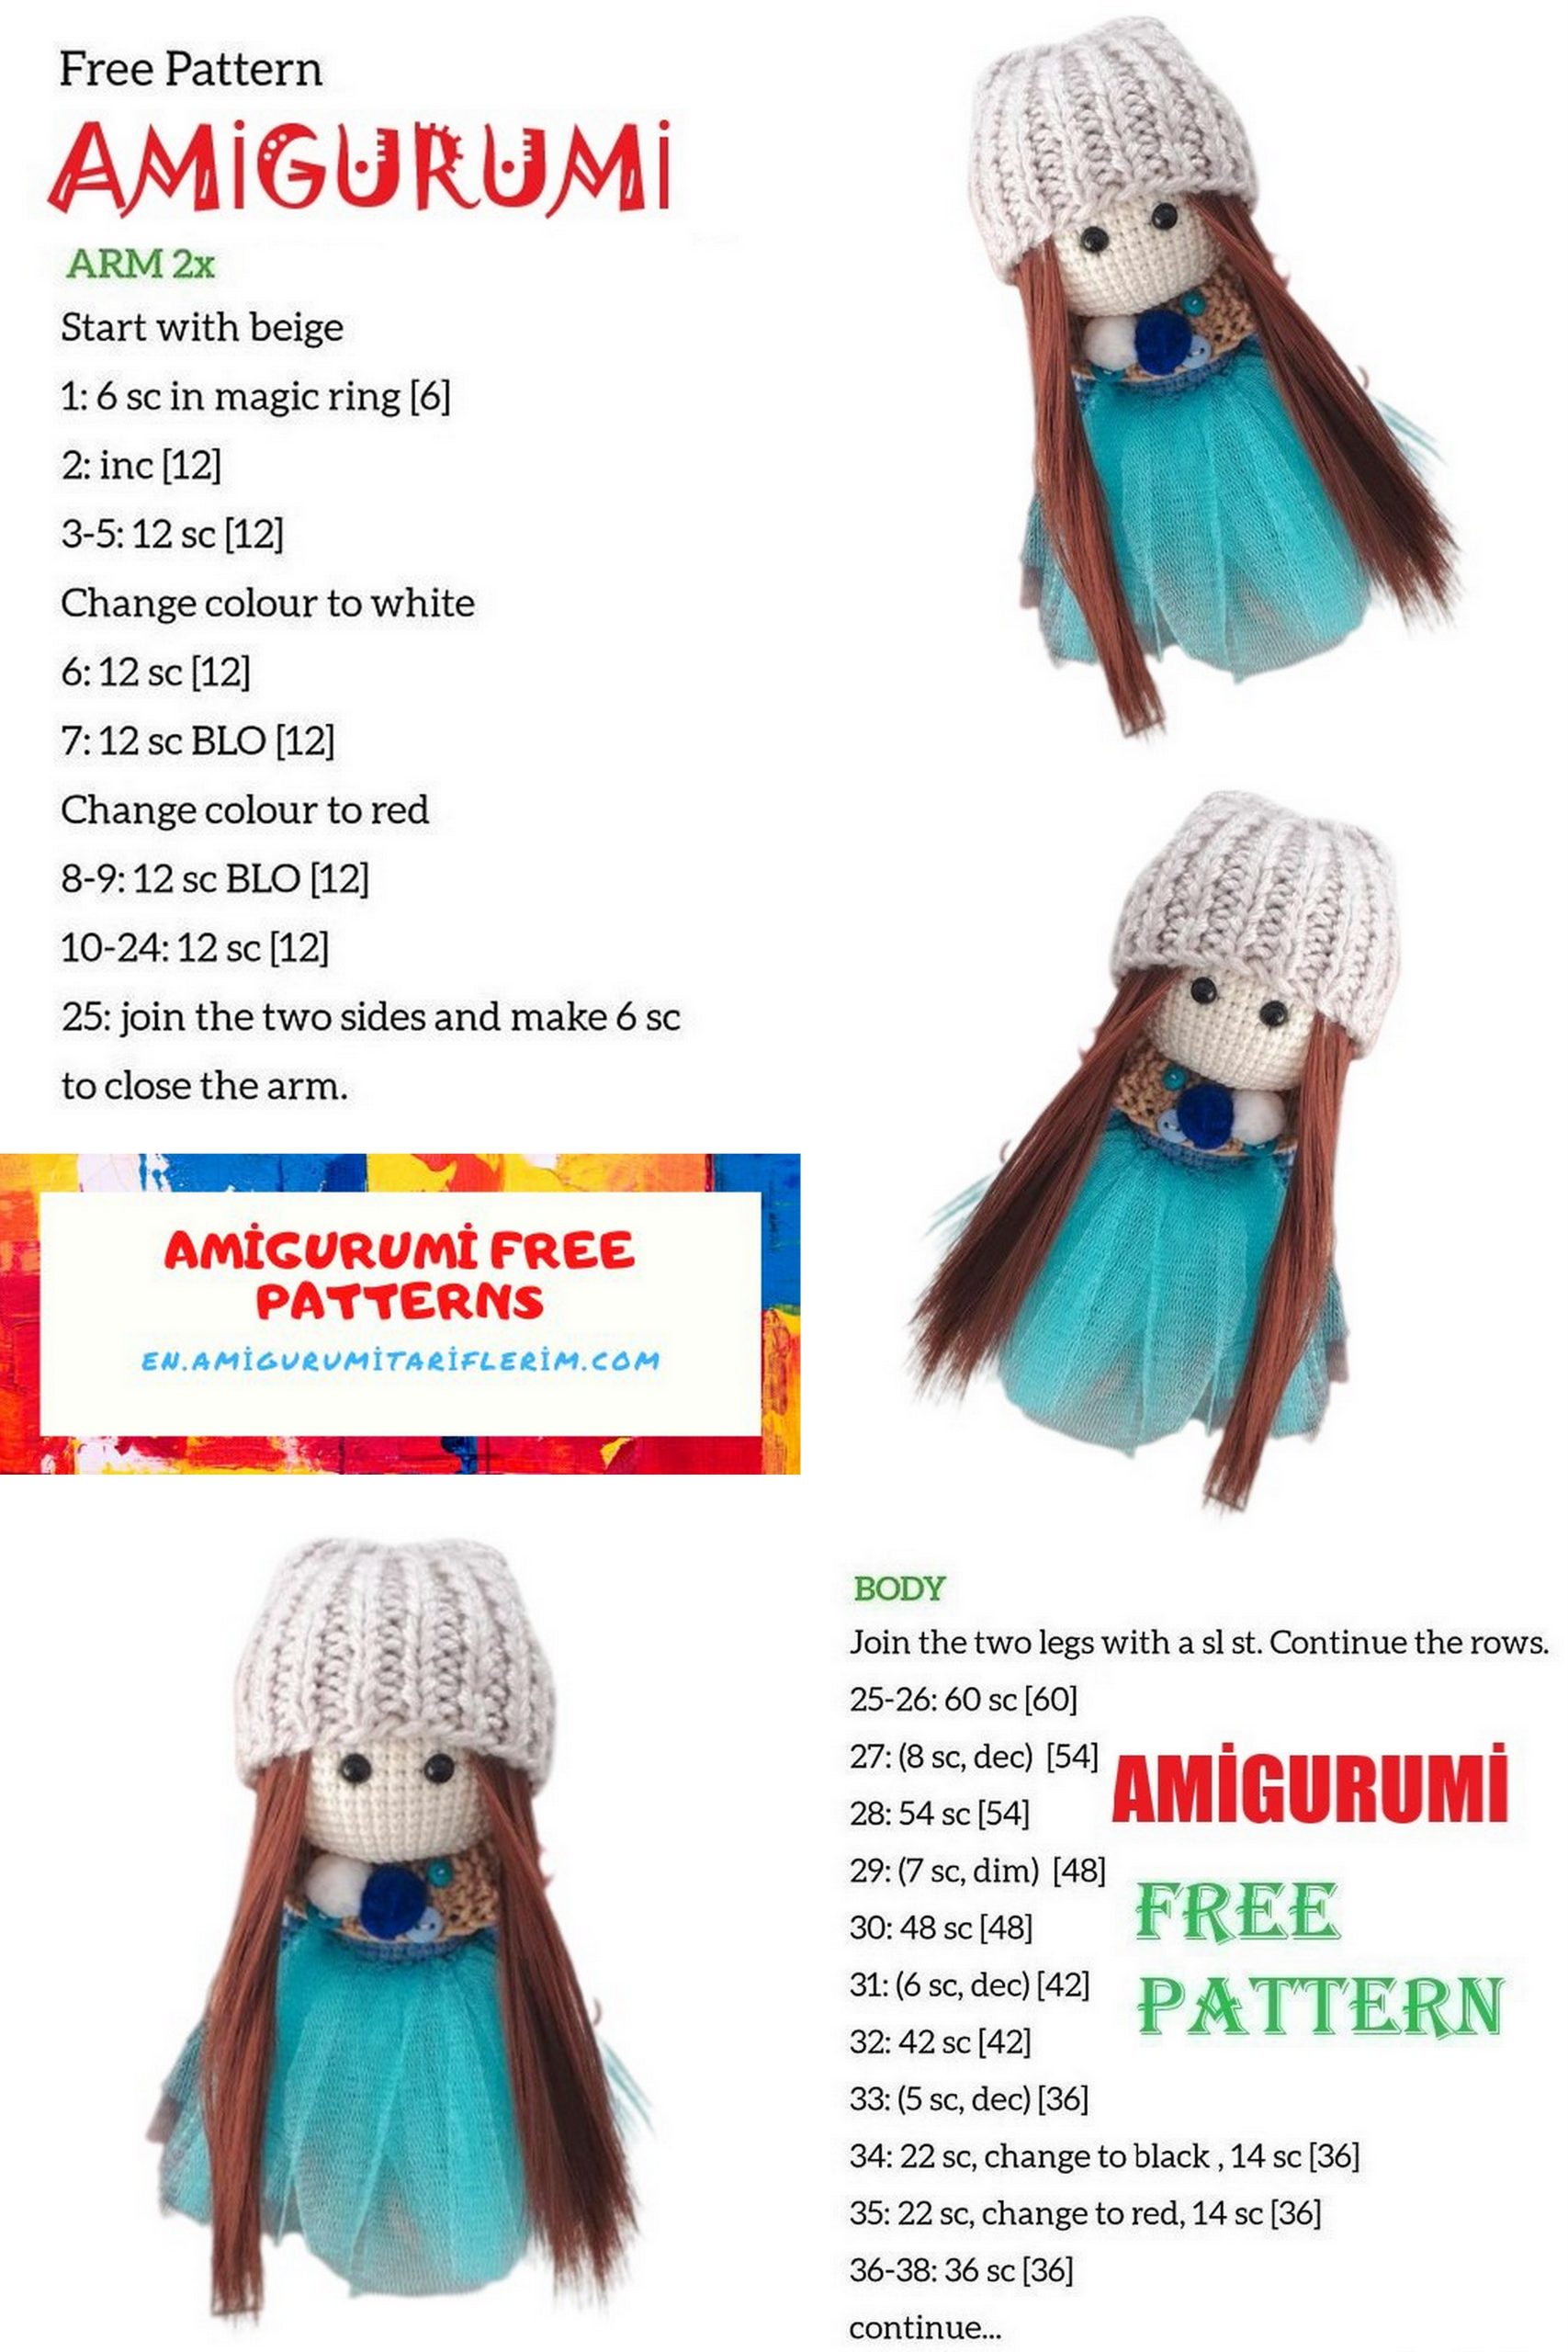
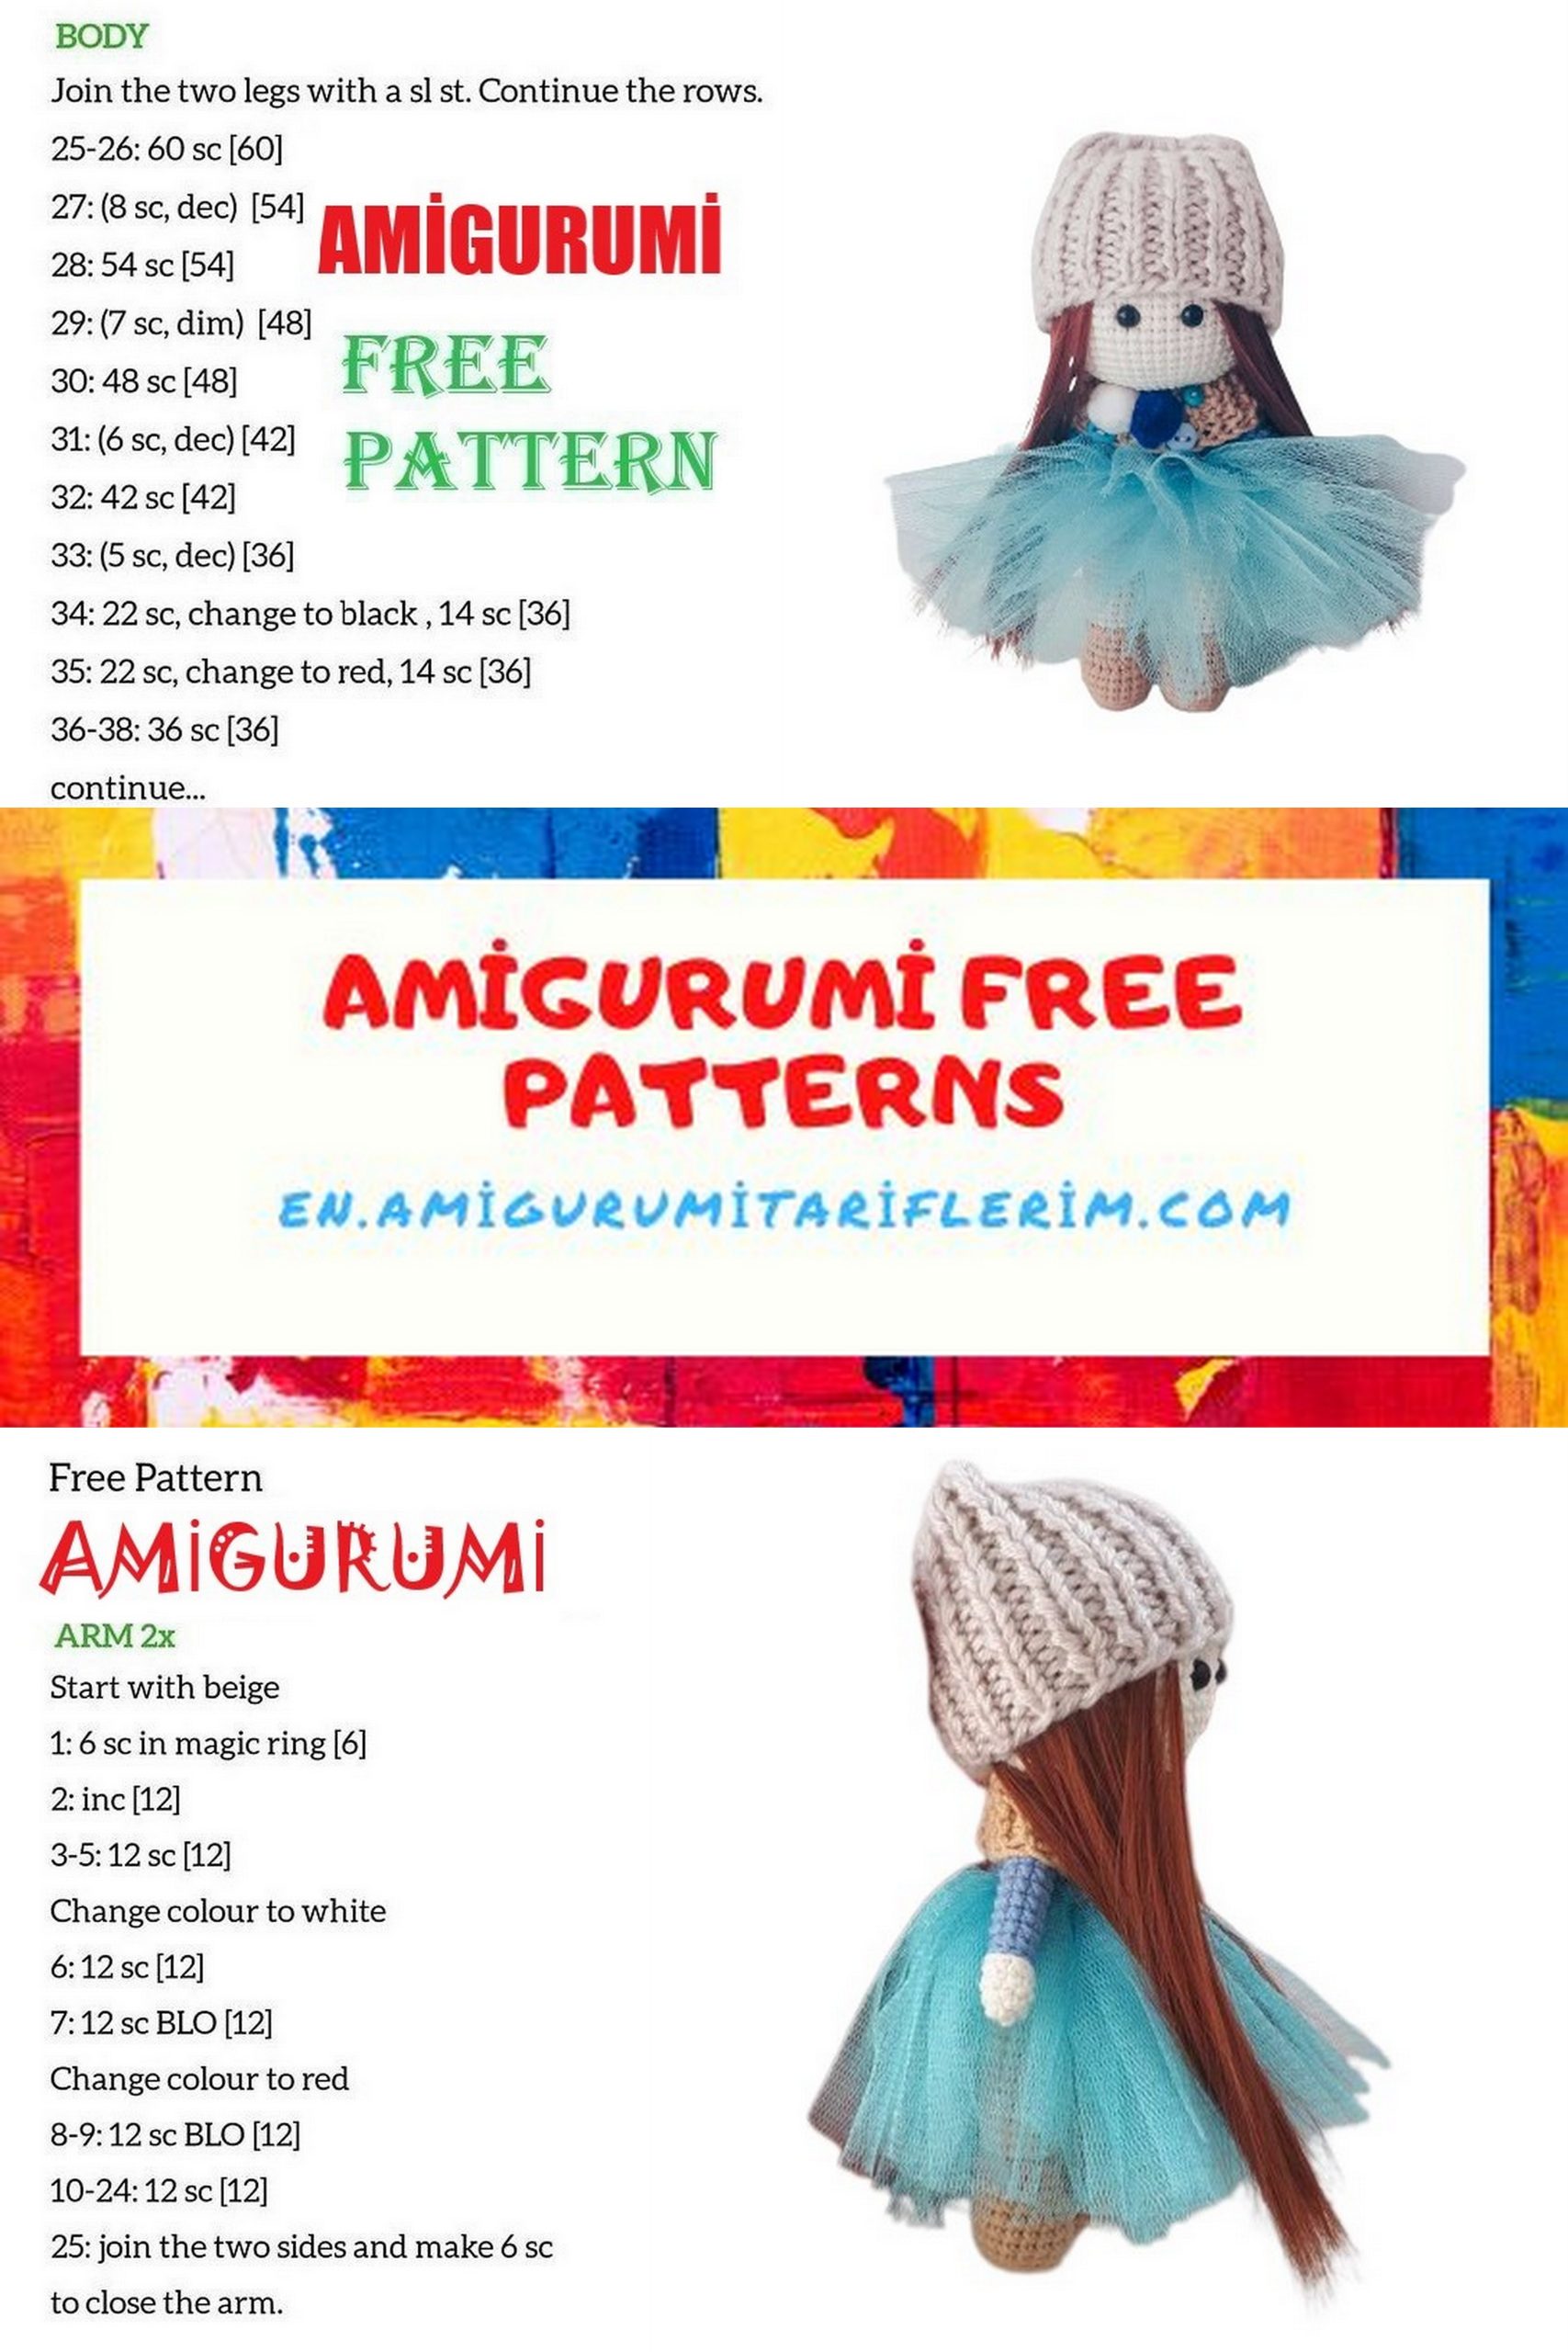
PATTERN
LEGS
Stuff tightly after completing the first 14 rows.
Left leg, using the boot color:
1 Row: 6 sc in magic ring (6)
2 Row: 6 inc (12)
3 Row: (sc, inc)*6 (18)
4 Row: 18 sc in the back loops
5-7 Row: 18 sc
8 Row: 6 sc, 3 dec, 6 sc (15)
9-10 Row: 15 sc
11 Row: in the FRONT loops: 14 sc, sl st (15)
Switch to the tights color.
12 Row: in the back loops of the 10th row, work 15 sc.
13-21 Row: 15 sc (9 rows)
22 Row: Work 11 sc (up to the inner thigh), insert a marker into the 12th stitch – this is where we’ll join the legs. Cut the yarn.
Right leg, using the boot color:
1 Row: 6 sc in magic ring (6)
2 Row: (sc, inc)*3 (9)
3-4 Row: 9 sc (2 rows)
Switch to the tights color.
5 Row: 9 sl st in the back loops
6 Row: 9 sc in the back loops
7-17 Row: 9 sc (11 rows)
18 Row: Fold in half, work 4 sc through both sides
Leave a long tail. Attach to the body.
ATTACHING HAIR:
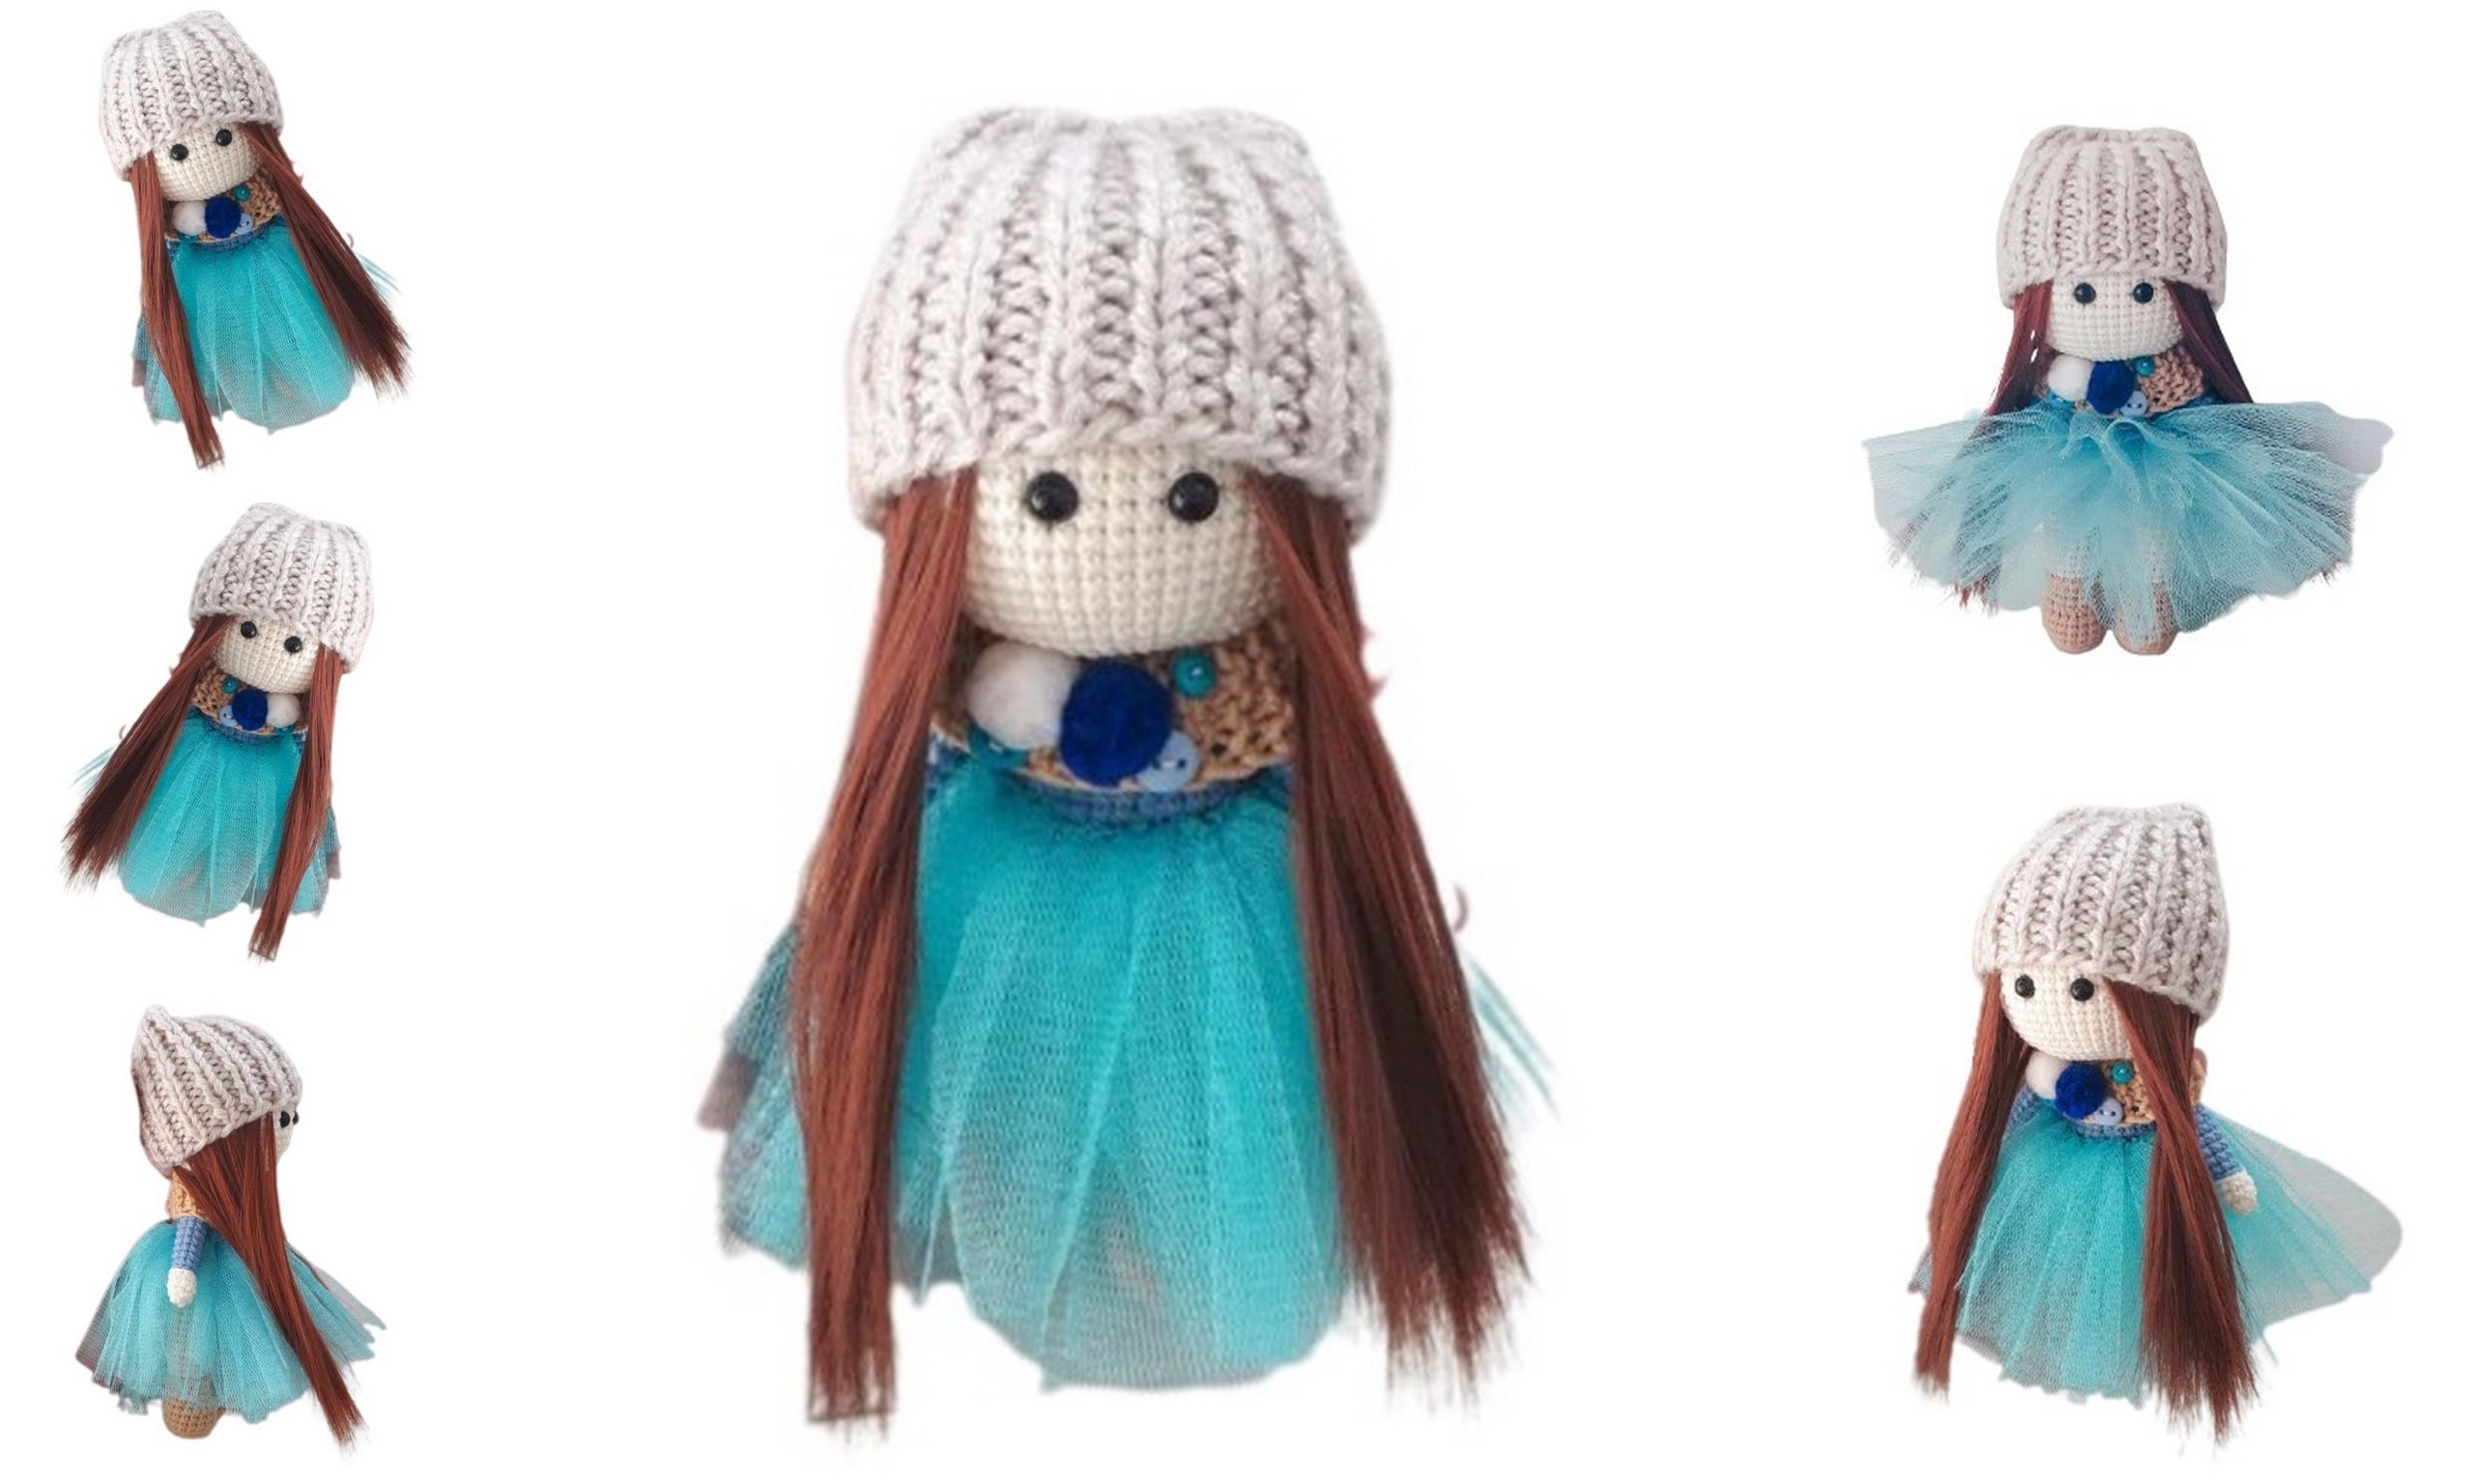
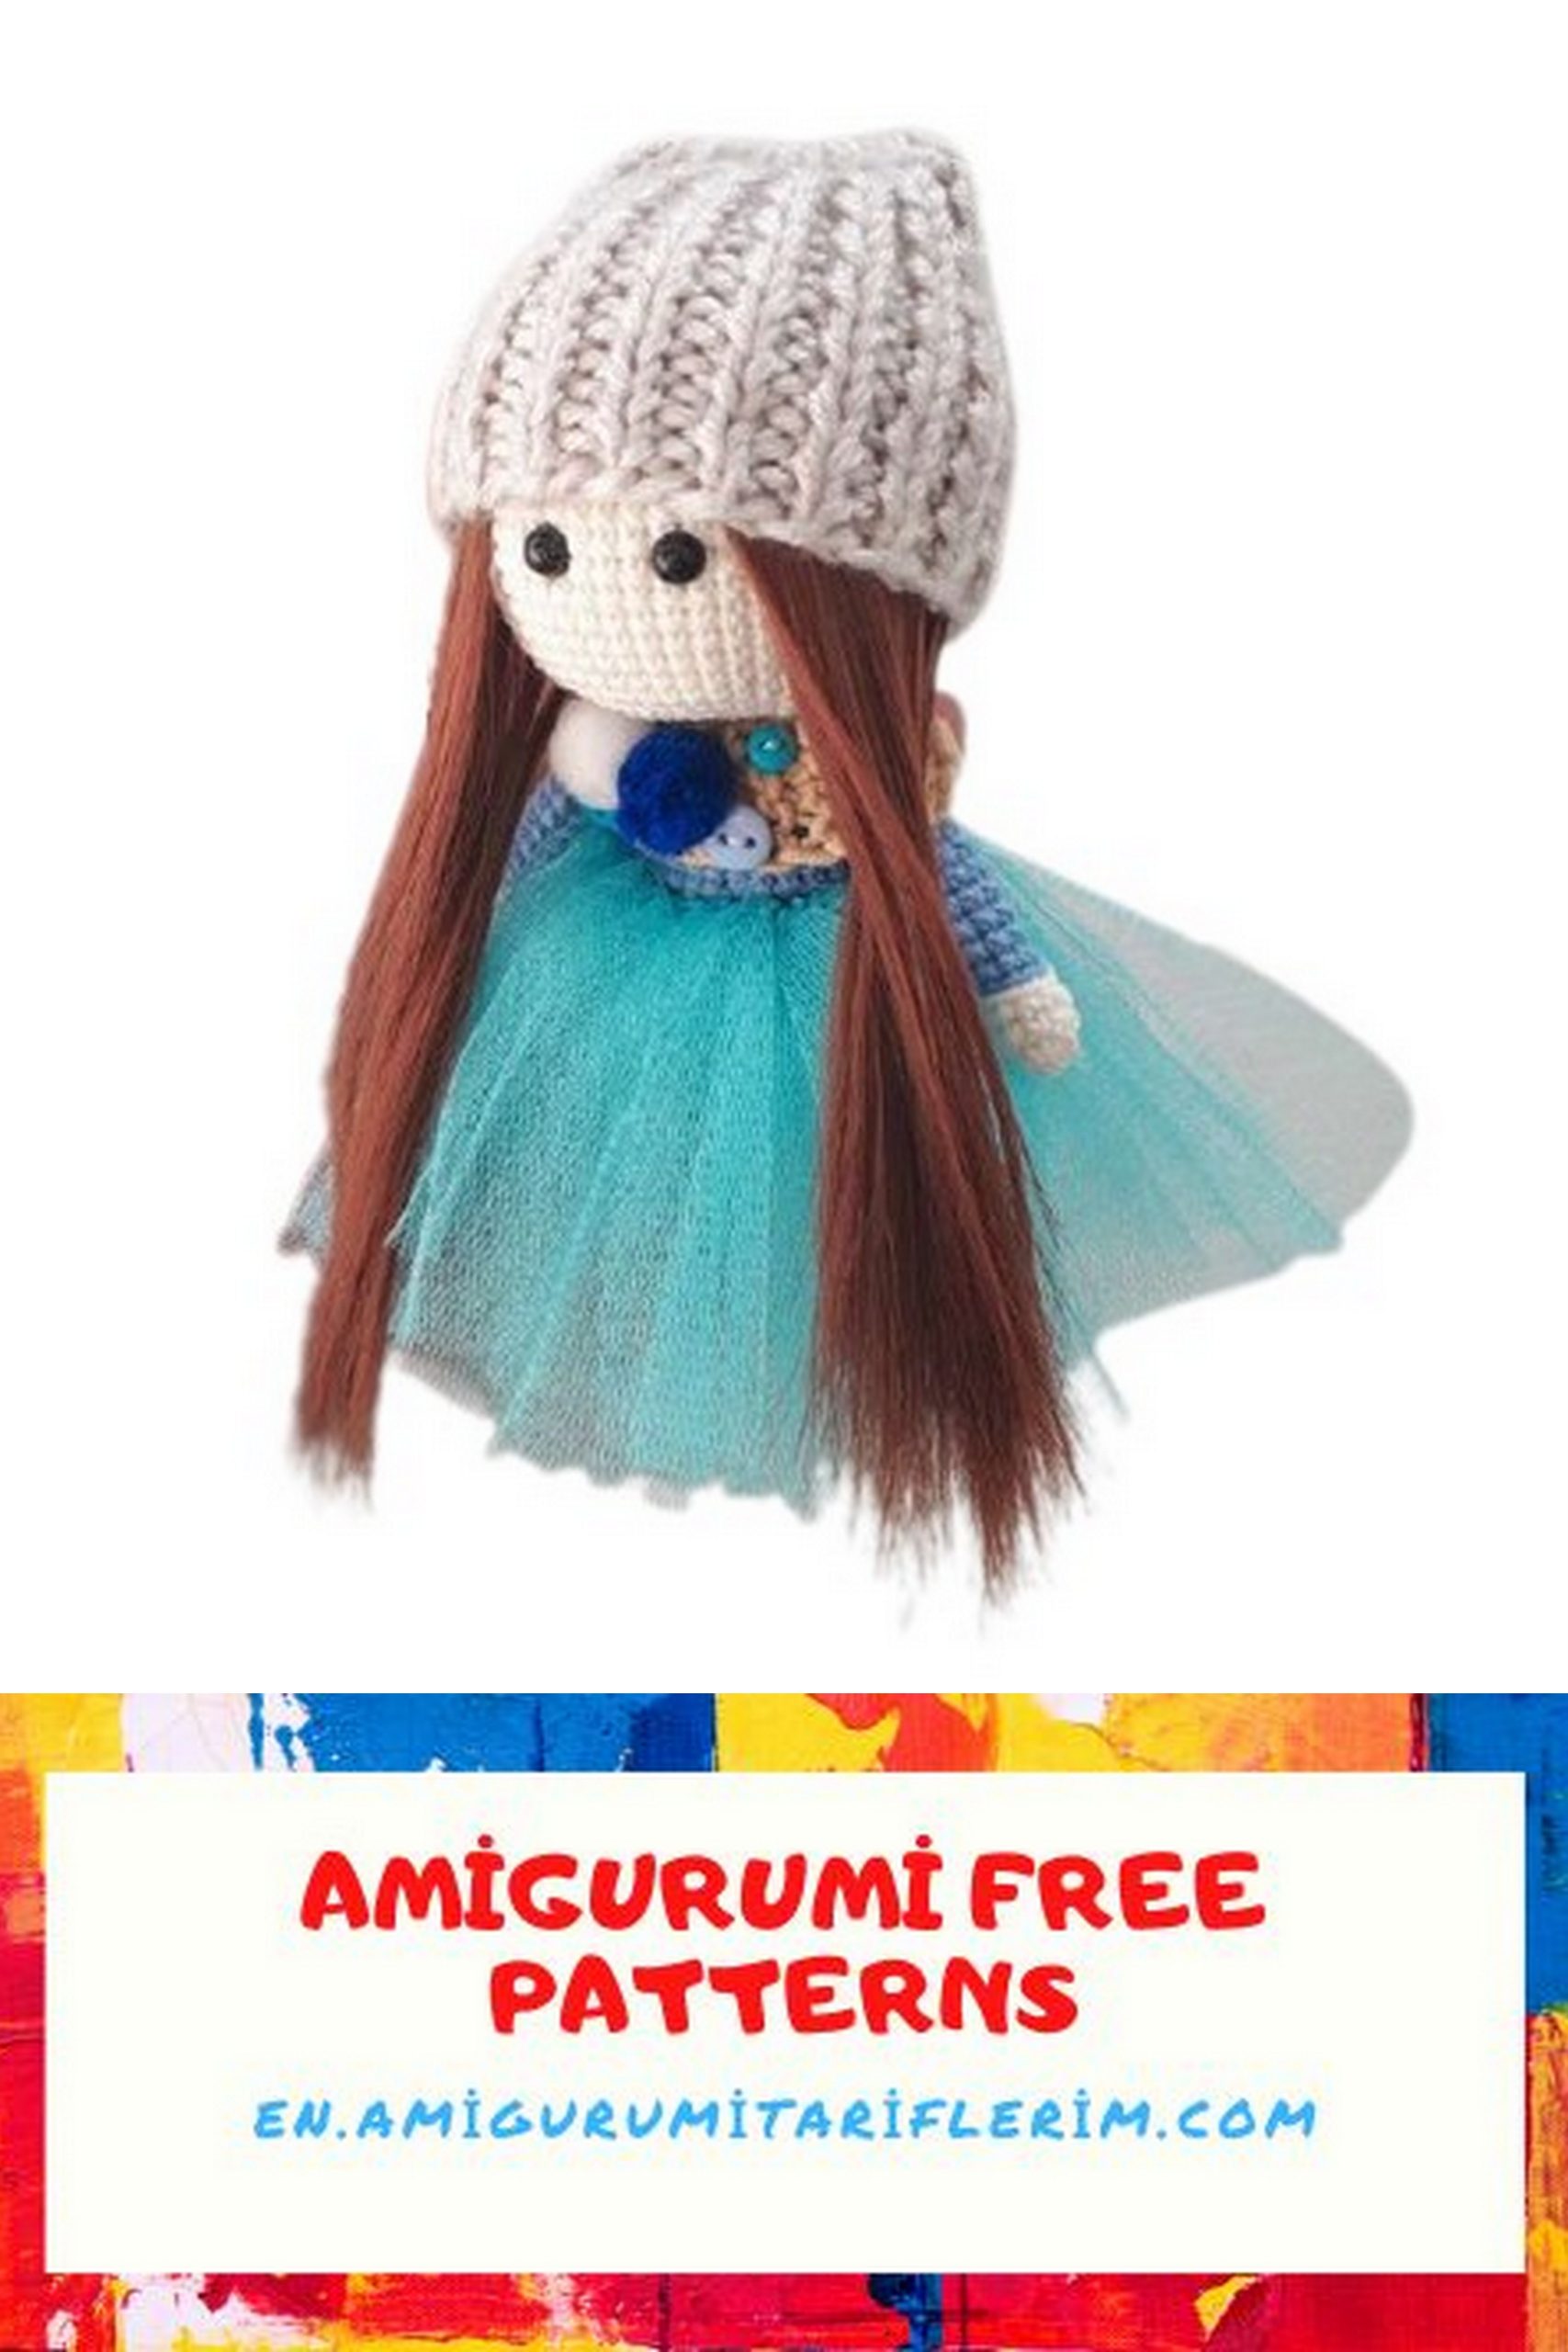
Since the doll will wear a hat, attach the hair in 3 rows not too low (just above the eyes) and at the crown, making it easier to attach the hat later.
HAT: Knit with two strands of yarn on size 3.5 needles.
Gauge: 2 stitches per 1 cm. Keep in mind that the pattern stretches well. The doll’s head is 18 cm in circumference.
Cast on 36 stitches + 2 edge stitches = 38
1-15 Row: Knit in a 1×1 rib pattern (knit 1, purl 1)
16 Row: purl, (dec, knit)* to the end of the row, purl
17 Row: purl
18 Row: purl, dec (knit 2 together)* to the end of the row, purl
Cut the yarn, leave a long tail. Thread it through a needle and pass it through all the stitches on the needle. Pull tight and sew it up. Put it on the doll’s head, attaching it not at the very edge of the hat, but about 1 cm below the edge to prevent the hair from splitting into sections.
COWL:
Cast on 6 stitches on size 2.5 needles and knit in garter stitch (knit every row) until the desired length to fit snugly around the doll’s torso. Bind off the stitches. Attach pompoms and buttons to the cowl (you can also decorate it with a large flower). Put it on the doll and sew it in place.
SKIRT:
Cut tulle into strips about 3-4 cm wide and 15 cm long (make sure the fabric stretches in width, not length). Take the yarn you used for the sweater and tie the tulle strips to it with simple single knots. The more strips you attach, the fuller the skirt will be. Sew the skirt to the body.
Your doll is now ready.