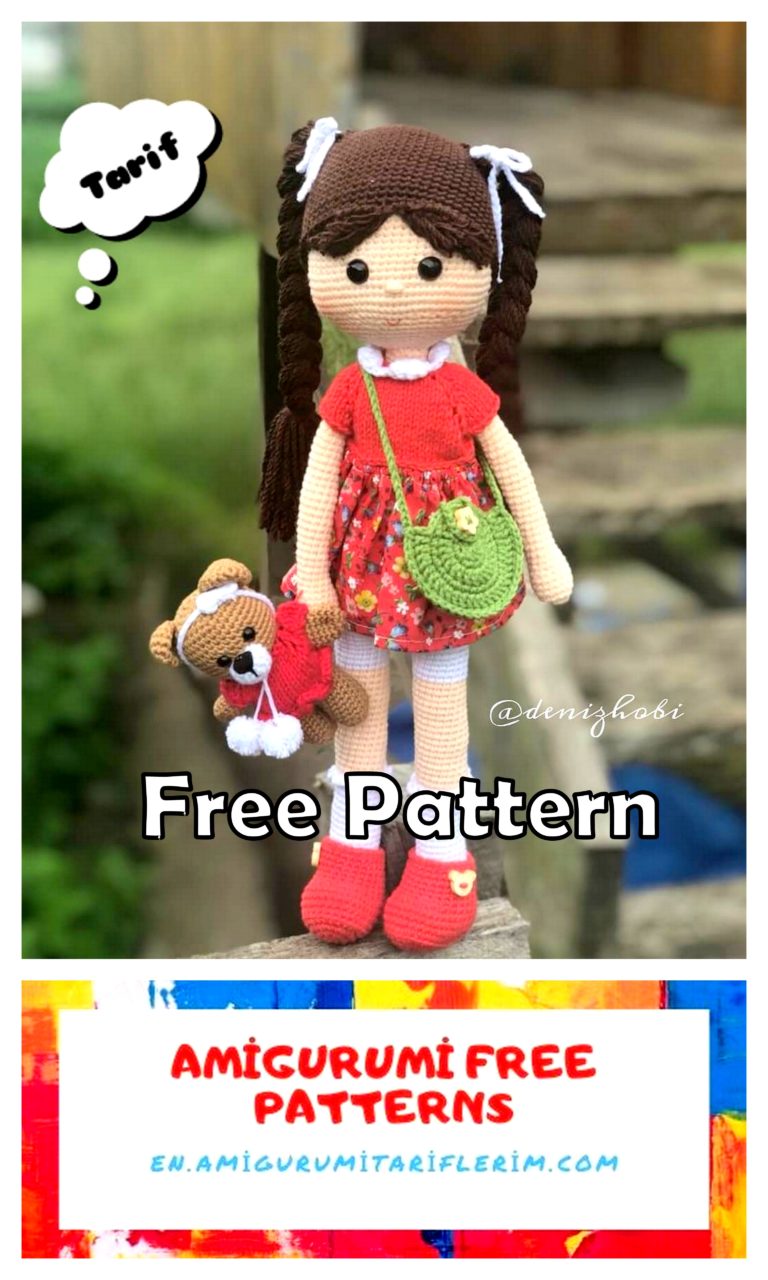
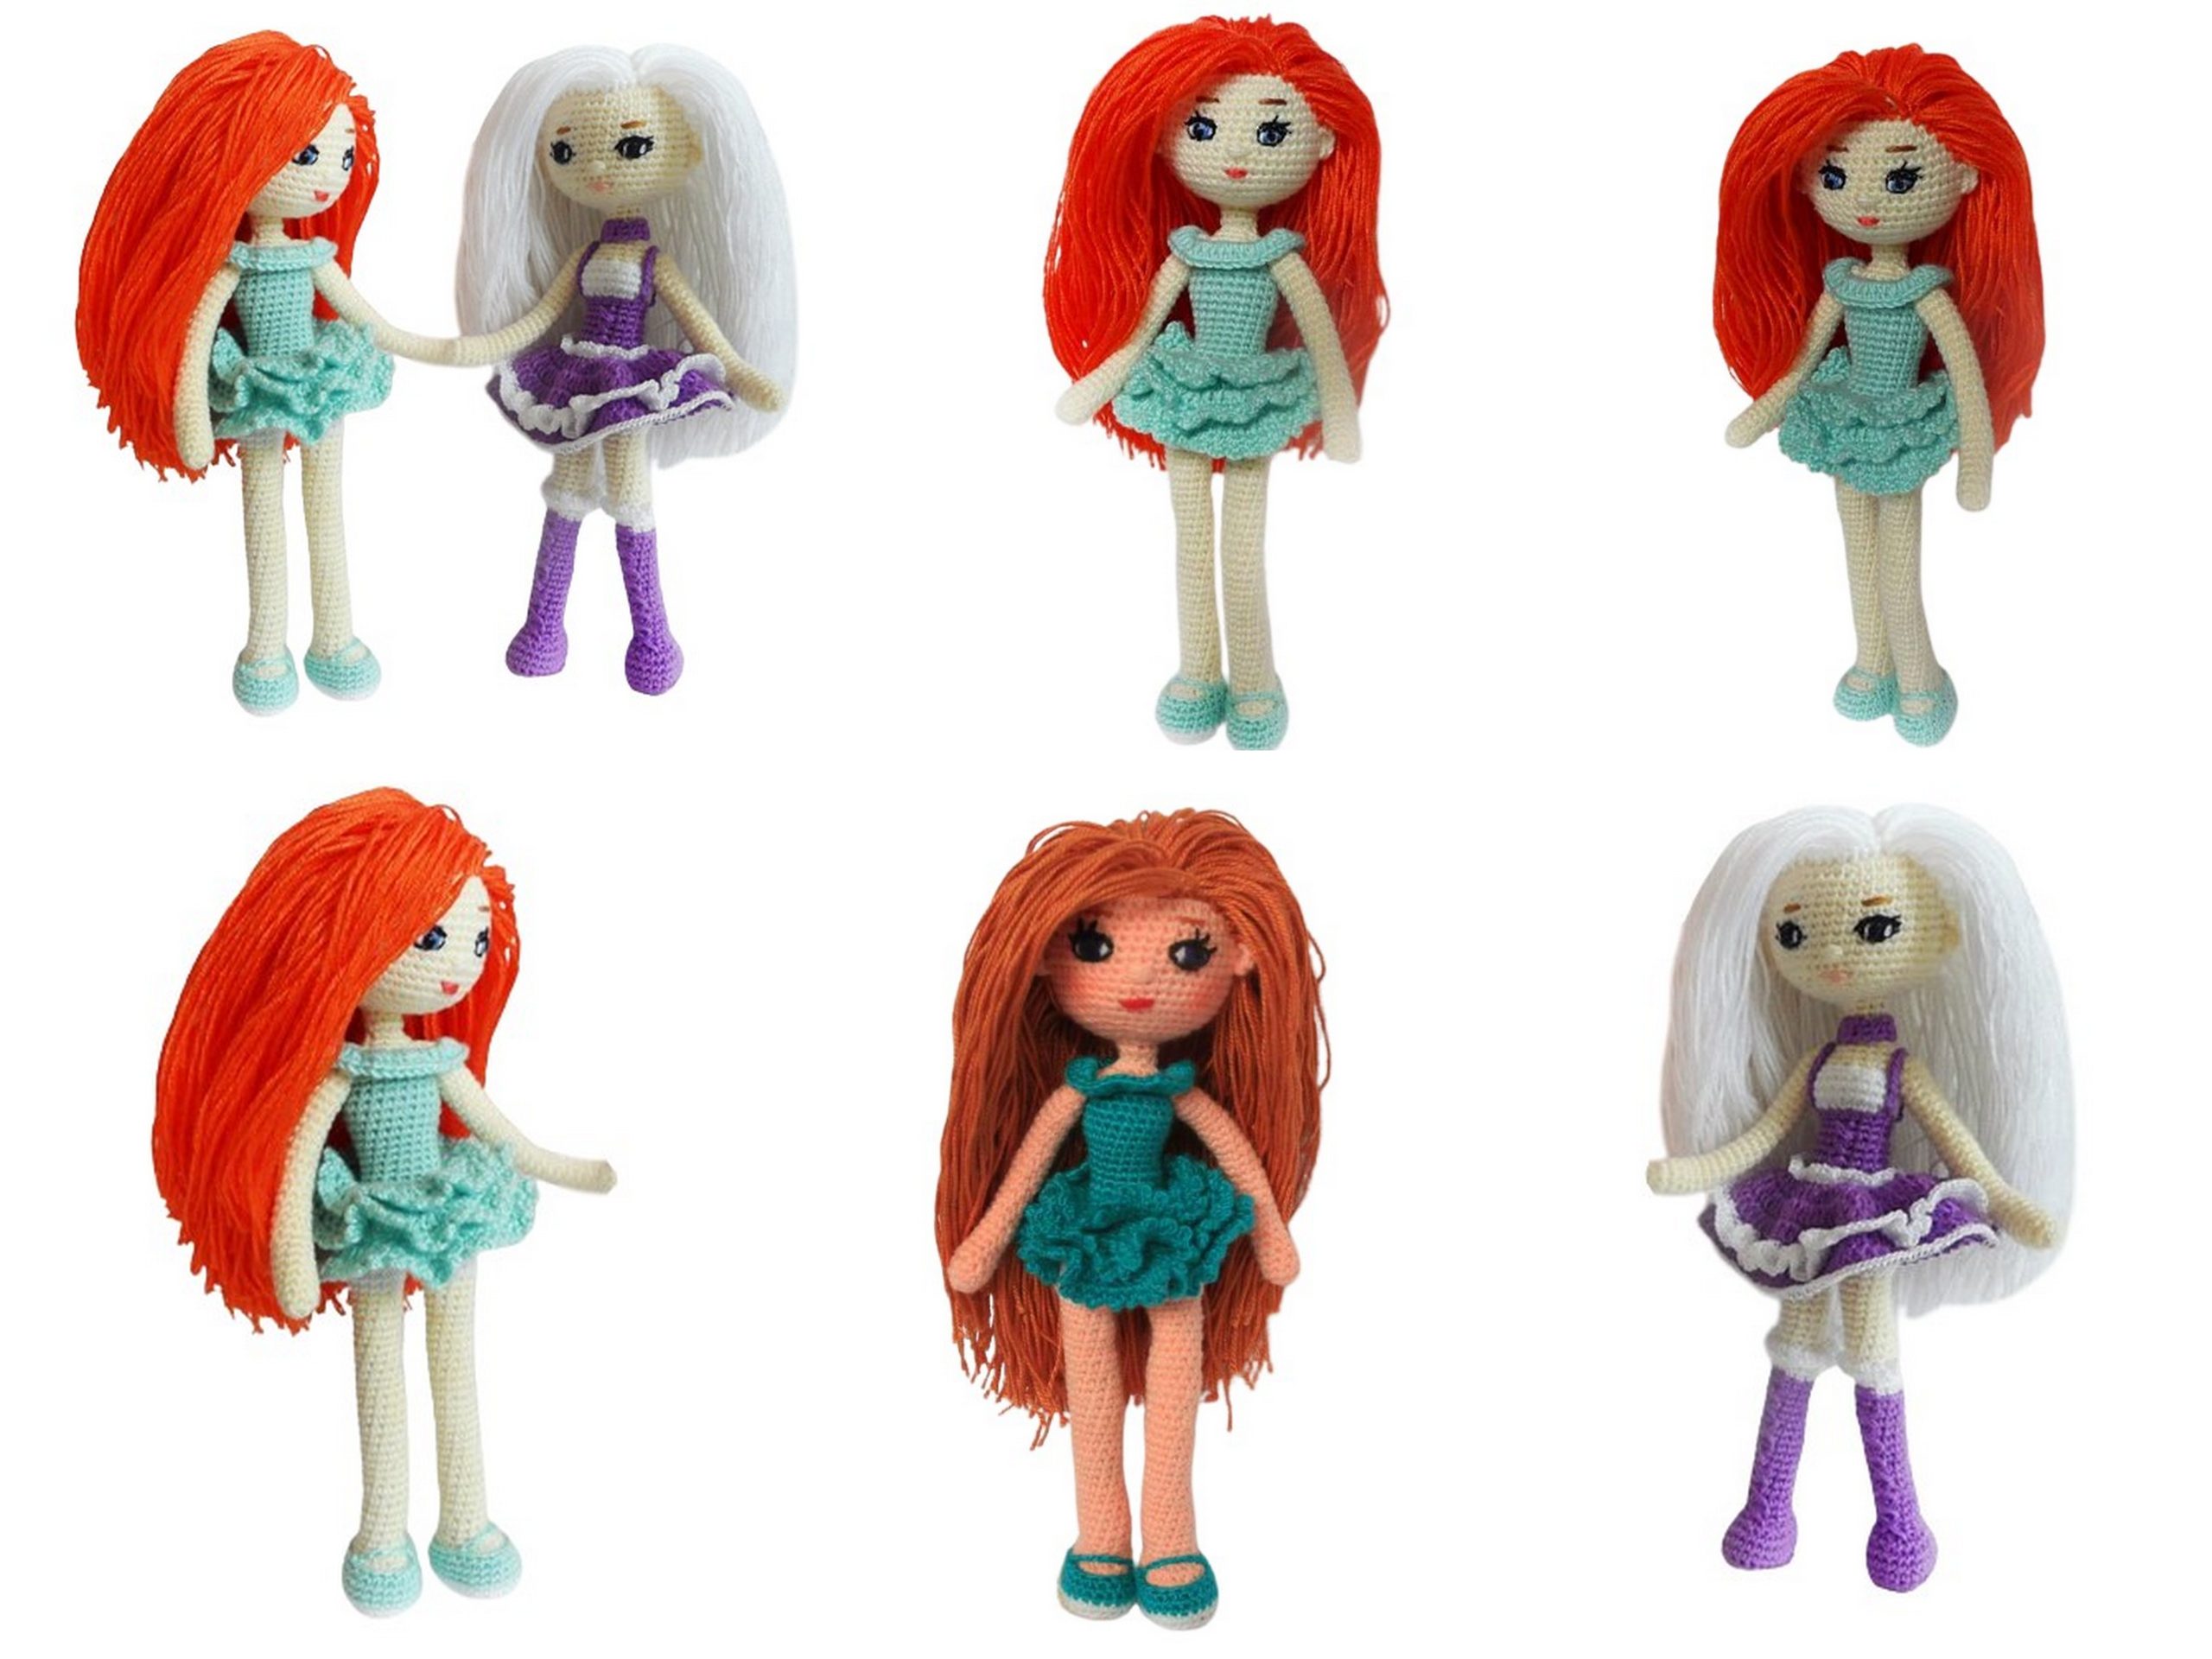
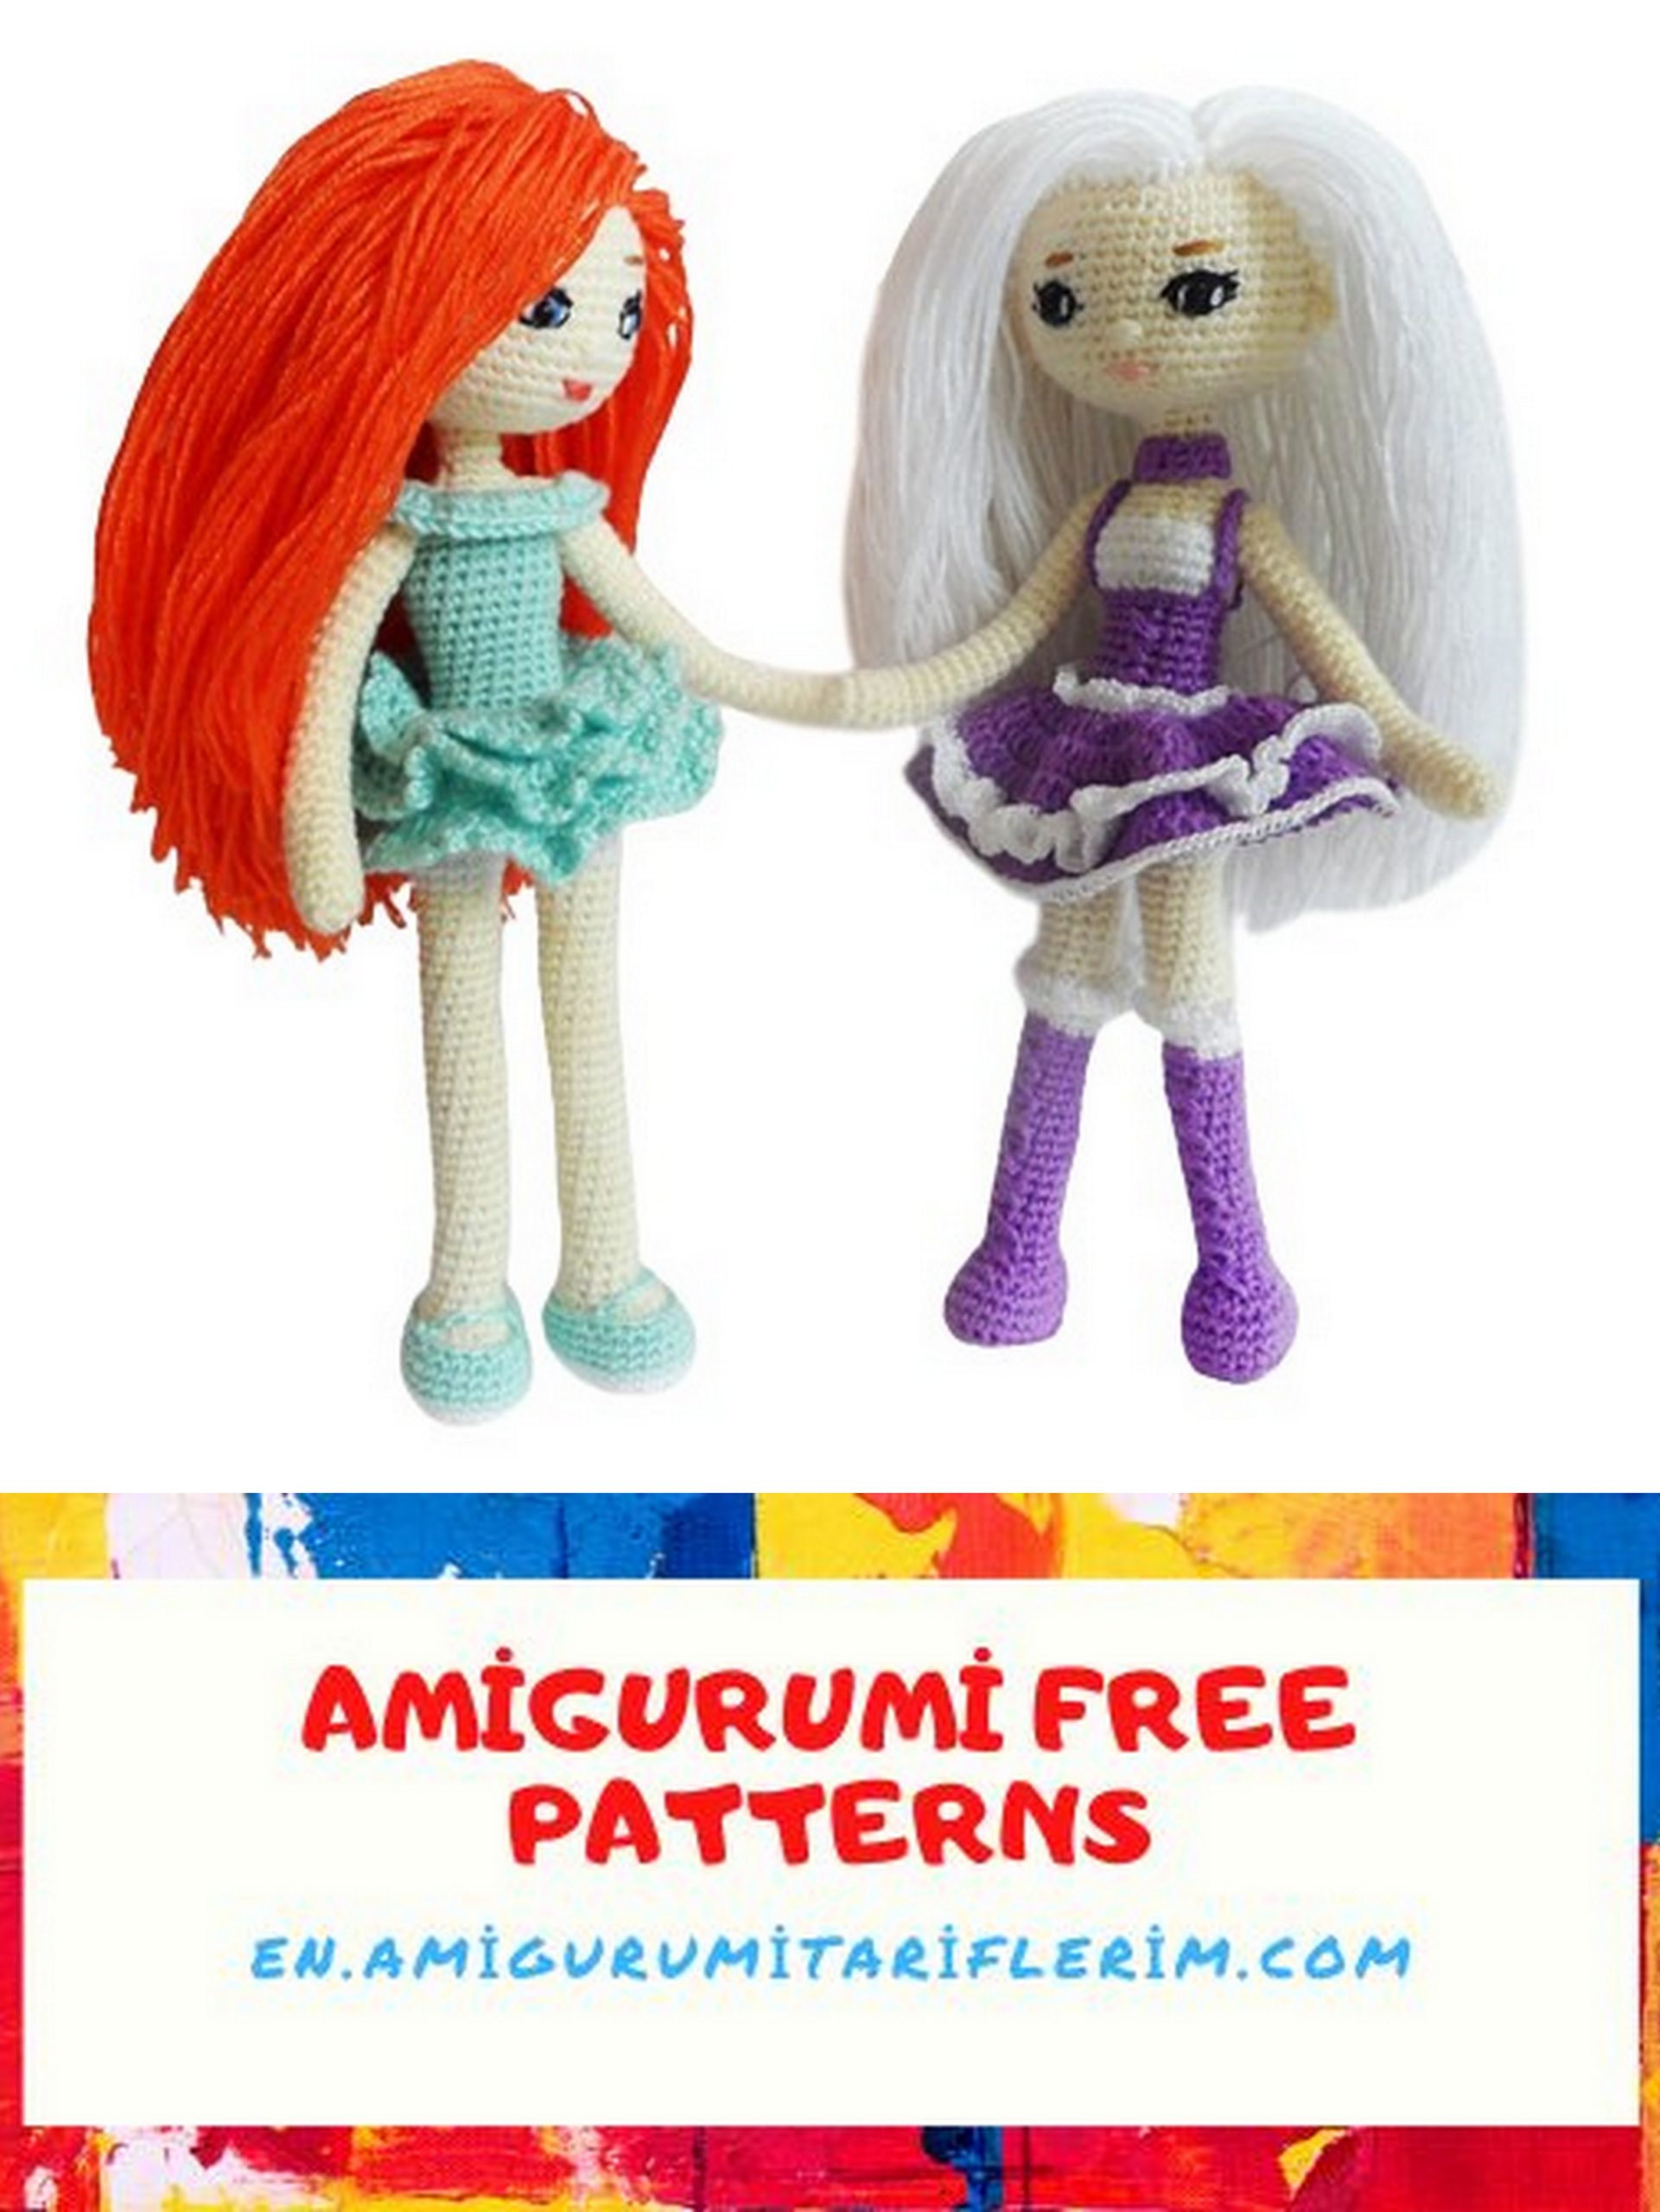
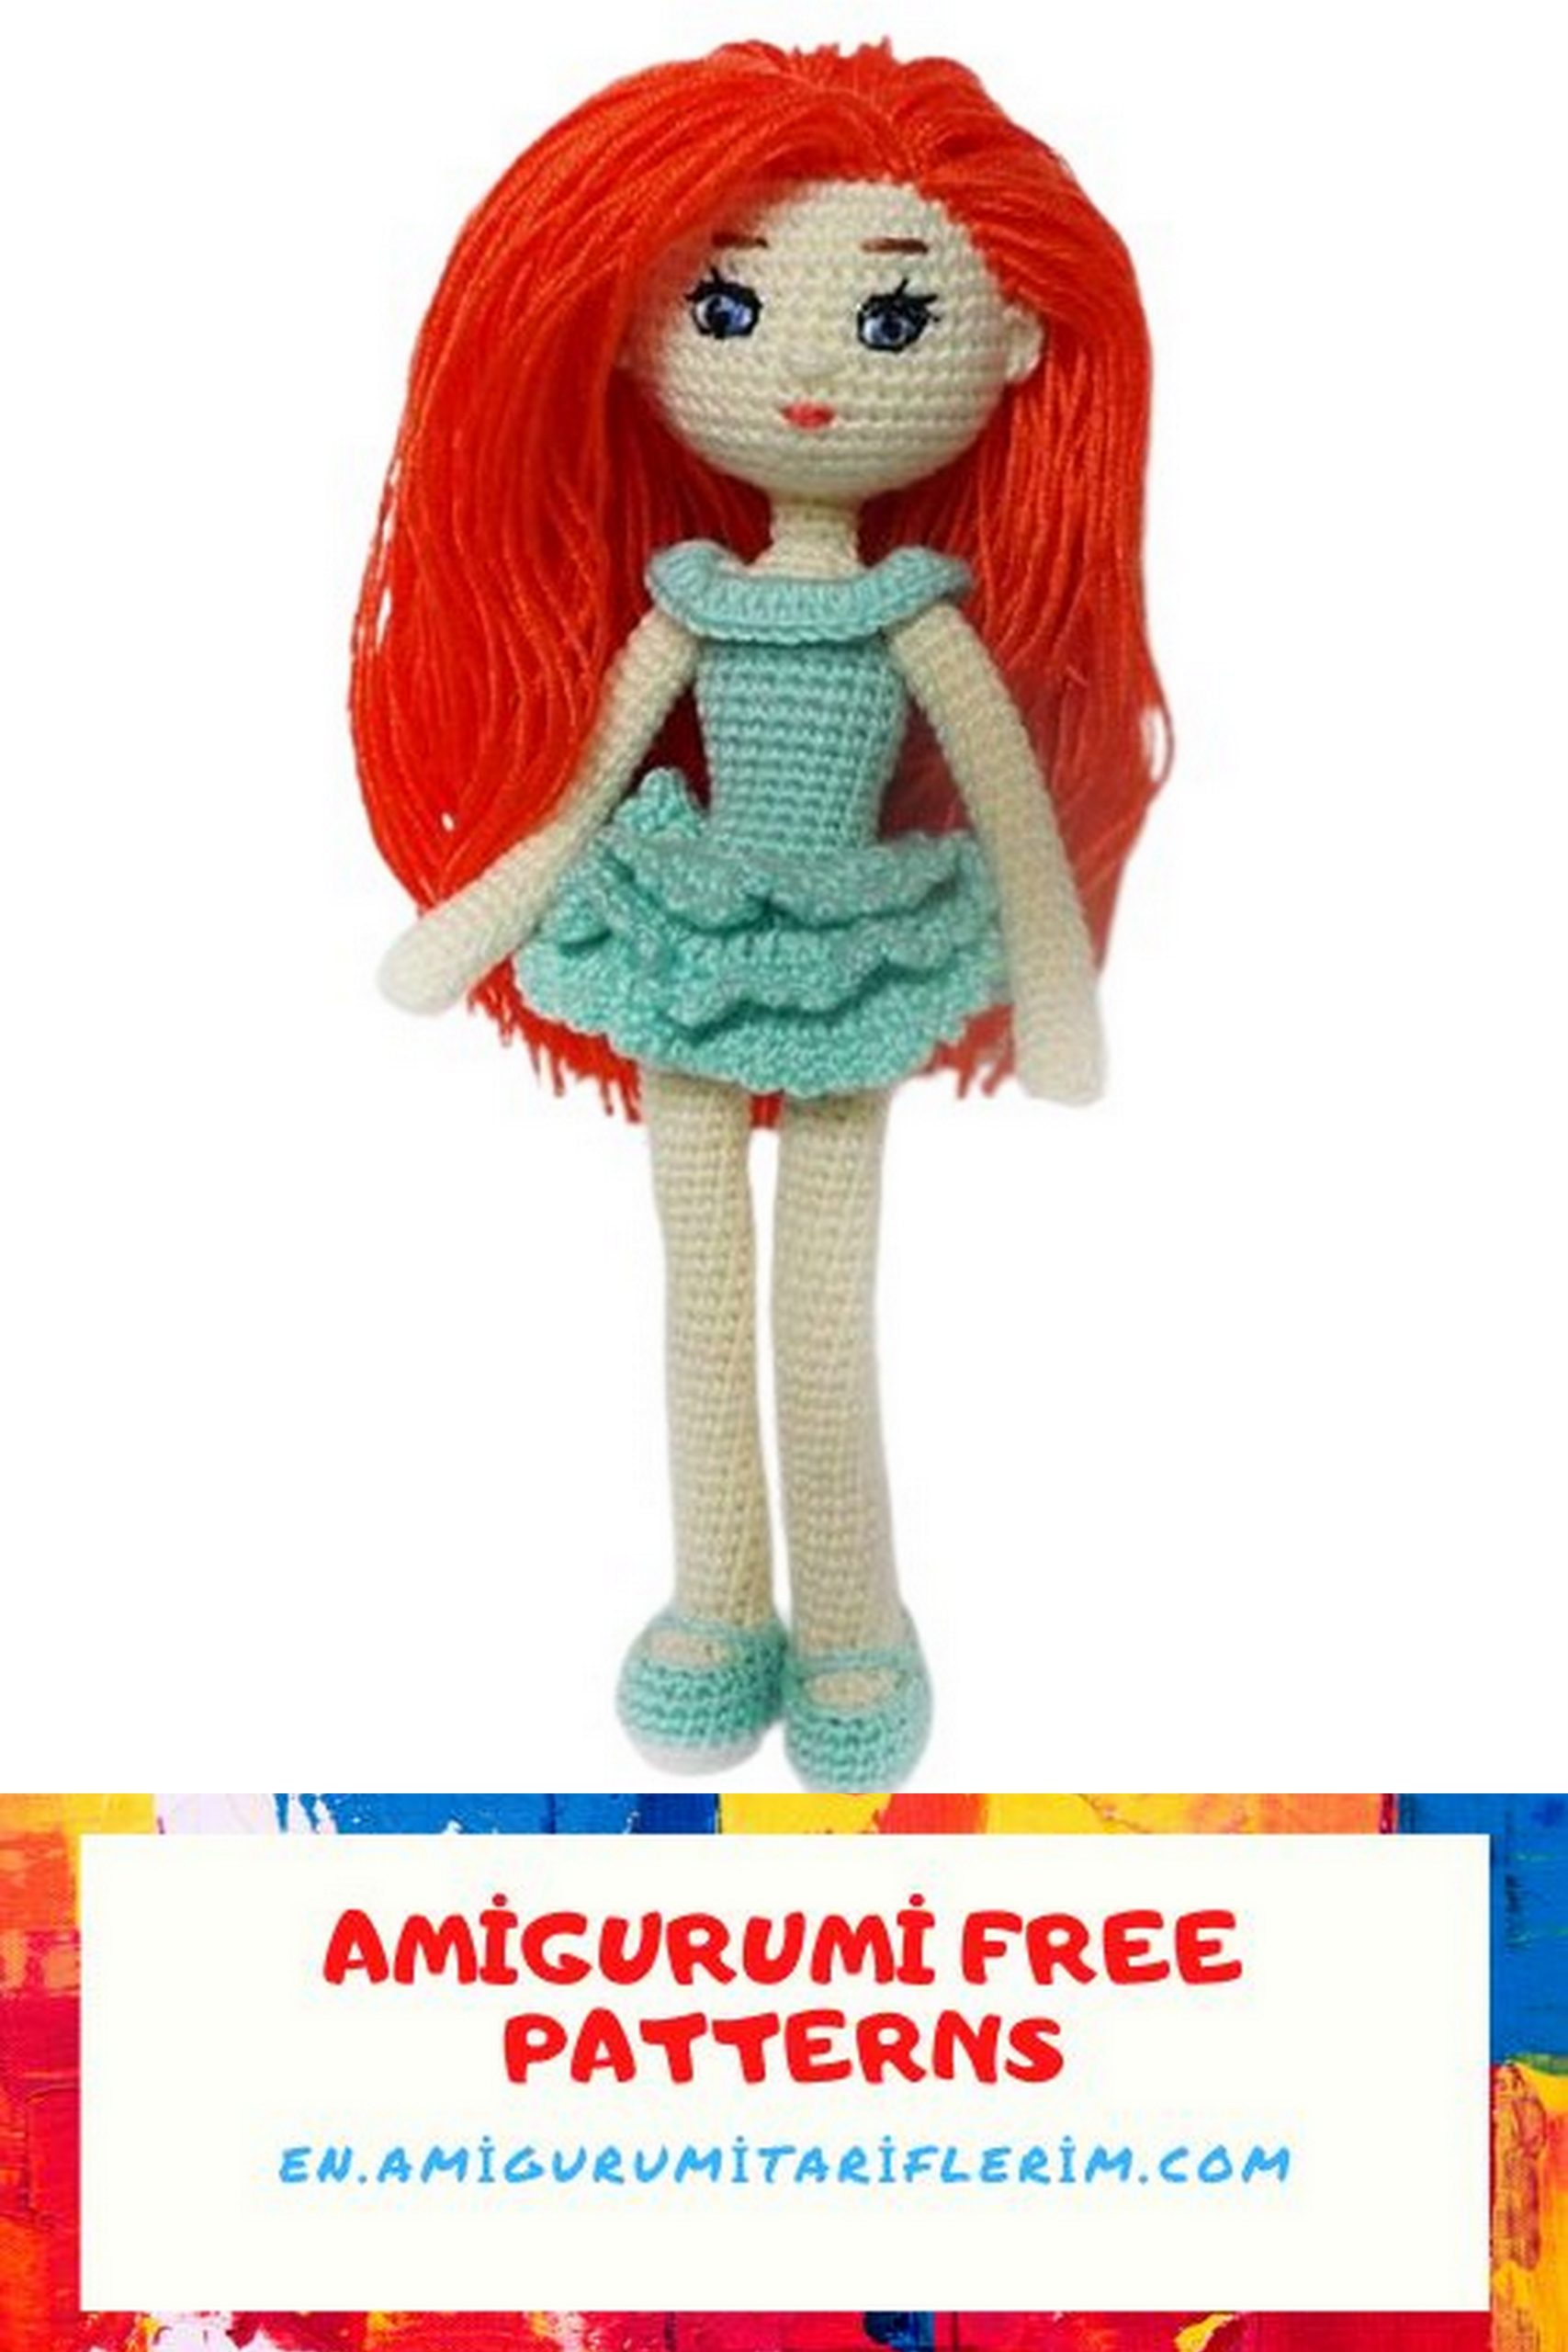
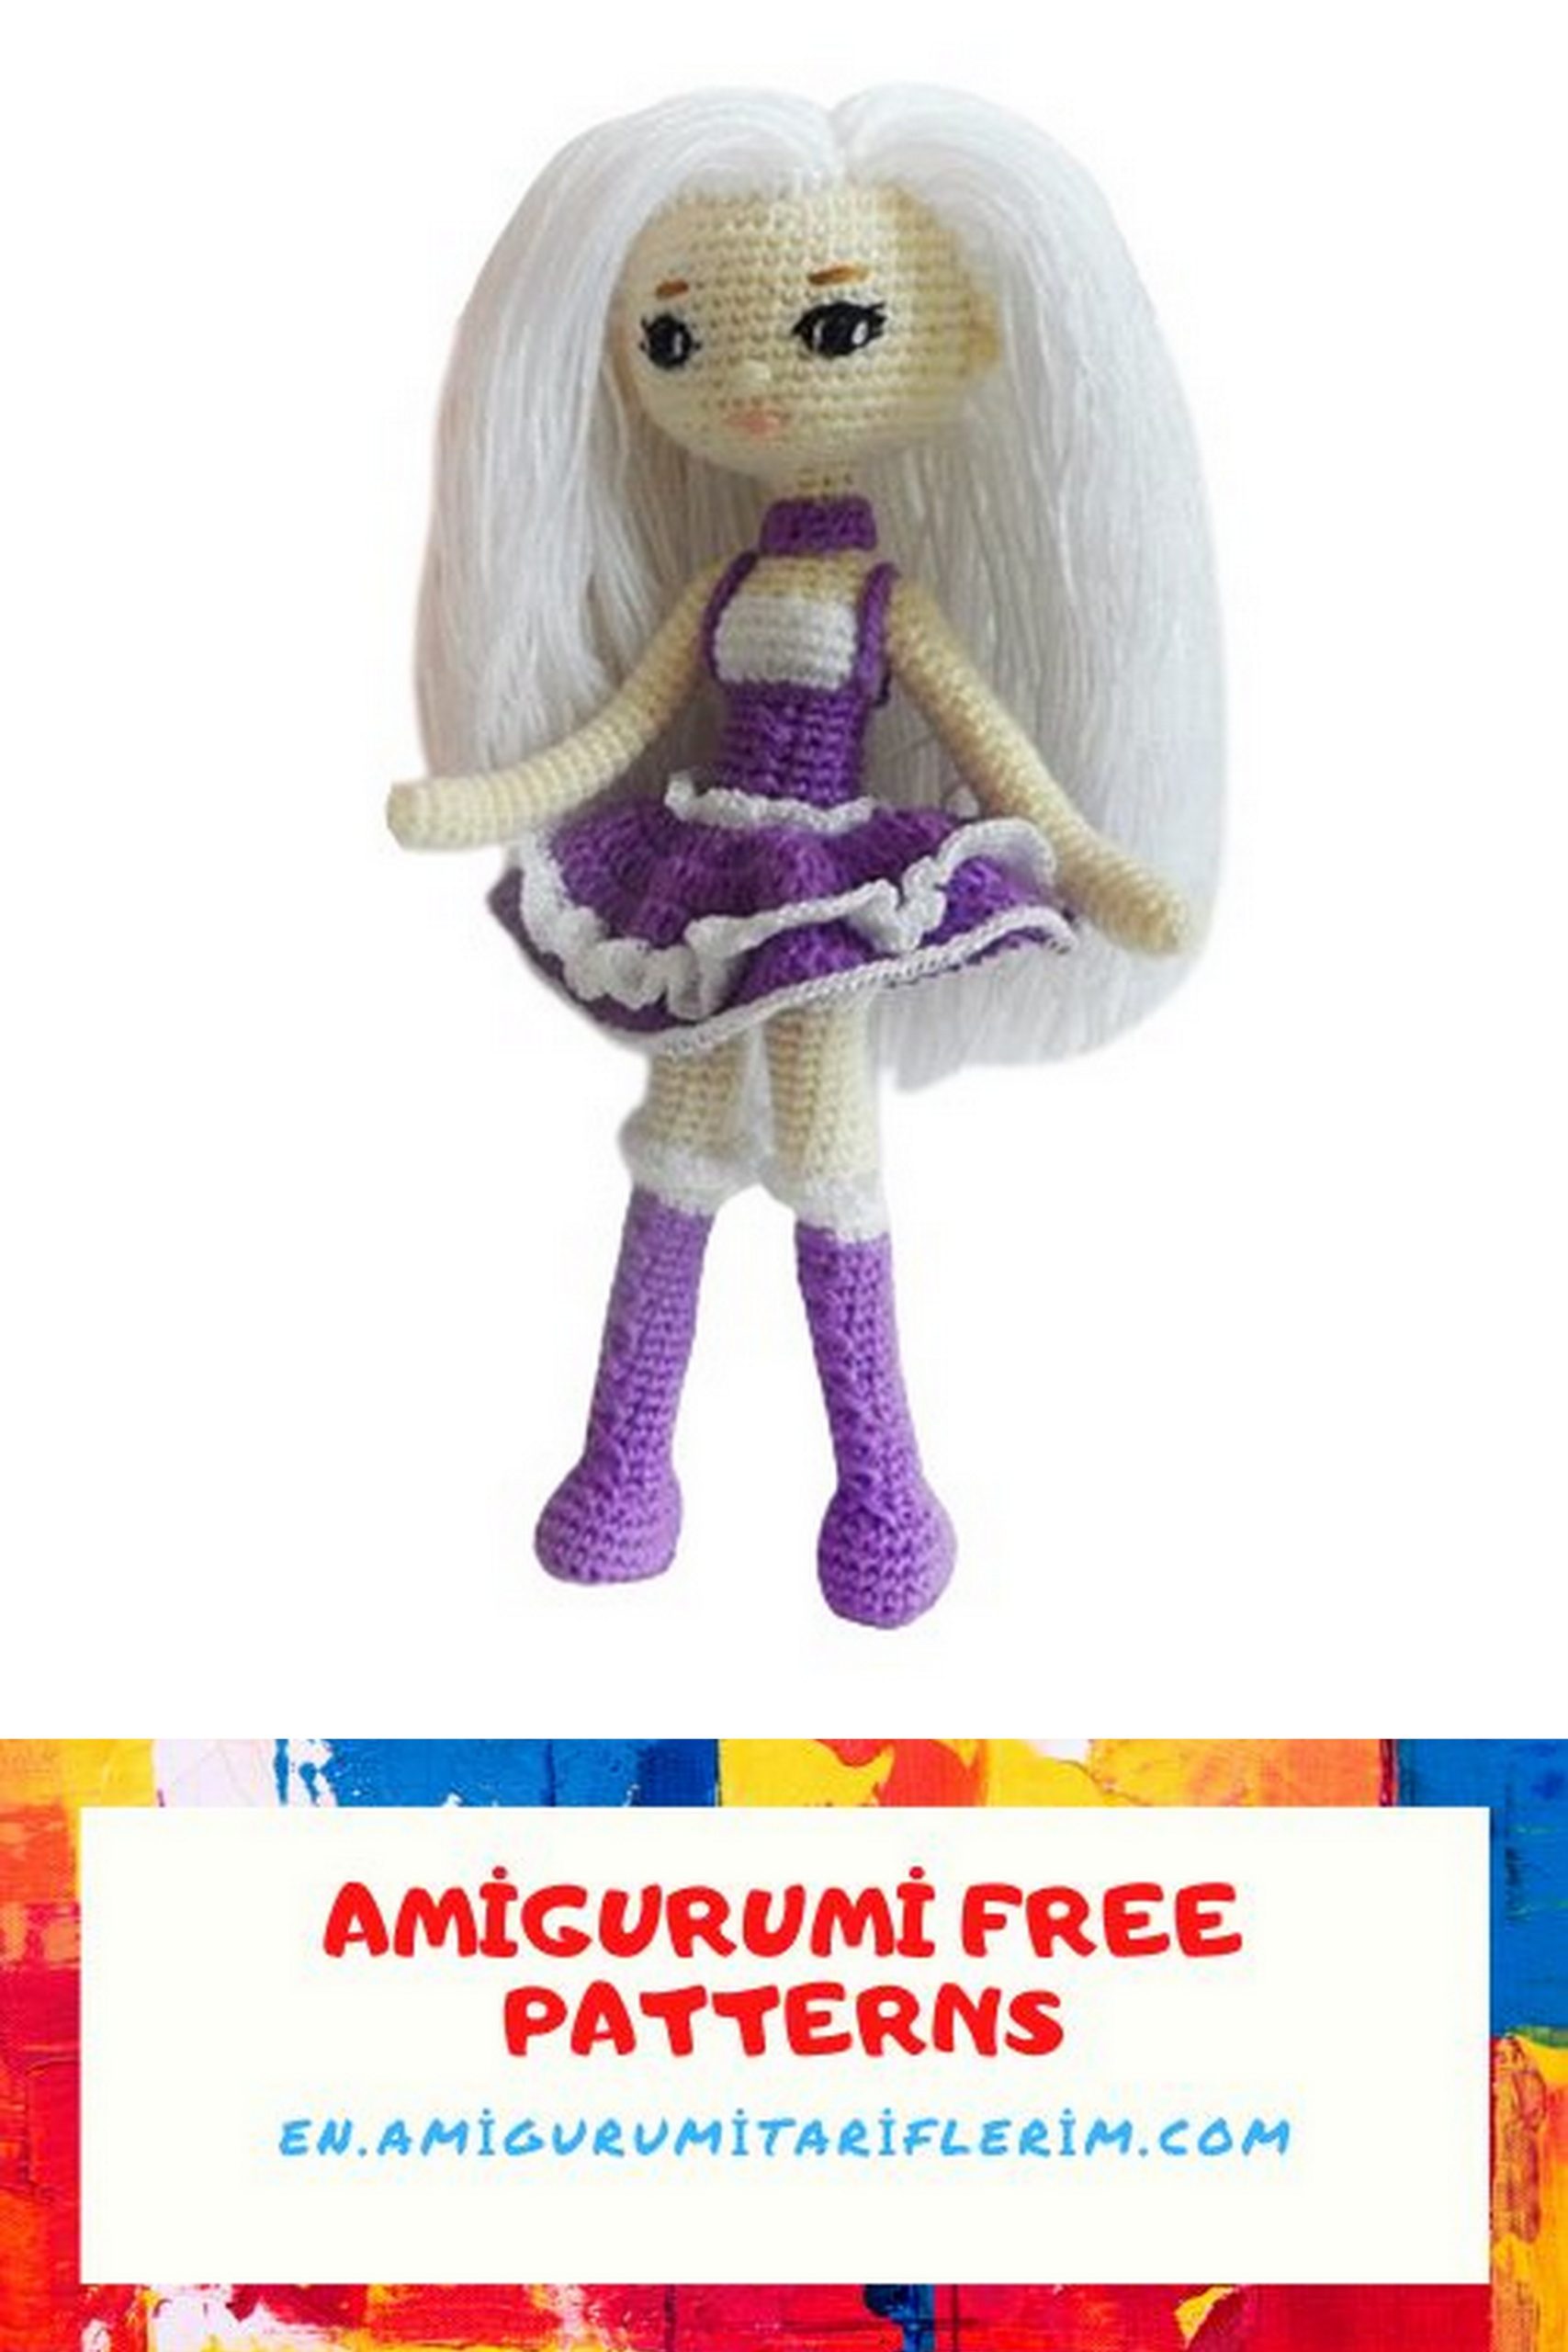
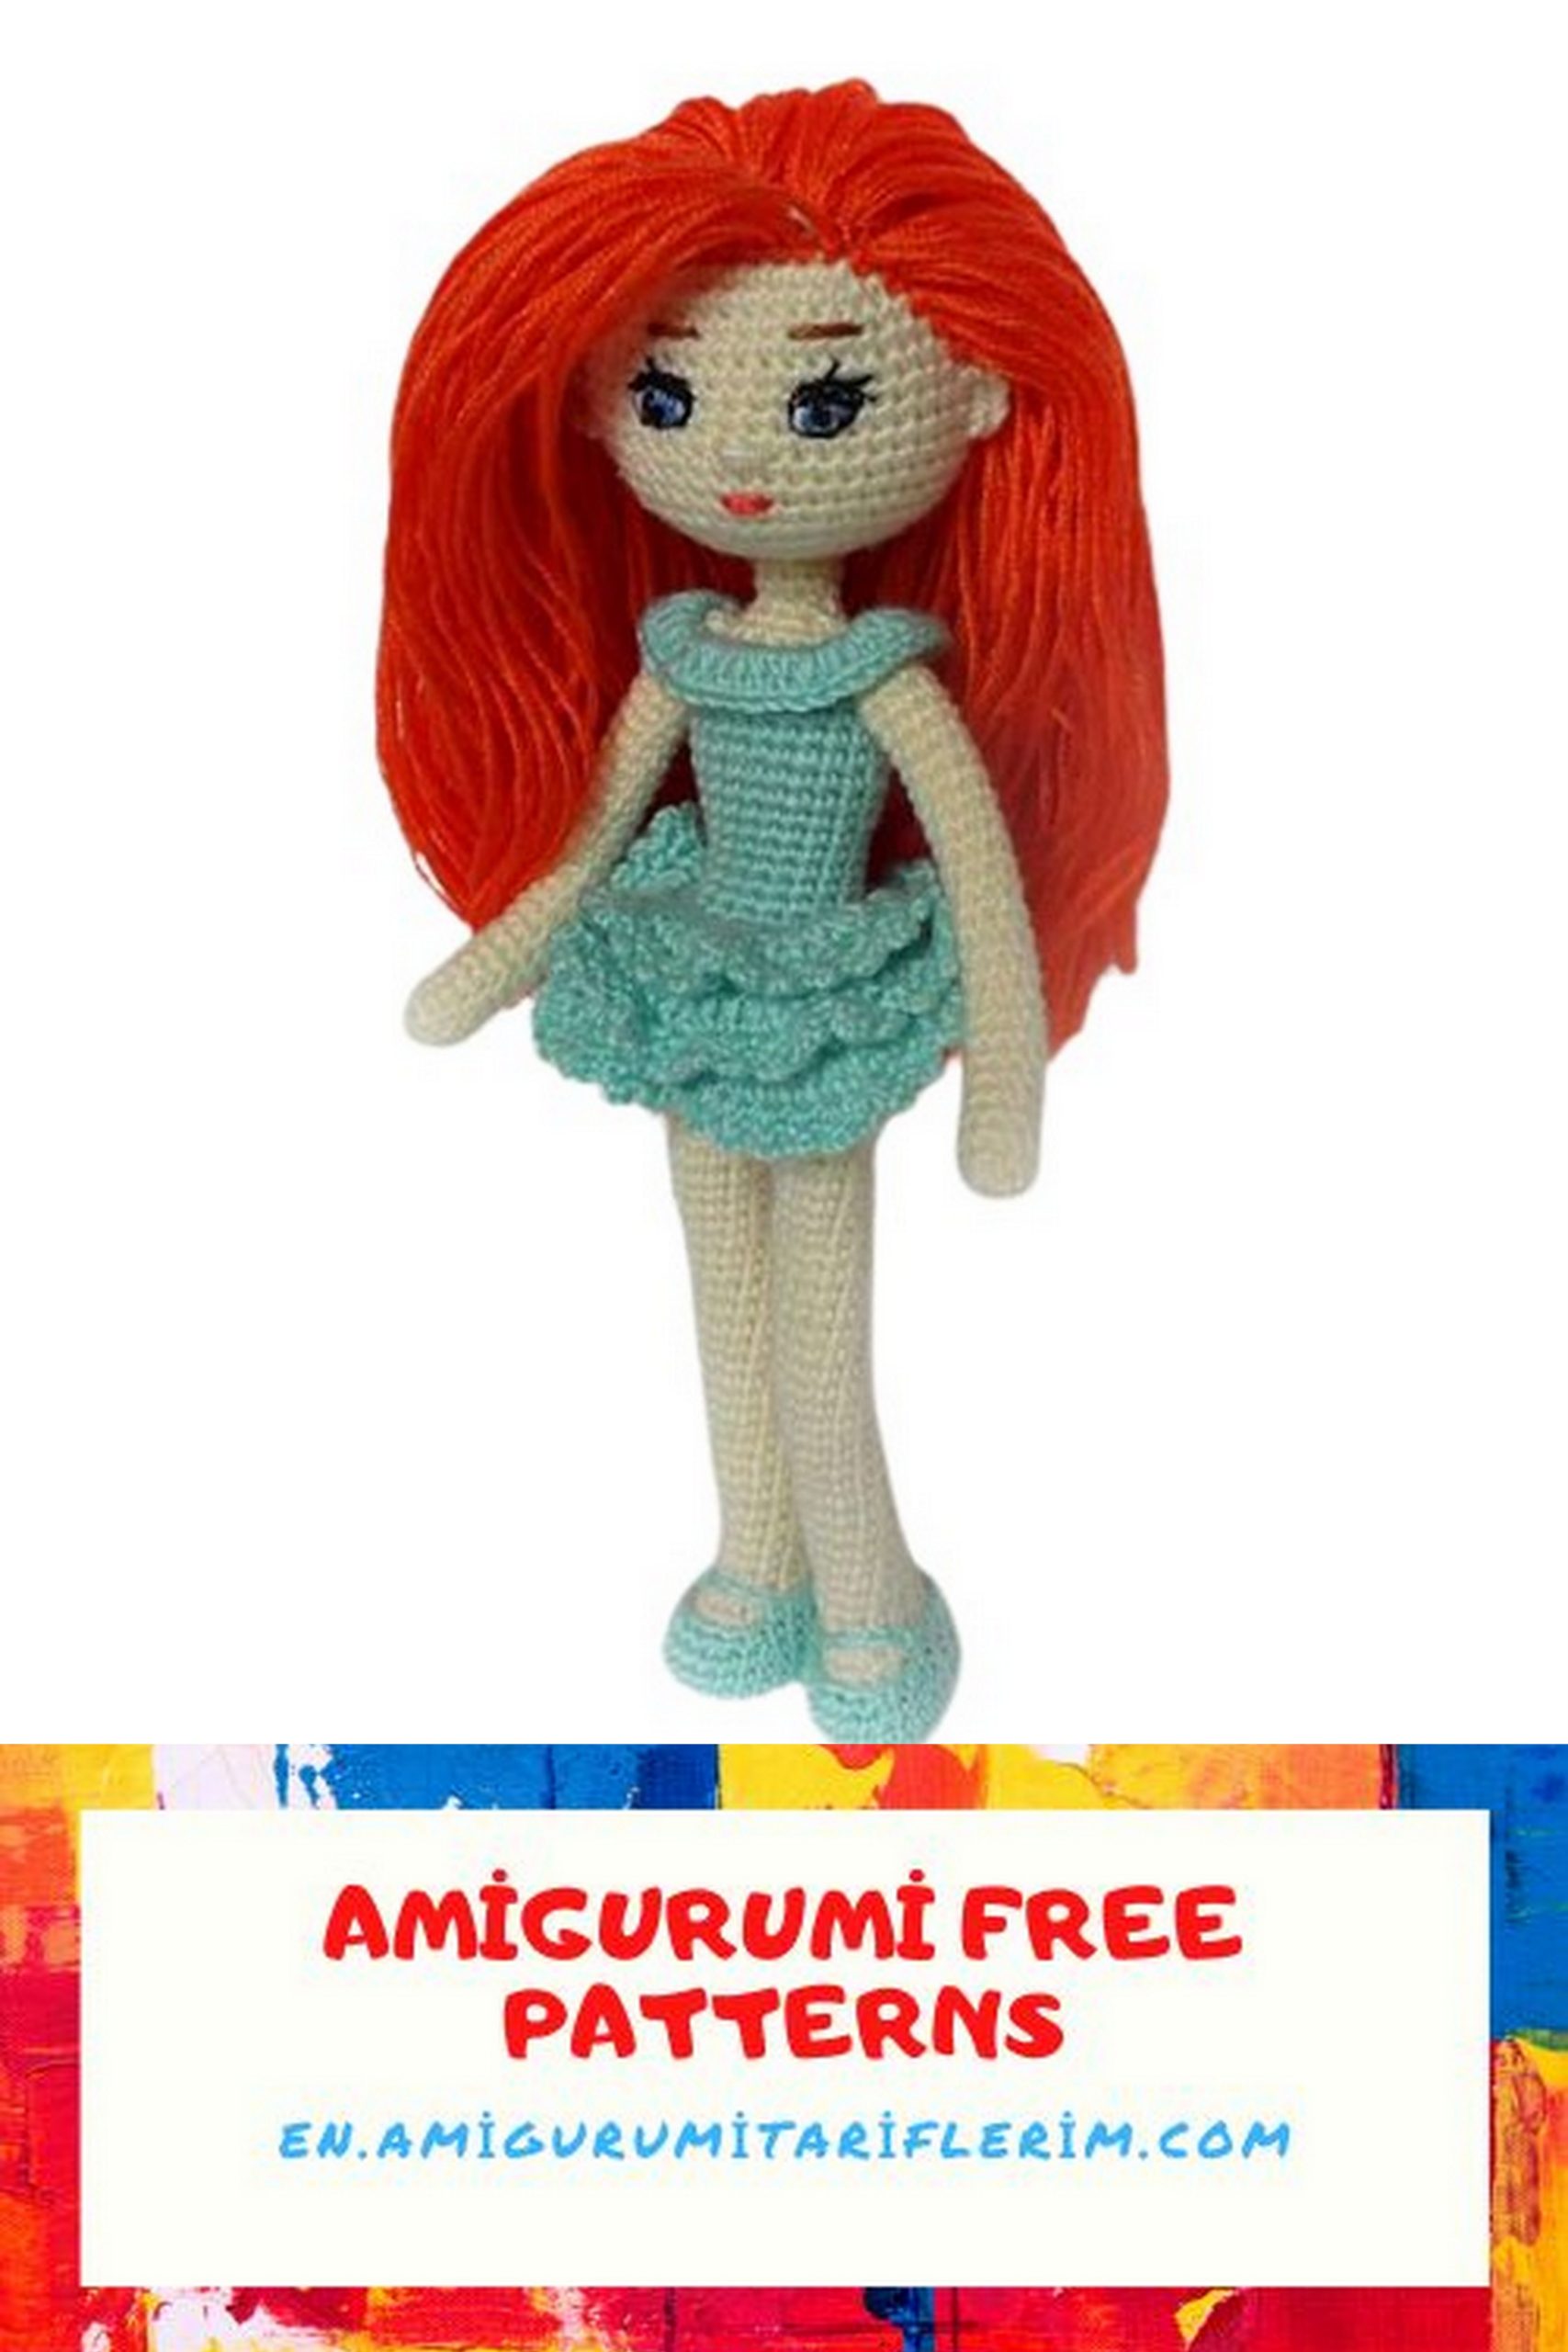
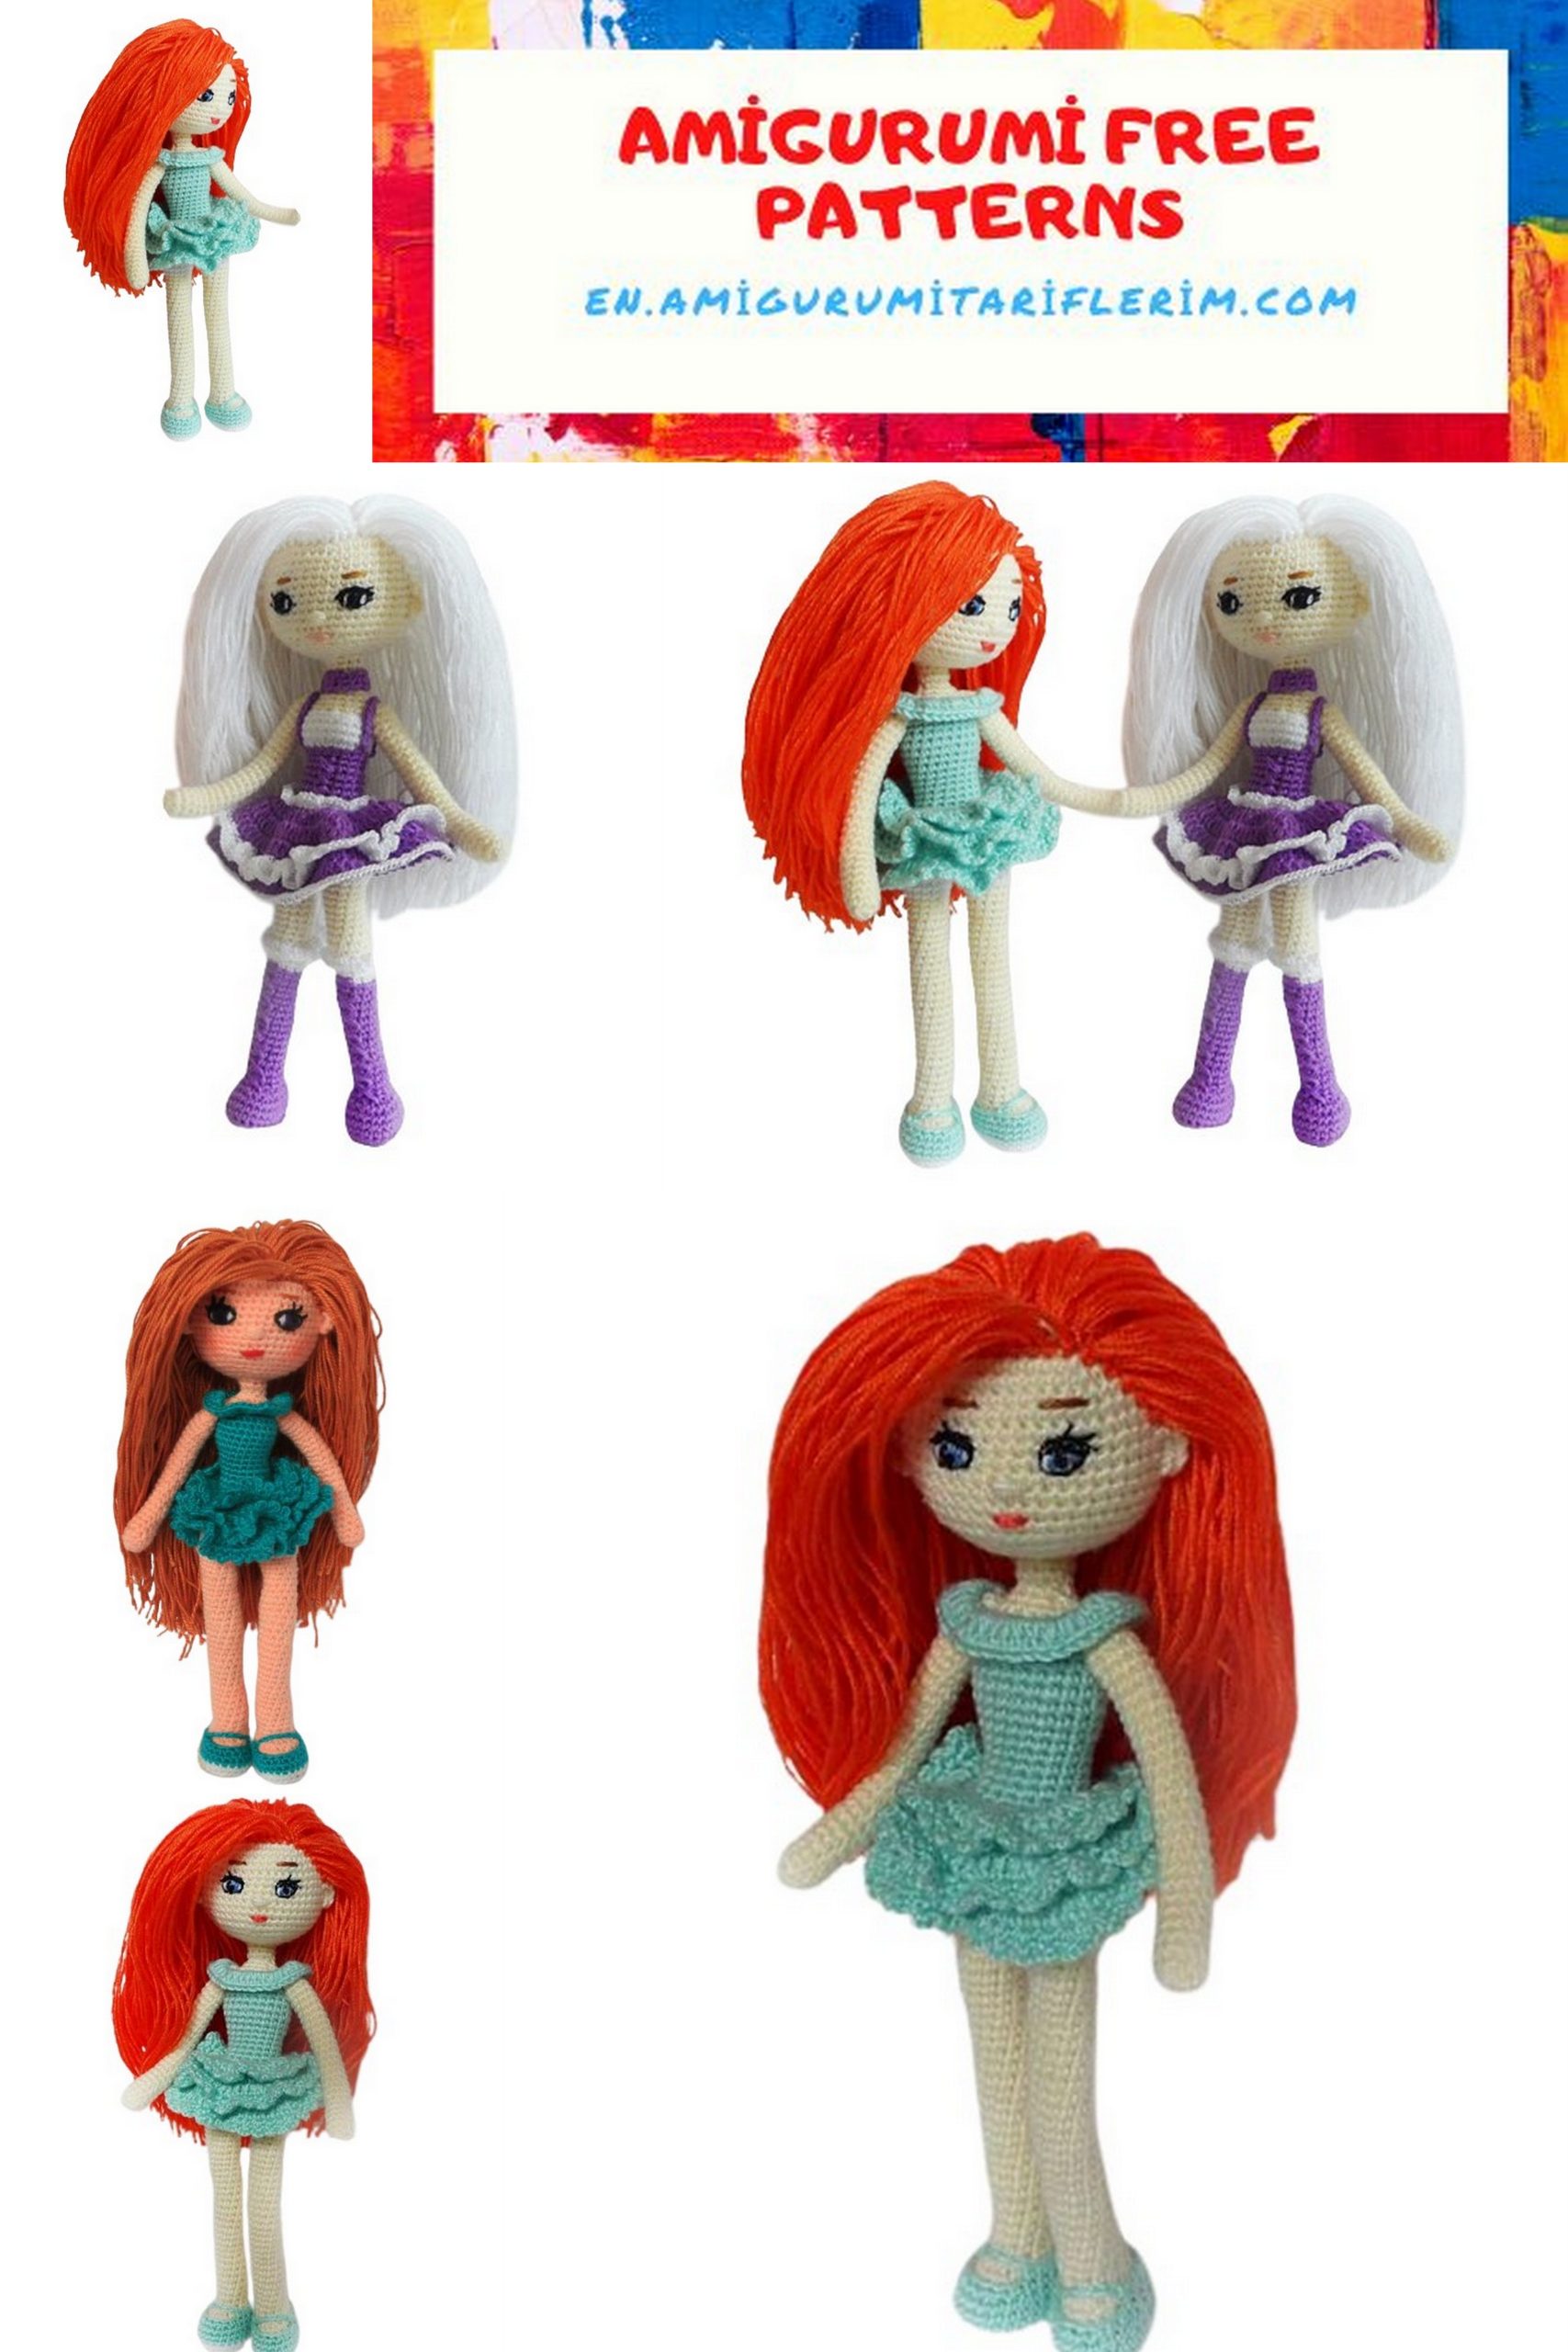
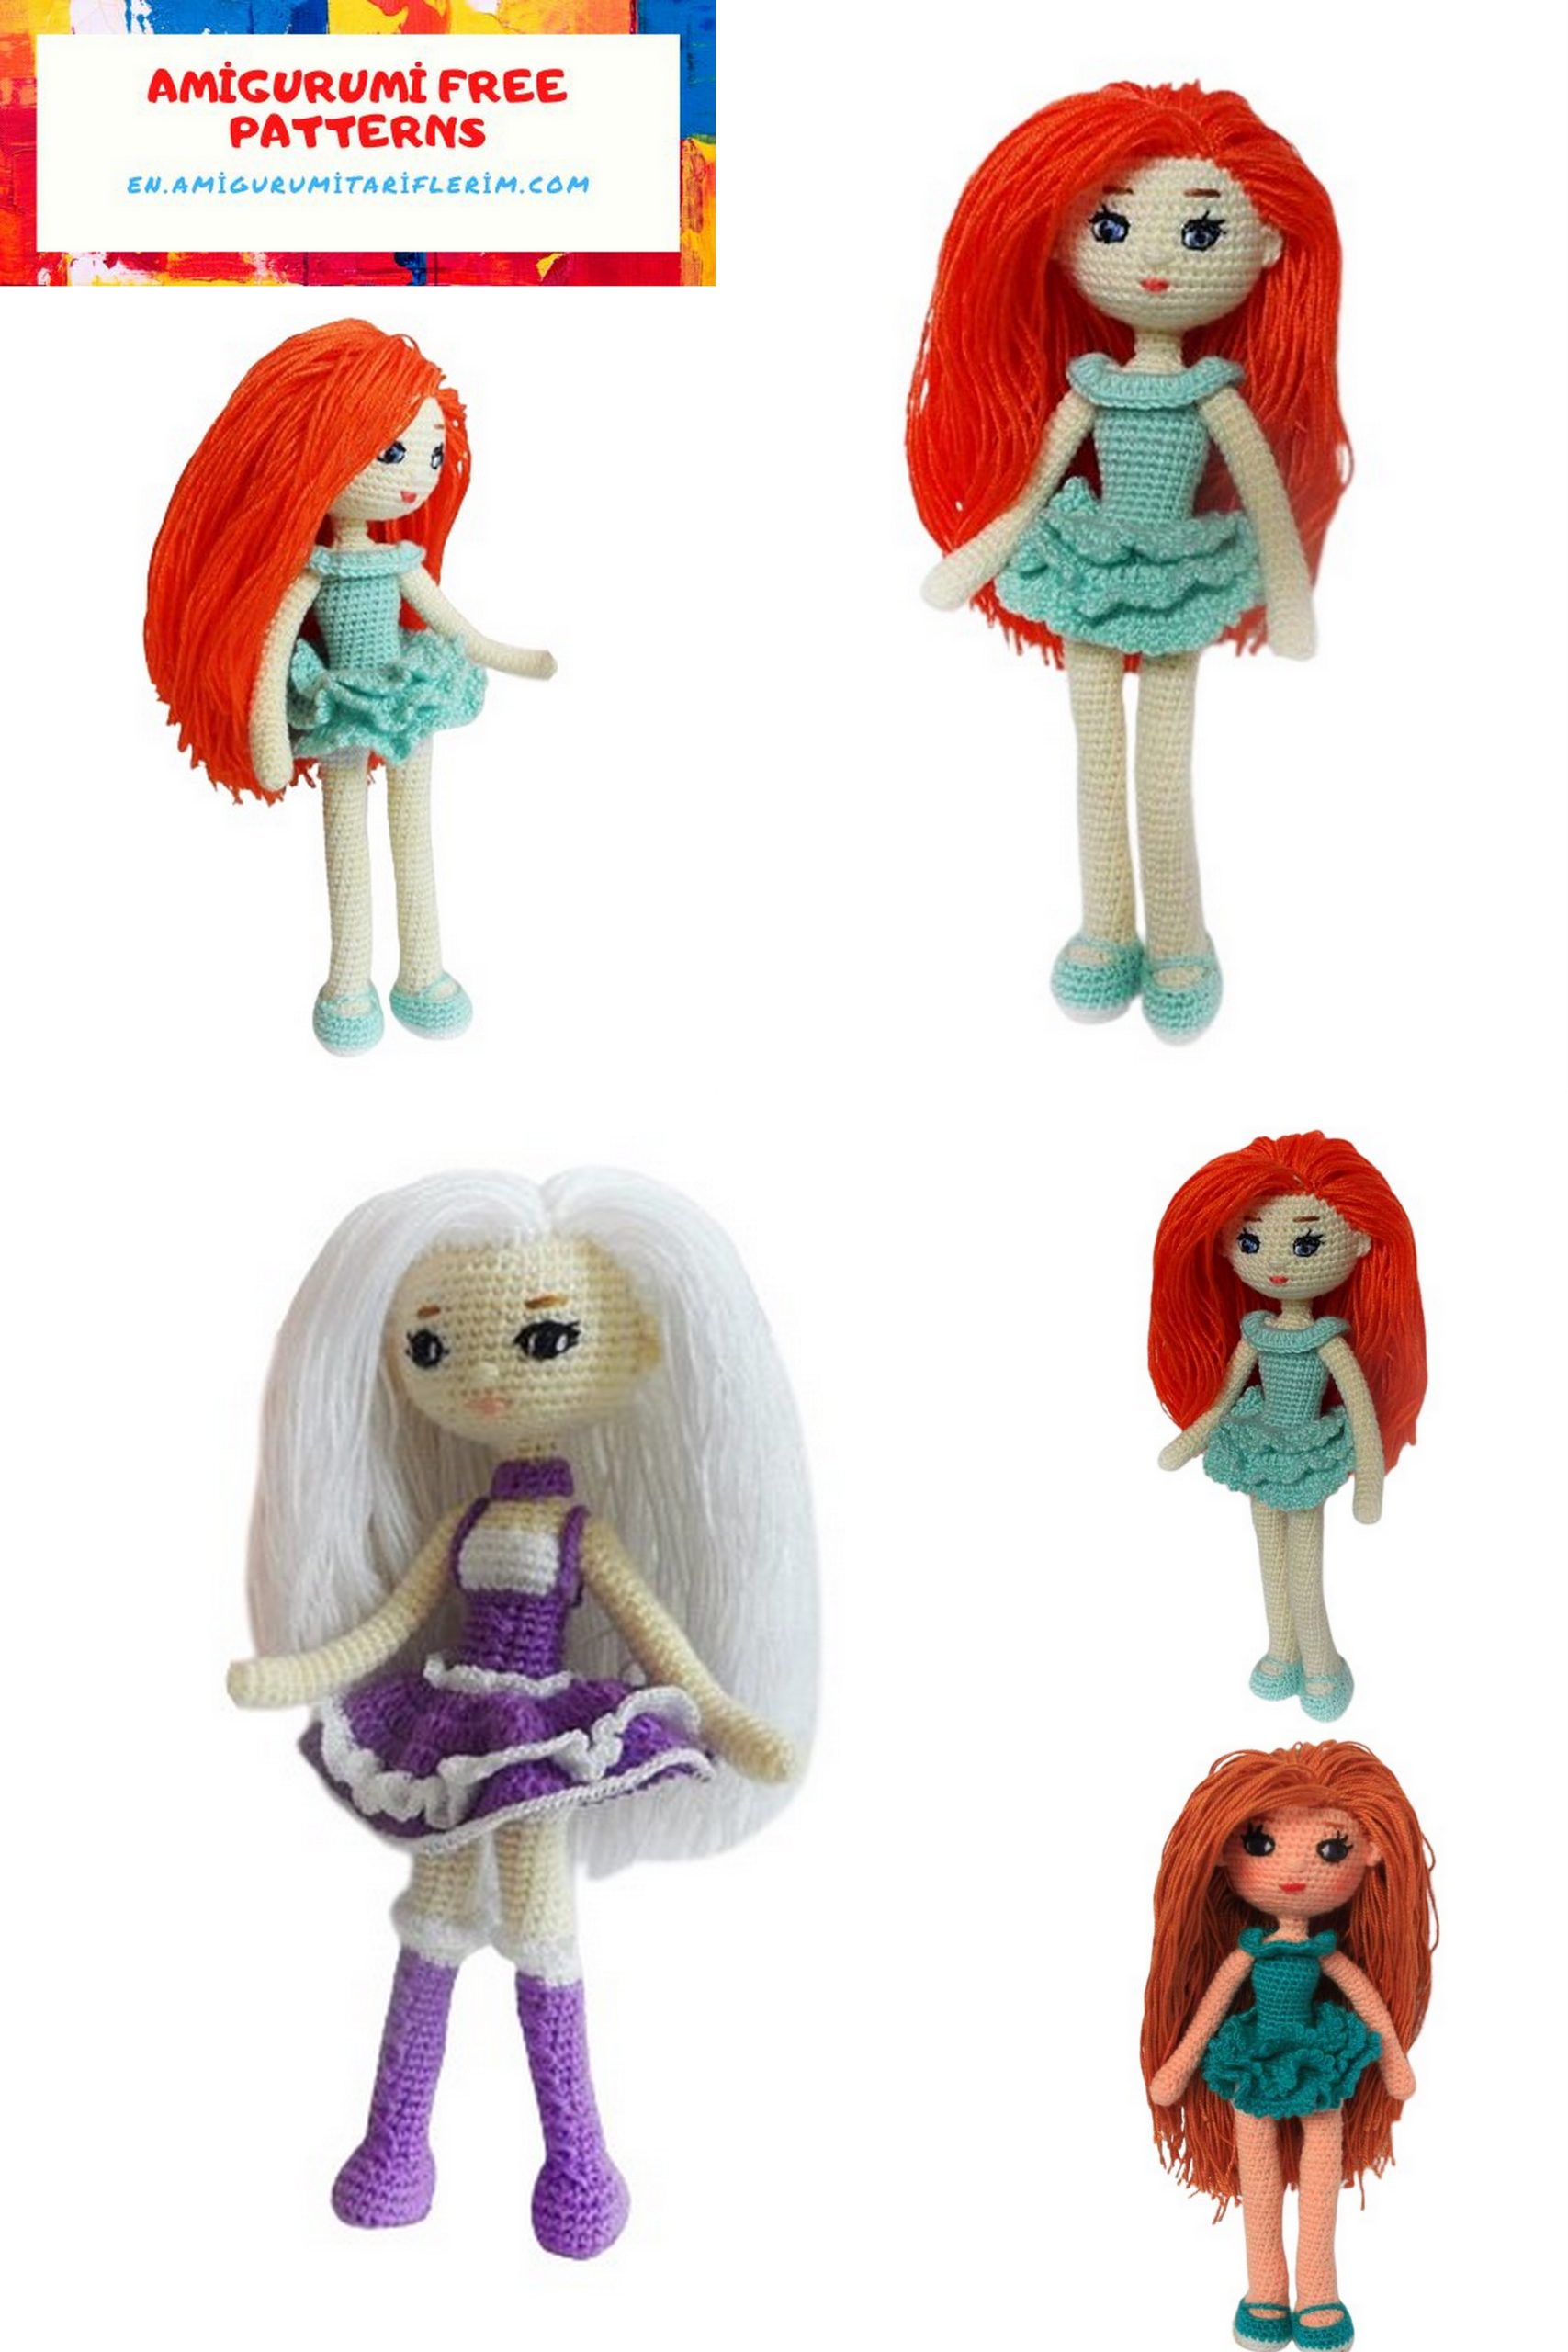
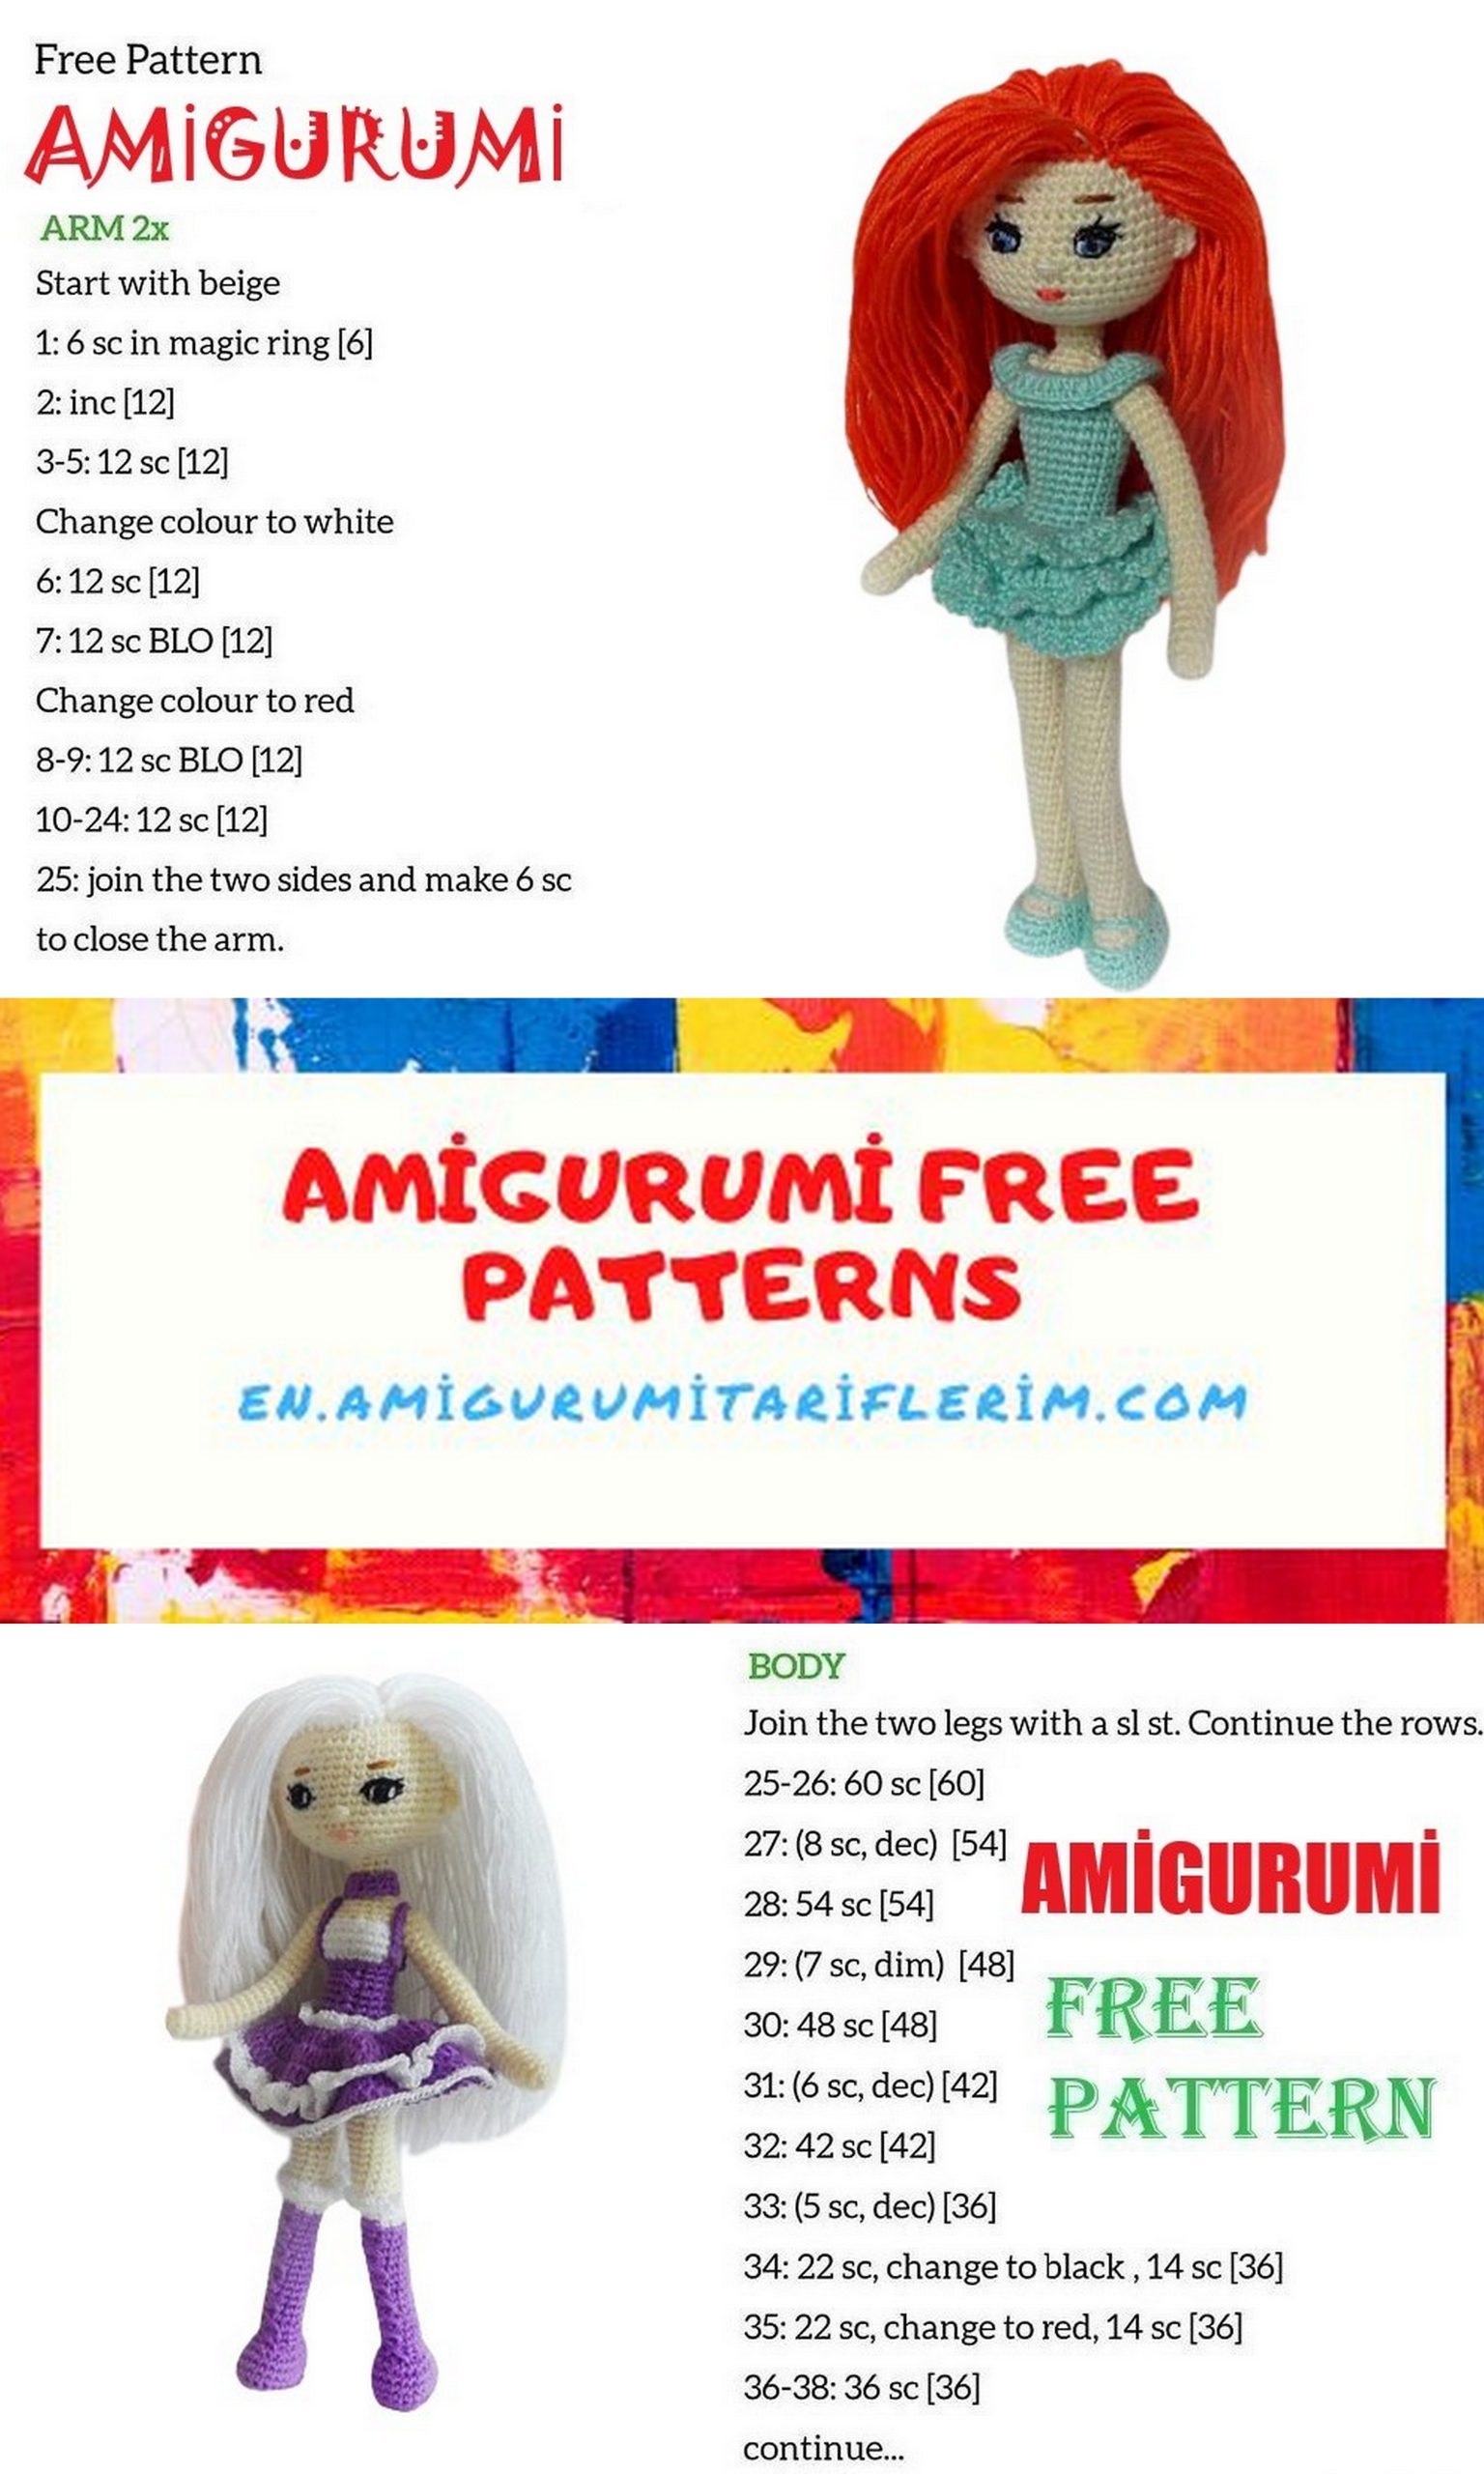
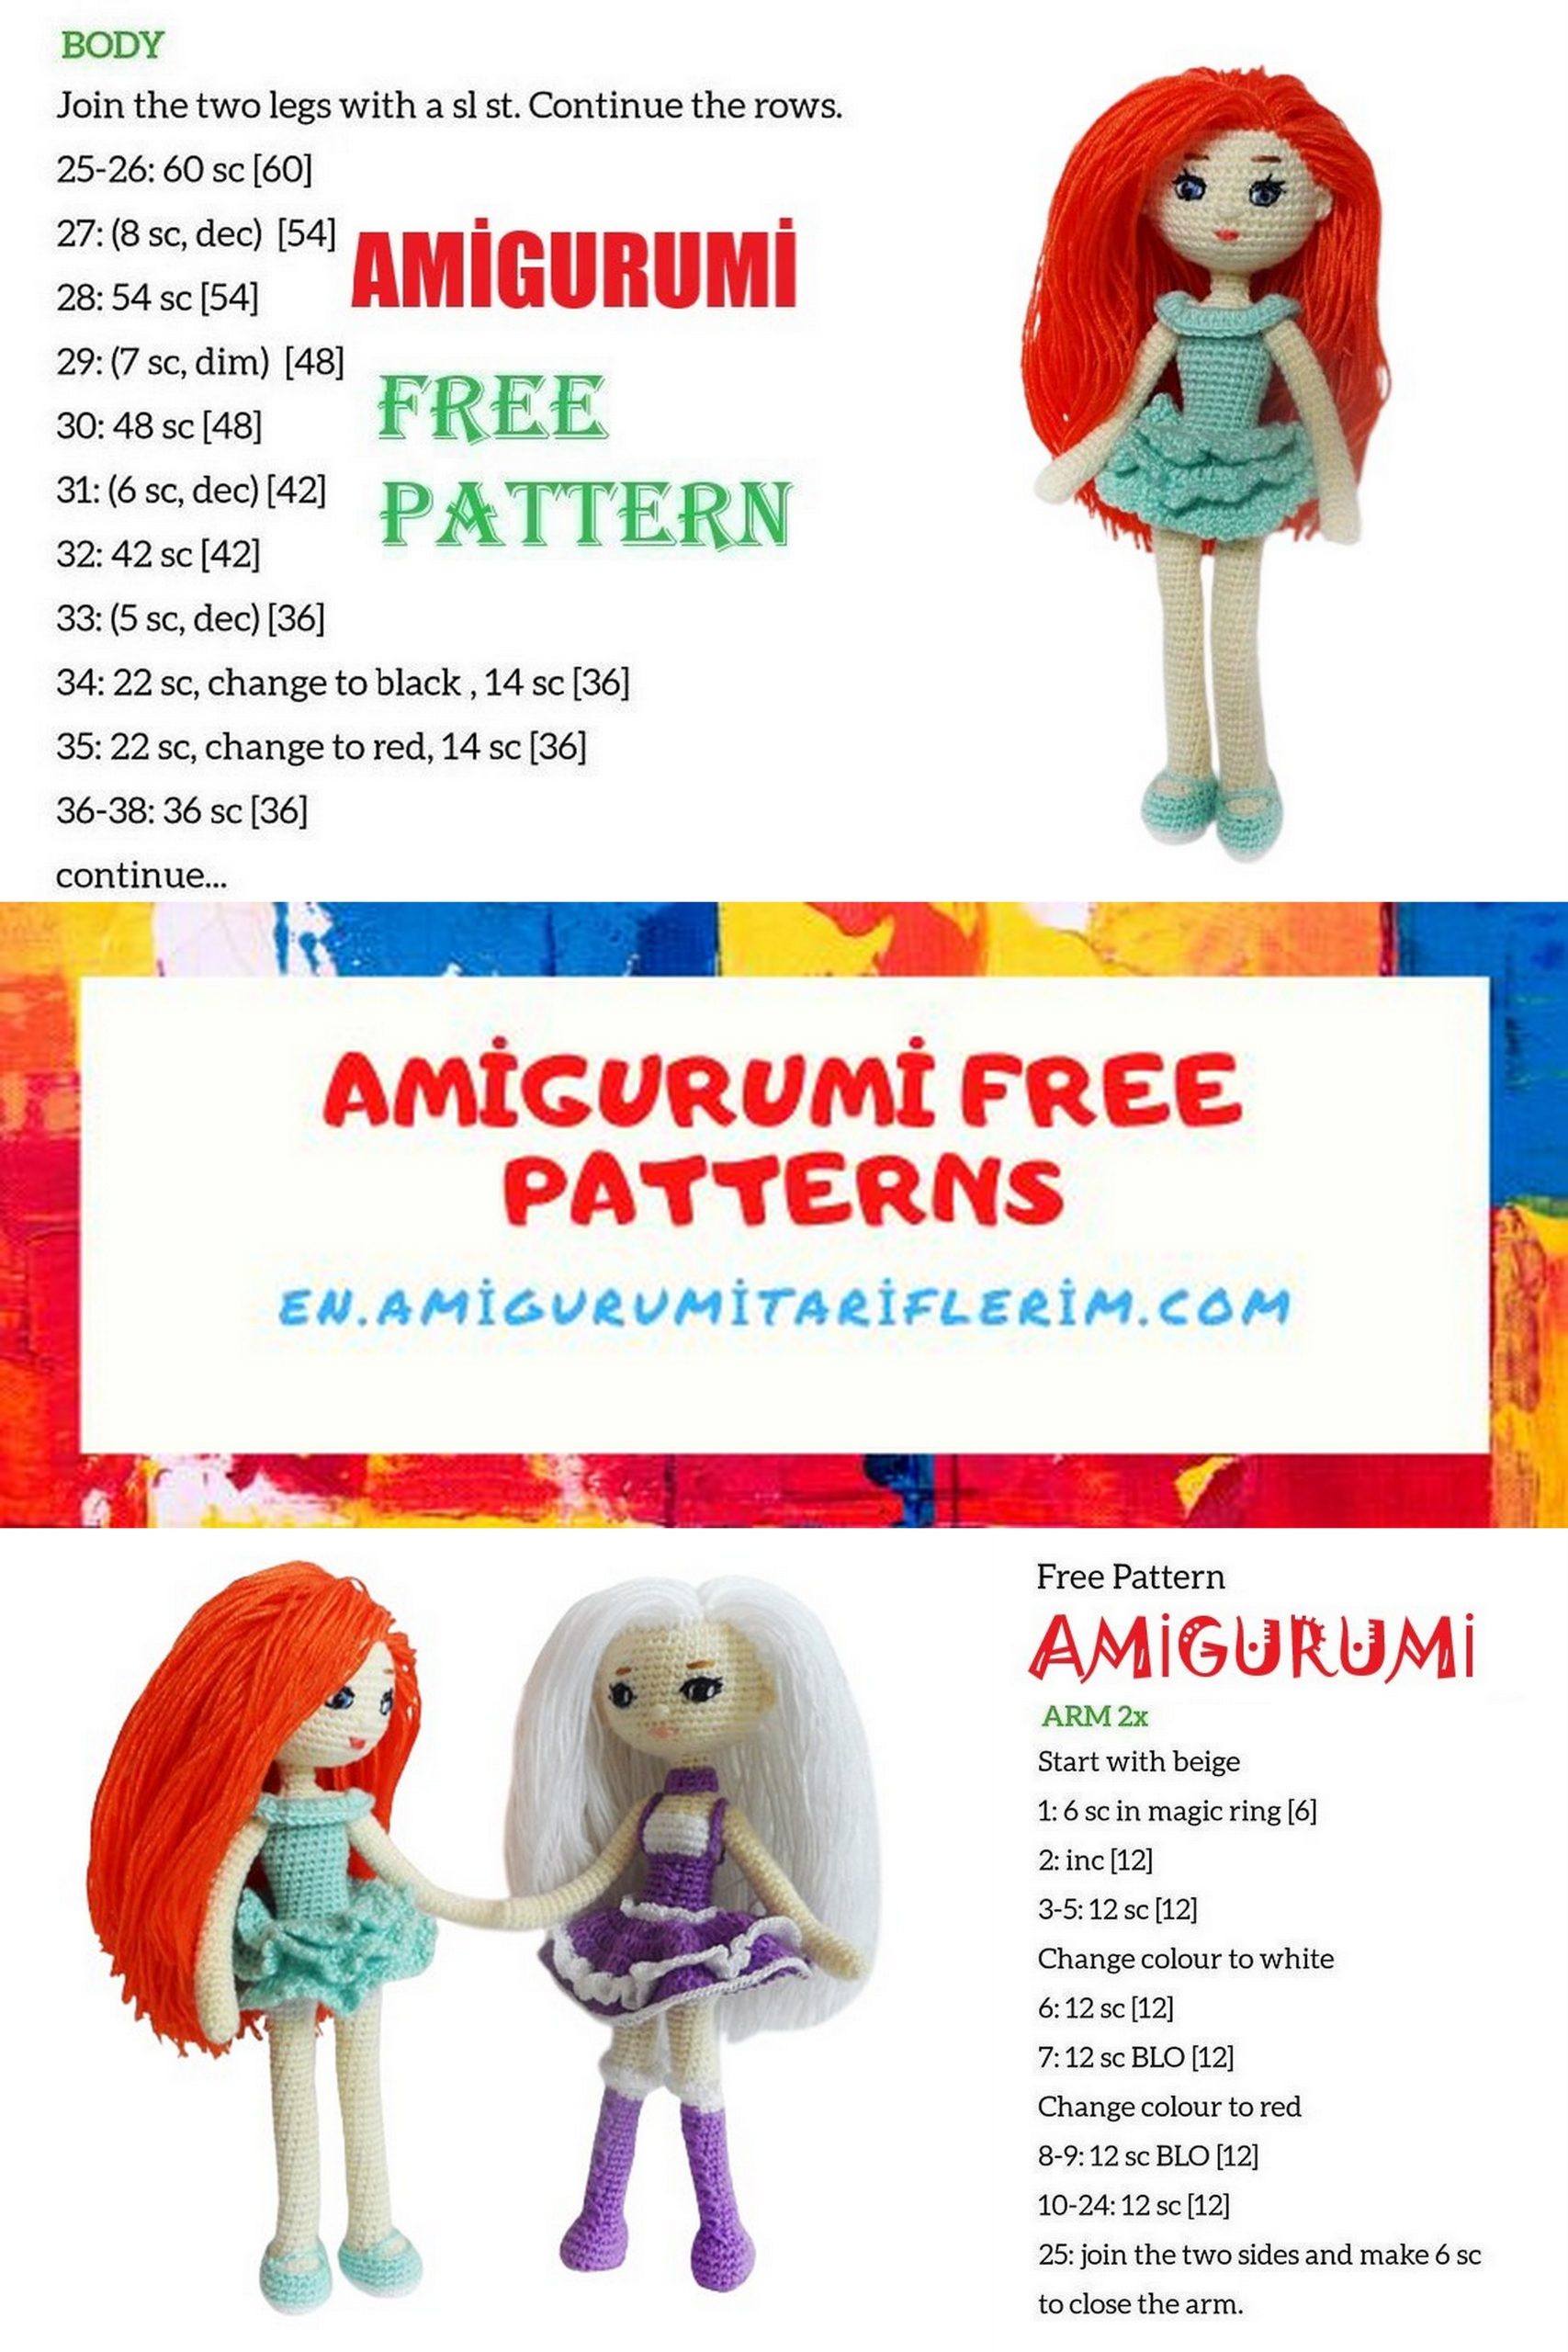
Adel Amigurumi Doll Free Pattern | Crochet Doll Tutorial
Welcome to our Amigurumi Doll Adel Free Pattern! If you’re a crochet enthusiast or just starting your crochet journey, this tutorial is perfect for you. We’ll guide you through the process of creating your own charming Adel Amigurumi Doll with easy-to-follow, step-by-step instructions. Whether you’re crafting it for yourself or as a special gift, this doll is sure to bring joy and creativity to your crochet projects. Let’s get started on this delightful crochet adventure!
Materials and Tools
- Yarn Pekhorka Lace. Colors: natural, white, mint, bright orange. (You can use any other yarn that is convenient for you).
- Mouline threads for embroidering the face. Colors: black, pink, blue, brown.
- Filling material.
- Copper wire with insulation, 1.5 mm.
- Adhesive tape on a cotton basis.
- A piece of plastic for insoles.
- Crochet hook 1.25.
- Needles for sewing details and embroidering the face.
When using the specified materials, the doll’s height is 18 cm.
Abbreviations
MC – Magic circle
sc – single crochet
dec – decrease (single crochet two stitches together through the front loops)
inc – increase (two single crochets in one stitch)
hdc – half double crochet
dc – double crochet
sl st – slip stitch ch – chain
PATTERN
Legs
Work with beige color (natural).
Make a chain of 6.
1 Row: In the second chain from the hook, make 4 sc, 3 sc in the last chain, continue on the other side with 3 sc, and then inc. (12)
2 Row: Inc, 3 sc, 3 inc, 3 sc, 2 inc. (18)
3 Row: 1 sc, inc, 3 sc, (1 sc, inc) x 3, 3 sc, (1 sc, inc) x 2. (24)
Cut the insole shape.
4 Row: 24 sc in the back loops.
5-6 Row: 24 sc.
1 bias loop
7 Row: 2 sc, (1 sc, dec) x 6, 2 sc, dec. (17)
8 Row: 2 sc, 6 dec, 2 sc, inc. (12)
Insert the insole and a 20-22 cm long wire.
Add stuffing as you go.
9-38 Row: 12 sc for 29 rows.
Cut the yarn for one leg, thread it through the remaining stitches and secure it. Leave the yarn for the other leg.
Body
Make a chain 1 as a turning chain. Place a marker in the center of the inside of one leg.
Join white yarn (for making panties).
Row 1 (right leg): 6 sc, (inc, 1 sc) x 3, 3 ch, (1 sc, inc) x 3, 6 sc. (33)
Row 2: 3 sc along the chain, 15 sc along the right leg, 3 sc along the chain, 15 sc along the left leg. (36)
Join the wire and secure it with adhesive tape.
Row 3: 36 sc.
Row 4: 9 sc, dec, 17 sc, dec, 6 sc. (34)
Row 5: 17 sc, 2 dec, 13 sc. (32)
Row 6: 9 sc, dec, 14 sc, dec, 5 sc. (30)
Row 7: 9 sc, dec, 12 sc, dec, 5 sc. (28)
Rows 8-9: 28 sc.
Row 10: 9 sc, dec, 4 sc, dec, 1 sc, dec, 4 sc, dec, 2 sc. (24)
(Verification: 1 sc should be in the middle of the back).
Change the yarn to mint color. Add stuffing as you go.
Row 11: (2 sc, dec) x 6. (18)
Row 12: 18 sc in the back loops.
Rows 13-16: 18 sc.
Row 17: 7 sc, inc, 8 sc, inc, 1 sc. (20). Increases on the sides.
Row 18: 20 sc.
Row 19: 8 sc, inc, 9 sc, inc, 1 sc. (22)
Rows 20-24: 22 sc.
Place a marker in the center of the back. Change the yarn to flesh color. Add stuffing as you go.
Row 25: 4 sc, 2 dec, 7 sc, 2 dec, 3 sc (18) – for the back. Decreases on the sides are for transitioning to the shoulders.
Row 26: 3 sc, 2 dec, 5 sc, 2 dec, 2 sc (14).
Row 27: 2 sc, 2 dec, 3 sc, 2 dec, 1 sc (10).
Cut the yarn, secure, and weave in the ends.
Head
Row 1: 6 sc in MC.
Row 2: 6 inc. (12)
Row 3: (1 sc, inc) x 6. (18)
Row 4: (2 sc, inc) x 6. (24)
Row 5: (3 sc, inc) x 6. (30)
Row 6: (4 sc, inc) x 6. (36)
Row 7: (5 sc, inc) x 6. (42)
Row 8: (6 sc, inc) x 6. (48)
Rows 9-18: 48 sc.
Row 19: (4 sc, dec) x 8. (40)
Row 20: (3 sc, dec) x 8. (32)
Row 21: (2 sc, dec) x 8. (24)
Stuff the head.
Row 22: (1 sc, dec) x 6. (16)
Row 23: (2 sc, 3 dec) x 2. (10)
Neck
Rows 24-25: 10 sc. You can elongate the neck by adding 1-2 more rows.
Cut the yarn, pull the loops tight, secure, and weave in the ends. You can leave a long end for sewing to the body.
Arms
Row 1: 6 sc in MC.
Row 2: (1 sc, inc) x 3. (9)
Rows 3-26: 9 sc.
Insert wire into the arm and add stuffing to the hand.
Row 27: (1 sc, dec) x 3. (6)
Cut the yarn, pull the loops tight, secure, and weave in the ends. Leave a long end for sewing to the body.
Dress
Rows 2, 4, 5, 7, and 8 begin with 3 ch (counted as 1 dc) and end with a sl st.
Join mint yarn to the front loop of row 12 (on the side).
Row 1: 18 dc (36).
First Ruffle
Row 2: 36 sl st in the front loops.
Row 3: In each stitch: 1 sc, 3 ch, 1 sc.
Cut the yarn, secure, and weave in the ends.
Second Ruffle
Join the yarn to the back loop of row 1 (on the side).
Row 4: 36 sl st in the back loops of row 1.
Row 5: (2 sl st, 1 hdc in sl st) x 12. (48) – for the front loops.
Row 6: Same as Row 3.
Cut the yarn, secure, and weave in the ends.
Third Ruffle
Join the yarn to the back loop of row 5 (on the side).
Row 7: 48 sl st.
Row 8: (3 sl st, 1 hdc in sl st) x 12. (60)
Row 9: Same as Row 3.
Cut the yarn, secure, and weave in the ends.
Attach the arms to the body.
Top Ruffle
Join the yarn to the front loop of row 25 (where the left arm is attached to the body, on the back).
Row 1: In each stitch of row 25, make 1 sc. There are 6 ch above each arm.
Row 2: In each stitch, make 1 sl st; above the chains, make 7 sl st. Cut the yarn, secure, and weave in the ends.
Sew the head to the body, making sure there is enough stuffing in the neck.
Face Embroidery
Mark the positions of the eyes, nose, and mouth.
Embroider the eyes, nose, and mouth.
Ears
Make a chain of 2 ch.
Row 1: In the second chain from the hook, make 5 sc.
Row 2: 5 sc.
Cut the yarn, secure, and sew the ears to the head.
Attach the hair.
Shoes
Work with white yarn.
Make a chain of 7 ch.
Row 1: In the second chain from the hook, make 5 sc, 3 sc in the last chain, on the other side: 4 sc, inc. (14)
Row 2: Inc, 4 sc, 3 inc, 4 sc, 2 inc. (20)
Row 3: 1 sc, inc, 4 sc, (1 sc, inc) x 3, 4 sc, (1 sc, inc) x 2. (26)
Row 4: 26 sc in the back loops.
Rows 5-6: 26 sc.
Row 7: 6 sc, (1 sc, dec) x 4, 6 sc, dec. (21)
Row 8: 7 sc, 6 ch. Secure the yarn in a way that creates a fastening.
Your doll is ready. Happy crafting!