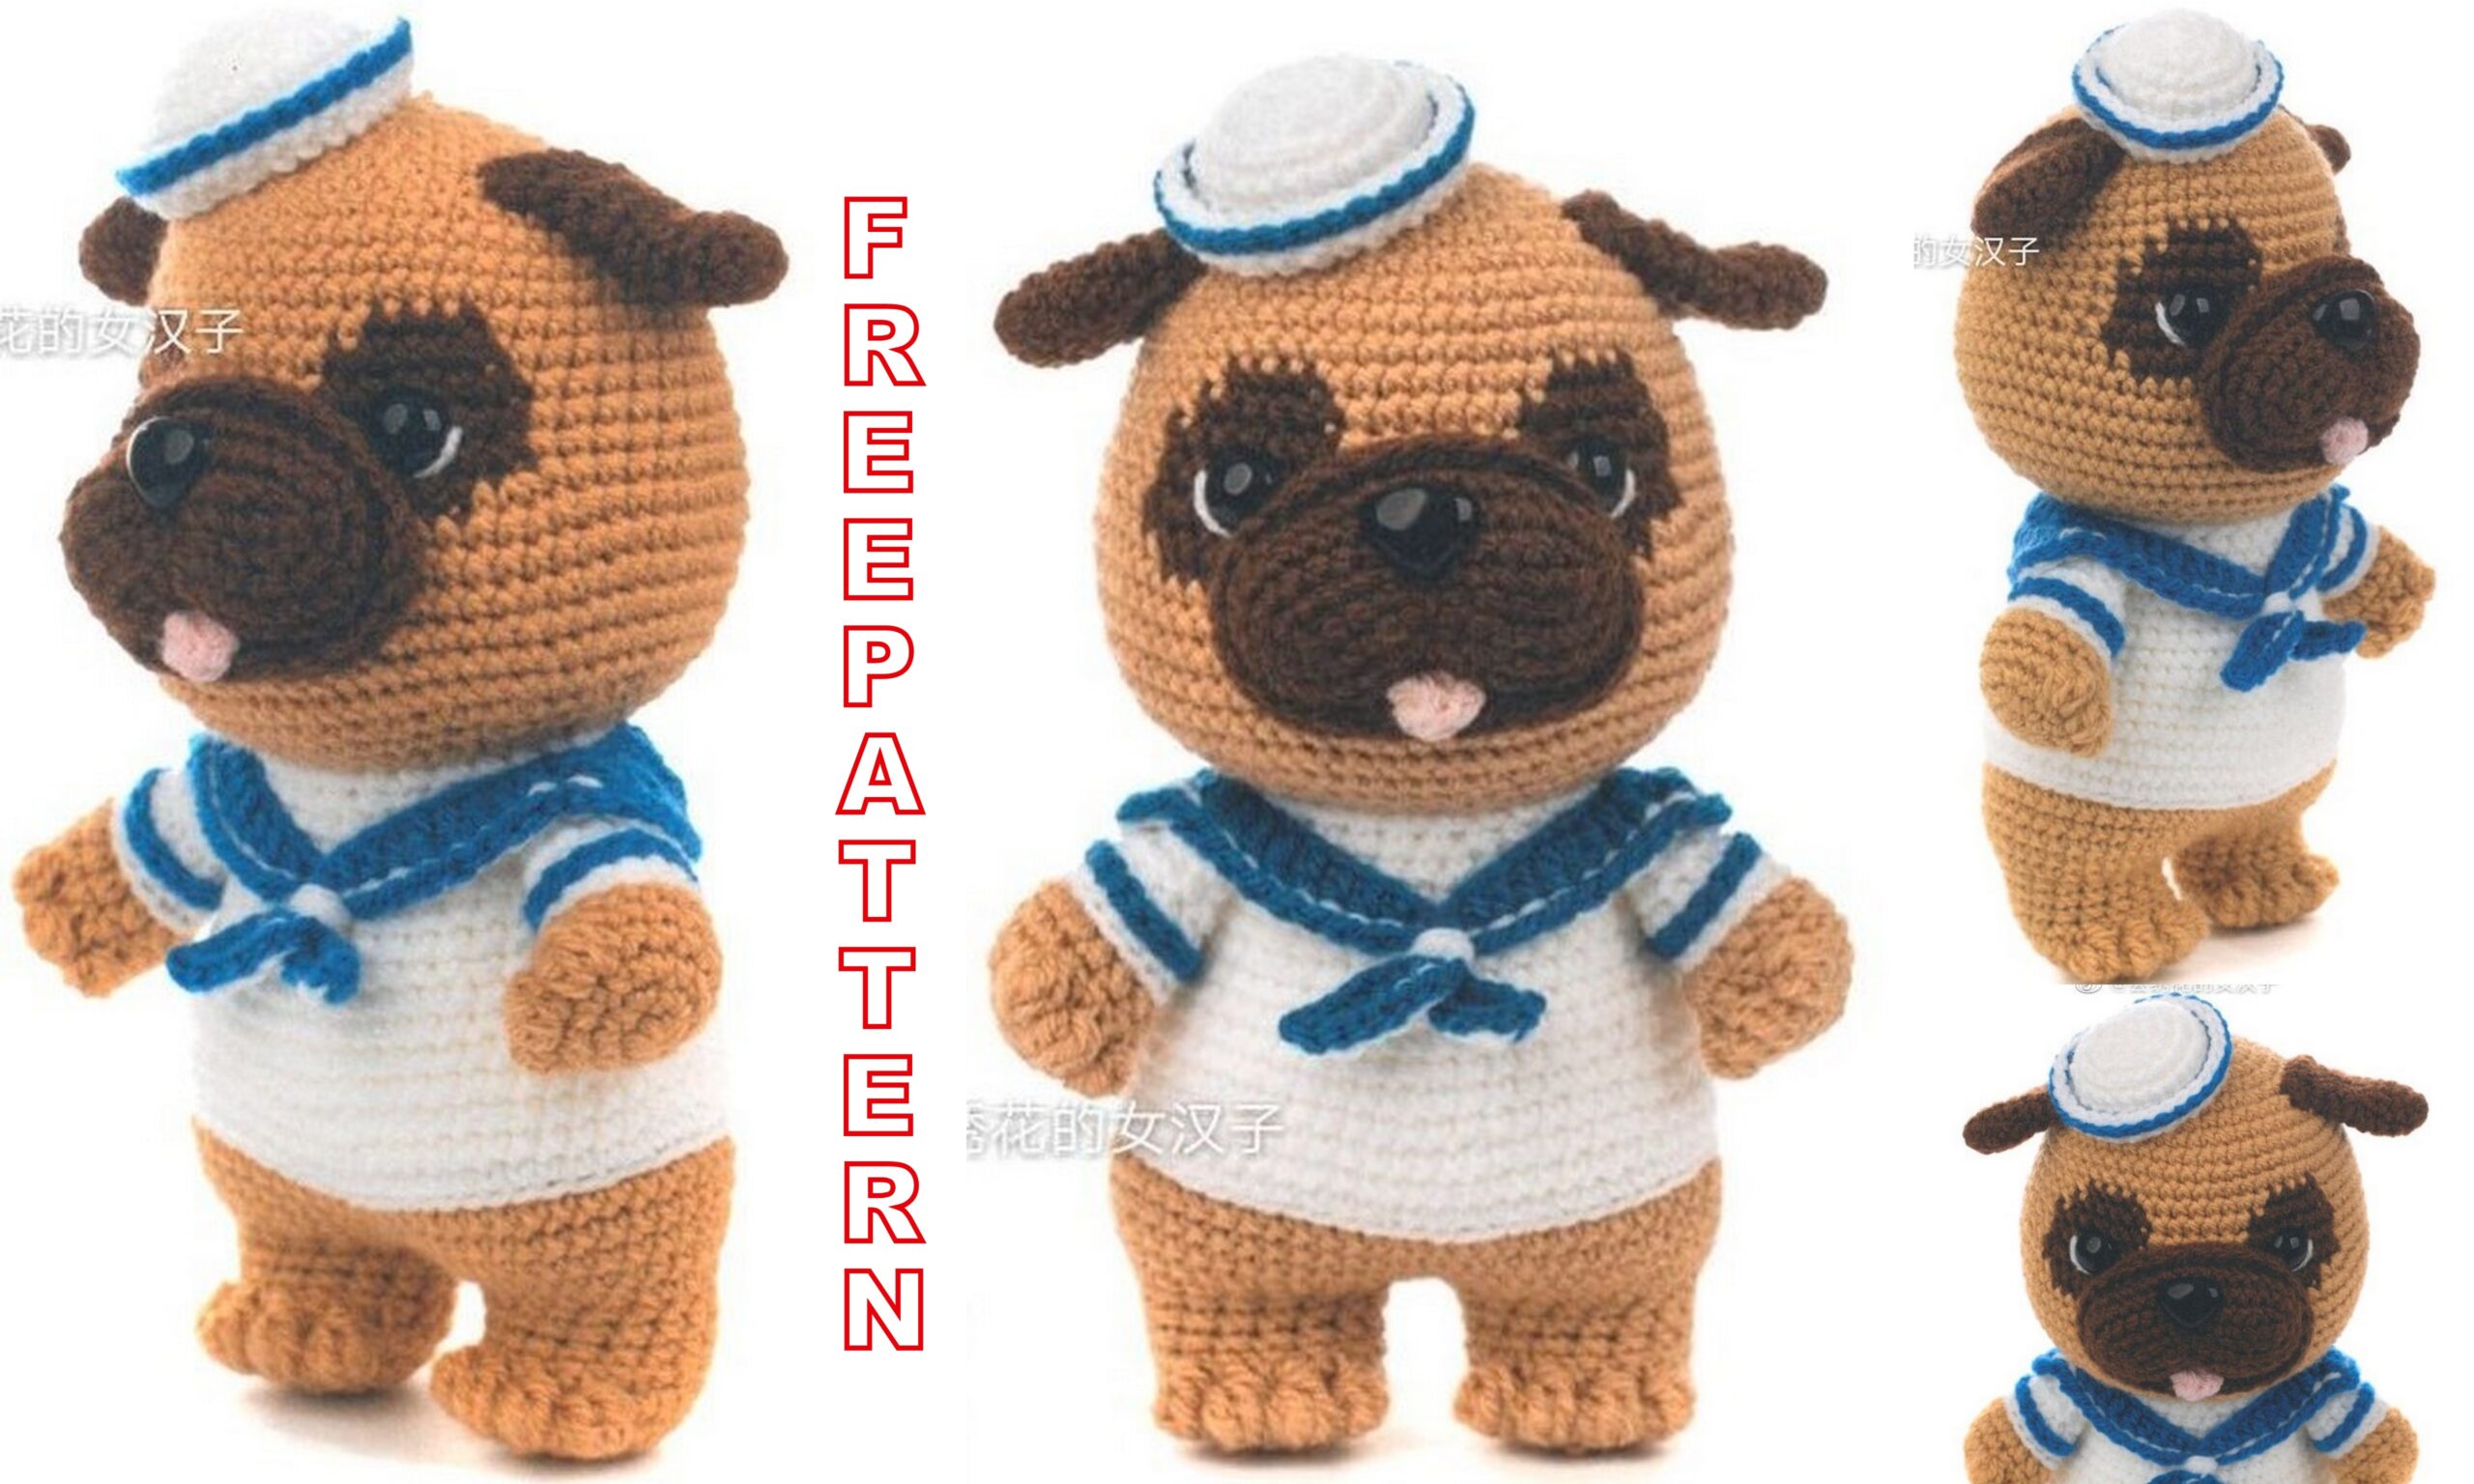
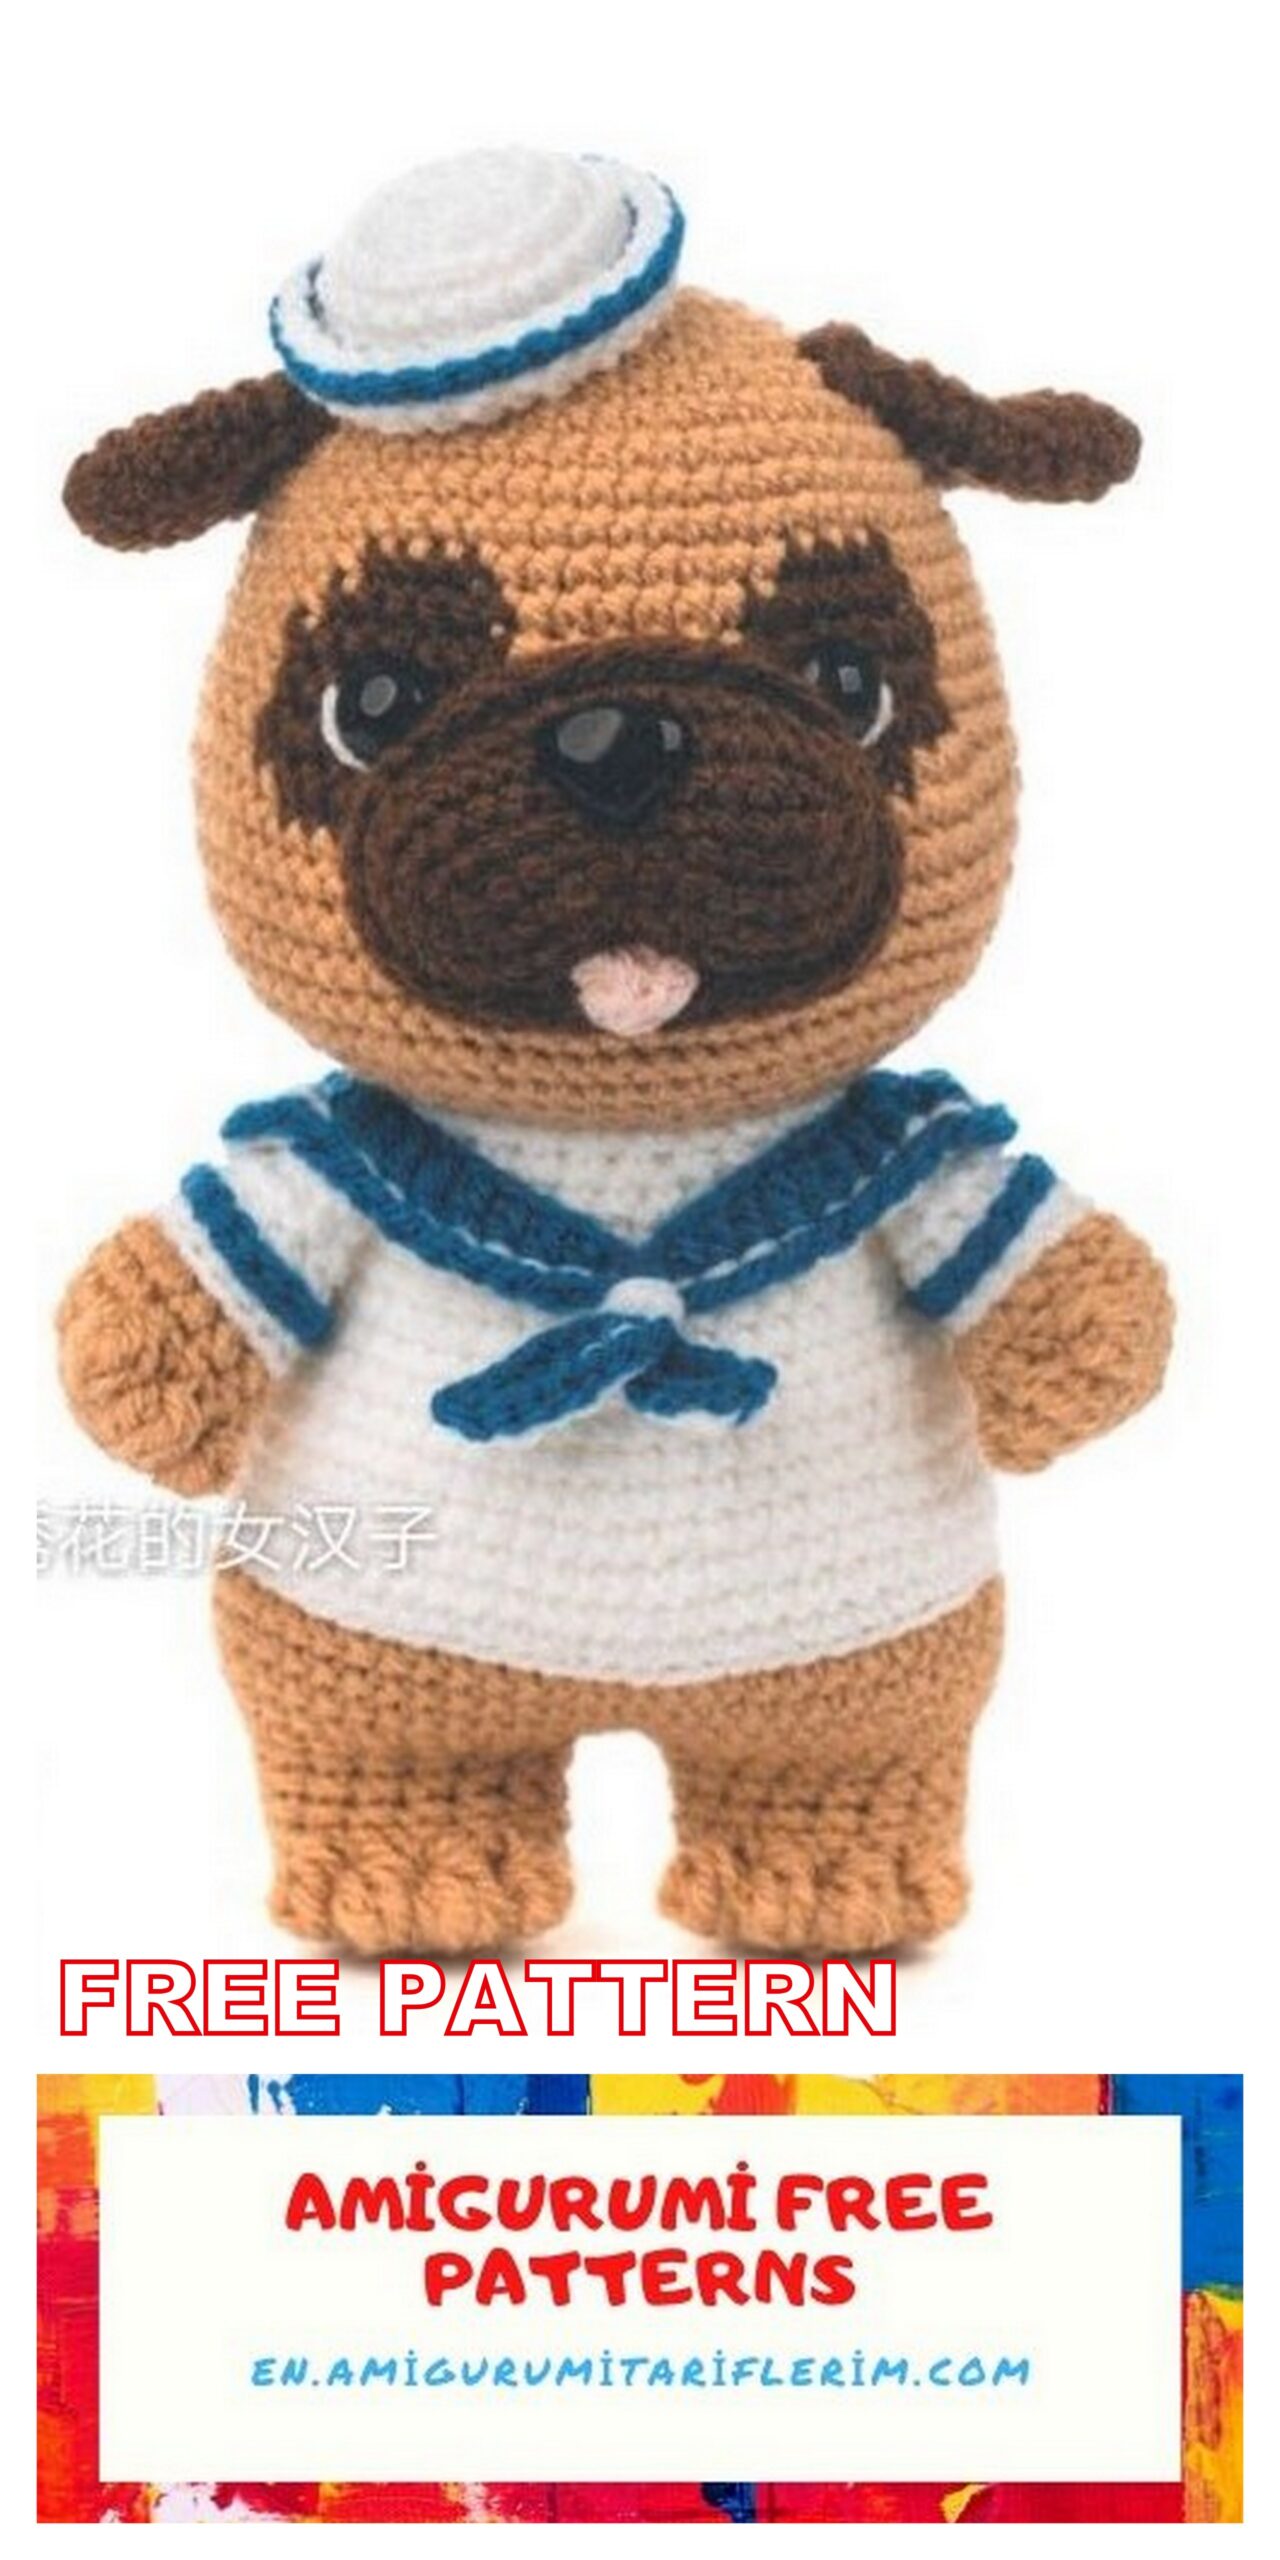
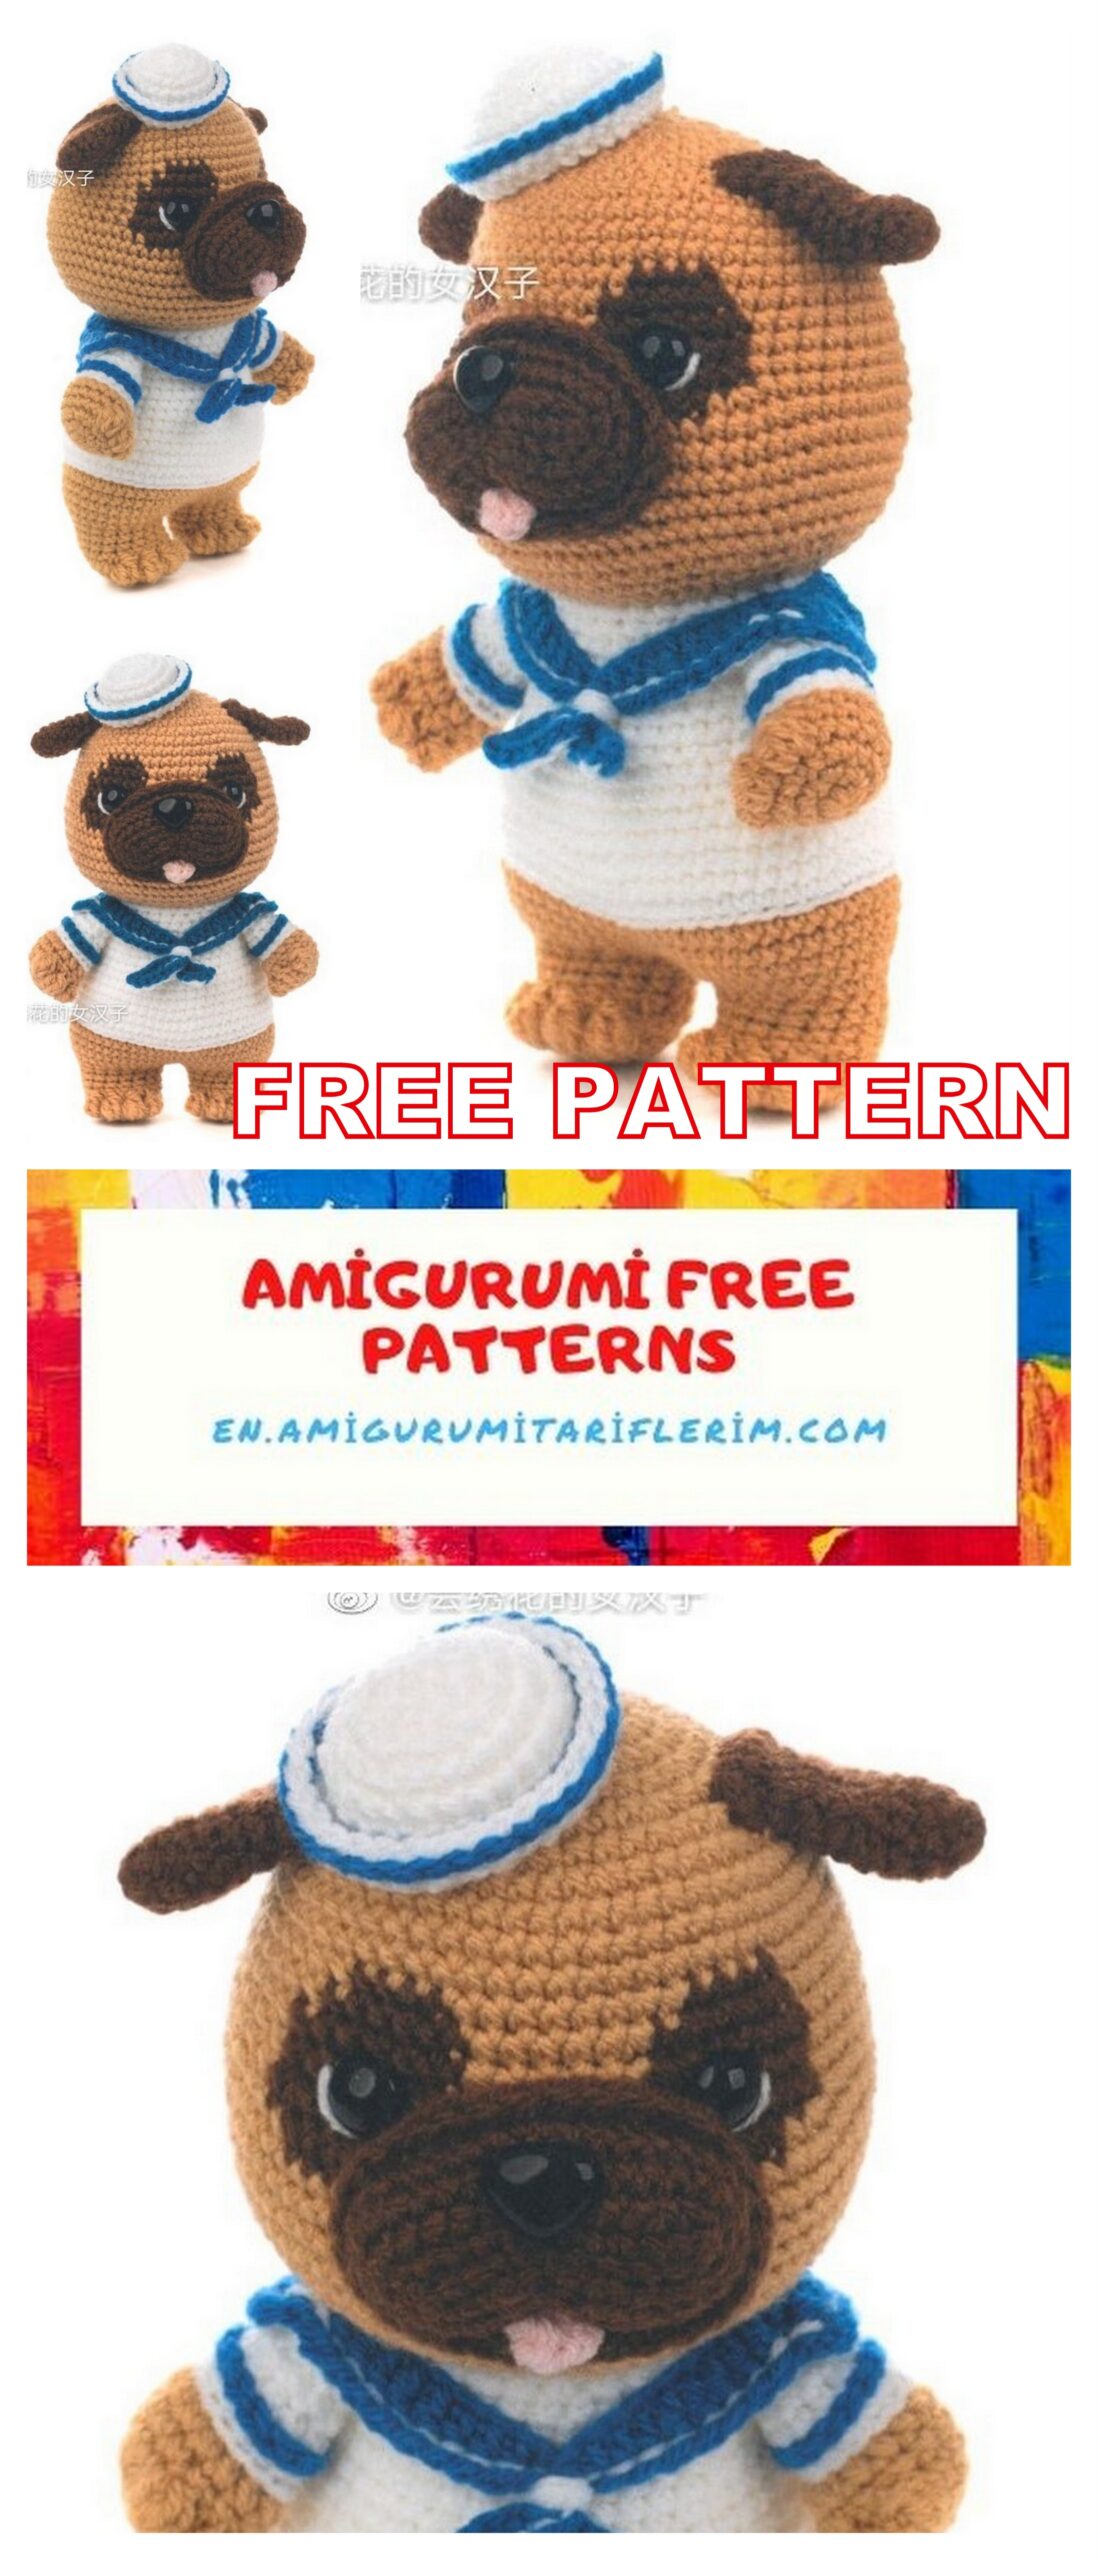
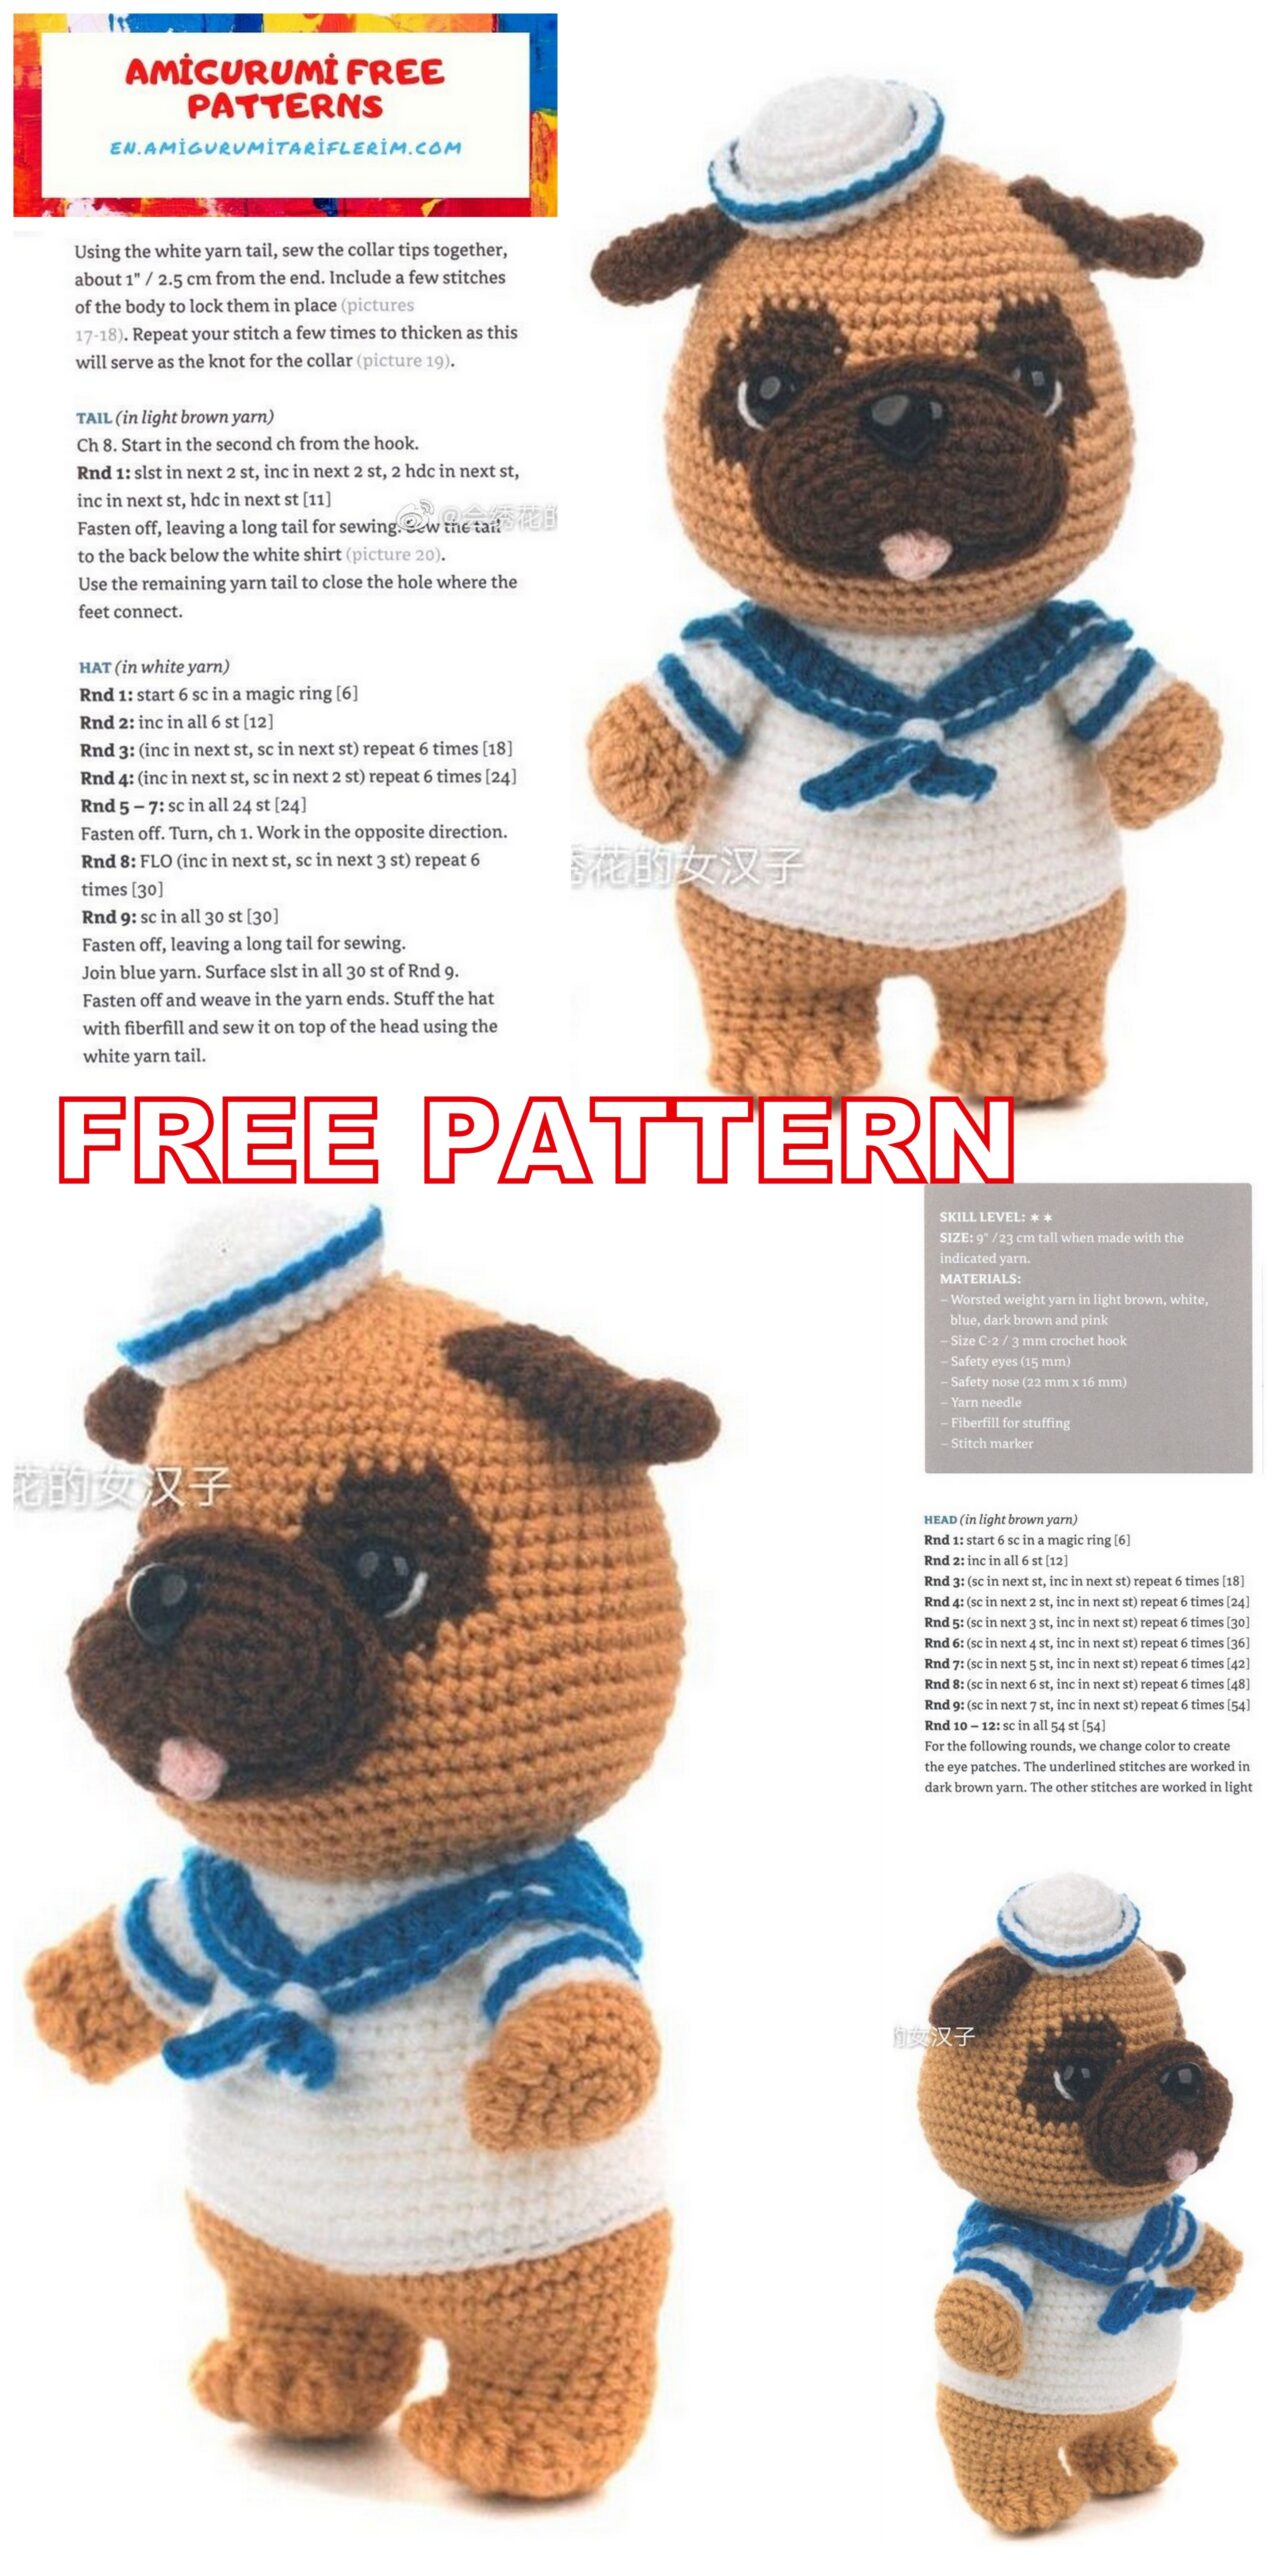
Papi the Sailor Pug Amigurumi Free Pattern
SKILL LEVEL:
** SIZE: 9″ /23 cm tall when made with the indicated yarn.
MATERIALS:
– Worsted weight yarn in light brown, white, blue, dark brown and pink
– Size C-2/3 mm
crochet hook – Safety eyes (15 mm) – Safety nose (22 mm x 16 mm)
– Yarn needle
– Fiberfill for stuffing
— Stitch marker
ABBREVATİONS
Ch – Chain
Sc – Single crochet
Dec – Decrease
İnc – İncrease
Dc – Double Crochet
Sl-st – Slip – stitch
PATTERN
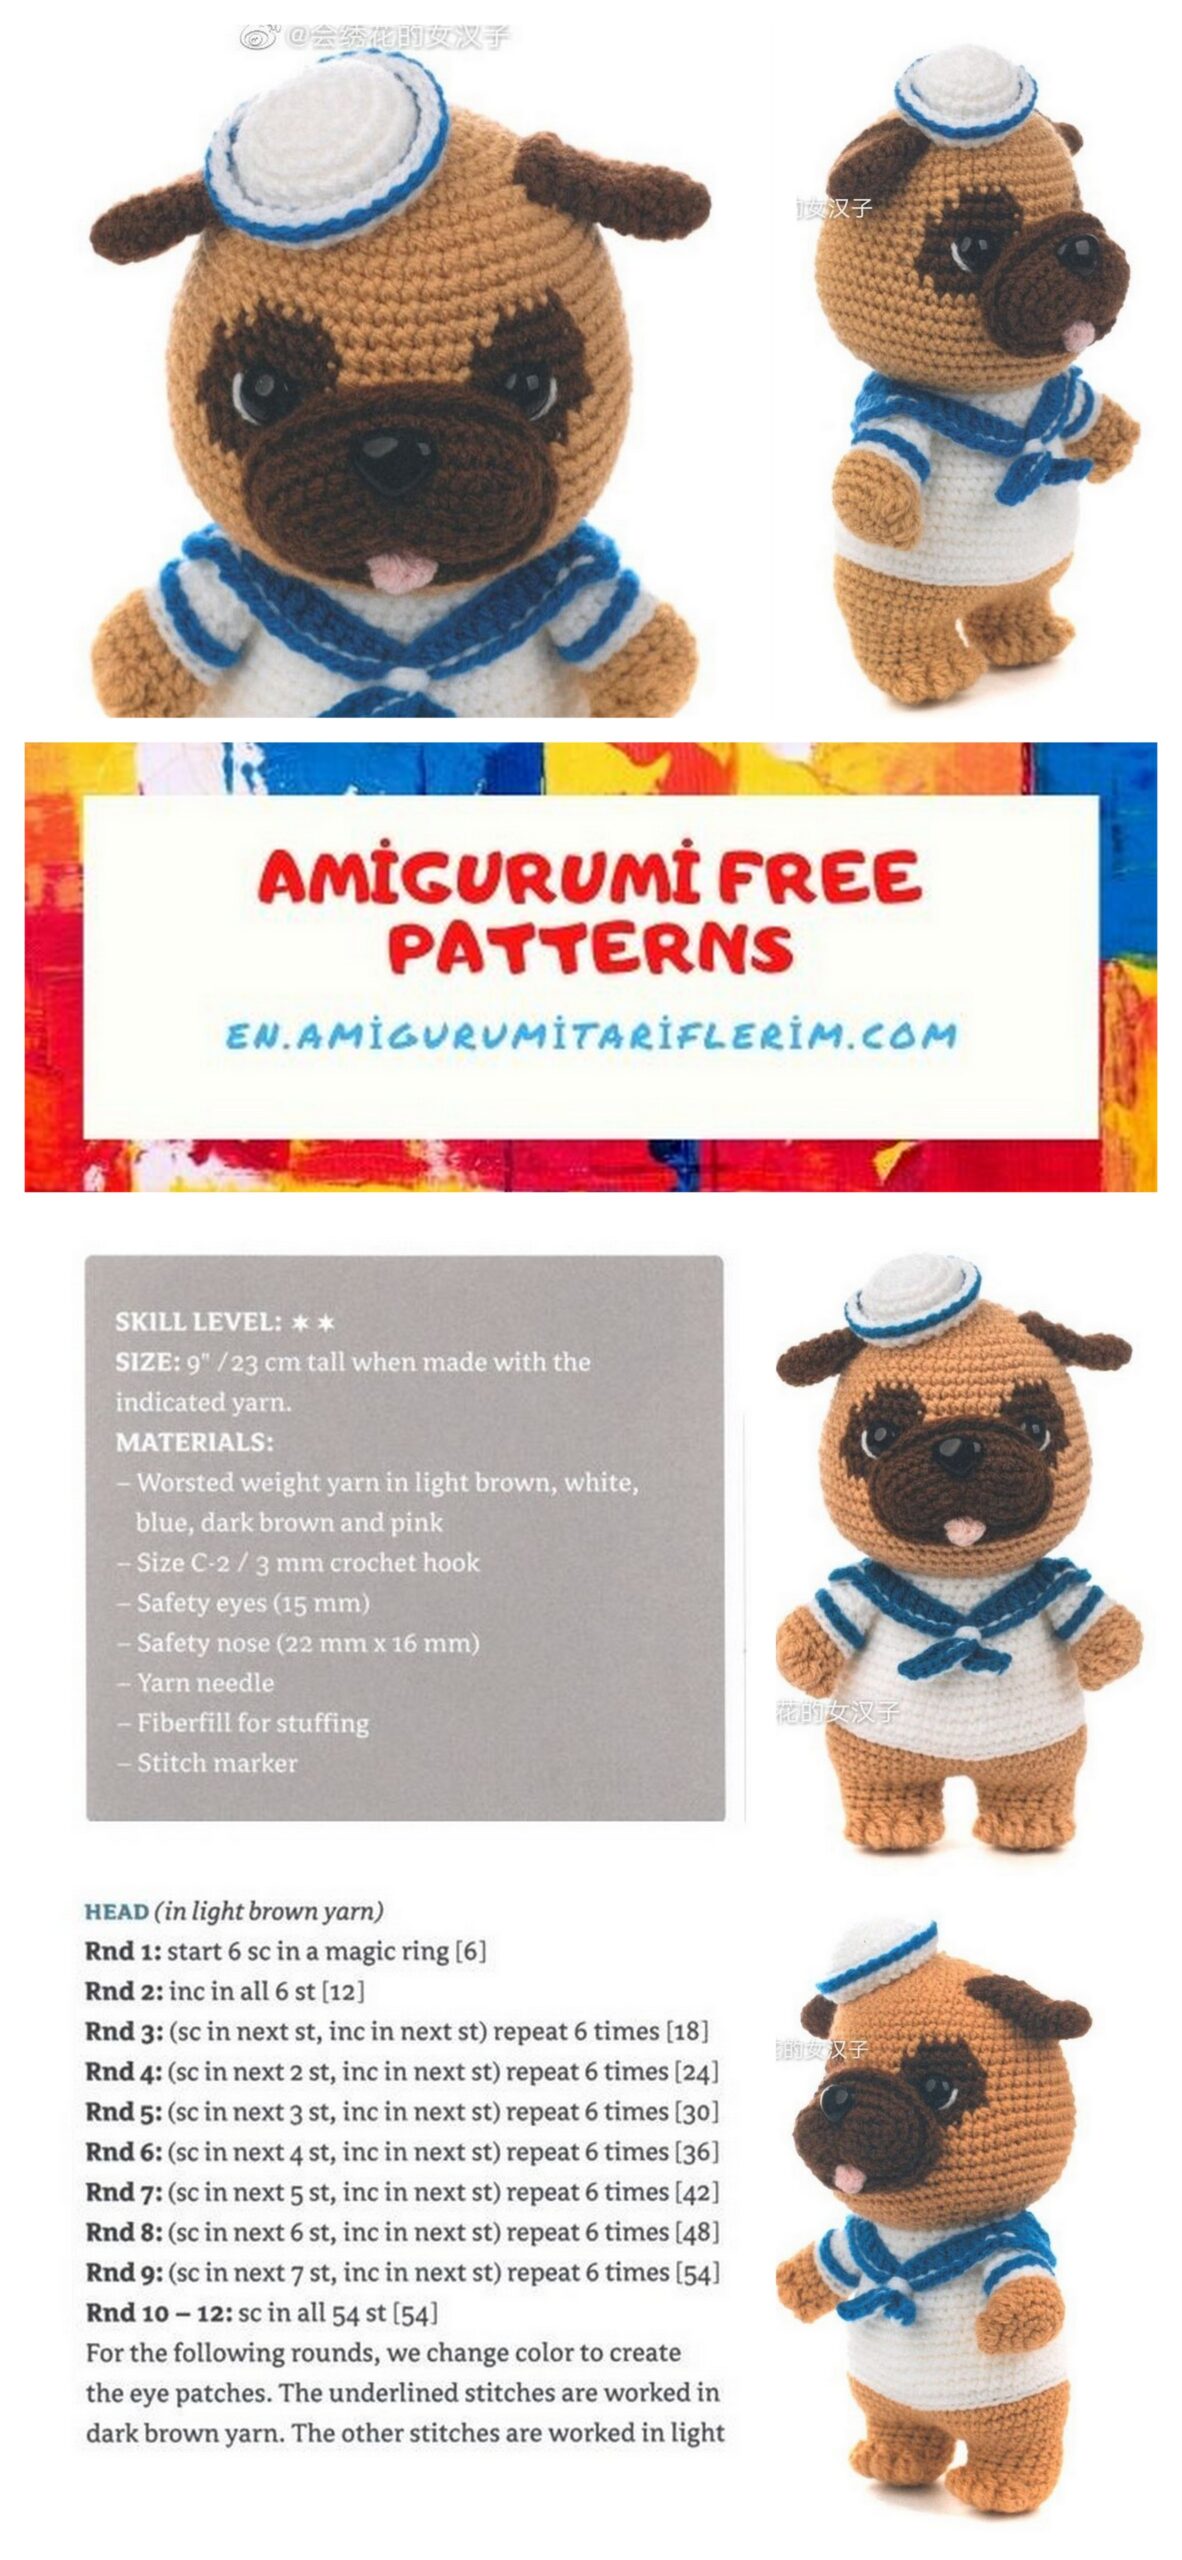
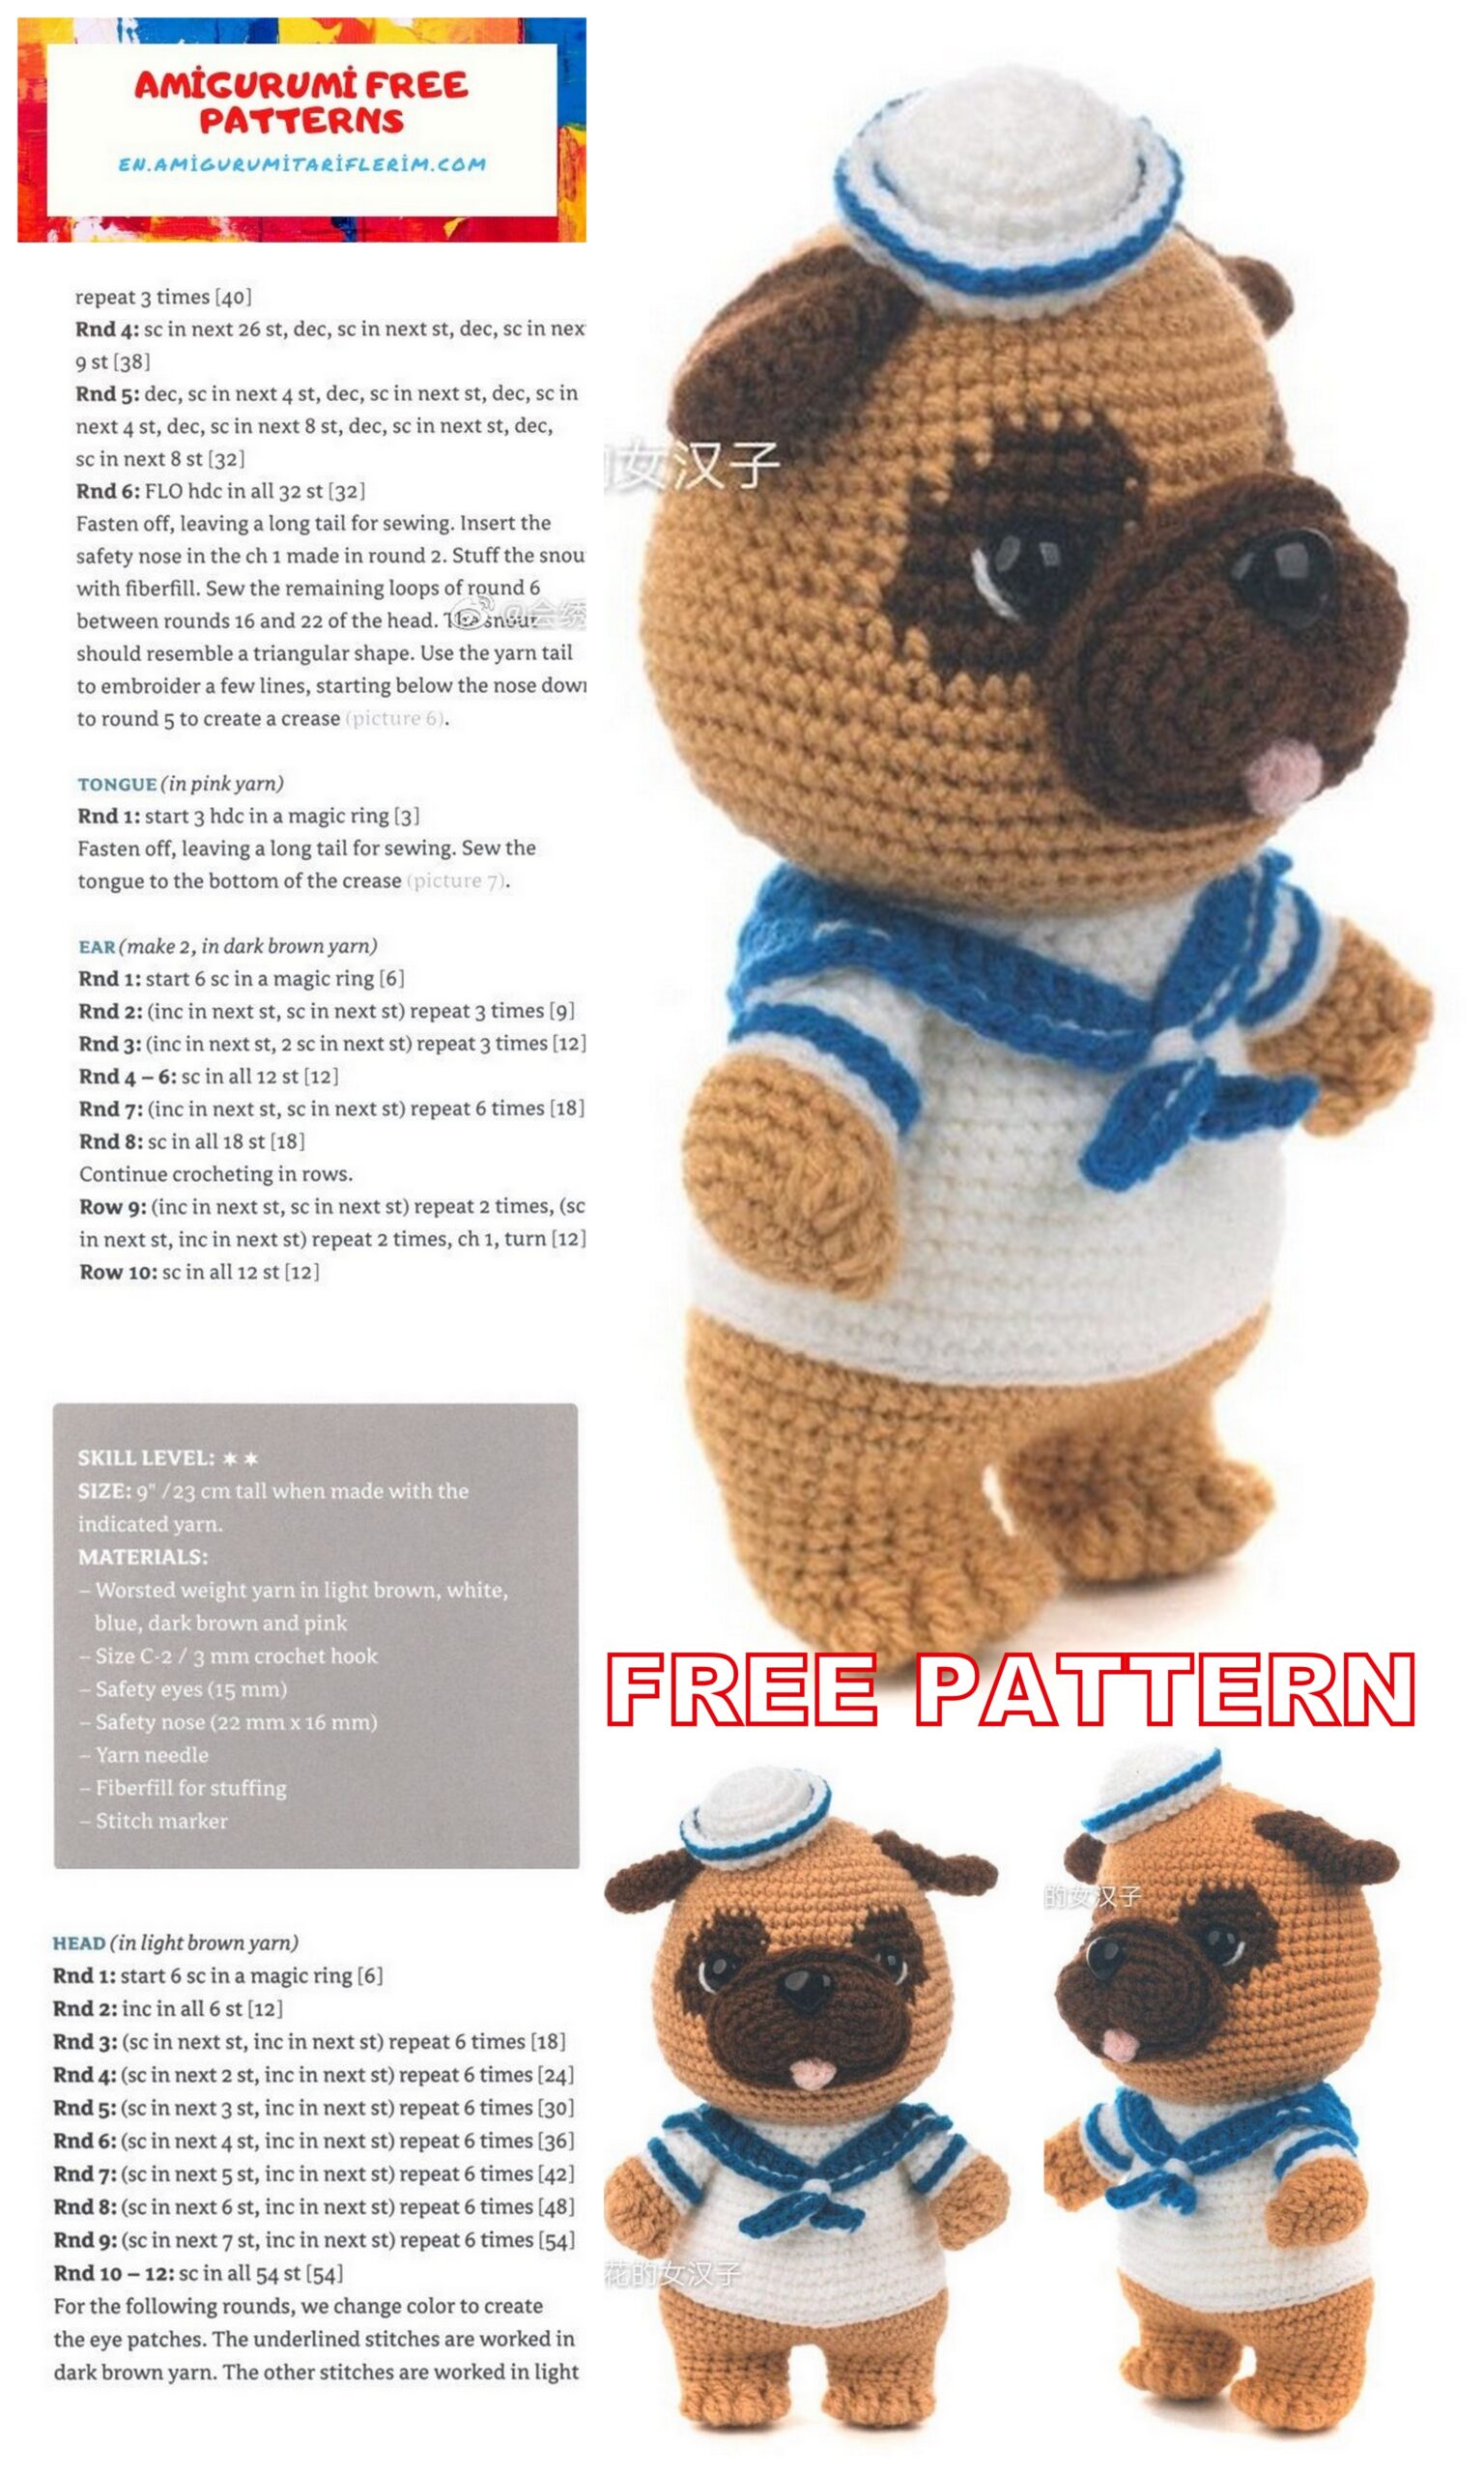
HEAD
(in light brown yarn)
Rnd 1: start 6 sc in a magic ring [6]
Rnd 2: inc in all 6 st [12]
Rnd 3: (sc in next st, inc in next st) repeat 6 times (18)
Rnd 4: (sc in next 2 st, inc in next st) repeat 6 times (24)
Rnd 5: (sc in next 3 st, inc in next st) repeat 6 times (30)
Rnd 6: (sc in next 4 st, inc in next st) repeat 6 times (36)
Rnd 7: (sc in next 5 st, inc in next st) repeat 6 times [42]
Rnd 8: (sc in next 6 st, inc in next st) repeat 6 times (48)
Rnd 9: (sc in next 7 st, inc in next st) repeat 6 times (54)
Rnd 10 – 12: sc in all 54 st [54]
For the following rounds, we change color to create the eye patches.
The underlined stitches are worked in dark brown yarn.
The other stitches are worked in light brown yarn.
Rnd 13: sc in next 19 st, sc in next 4 st, sc in next 8 st, sc in next 4 st, sc in next 19 st [54]
Rnd 14: sc in next 18 st, sc in next 6 st, sc in next 6 st, sc in next 6 st, sc in next 18 st [54]
Rnd 15: sc in next 17 st, sc in next 7 st, sc in next 6 st, sc in next 7 st, sc in next 17 st [54]
Rnd 16: sc in next 17 st, sc in next 3 st, ch 1, skip 1 st, sc in next 3 st, sc in next 6 st, sc in next 3 st, ch 1, skip 1 st, sc in next 3 st, sc in next 17 st (52 + 2 ch! Work round 17 on all stitches, including chairs.
Rnd 17: inc in next st, sc in next 8 st, inc in next st, sc in next 7 st, sc in next st, inc in next st, sc in next 5 st, sc in next 3 st, inc in next st, sc in next 2 st, sc in next 6 st, inc in next st, sc in next 8 st, inc in next st, sc in next 8 st [60]
Rnd 18:(sc in next 5 st, inc in next st) repeat 3 times, sc in next 3 st, sc in next 2 st, inc in next st, sc in next 3 st, sc in next 2 st, inc in next st, sc in next 4 st, sc in next st, inc in next st, sc in next 4 st, sc in next st, inc in next st, (sc in next 5 st, incin next st) repeat 3 times (70)
Fasten off the dark brown yarn and weave in the yarn end.
Continue with light brown yarn.
Rnd 19 – 24: sc in all 70 st [70]
Rnd 25: sc in next 7 st, (dec, sc in next st) repeat 4 times, (sc in next st, dec) repeat 4 times, sc in next 8 st, (dec, sc in next st) repeat 4 times, (sc in next st, dec) repeat 4 times, sc in next 7 st (54)
Rnd 26: (dec, sc in next 4 st) repeat 9 times (45)
Rnd 27: (dec, sc in next st) repeat 15 times (30)
Fasten off and weave in the yarn ends.
Insert the safety eyes in the ch-spaces on round 16. Using white yarn, embroider a line below the eyes. Stuff the head with fiberfill (picture 5).
FOOT
(make 2, in light brown yarn)
We start by making two feet.
They are later joined to to create the body.
Rnd 1: start 6 sc in a magic ring [6]
Rnd 2: inc in all 6 st [12]
Rnd 3: (inc in next st, sc in next st) repeat 6 times [18]
Rnd 4: (anc in next st, sc in next 2 st) repeat 6 times (24)
Rnd 5: sc in next 8 st, (4-dc bobble in next st, sc in next st) repeat 4 times, sc in next 8 st [24]
Rnd 6: sc in next 6 st, dec 6 times, sc in next 6 st [18]
Rnd 7 – 9: sc in all 18 st [18]
Fasten off the first foot and mark the 4th last stitch of round 9 with a stitch marker.
Don’t fasten off the second foot but continue working round 10.
Rnd 10: sc in next 6 st [6] Do not finish this round.
BODY
(in light brown yarn)
In the next round, we will join both feet.
Rnd 11: continue working on the first foot, inc into the marked st of the first foot, sc in next st, (inc in next st, sc in next st) repeat 8 times, continue on the second foot, (inc in next st, sc in next st) repeat 9 times [54]
Rnd 12: sc in next 21 st, (inc in next st, sc in next st) repeat 3 times, (sc in next st, inc in next st) repeat 3 times, sc in next 21 st [60]
Rnd 13 – 15: sc in all 60 st [60]
Change to white yarn.
Rnd 16: slst in all 60 st [60]
Rnd 17: BLO sc in all 60 st [60]
Rnd 18 – 19: sc in all 60 st [60]
Stuff the feet firmly with fiberfill.
Rnd 20: (dec, sc in next 8 st) repeat 6 times (54)
Rnd 21: sc in all 54 st (54)
Rnd 22: (dec, sc in next 7 st) repeat 6 times [48]
Rnd 23: sc in all 48 st [48]
Rnd 24: (dec, sc in next 6 st) repeat 6 times [42]
Rnd 25 – 26: sc in all 42 st [42]
Rnd 27: (dec, sc in next 5 st) repeat 6 times (36)
Rnd 28 – 29: sc in all 36 st [36]
Rnd 30: (dec, sc in next 4 st) repeat 6 times [30]
Rnd 31: sc in all 30 st [30]
Fasten off, leaving a long tail for sewing.
Stuff the body firmly with fiberfill.
Sew the head to the body.
Add more fiberfill if necessary, before closing the seam.
SNOUT
(in dark brown yarn)
Ch 12. Stitches are worked around both sides of the foundation chain.
Rnd 1: skip first ch on the hook, sc in next 10 st, 3 SC in next st. Continue working on the other side of the foundation chain, sc in next 9 st, inc in next st (24)
Rnd 2: inc in next st, sc in next 4 st, SC + ch 1 + sc in next st, sc in next 4 st, inc in next 5 st, sc in next st, sc3tog, sc in next st, inc in next 4 st [34]
Rnd 3: sc in next 7 st, 3 sc in next st, sc in next 7 st, (sc in next st, inc in next st) repeat 3 times, sc in next 2 st, sc3tog, sc in next 2 st, (inc in next st, sc in next st) repeat 3 times [40]
Rnd 4: sc in next 26 st, dec, sc in next st, dec, sc in next 9 st [38] Rnd 5: dec, sc in next 4 st, dec, sc in next st, dec, sc in next 4 st, dec, sc in next 8 st, dec, sc in next st, dec, sc in next 8 st [32]
Rnd 6: FLO hdc in all 32 st (32)
Fasten off, leaving a long tail for sewing.
Insert the safety nose in the ch 1 made in round 2.
Stuff the snout with fiberfill.
Sew the remaining loops of round 6 between rounds 16 and 22 of the head.
1 snour should resemble a triangular shape.
Use the yarn tail to embroider a few lines, starting below the nose down to round 5 to create a crease picture 6).
TONGUE
(in pink yarn)
Rnd 1: start 3 hdc in a magic ring (3)
Fasten off, leaving a long tail for sewing.
Sew the tongue to the bottom of the crease picture 7).
EAR
(make 2, in dark brown yarn)
Rnd 1: start 6 sc in a magic ring [6]
Rnd 2: (inc in next st, sc in next st) repeat 3 times (9)
Rnd 3: (inc in next st, 2 sc in next st) repeat 3 times (12)
Rnd 4 – 6: sc in all 12 st [12]
Rnd 7: (inc in next st, sc in next st) repeat 6 times (18)
Rnd 8: sc in all 18 st [18]
Continue crocheting in rows.
Row 9: (inc in next st, sc in next st) repeat 2 times, (sc in next st, inc in next st) repeat 2 times, ch 1, turn [12]
Row 10: sc in all 12 st (12)
Fasten off, leaving a long tail for sewing.
Sew the ears to either side of the head in a slanted manner, between rounds 7 and 13.
ARM
(make 2, start in light brown yarn)
Rnd 1: start 6 sc in a magic ring [6]
Rnd 2: inc in all 6 st (12)
Rnd 3: (inc in next st, sc in next st) repeat 6 times (18)
Rnd 4: sc in next 6 st, (3-dc bobble in next st, sc in next st) repeat 3 times, sc in next 6 st [18]
Rnd 5:sc next 6 st, dec 3 times, sc in next 6 st [15]
Rnd 6: sc in all 15 st (15)
Change to white yarn.
Rnd 7: slst in all 15 st (15)
Rnd 8: BLO sc in all 15 st [15]
Put a stitch marker in your last loop and leave the white yarn hanging.
Join blue yarn between rounds 7 and 8 and work a round of surface slip stitches (pic tures 8-12).
Continue with the white yarn.
Rnd 9: (dec, sc in next 3 st) repeat 3 times [12]
Rnd 10: sc in all 12 st [12]
Rnd 11: (dec, sc in next 2 st) repeat 3 times [9]
Rnd 12: sc in all 9 st [9]
Fasten off, leaving a long tail for sewing.
Stuff the arms lightly with fiberfill.
Flatten the opening and sew it closed. Sew the arms to either side of the body in a slanted manner, between rounds 29 and 30.
SAILOR-STYLE COLLAR
(in blue yarn)
Ch 57. Work in rows.
Rnd 1: start in the second ch from the hook, slst in next 2 st, sc in next 6 st, hdc in next 3 st, dc in next 4 st, dc + ch 1 + dc in next st, dc in next 24 st, dc + ch 1 + dc in next st, dc in next 4 st, hdc in next 3 st, sc in next 6 st, slst in next 2 st [58 + 2 ch]
Fasten off, weave in the yarn ends. Join blue yarn with a slst in the ch 1 made in Rnd 1. Rnd 2: ch 3, dc in next 26 st, ch 3, sist in next ch 1. Fasten off, leaving a long tail for sewing picture 13).
Turn the collar and work on the wrong side for the em bellishment. Join white yarn in the right tip. Surface slst around the collar (picture 14).
The chains should be on the wrong side picture 15) and the straight lines at the front.
Fasten off, leaving a long tail for sewing (picture 16).
Pin the collar to the body.
Sew the inside of the collar to the neck using the blue yarn tail, leaving both tips of the collar free.
Place one tip on top of the other to form a cross.
Using the white yarn tail, sew the collar tips together, about 1″/2.5 cm from the end. Include a few stitches of the body to lock them in place (pictures 17-18).
Repeat your stitch a few times to thicken as this will serve as the knot for the collar picture 19).
TAIL
(in light brown yarn)
Ch 8. Start in the second ch from the hook.
Rnd 1: sist in next 2 st, inc in next 2 st, 2 hdc in next st, inc in next st, hdc in next st [11]
Fasten off, leaving a long tail for sewing. ew the tail to the back below the white shirt (picture 20).
Use the remaining yarn tail to close the hole where the feet connect.
HAT
(in white yarn)
Rnd 1: start 6 sc in a magic ring [6]
Rnd 2: inc in all 6 st [12]
Rnd 3: (inc in next st, sc in next st) repeat 6 times (18)
Rnd 4: (inc in next st, sc in next 2 st) repeat 6 times (24)
Rnd 5 – 7: sc in all 24 st [24]
Fasten off.
Turn, ch 1. Work in the opposite direction.
Rnd 8: FLO (inc in next st, sc in next 3 st) repeat 6 times [30]
Rnd 9: sc in all 30 st [30]
Fasten off, leaving a long tail for sewing.
Join blue yarn.
Surface slst in all 30 st of
Rnd 9. Fasten off and weave in the yarn ends.
Stuff the hat with fiberfill and sew it on top of the head using the white yarn tail.