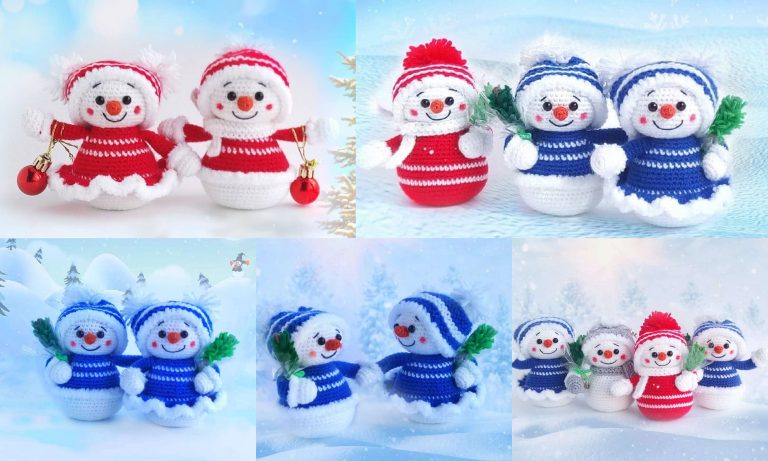
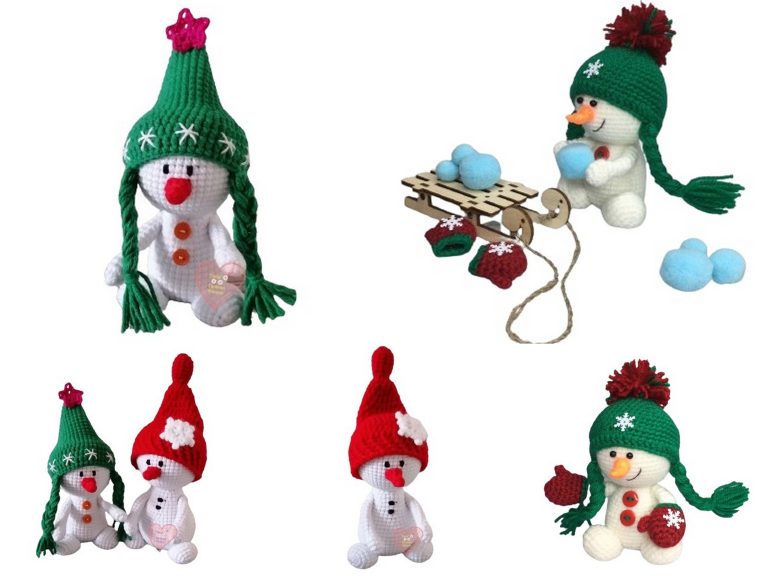
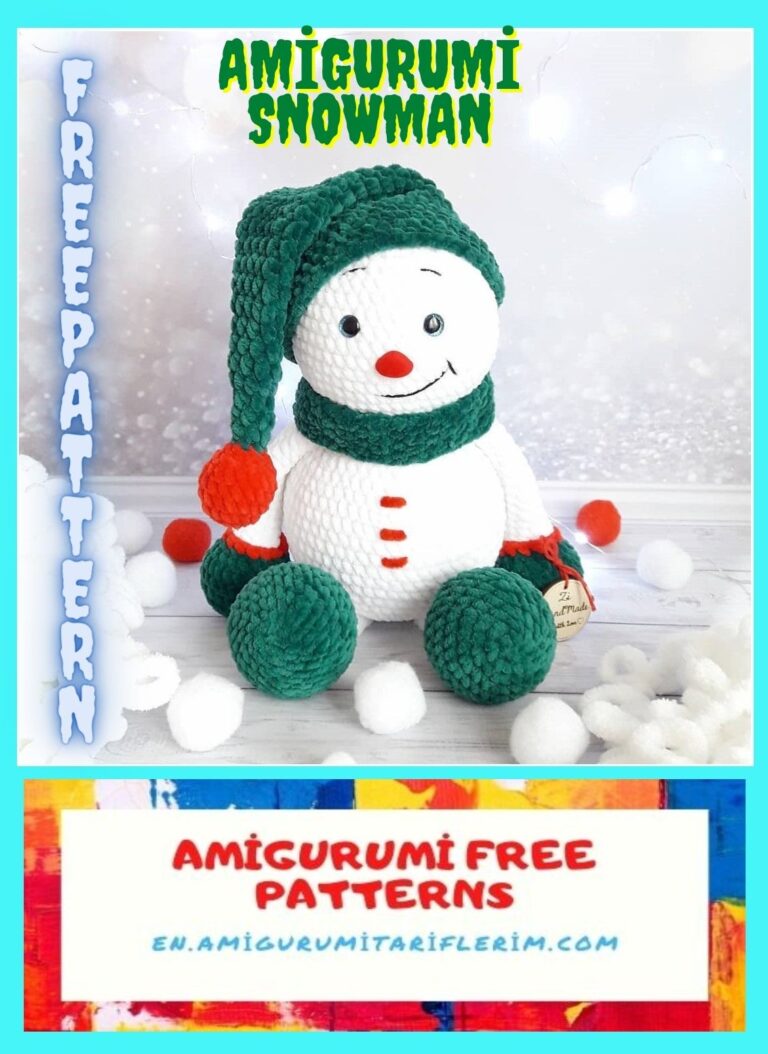
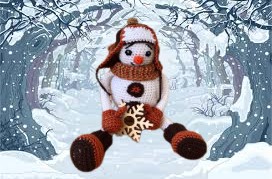
Snowman With a Hat Amigurumi Free Crochet Pattern
The most amigurumi patterns are available for free on cold winter days. In this article, I shared the amigurumi snowman pattern.
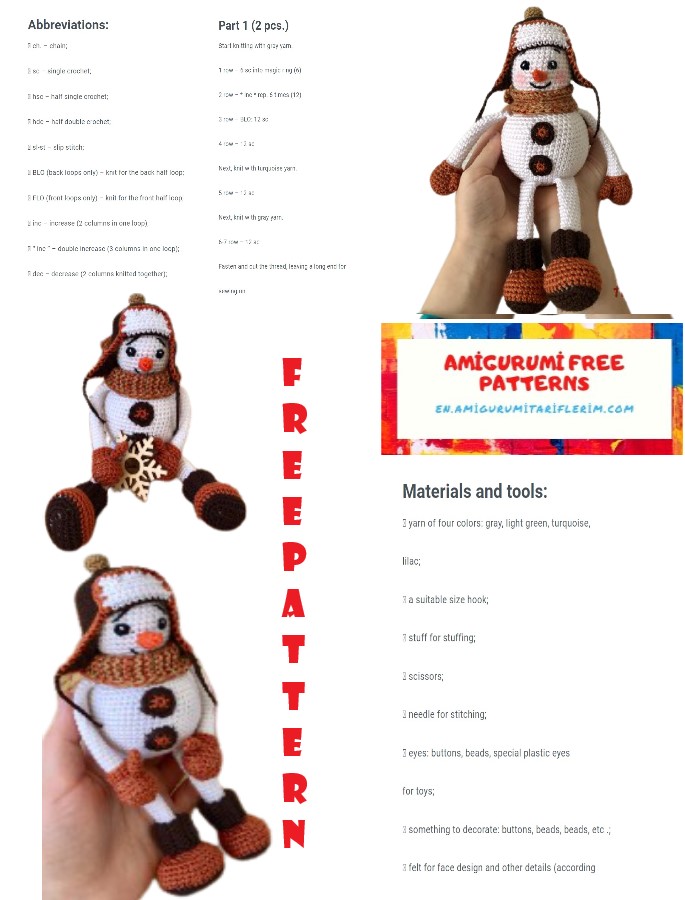
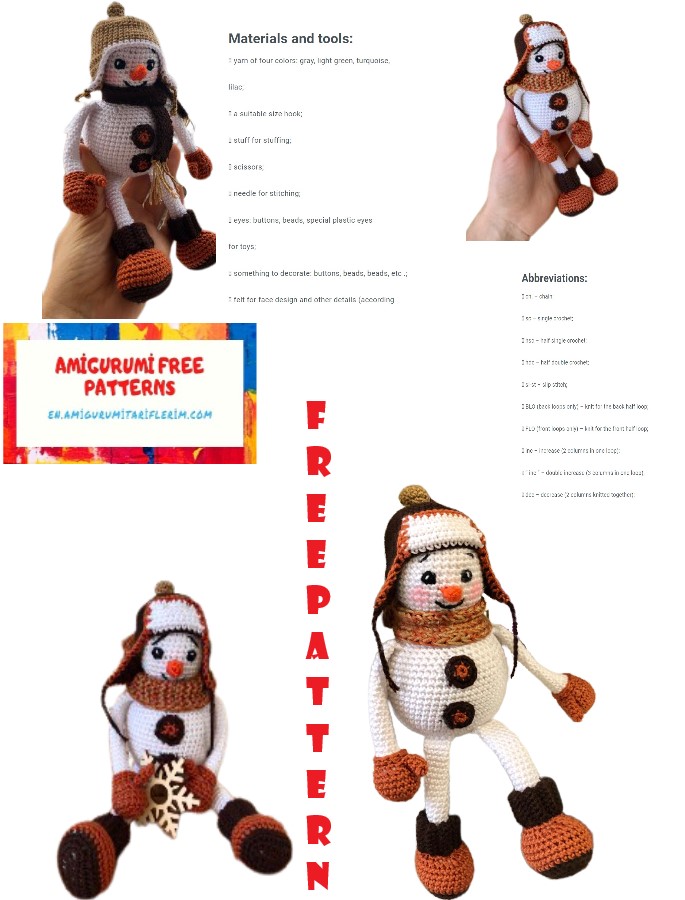
Abbreviations (US crochet terms):
mr- magic ring
ch- chain
sc – single crochet
inc – single crochet increase (crochet 2 sc in 1 stitch)
dec – single crochet decrease (crochet 2 sc together)
sl st-slip stitch
hdc – half double crochet
dc – double crochet
BLO – back loops only

Torso:
We knit with white yarn.
1p: 6 sc in amigurumi ring (6)
2p: inc in each sc of the previous row (12)
3p: (1 sc, inc) * 6 times (18)
4p: (2 sc, inc) * 6 times (24)
5p: (3 sc, inc) * 6 times (30)
6p: (4 sc, inc) * 6 times (36)
7p: (5 sc, inc) * 6 times (42)
8p: (6 sc, inc) * 6 times (48)
9p: (7 sc, inc) * 6 times (54)
Here I tie a string of contrasting color to make it easier to count the rows.
10p – 19p (10 rows): 54 sc (54)
20p: (7 sc, dec) * 6 times (48)
21r: 48 sc (48)
22p: (6 sc, dec) * 6 times (42)
23p: 42 sc (42)
24p: (5 sc, dec) * 6 times (36)
25p: (4 sc, dec) * 6 times (30)
Stuff the torso with filler.
26p: (3 sc, dec) * 6 times (24)
27p: (2 sc, dec) * 6 times (18)
Fasten knitting, cut the thread, leaving the end for sewing on the head. Fill tightly with filler.
Head:
We knit with white yarn.
1p: 6 sc in amigurumi ring (6)
2p: inc in each sc of the previous row (12)
3p: (1 sc, inc) * 6 times (18)
4p: (2 sc, inc) * 6 times (24)
5p: (3 sc, inc) * 6 times (30)
6p: (4 sc, inc) * 6 times (36)
Insert marker (thread of contrasting color)
7p – 15p (9 rows): 36 sc (36)
16p: (4 sc, dec) * 6 times (30)
17p: (3 sc, dec) * 6 times (24)
Stuff your head with filler.
18p: (2 sc, dec) * 6 times (18)
Fasten and cut the thread. Fill tightly with filler.
We connect the torso and head using the end of the thread left at the torso. I prefer to do this with a smaller crochet hook, but youcan also sew with a needle. We fix the thread, hide the remaining end in the toy. So we made the basis for the snowman 🙂
Mittens and hands:
Knit with light brown yarn.
Do not forget to fill the mitten with filler as we knit. We stuff the mitten tightly, and it is better not to stuff the handle itself at all, sothat it is more mobile and bends better.
1p: 6 sc in amigurumi ring (6)
2p: inc in each sc of the previous row (12)
3p: (1 sc, inc) * 6 times (18)
4p – 6p (3 rows): 18 sc (18)
7p: (1 sc, dec) * 6 times (12)
8p: 12 sc
Change the yarn to white. At the same time, we leave the light brown on the outside of the knitting, do not cut it (it will come inhandy for tying the mittens).
9p: knit with white yarn for the back half loops (2 sc, dec) * 3 times (9)
10p – 29 (20 rows): 9 sc (9)
You can adjust the length of the handle yourself by knitting more or less rows.
Fold in half and knit 4 sc. We fasten and cut the white thread, leaving the end for sewing the handles to the body. We return to themitten to tie it with light brown yarn. We insert the hook into the front half-loops of the mittens and we sew the loop:
1p .: ch., 12 sc, sl-st in ch. first row (12)
2p .: ch., 12 sc, sl-st in ch. second row (12)
We fix the thread, cut it off, hide it.
Sew on our handles on the sides of the body, retreating 3-4 rows from the neck.
Now we knit the thumb for the mitten with light brown yarn.
1p: 5 sc in amigurumi ring (5)
2p – 4p (3 rows): 5 sc (5)
Cut off the thread, fasten, leaving the end for sewing. We sew a finger to the mitten so that it looks at the body and slightly forward(look where your thumb is located in a relaxed state of the hand).
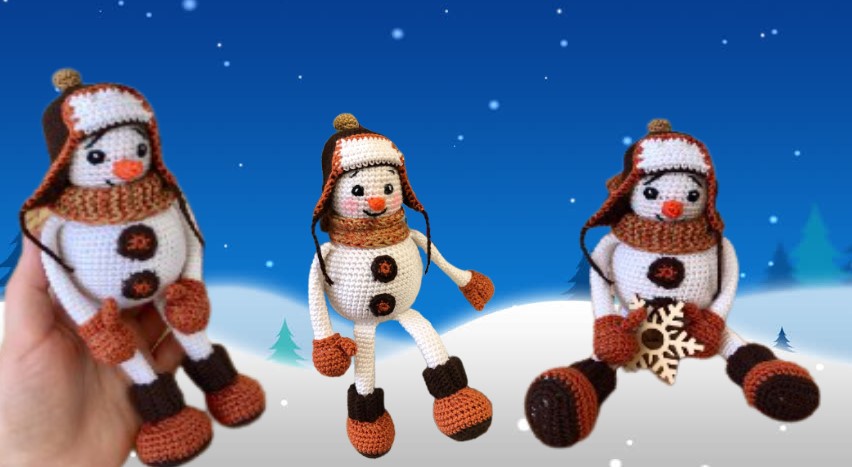
Boots and legs:
Knit with dark brown yarn. As we knit, fill the boot tightly with filler. It is better not to stuff the leg itself. This will keep her moremobile and bend better. It will be more comfortable for the snowman to sit 🙂
We collect 10 ch.
1p: starting at 2nd st from hook 8 sc, 3 sc in one st, 7 sc, inc (20)
2p: 8 sc, 3 inc, 8 sc, inc (24)
3p: inc, 7 sc, (1 sc, inc) * 3 times, 7 sc, inc, sc (29)
Change the color to light brown. We fasten the dark brown thread and cut it off.
We knit for the back half-loops.
4p – 8p (5 rows): 29 sc (29)
9p: 8 sc, 3 dec, triple decrease (3 sc of the previous row knit together with one sc), 3 dec, 5 sc, 2 dec (19)
10p: (sc, dec) * 2 times, sc, triple decrease, (sc, dec) * 3 times (12)
Change the color to white. Fasten and cut the light brown thread. We knit for the back half-loops.
11p: (4 sc, dec) * 2 times (10)
12p – 31p (20 rows): 10 sc (10)
We adjust the length of the legs ourselves by knitting more or fewer rows. Fold in half and knit 5 sc. We fasten and cut the whitethread, leaving the end for sewing the legs to the body.
Sock:
We knit with dark brown yarn in rotary rows. We collect 13 ch.
1p: ch., In the 2nd loop from the hook for the front half-loops we knit 12 sc, ch., Turn (12)
2p – 15p (14 rows): for the front half loops we knit 12 sc, ch., Turn (12)
16r.: For the front half-loops we knit 12 sc (12)
We fasten the thread, leaving a long end.
Fold the sock in half, sew with the remaining end and sew it to the front half to the boot (10th row of the leg).
We sew the legs to the body of the snowman, they should be slightly in front so that the snowman sits well (somewhere at the levelof the 5th row).
Hat with ear flaps:
Knit in a circle with dark brown yarn.
1p: 6 sc in amigurumi ring (6)
2p: inc in each sc of the previous row (12)
3p: (1 sc, inc) * 6 times (18)
4p: (2 sc, inc) * 6 times (24)
5p: (3 sc, inc) * 6 times (30)
6p: (4 sc, inc) * 6 times (36)
7p: (5 sc, inc) * 6 times (42)
Then we knit in a circle about 8-9 more rows – you need to measure on the head of your snowman. As soon as we have tied thedesired size, mentally we divide our hat conditionally into 4 parts:
11 sc – eyelet
10 sc – back
11 sc – eyelet
10 sc – front
And continuing knitting, we knit the first eyelet in rotary rows, without lifting air loops:
1 p: 11 sc, turn (11)
2p: in the second loop from the hook 10 sc, turn (10)
3p: in the second loop from hook 9 sc, turn (9)
4p: in the second loop from the hook 8 sc, turn (8)
5p: in the second loop from hook 7 sc, turn (7)
6p: into the second loop from the 6 sc hook, turn (6)
7p: into the second loop from the 5 sc hook, turn (5)
8p: in the second loop from the 4 sc hook, turn (4)
9p: in the second loop from the 3 sc hook, turn (3)
10p: in the second loop from the hook 2 sc, turn (2)
11p: in the second loop from the hook 1 sc (1)
We knit a chain of 10 ch. – a tie at the hat. We fix the thread and cut it off.
Count 10 sc, attach the thread and knit the second eyelet in the same way as the first.
The ties can be ironed out so that they do not twist.
We attach a white thread to the cap and knit the front part by the back half-loops:
1p .: 10 sc, ch., Turn
2p. – 7 p.: (6 rows): 10 sc, ch., Turn
8 p .: 10 sc
We fix the white thread, cut it off. We attach the light brown yarn and tie the cap around the edge with single crochet posts. Sew thetop of the front to the cap.
We knit the pompom with golden yarn.
1p: 6 sc in amigurumi ring (6)
2p: inc in each sc of the previous row (12)
3p .: 12 sc (12)
4p .: 6 dec (6)
Buttons:
Knit in a circle with light brown yarn.
1p: 6 sc in amigurumi ring (6)
Change the yarn to dark brown and continue:
2p: inc in each sc of the previous row (12)
We fasten the thread, leave the end for sewing. We knit one more button.
Sew to the body.
Scarf:
I knitted the scarf with knitting needles with yarn folded in two strands: golden (like a pompom) and light brown. We collect 8 loopsand knit a stocking knitted scarf of the required length (all front loops, except for the hem). I have a scarf 26 cm.
Nose:
1p .: 6 sc in amigurumi ring (6)
2p .: 6 sc for back half loops (6)
3p: 4 sc, dec. (5)
4p .: 3 sc, dec. (4)
5p .: 2 sc, skip sc, sc (3)
We tighten the loop, hide the thread in the carrot.
Sew on the nose for the front half-loops of the first row, below the middle of the head (see photo). We embroider eyes, eyebrows, asmile. The snowman is ready!