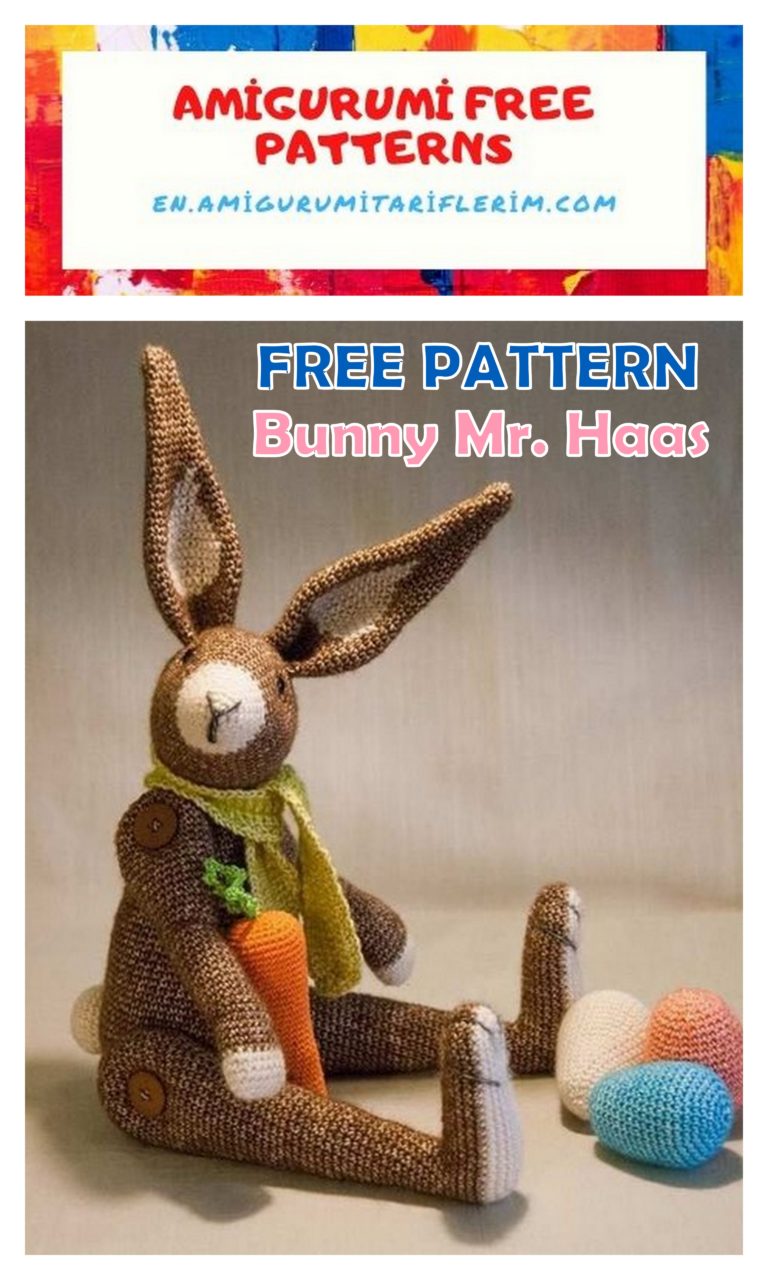
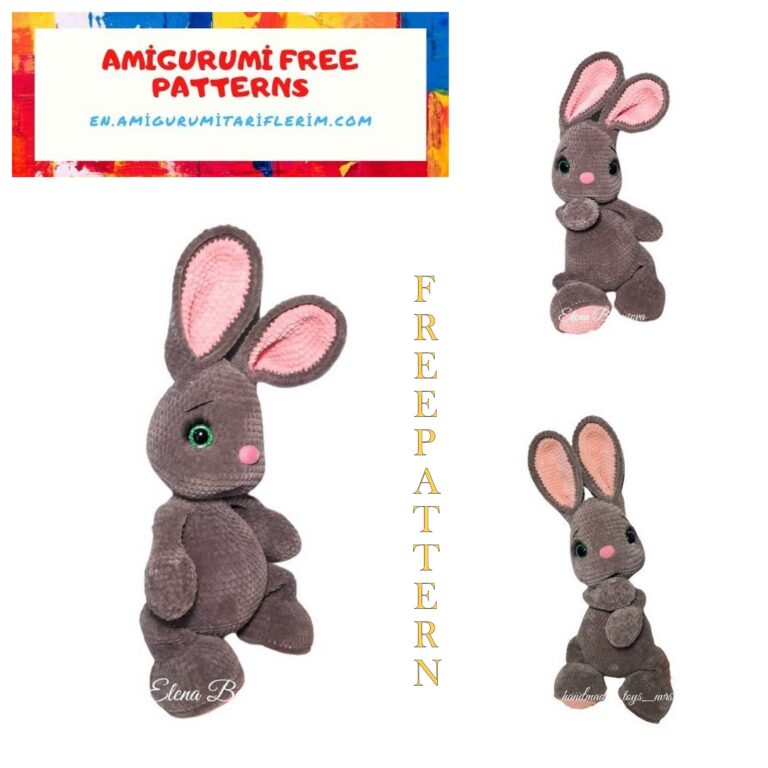
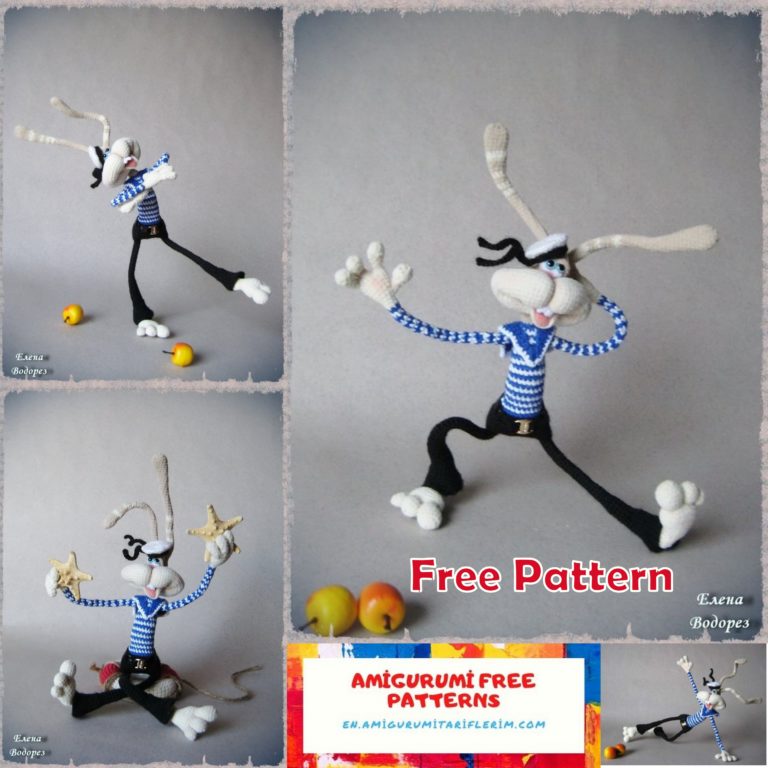
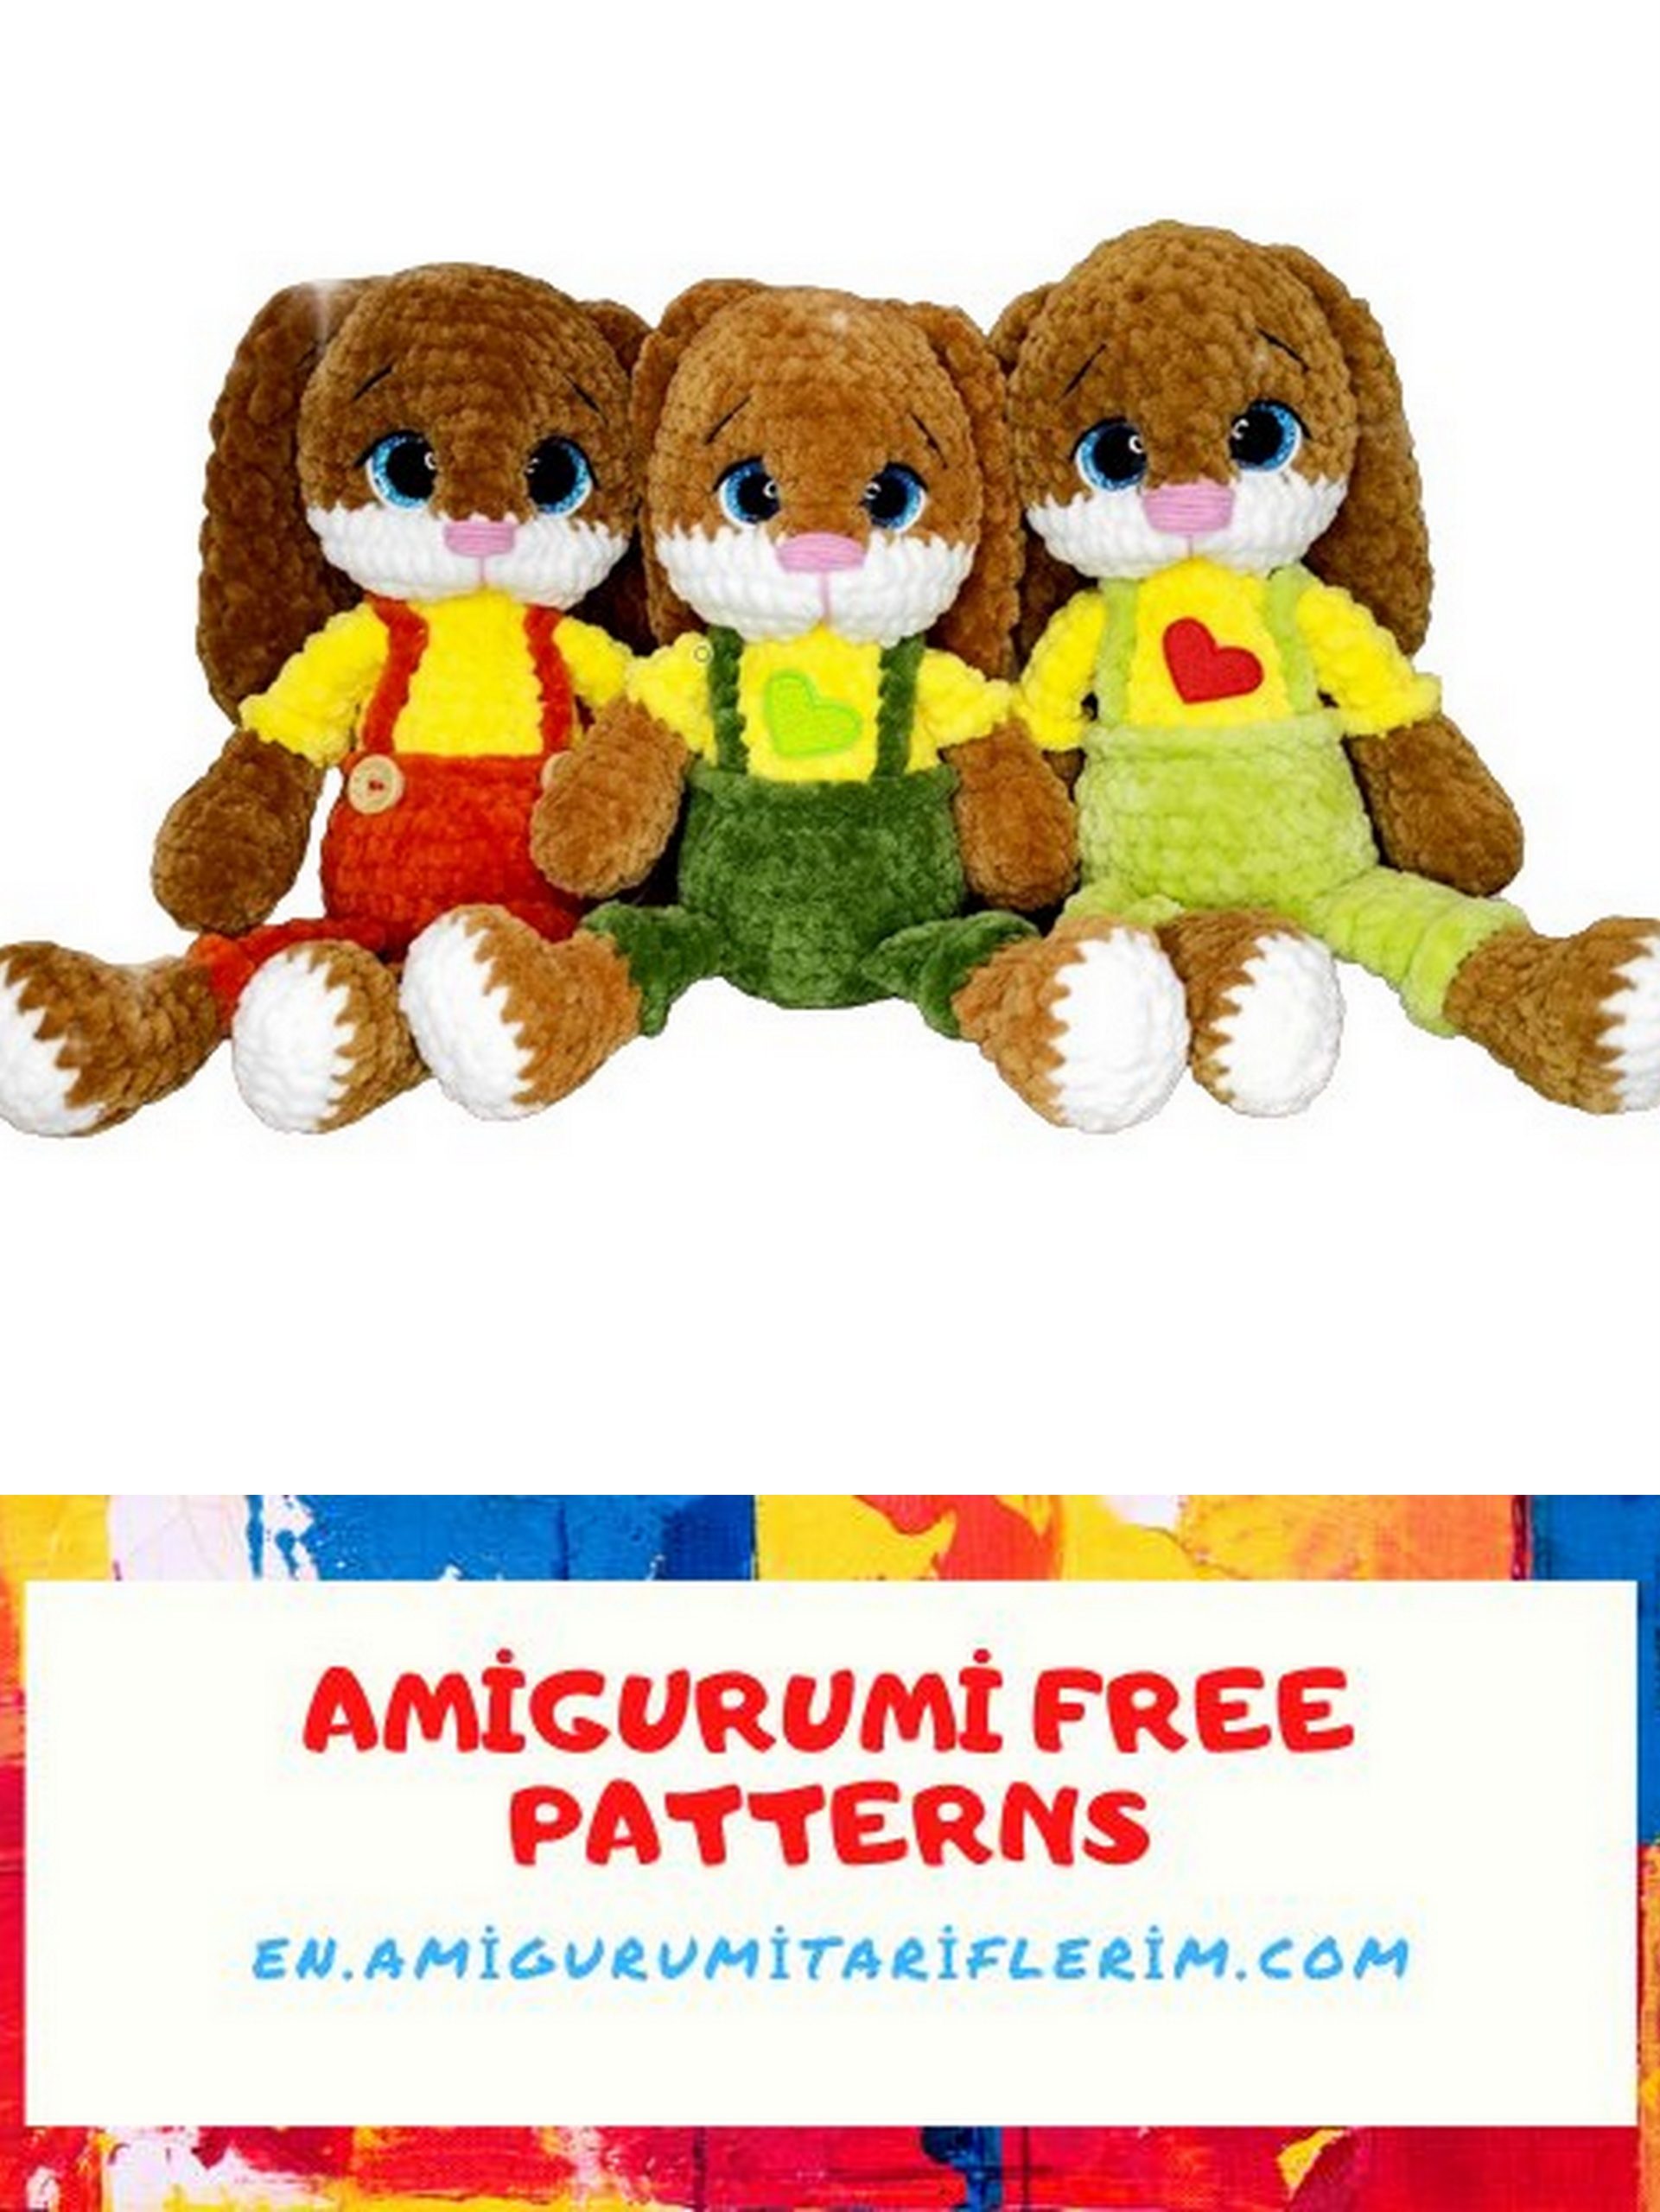
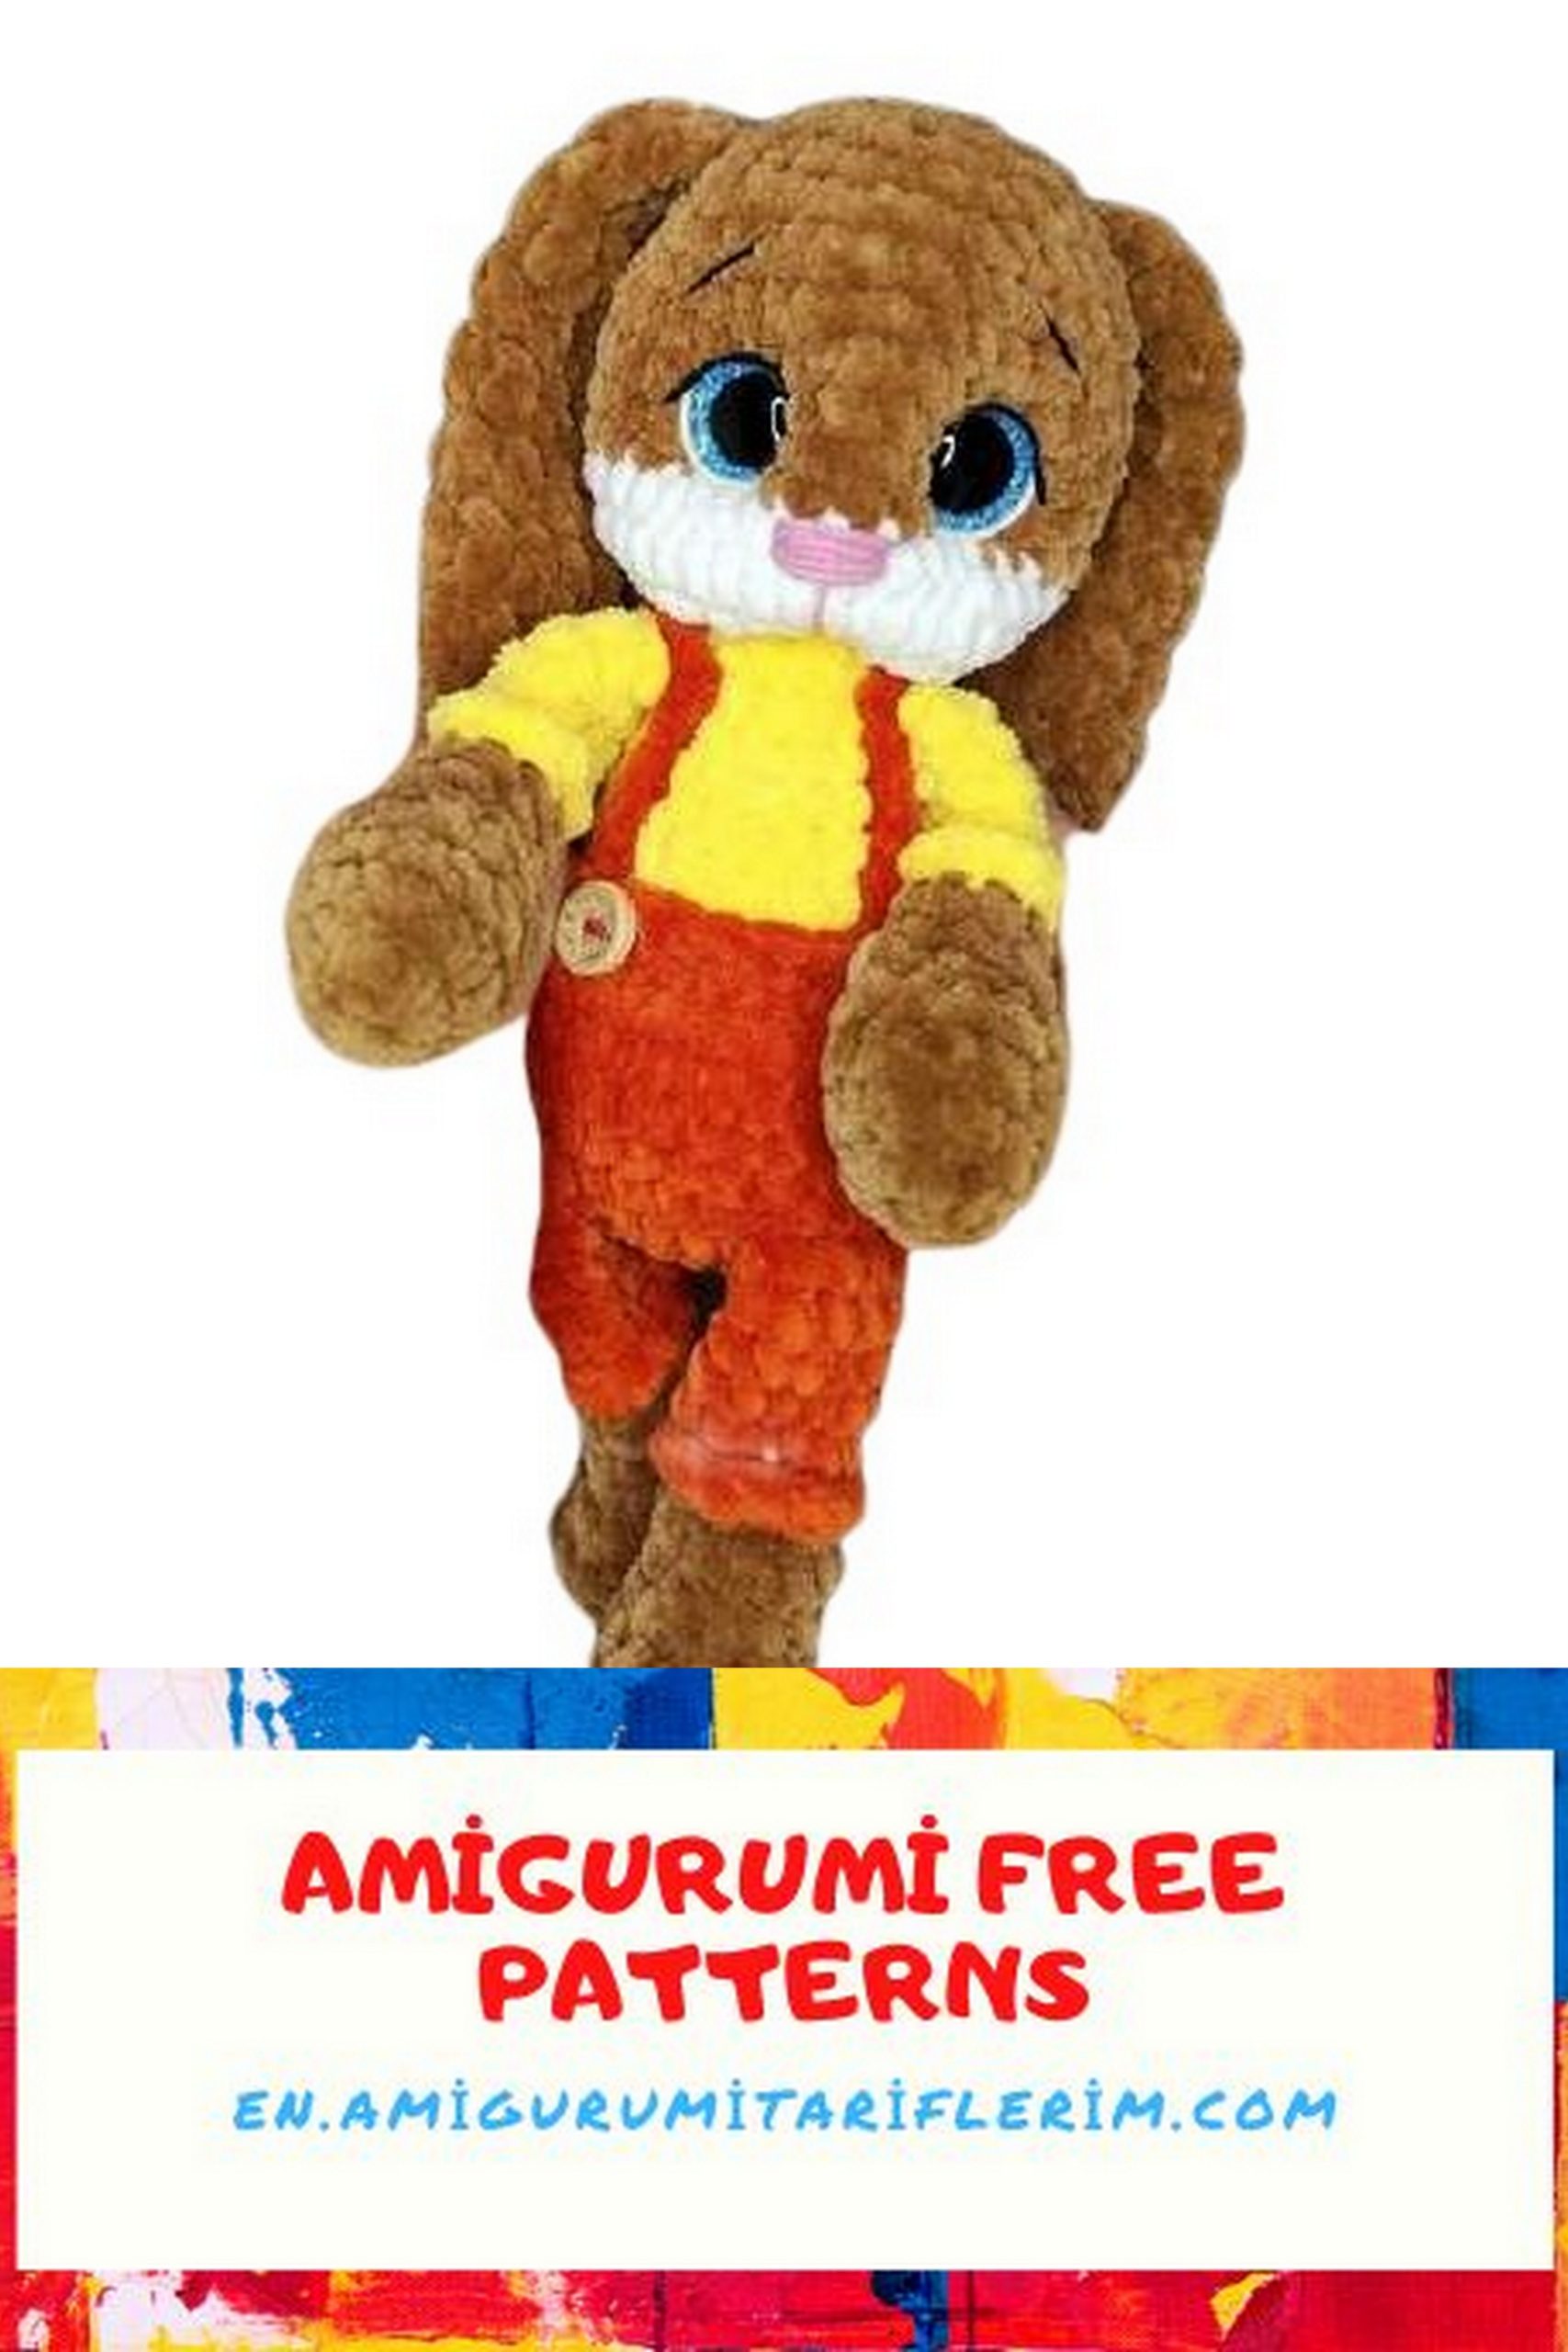
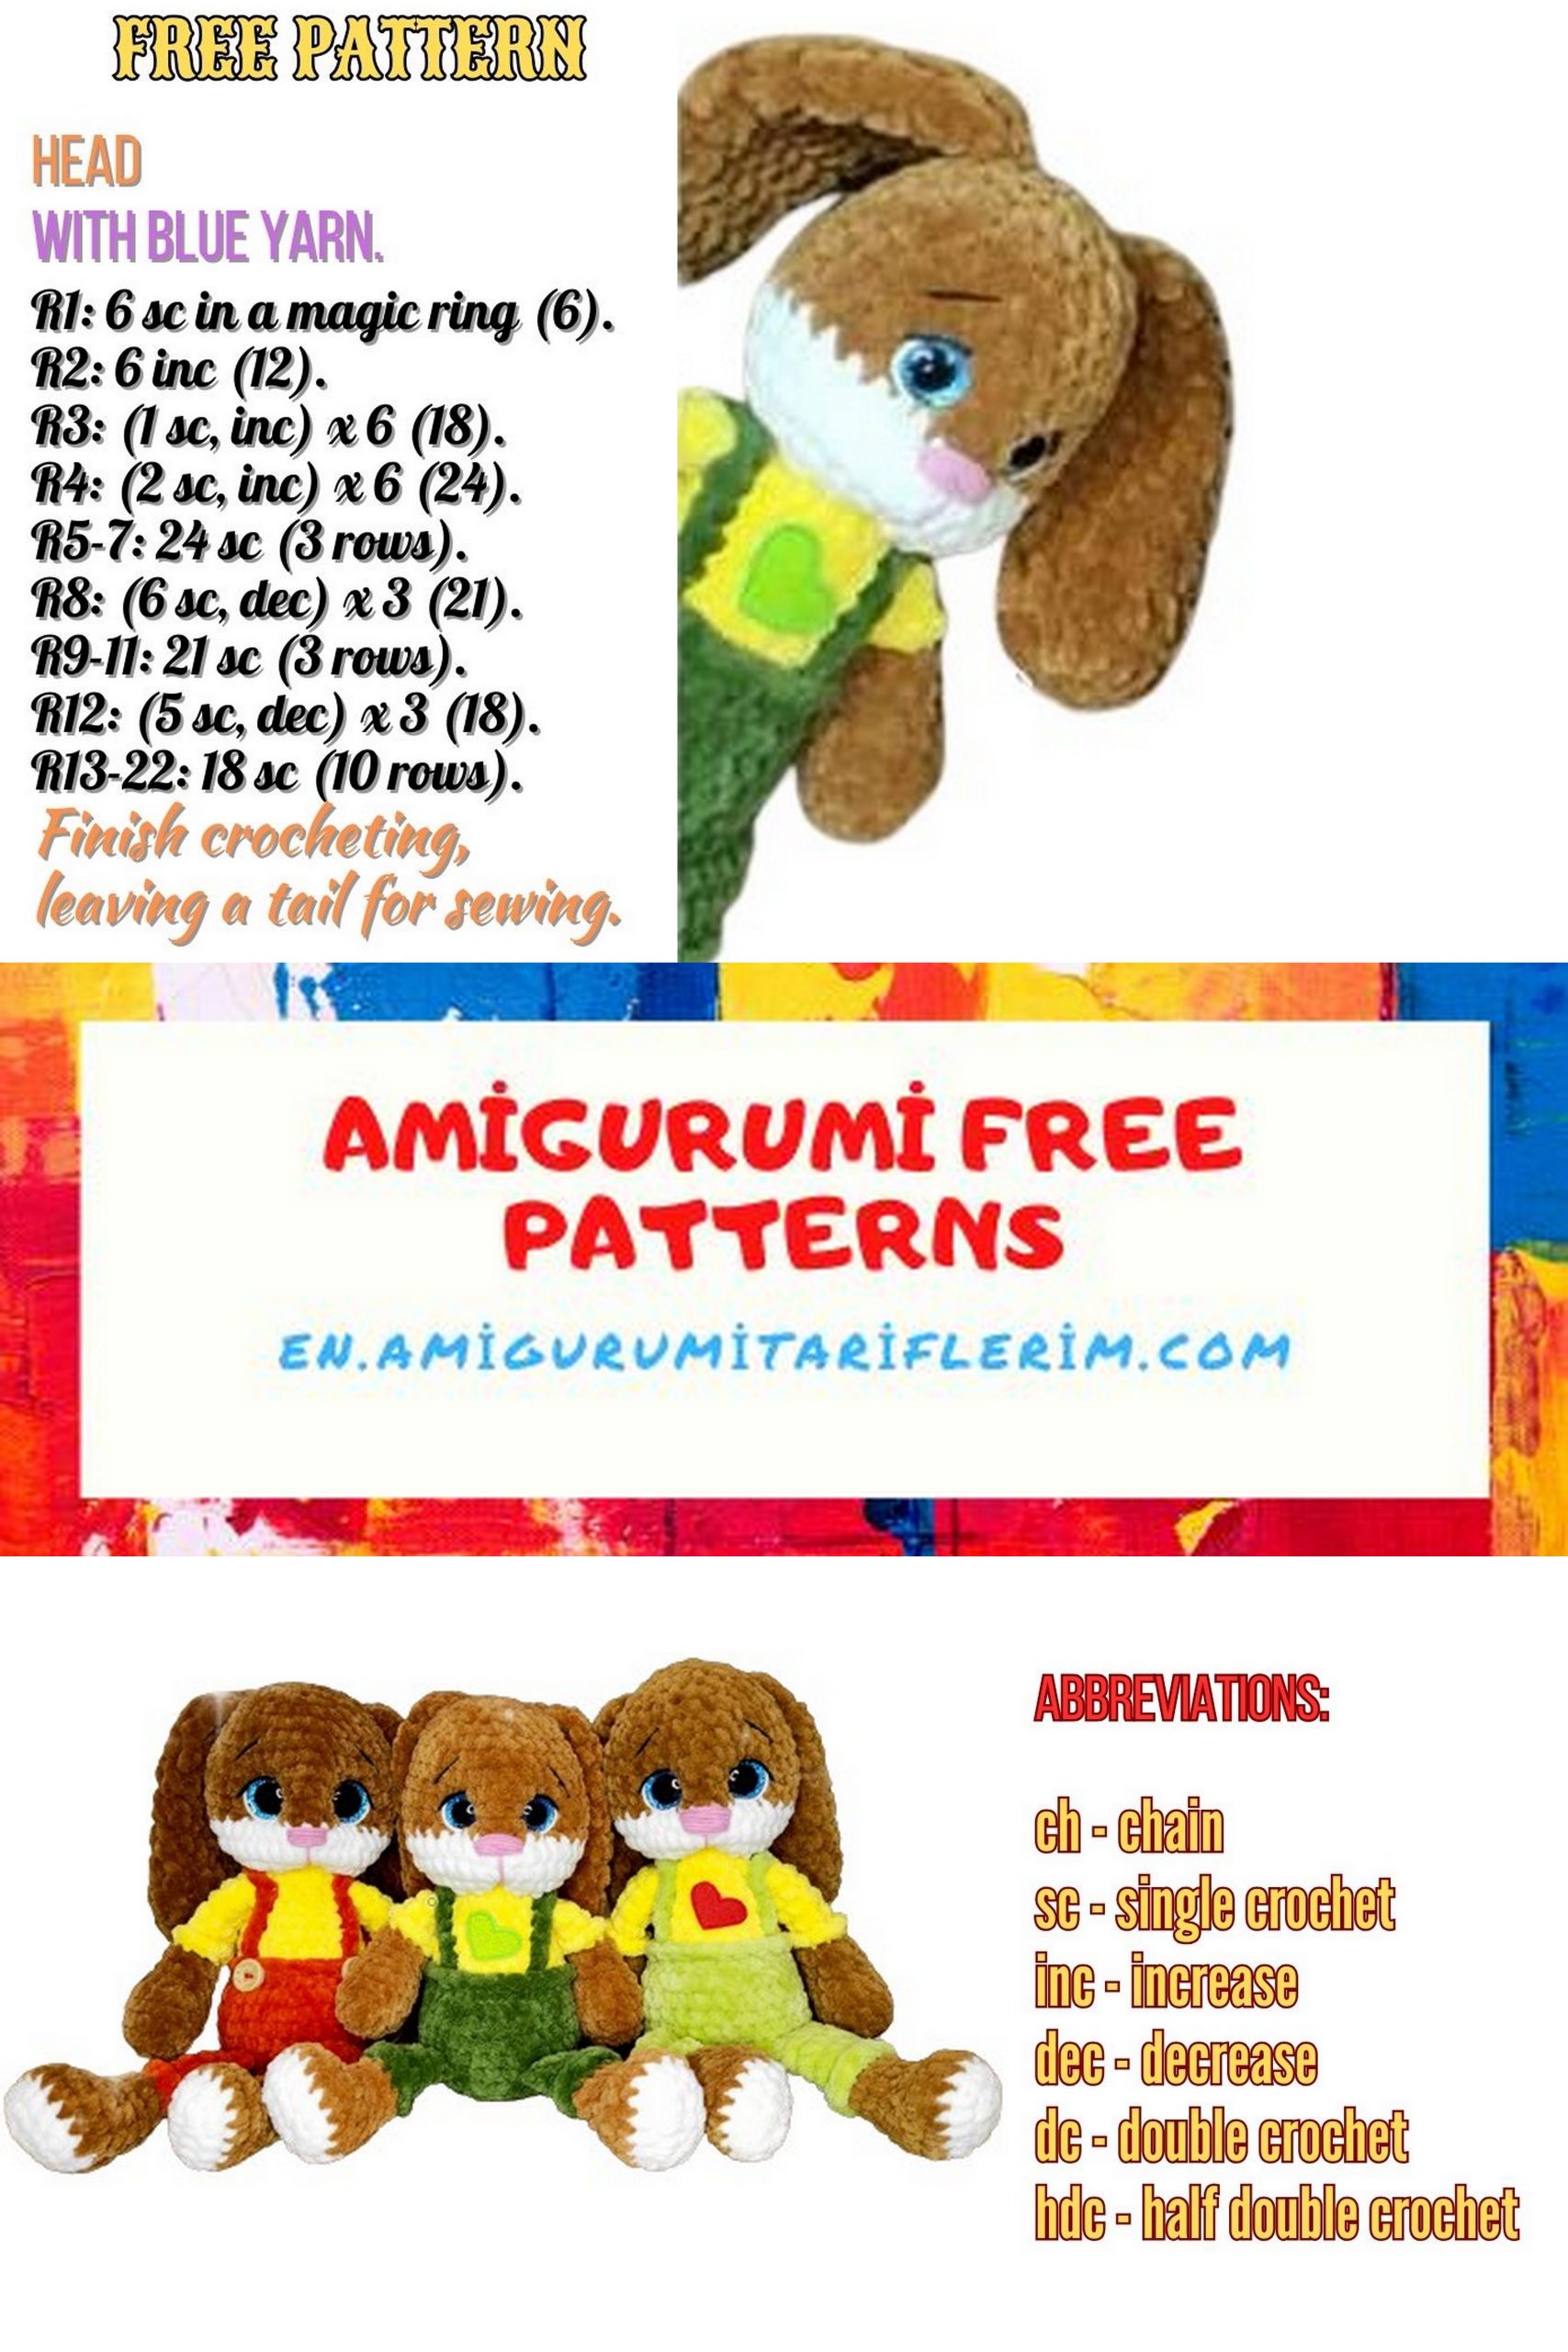
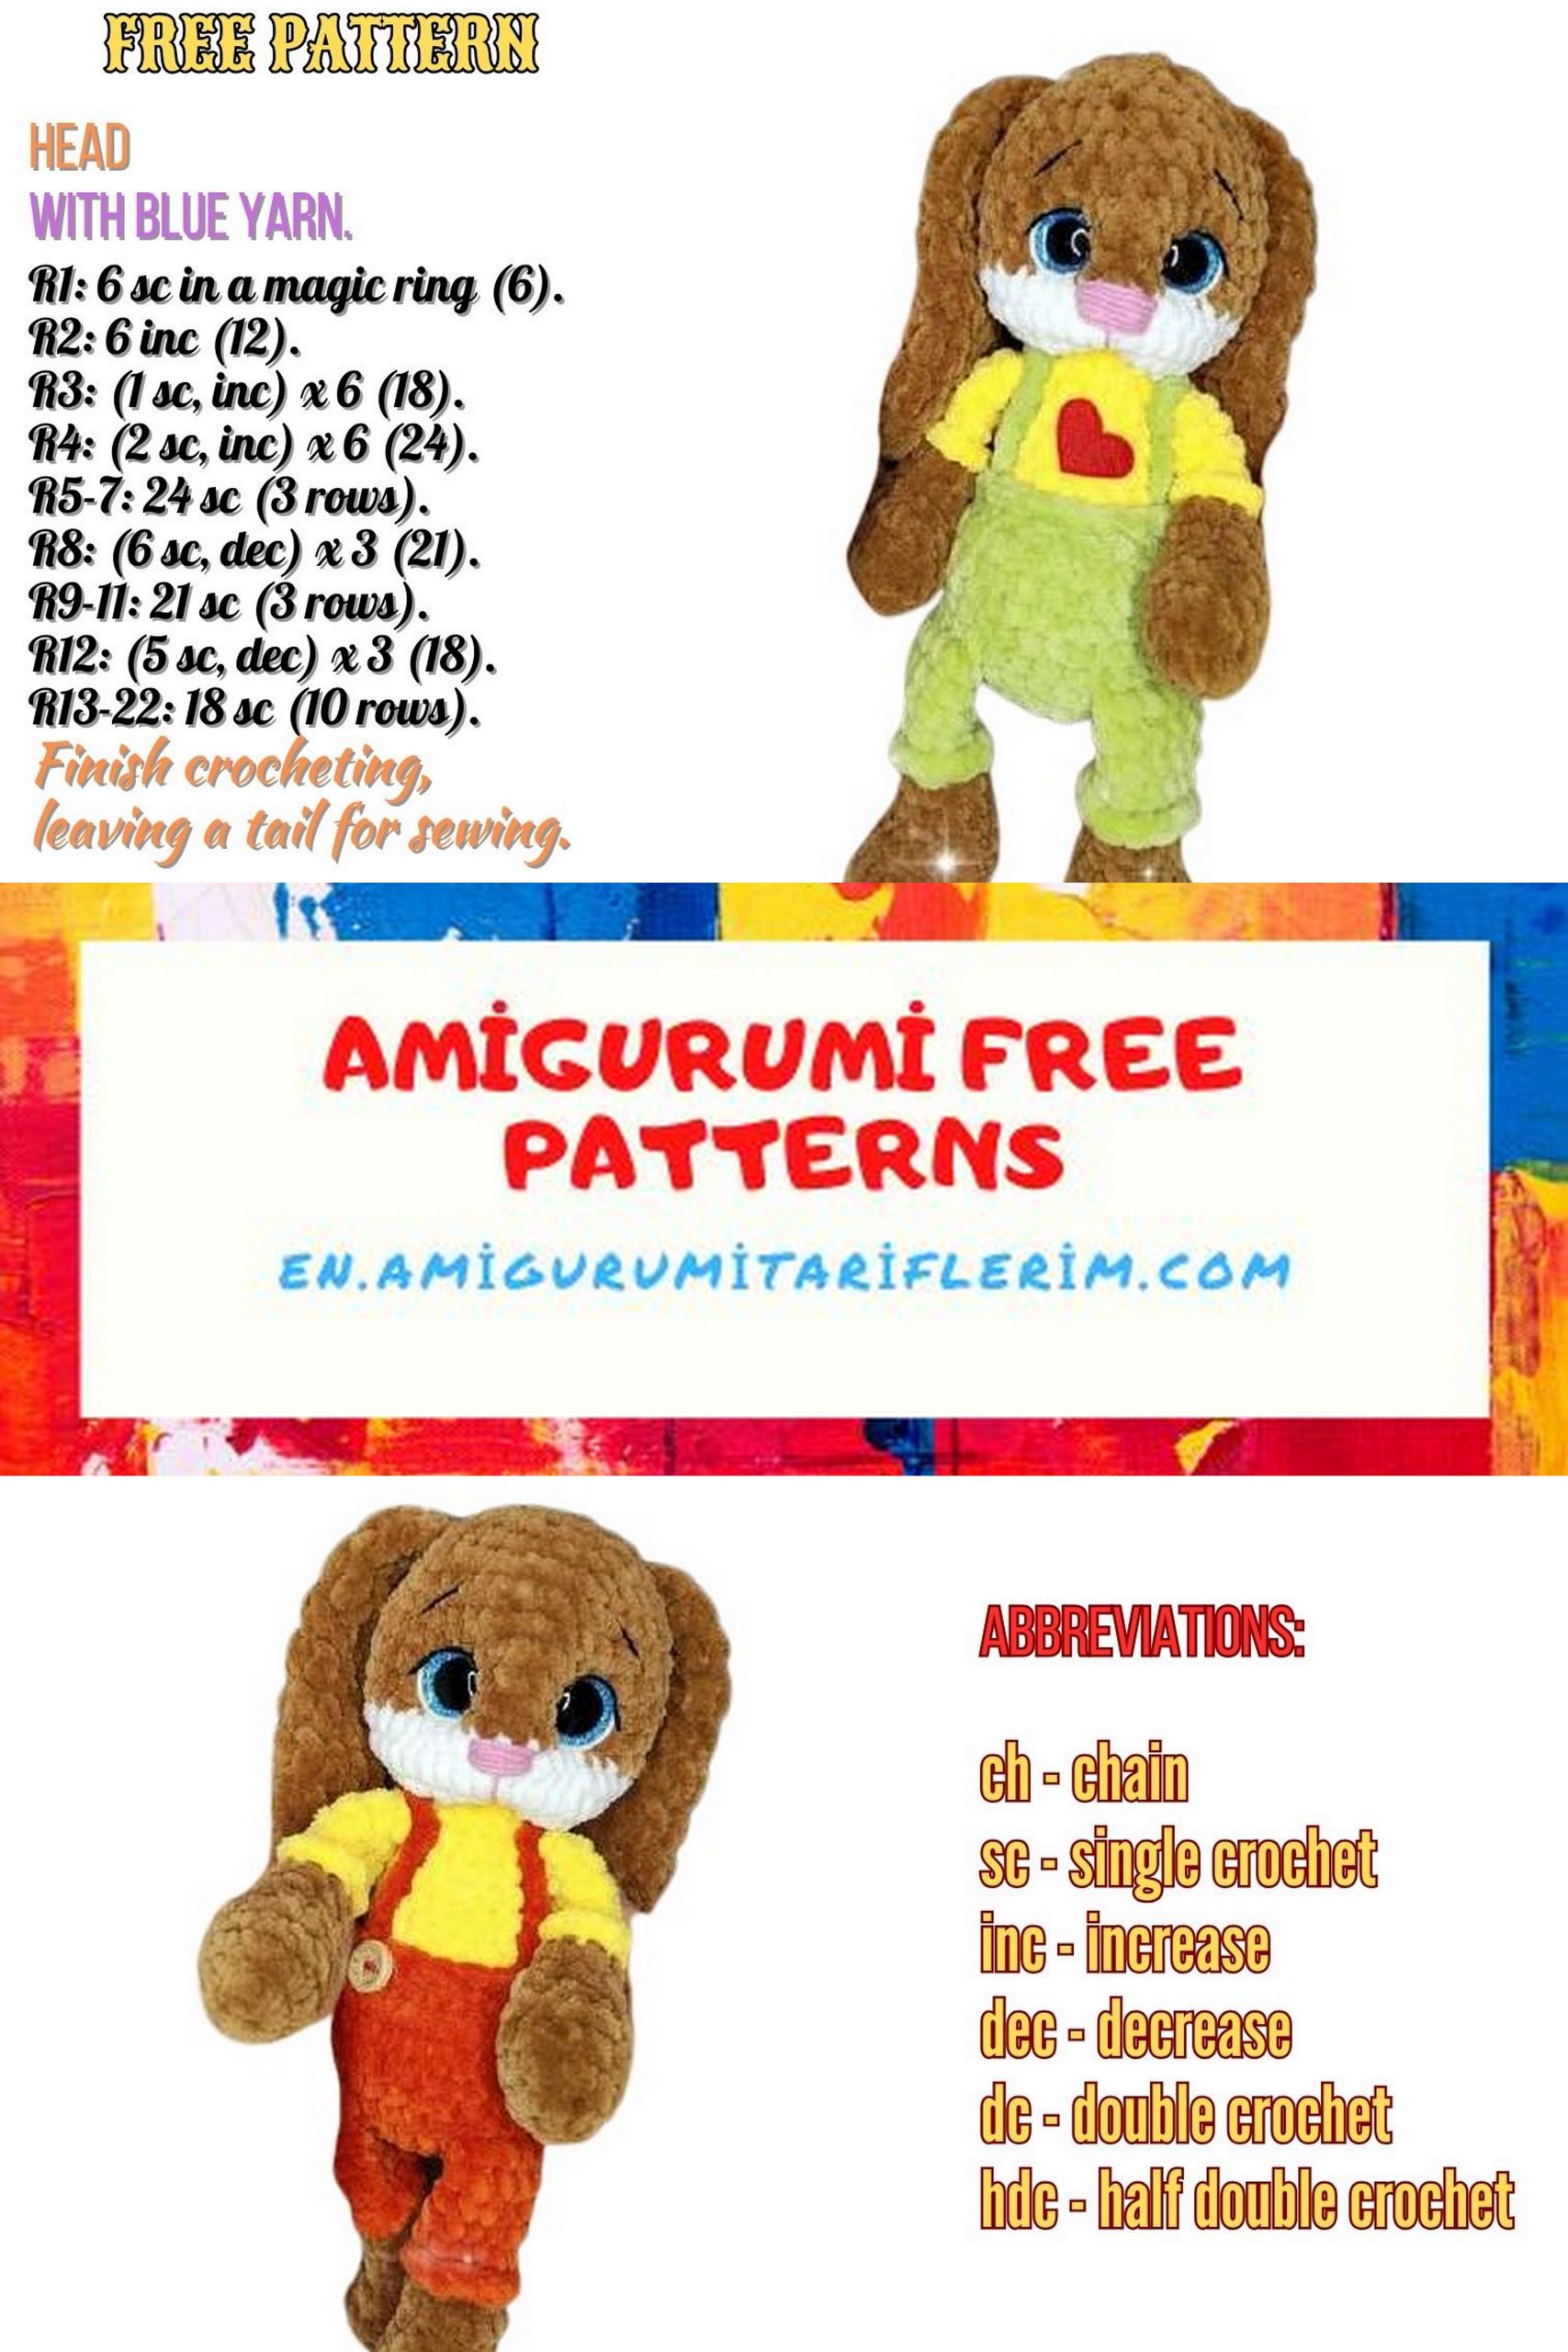
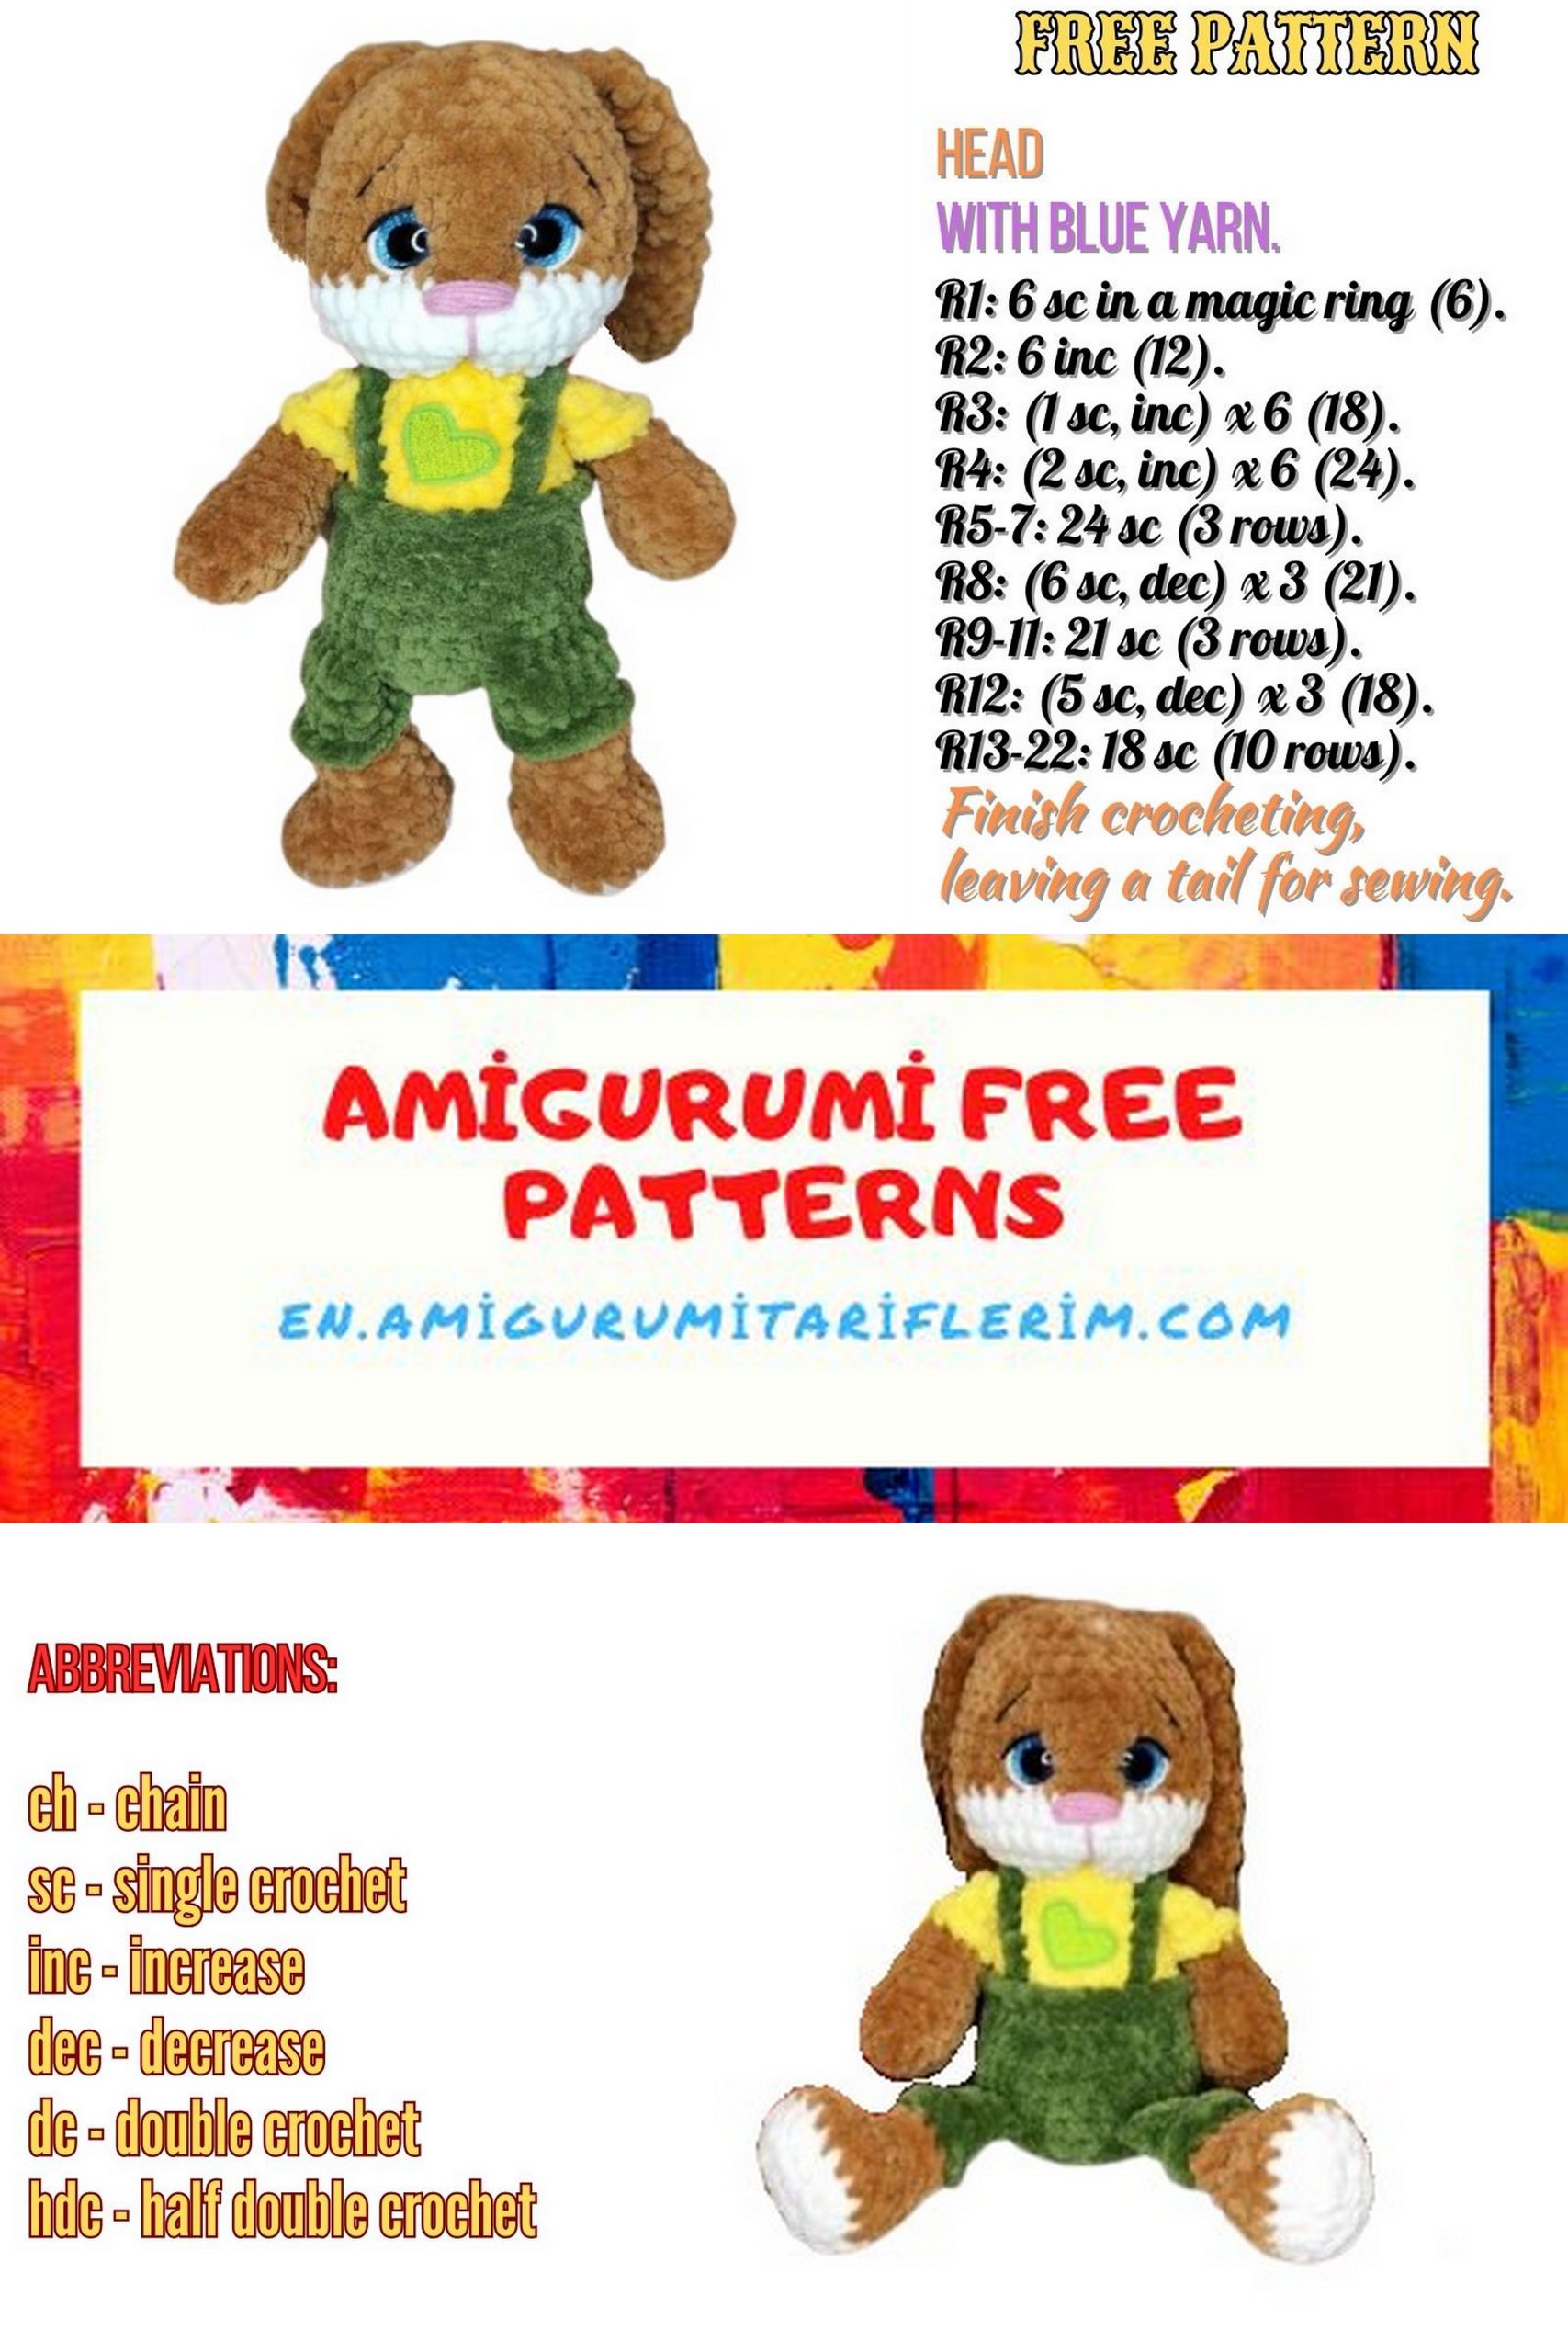
Velvet Fat Bunny Amigurumi Free Pattern: Crochet Your Cuddly Companion!
Welcome to the wonderful world of crochet! If you’re passionate about crafting and adore creating cute toys, get ready for a delightful project. Our amigurumi free pattern for the Velvet Fat Bunny Amigurumi is here to bring warmth and charm to your crochet collection.
Whether you’re just starting out or have years of experience with the hook, this pattern offers a fun and rewarding crafting experience for all skill levels. With detailed instructions and helpful tips, you’ll soon be stitching up your very own huggable Velvet Fat Bunny.
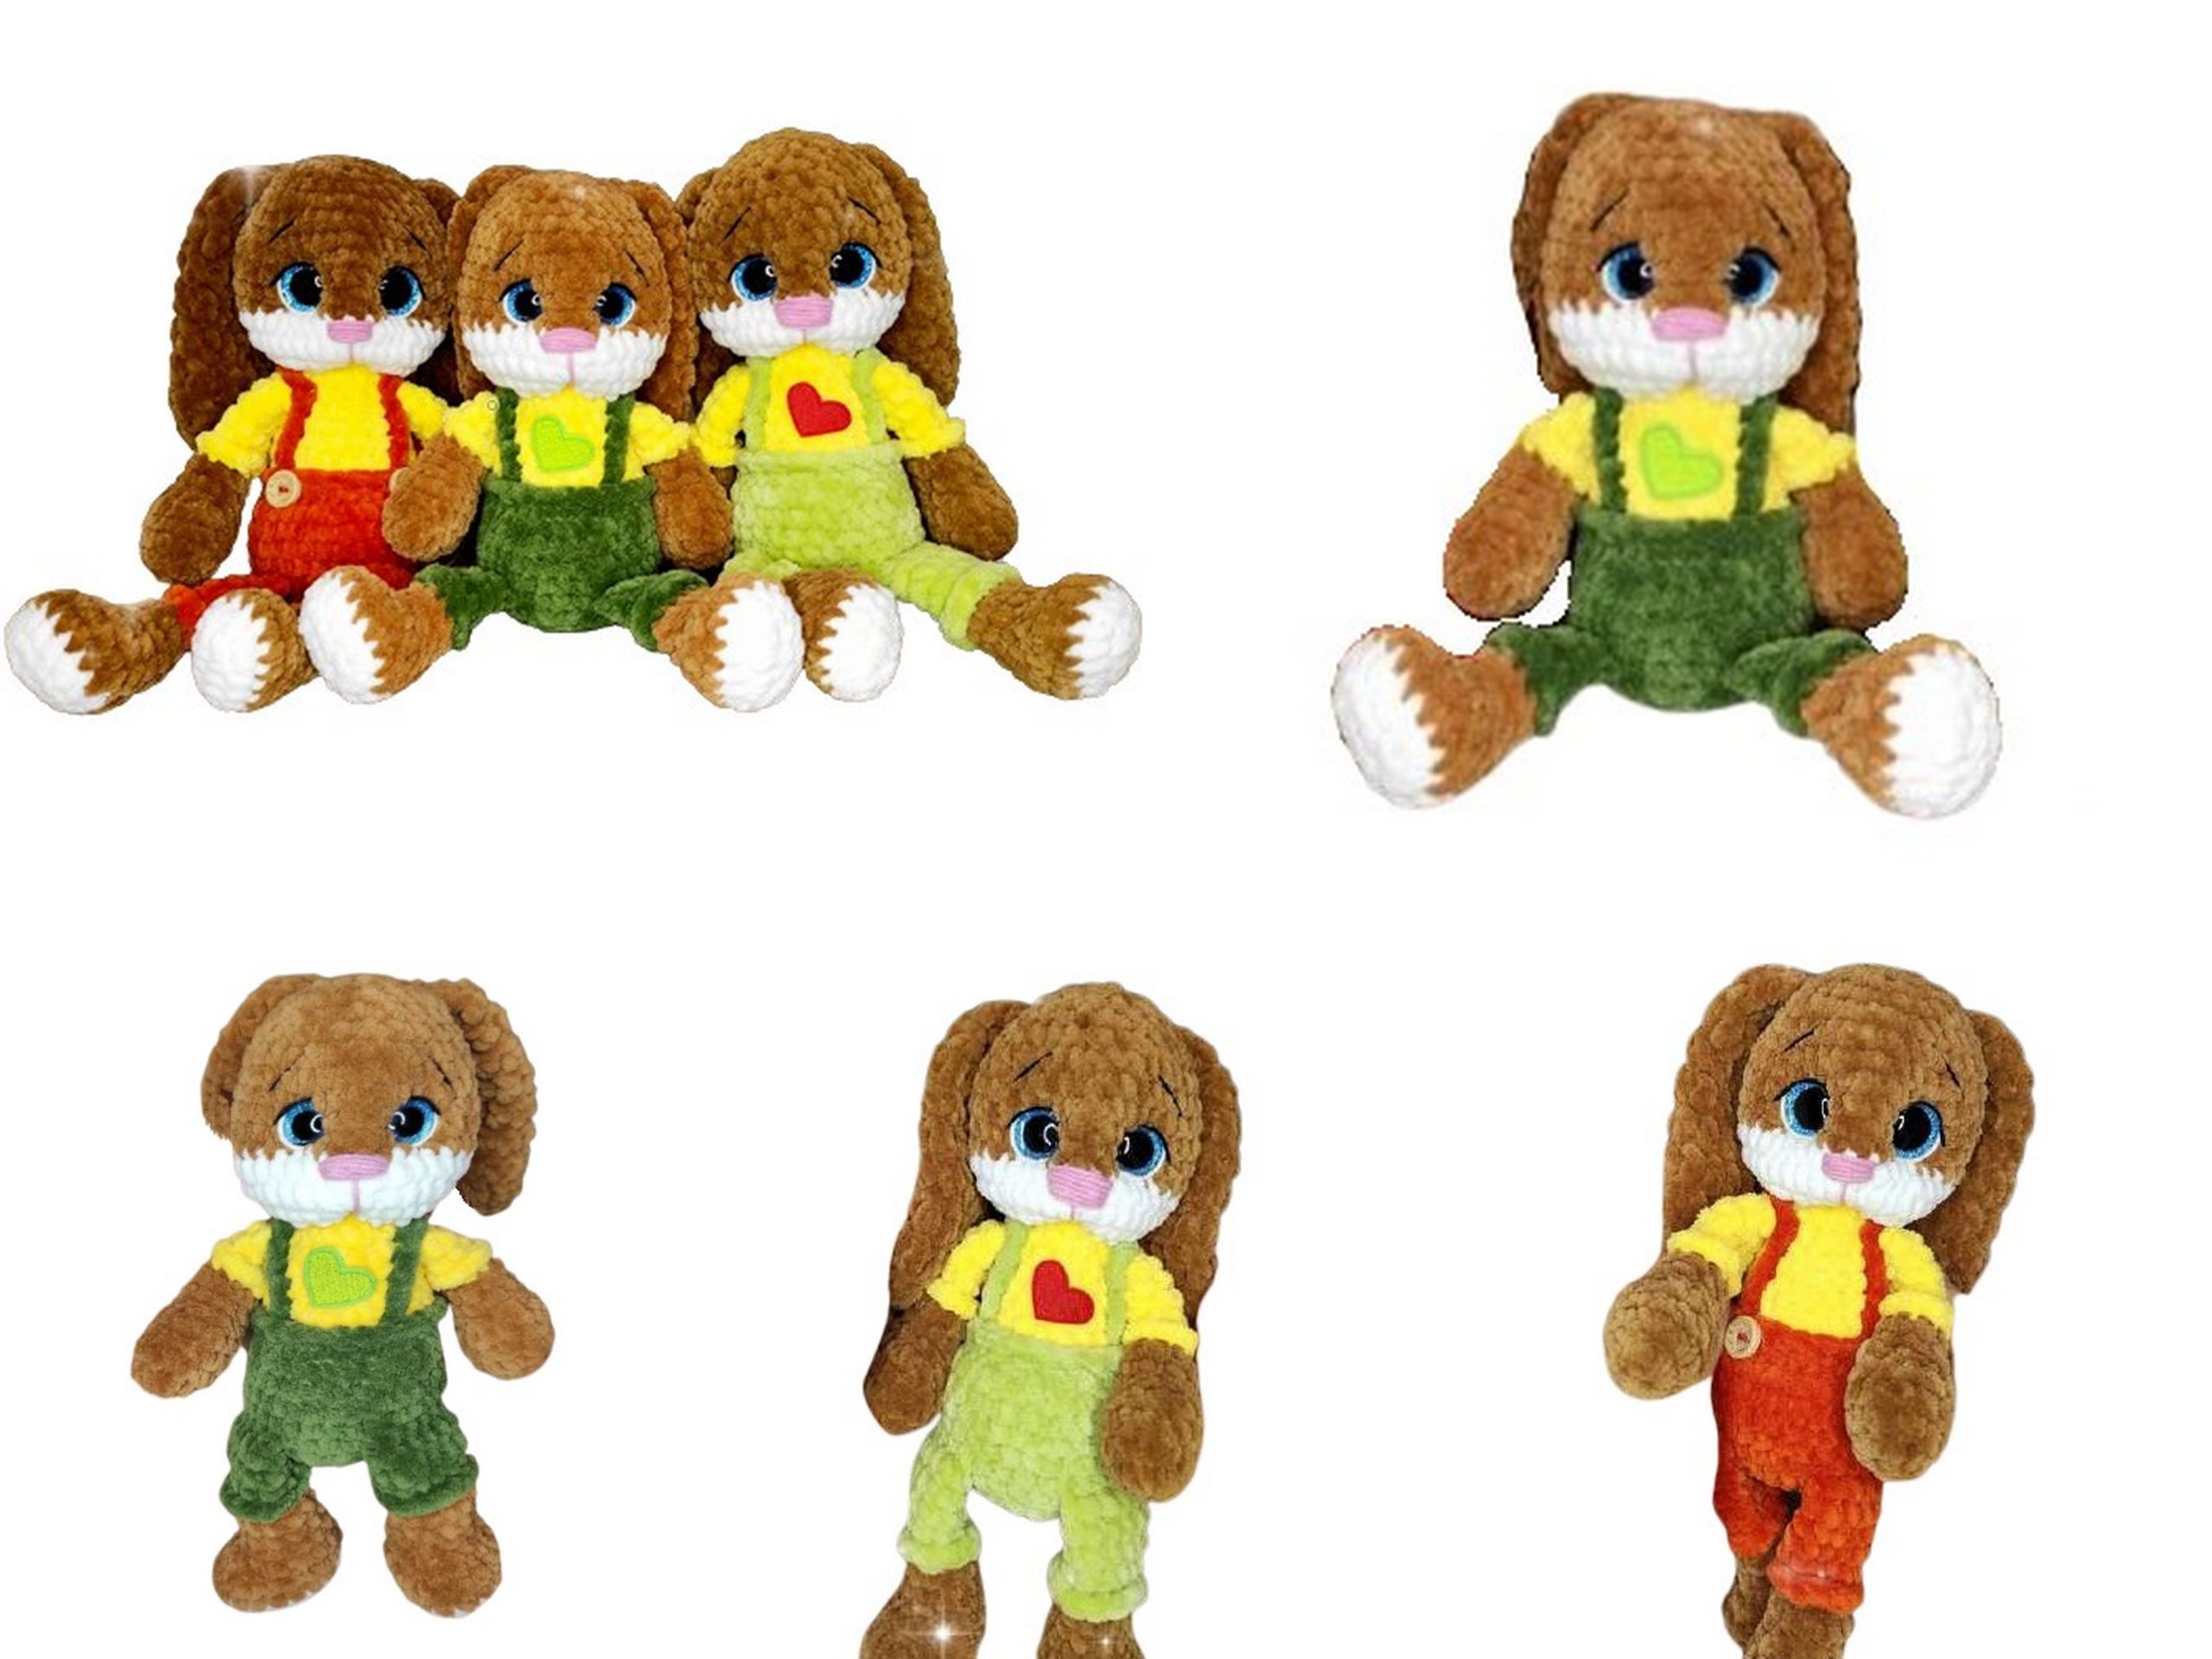
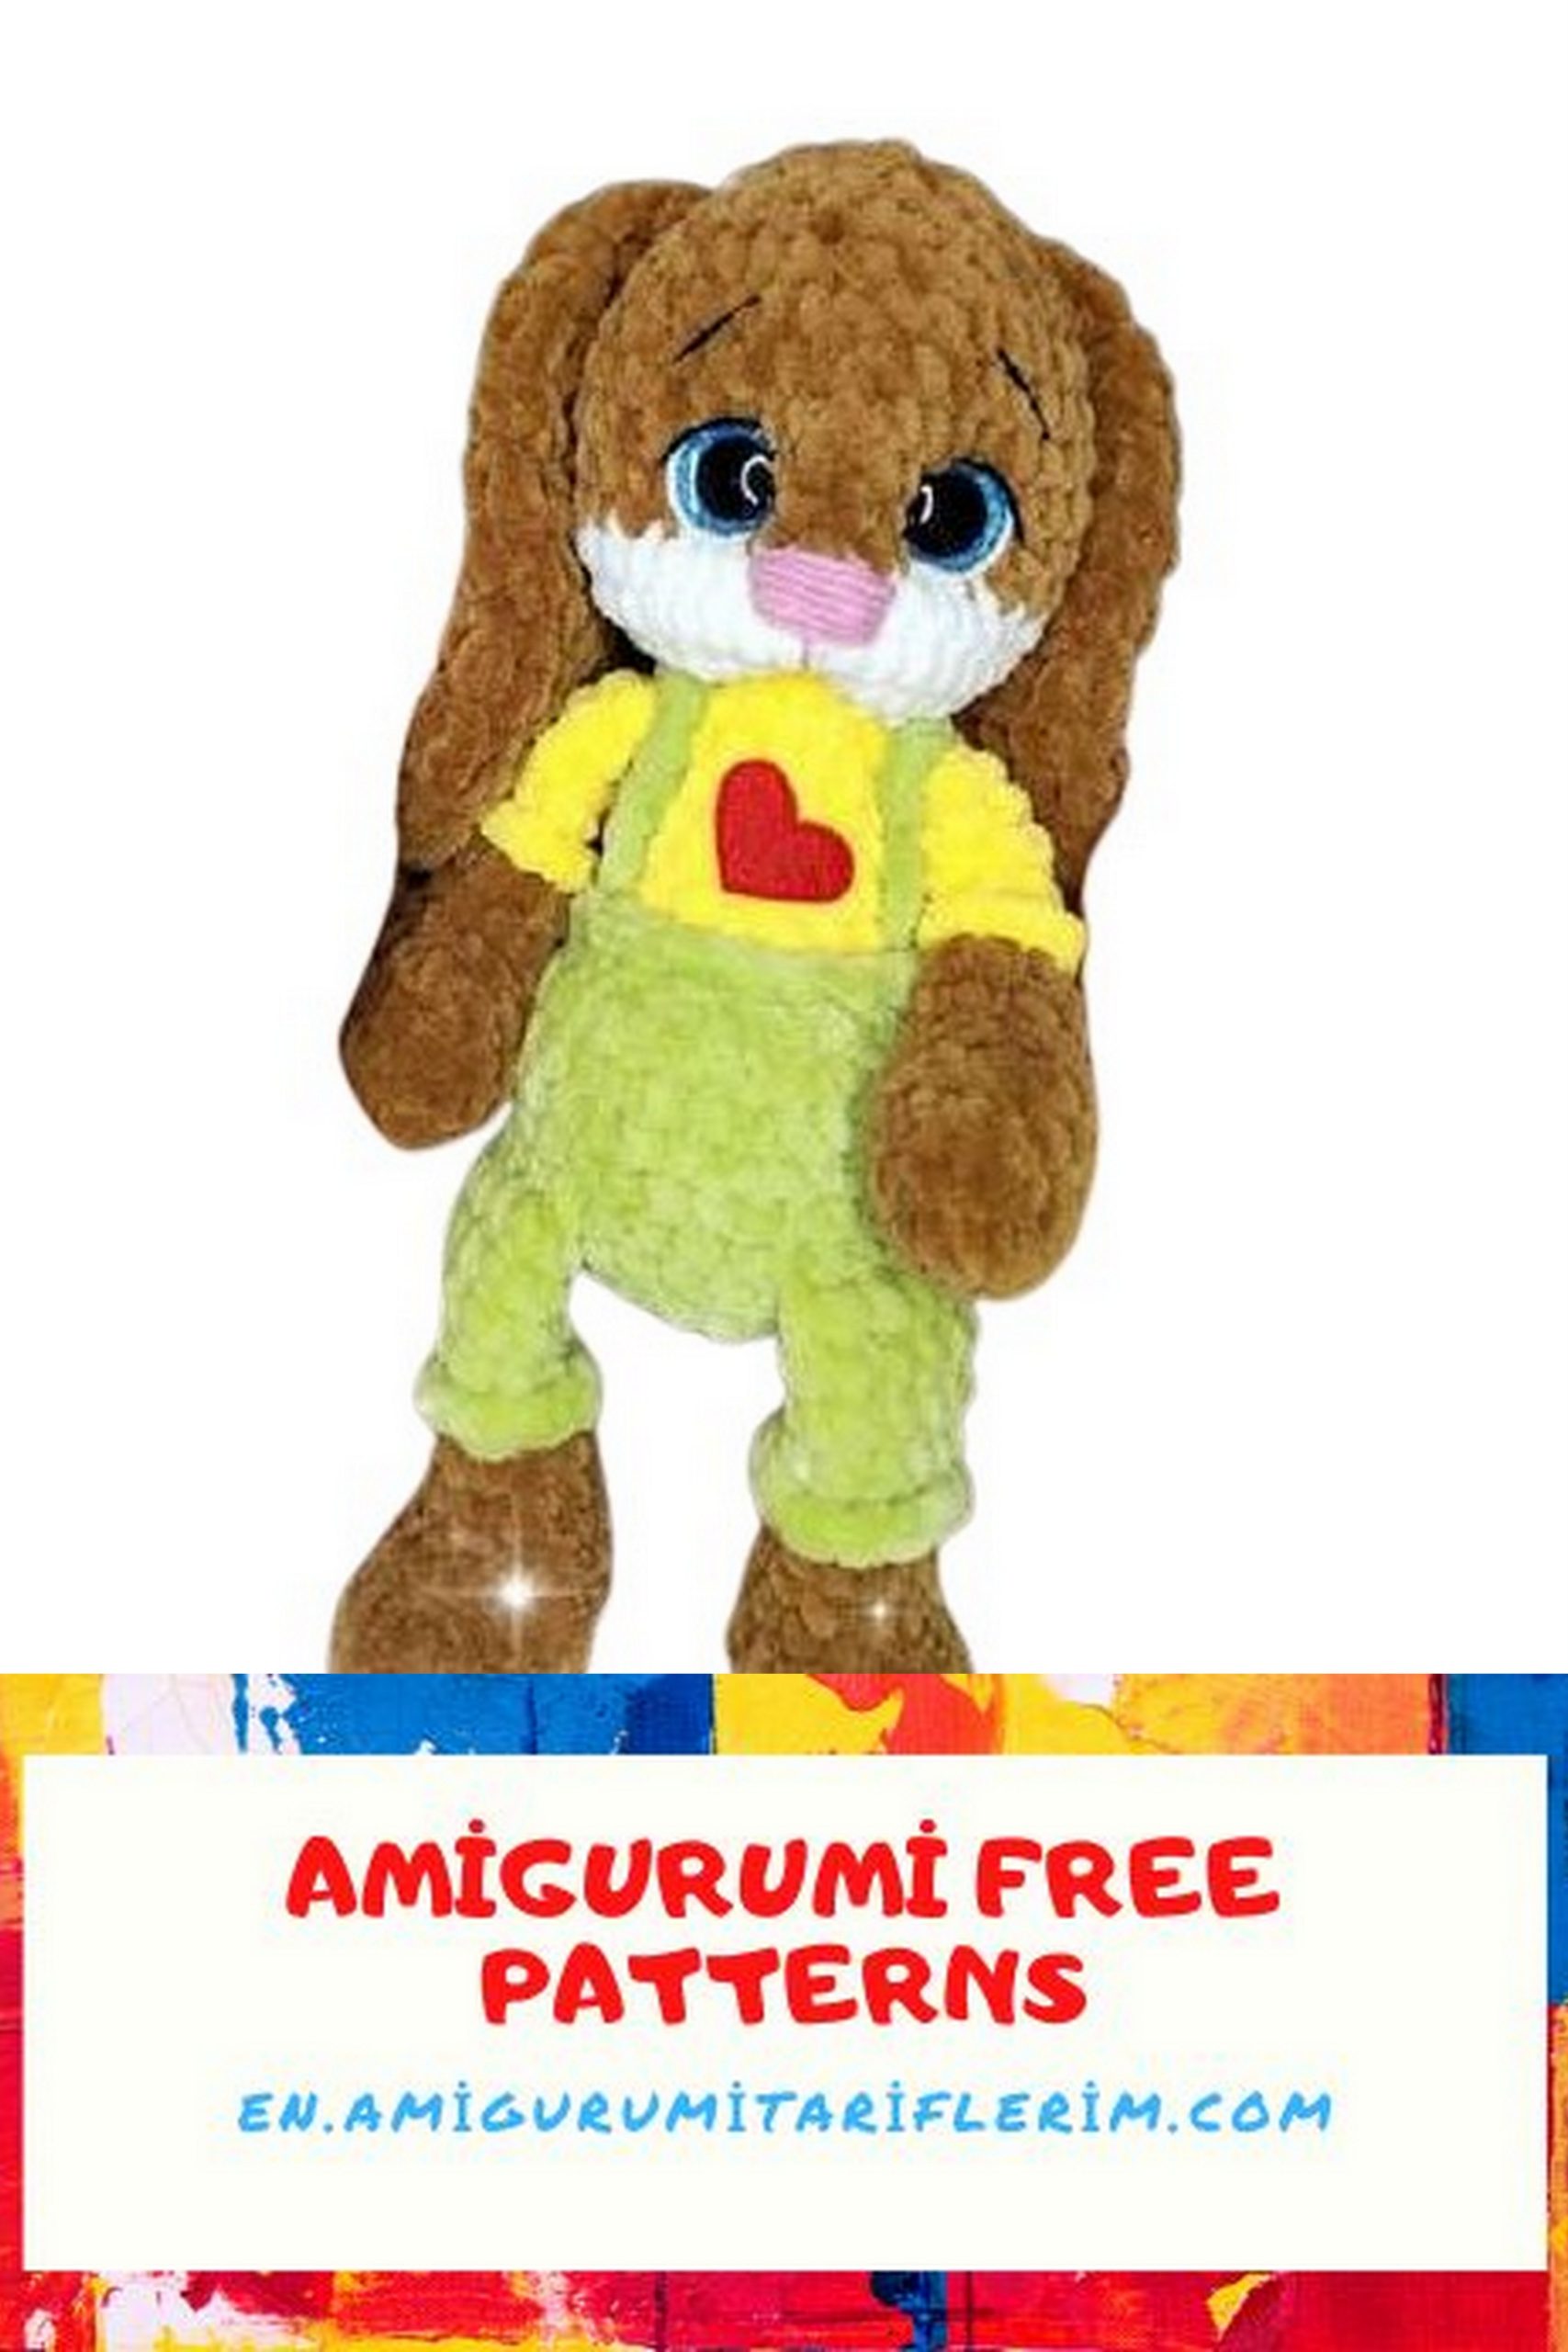
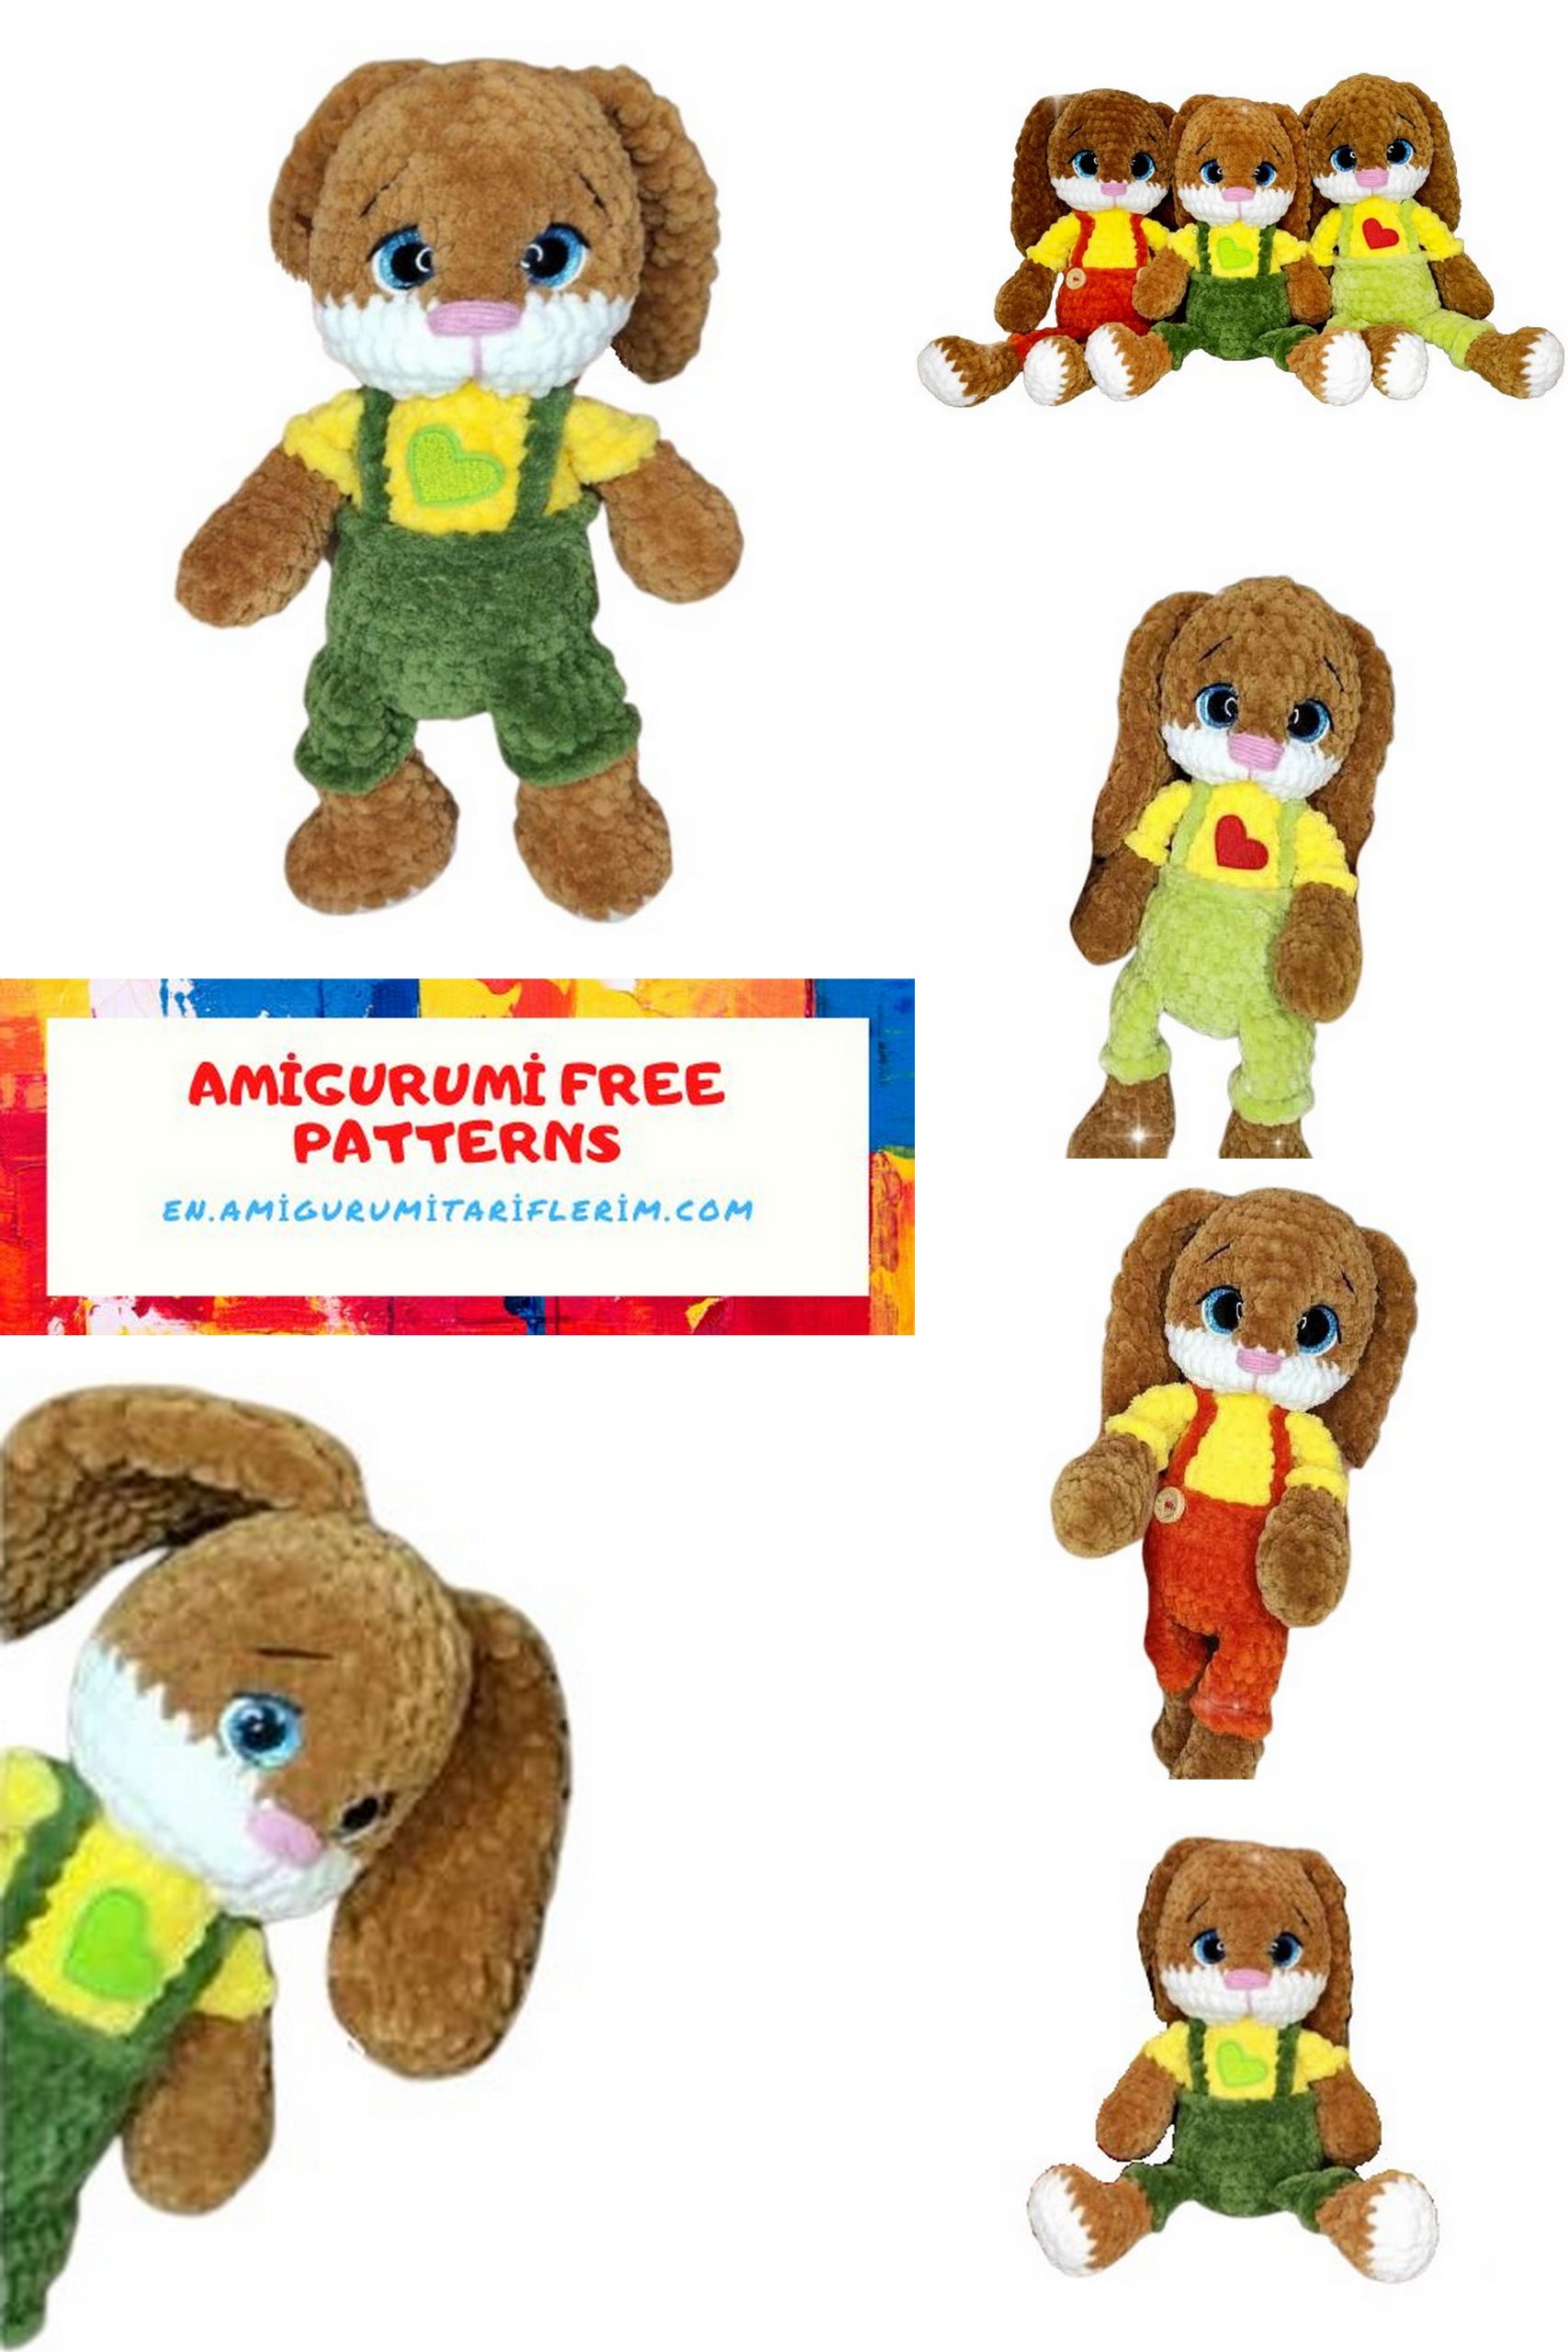
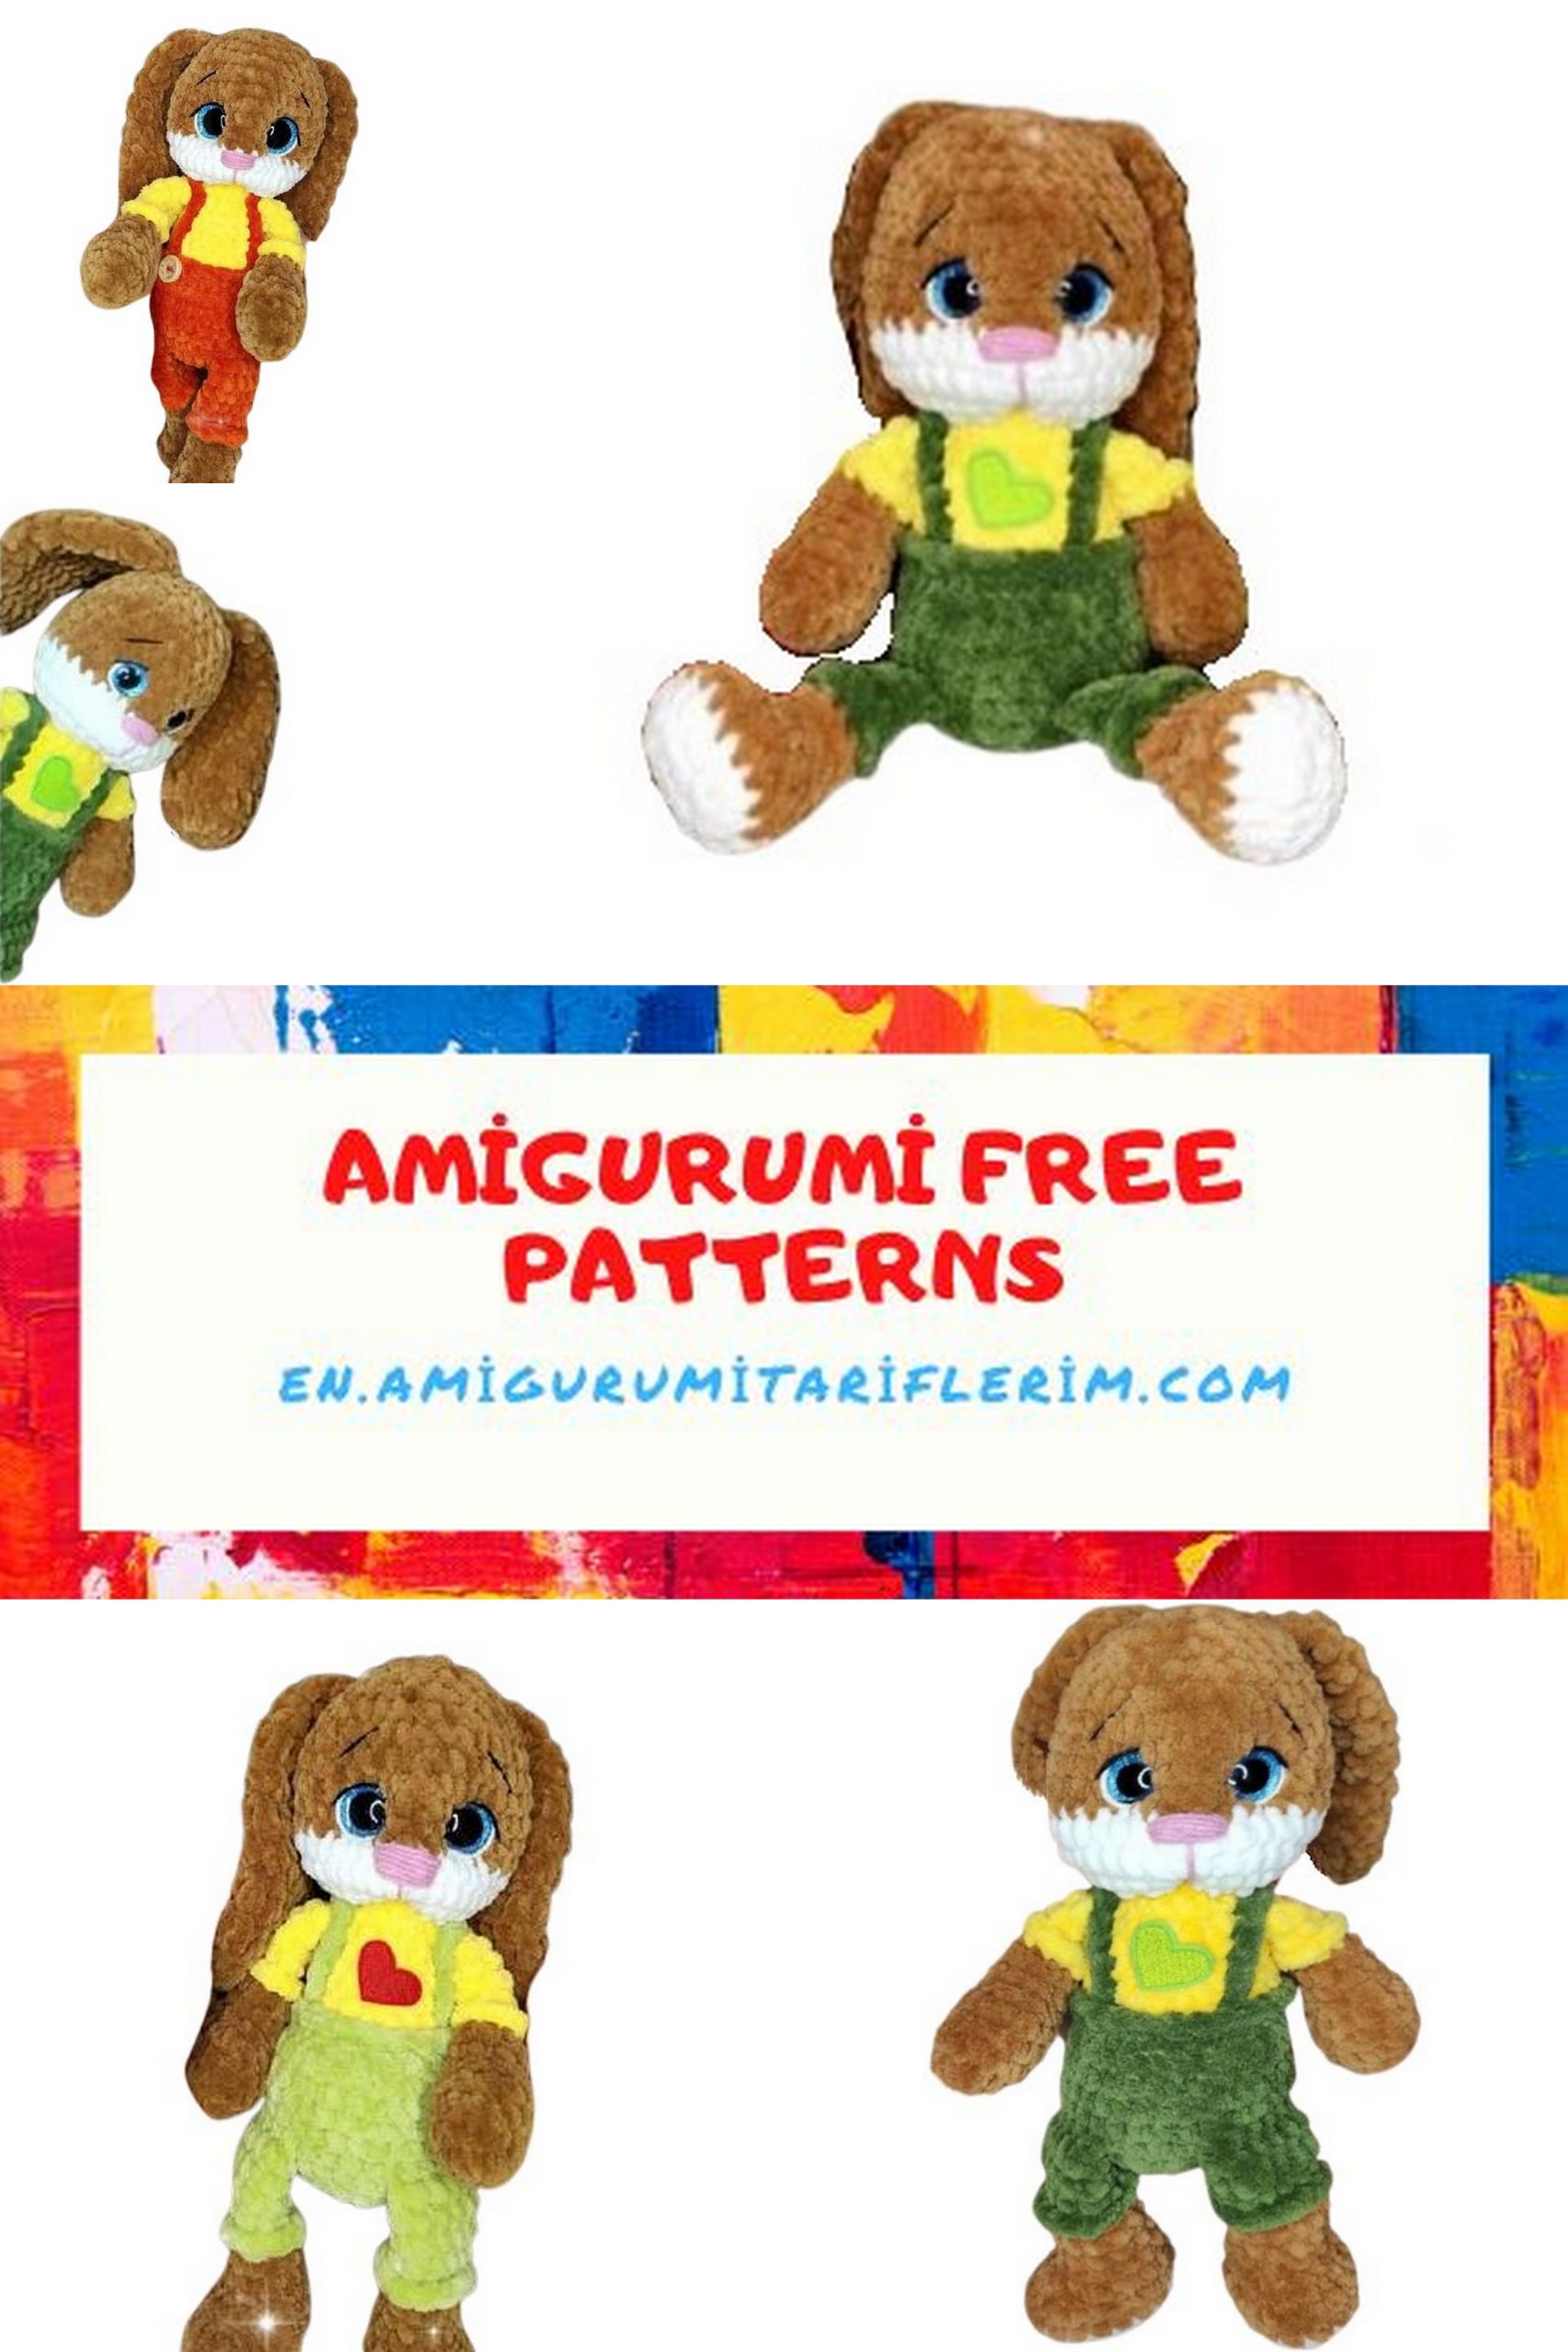
From its soft velvet texture to its chubby cheeks and floppy ears, every aspect of the Velvet Fat Bunny is designed to melt hearts. Plus, you have the freedom to personalize your bunny with your favorite colors and unique embellishments.
So, gather your crochet supplies and let’s embark on a cozy crafting journey together. Get ready to crochet your new cuddly companion and bring a touch of whimsy into your home. Happy crocheting!
Materials Needed:
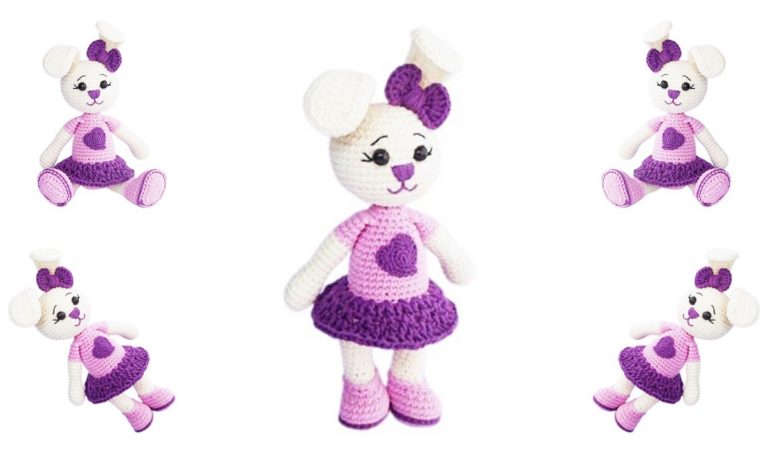
Plush (or any of your choice) yarn in 4 different colors – white (for heels and cheeks, main color, shorts, and t-shirt).
Stuffing – polyester fiberfill (synthetic filler).
Safety eyes with trapezoidal sparkle fastening, size 18 (you can use size 16 or even 14 if you prefer smaller eyes).
Crochet hook suitable for your yarn (I use size 4).
Black embroidery thread.
White thread for embroidering eye highlights.
Pink thread for the nose.
Marker.
Glue.
Lighter.
Needle and thread for anchoring.
Scissors.
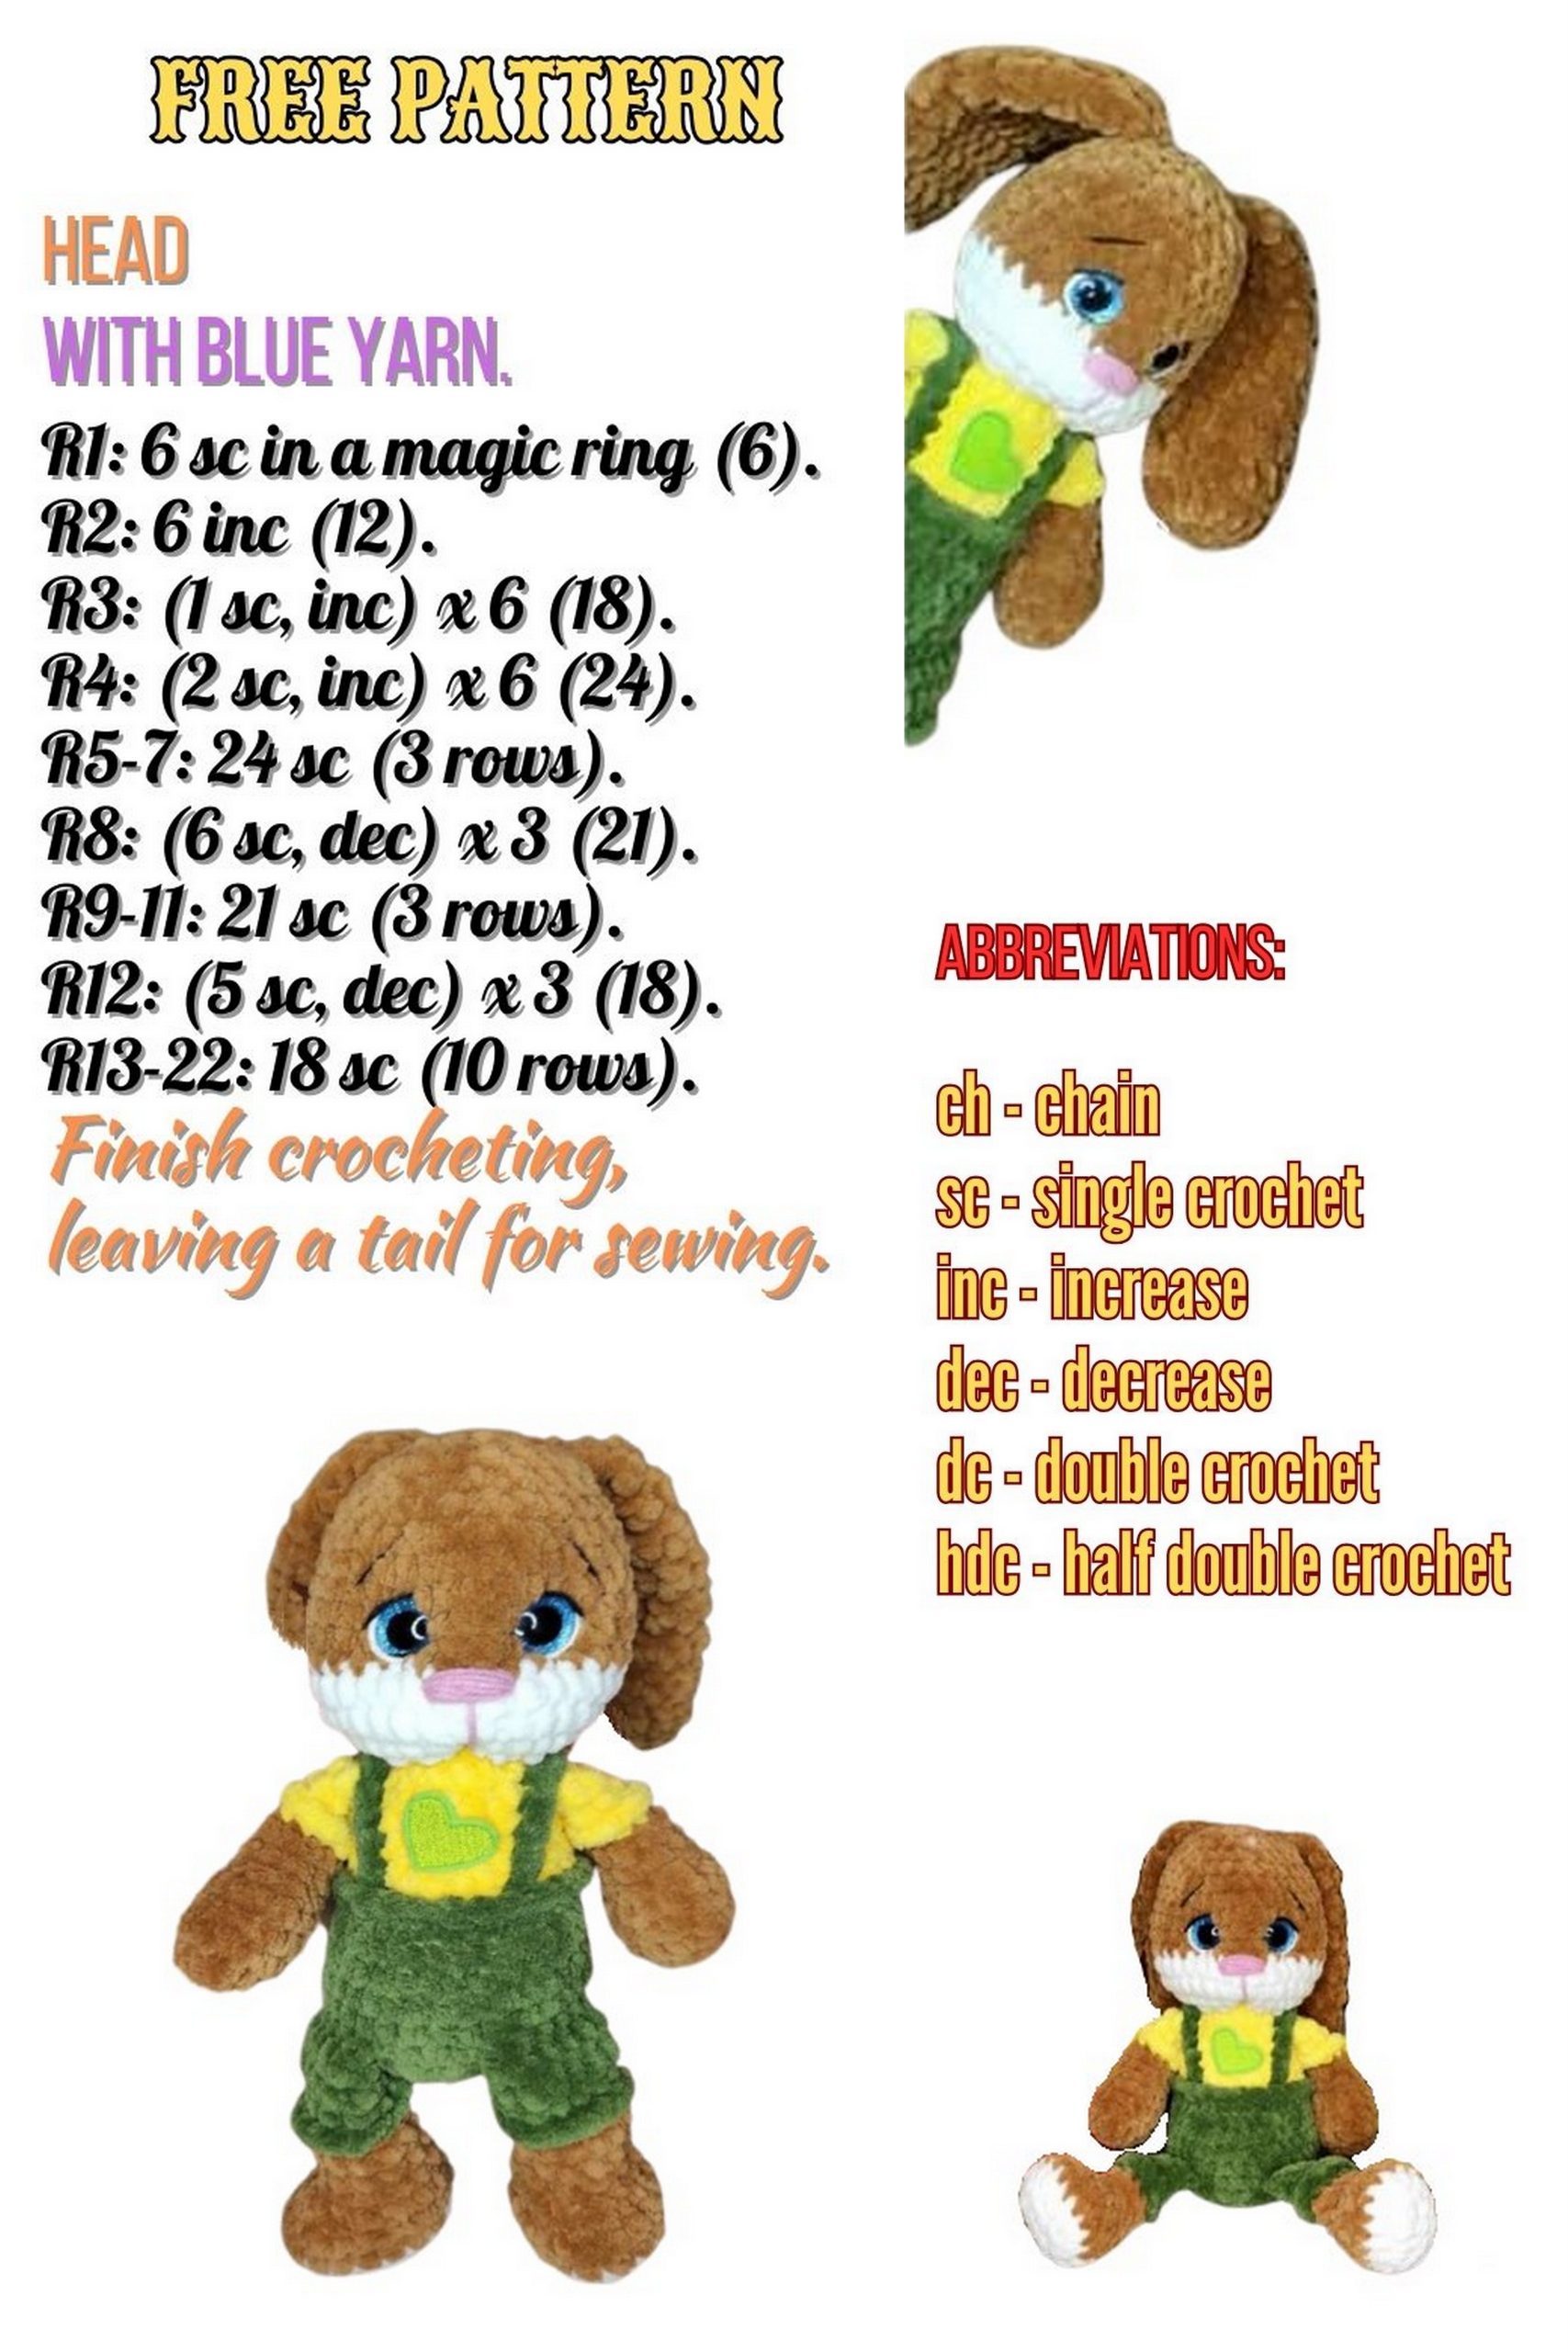
Abbreviations:
ch – chain stitch.
sc – single crochet.
hdc – half double crochet.
dc – double crochet.
inc – increase.
dec – decrease.
sl st – slip stitch.
(12) – number of stitches in a row.
PATTERN
Legs (Make 2):
Start crocheting with white yarn.
1: Ch 5.
2: 3 sc, 3 sc in the last st, 2 sc, inc (10).
3: Inc, 2 sc, 3 inc, 2 sc, 2 inc (16).
Change to body color.
4-5: 16 sc.
6: 4 dec evenly spaced (12).
7: 2 dec evenly spaced (10).
8: 10 sc.
Change to shorts color.
9-13: (5 rows) 10 sc.
Stuff the leg around row 7.
Crochet 2-3 more sc, then fold.
Crochet through both sides, leaving a tail of yarn to tie inside.
Edge the bottom of the shorts (sc).
Arms (Make 2):
Start crocheting with body color.
1: 6 sc in magic ring.
2: Inc in each st around (12).
3-5: 12 sc.
6: 3 sc, 3 dec, 3 sc (9).
7-8: 9 sc.
Change to t-shirt color.
9-13: (5 rows) 9 sc.
Stuff the arm around row 8.
Fold and crochet through both sides, leaving a tail of yarn to tie inside.
Edge the sleeve of the t-shirt (sc).

Tail:
Crochet with body color.
1: 5 sc in magic ring.
2-4: 5 sc in each row.
Close without stuffing or joining sides.
Ears (Make 2):
Crochet with body color.
1: 7 sc in magic ring.
2: 7 hdc inc (14).
3-8: (6 rows) 14 hdc.
9: 2 dec in row, distribute randomly (12).
10: 3 dec in row, distribute randomly (9).
11: 9 sc.
Crochet through both sides, leaving a tail of yarn for sewing.
Body:
Crochet with shorts color.
Stuff as you go.
1: 6 sc in magic ring.
2: Inc in each st around (12).
3: (1 sc, inc)*6 (18).
4: (2 sc, inc)*6 (24).
5: (3 sc, inc)*6 (30).
6: Attach legs and tail.
Crochet sc and incorporate details as you go.
Place 4 sc between legs.
For the tail, only crochet the bottom side; the top side will be crocheted in the next row.
Position the tail evenly at the back.
7-10: (4 rows) 30 sc.
11: Dec 7 times on the belly, sc in remaining stitches (23).
Position decreases evenly at the front – find the center on the belly and count 7 sc on each side; these are the decrease stitches.
Change to t-shirt color.
12: 23 sc.
13: Dec twice above the tail, sc in remaining stitches (21).
14: Dec once at the center of the belly, sc in remaining stitches (20).
15: 3 dec in a row, distribute randomly (5 sc, dec, 5 sc, dec, 4 sc, dec) (17).
16: Dec once at the center of the belly, sc in remaining stitches (16).
17: 16 sc.
18: Attach arms (sc).
Position them symmetrically on the sides.
19: (3 sc, dec)*3, 1 sc (13).
Change to white yarn.
Shape the head.
20: 13 inc (26).
21: (2 sc, inc)*8, 2 sc (34).
22-23: 34 sc.
Change to body color.
24-26: 34 sc.
27: Dec 1 above each arm (32).
28: 32 sc.
29: Dec 1 above each arm (30).
30: (4 sc, dec).
If there are remaining stitches, simply crochet them as sc.
Insert eyes between rows 6 and 7.
31: (3 sc, dec).
32: (2 sc, dec).
33: (sc, dec).
Crochet a few more decreases and close the head.
Perform anchoring to shape the face.
Embroider eye highlights, eyelashes, eyebrows, and the nose.
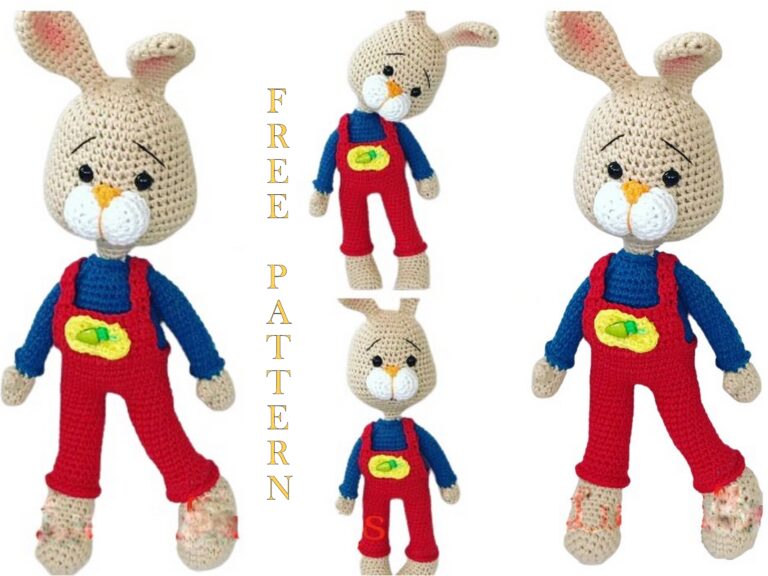
Edge the pants around the waist, crochet the suspenders.
Optionally, sew buttons under the suspenders and make an applique on the chest.
That’s all!
Congratulations!
You’ve crocheted a bunny!
Send photos of your finished work to me in the chat channel; we’ll admire them together!