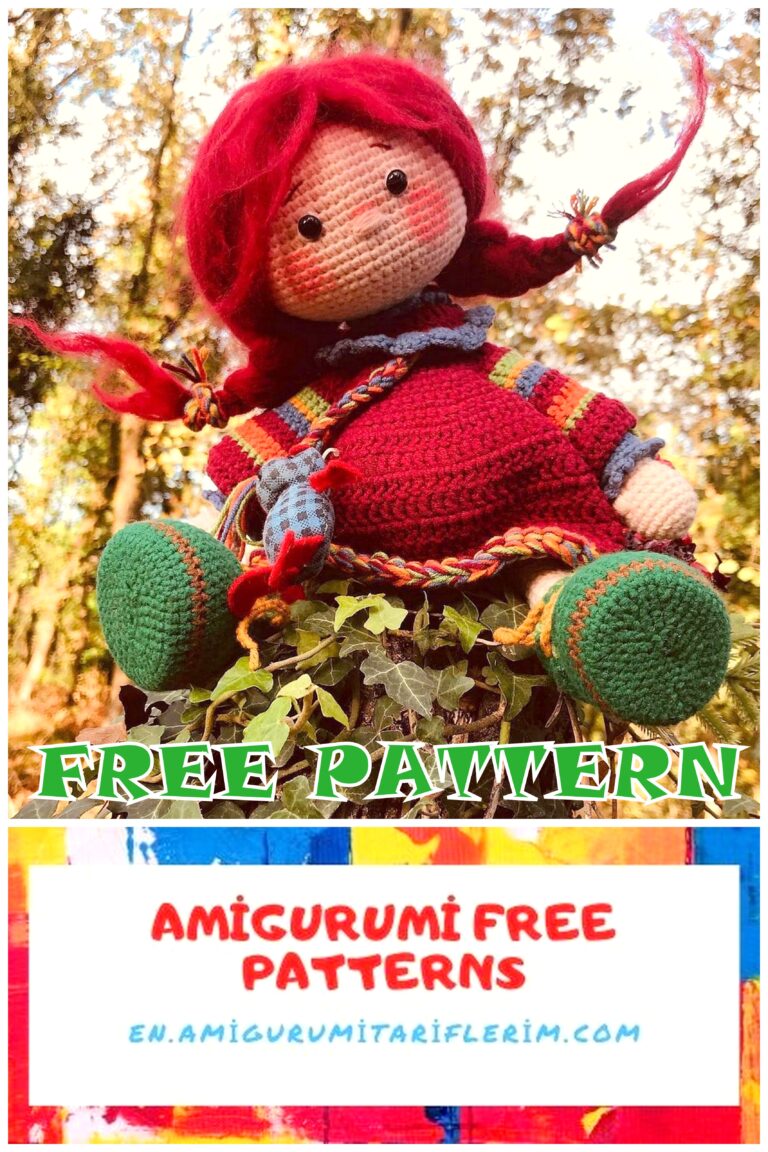
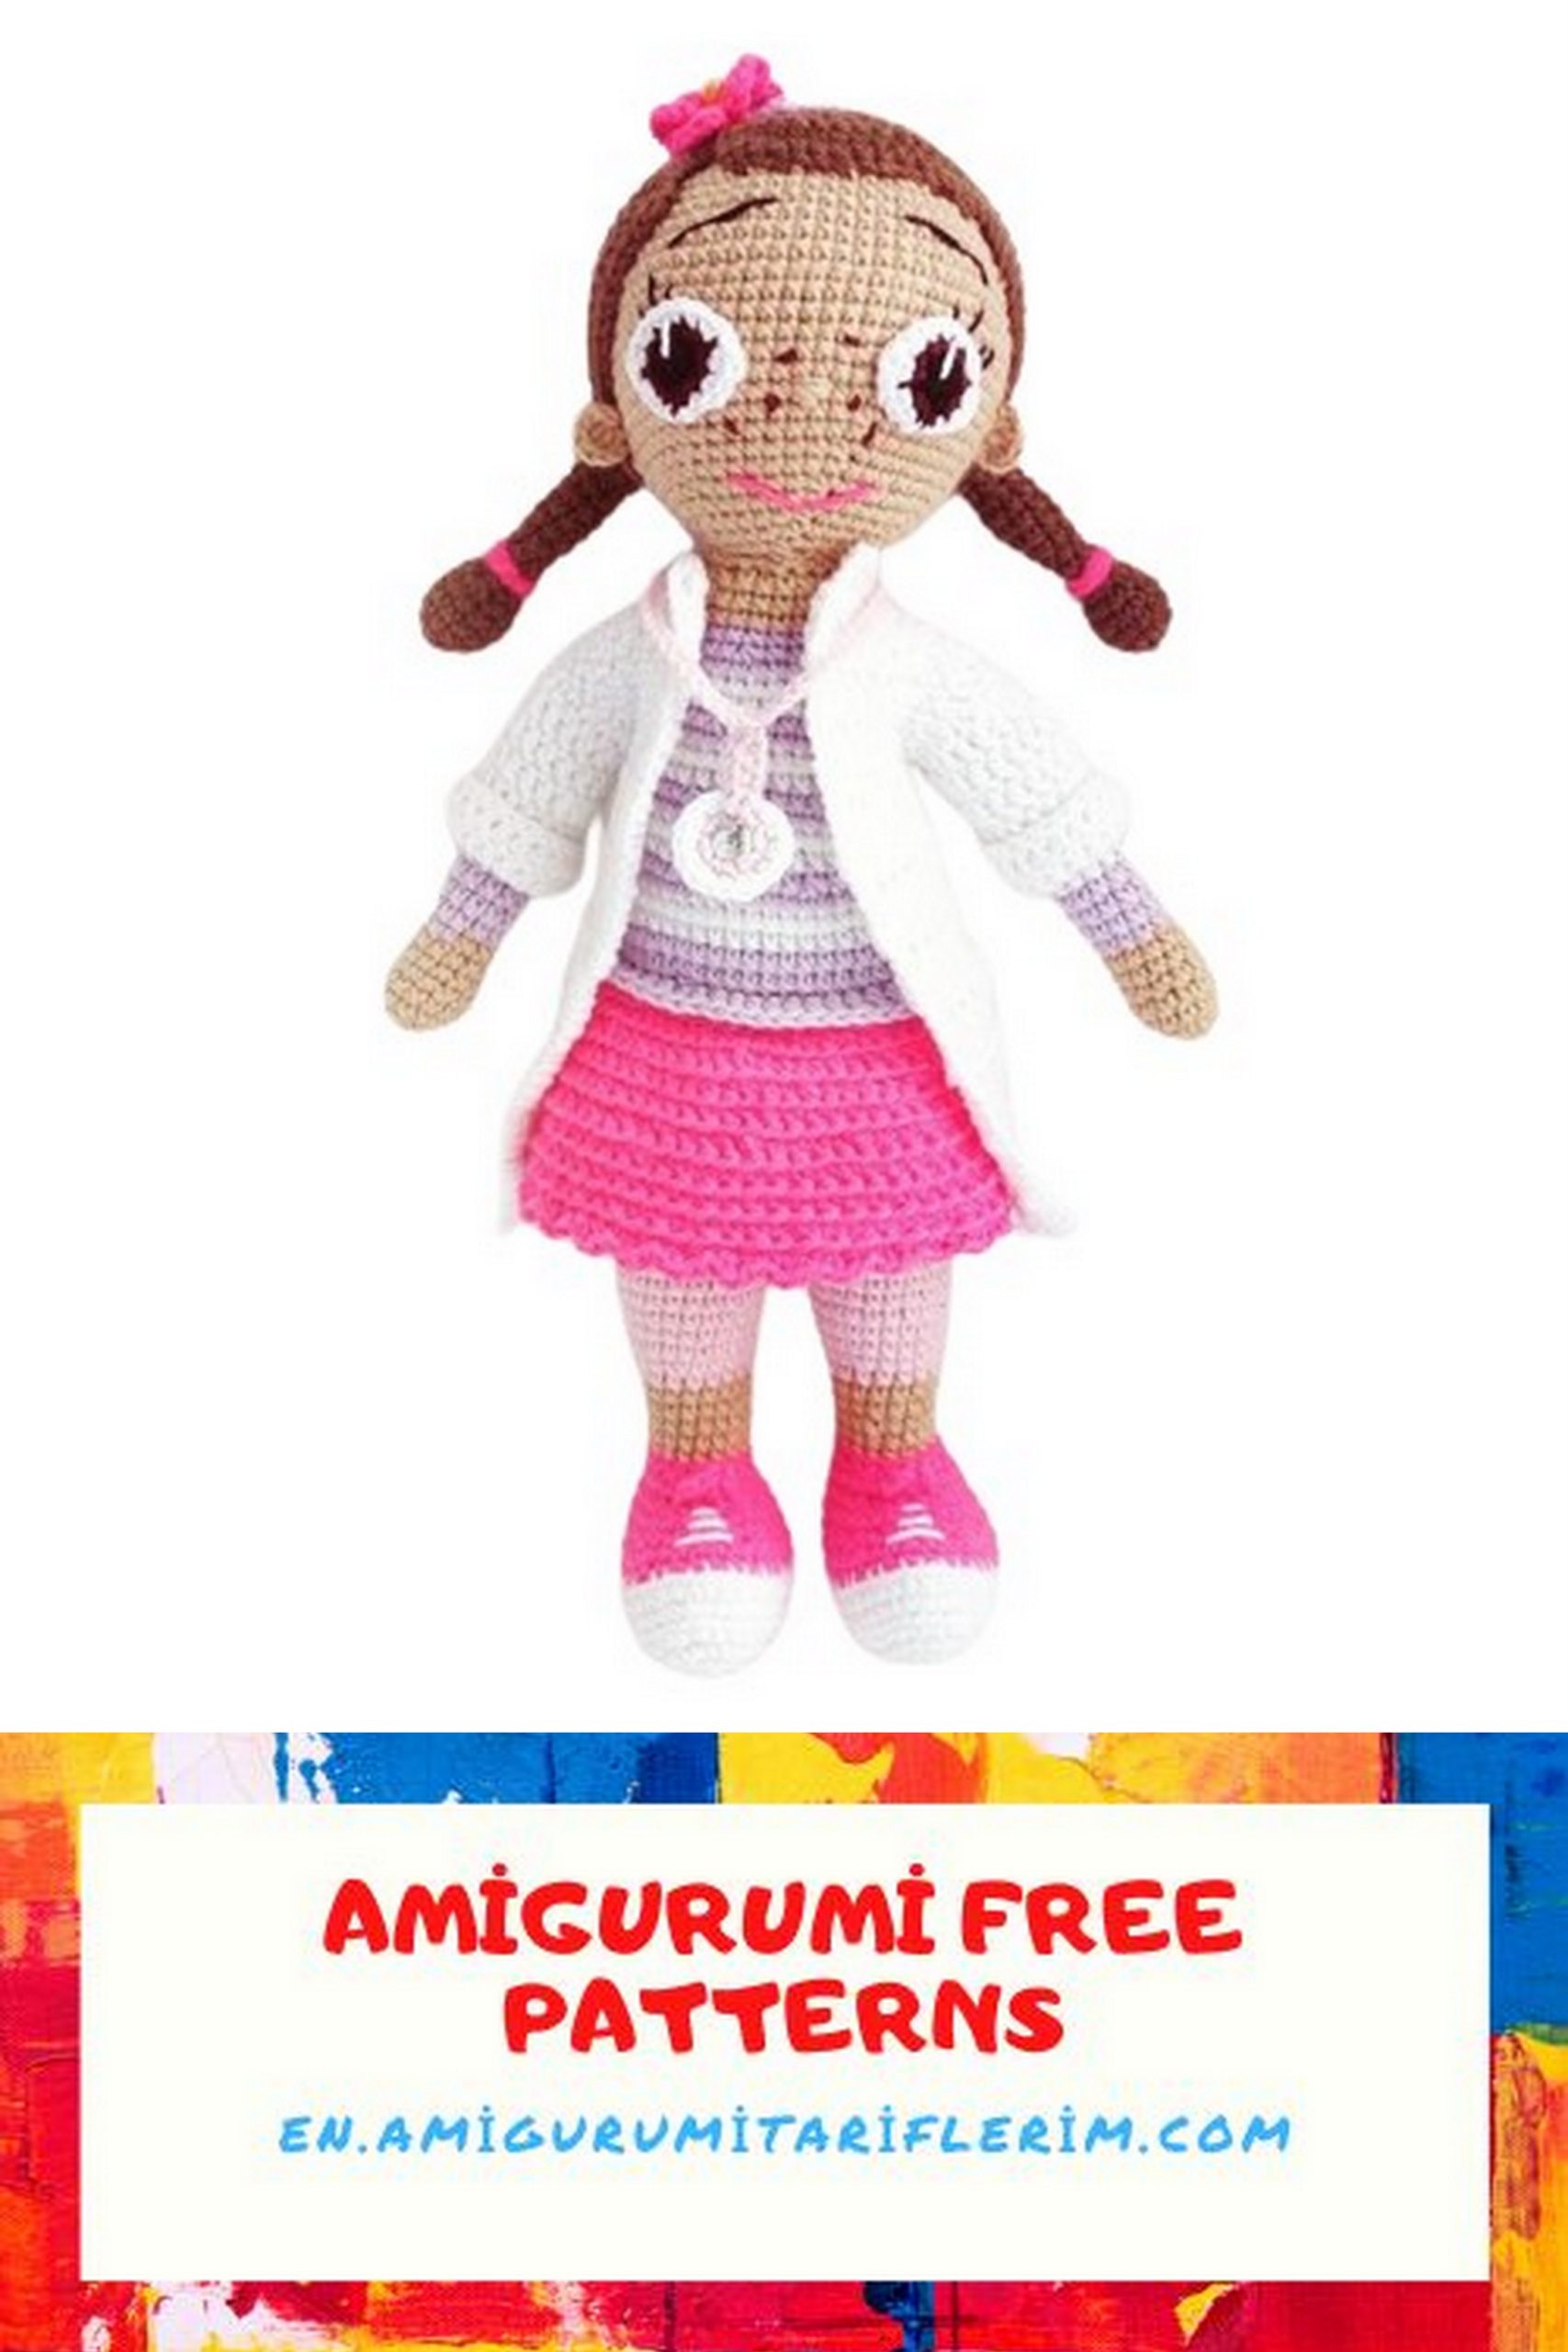
Free Amigurumi Doctor Doll Pattern – Crochet Your Own Cute Medical Toy
Are you ready to embark on a crochet adventure and create your very own Amigurumi Doctor Doll? Look no further! Our amigurumi free pattern offers easy-to-follow instructions that will help you craft an endearing medical-themed toy. Whether you’re a seasoned crocheter or just starting, this pattern is designed to delight and challenge crafters of all levels.
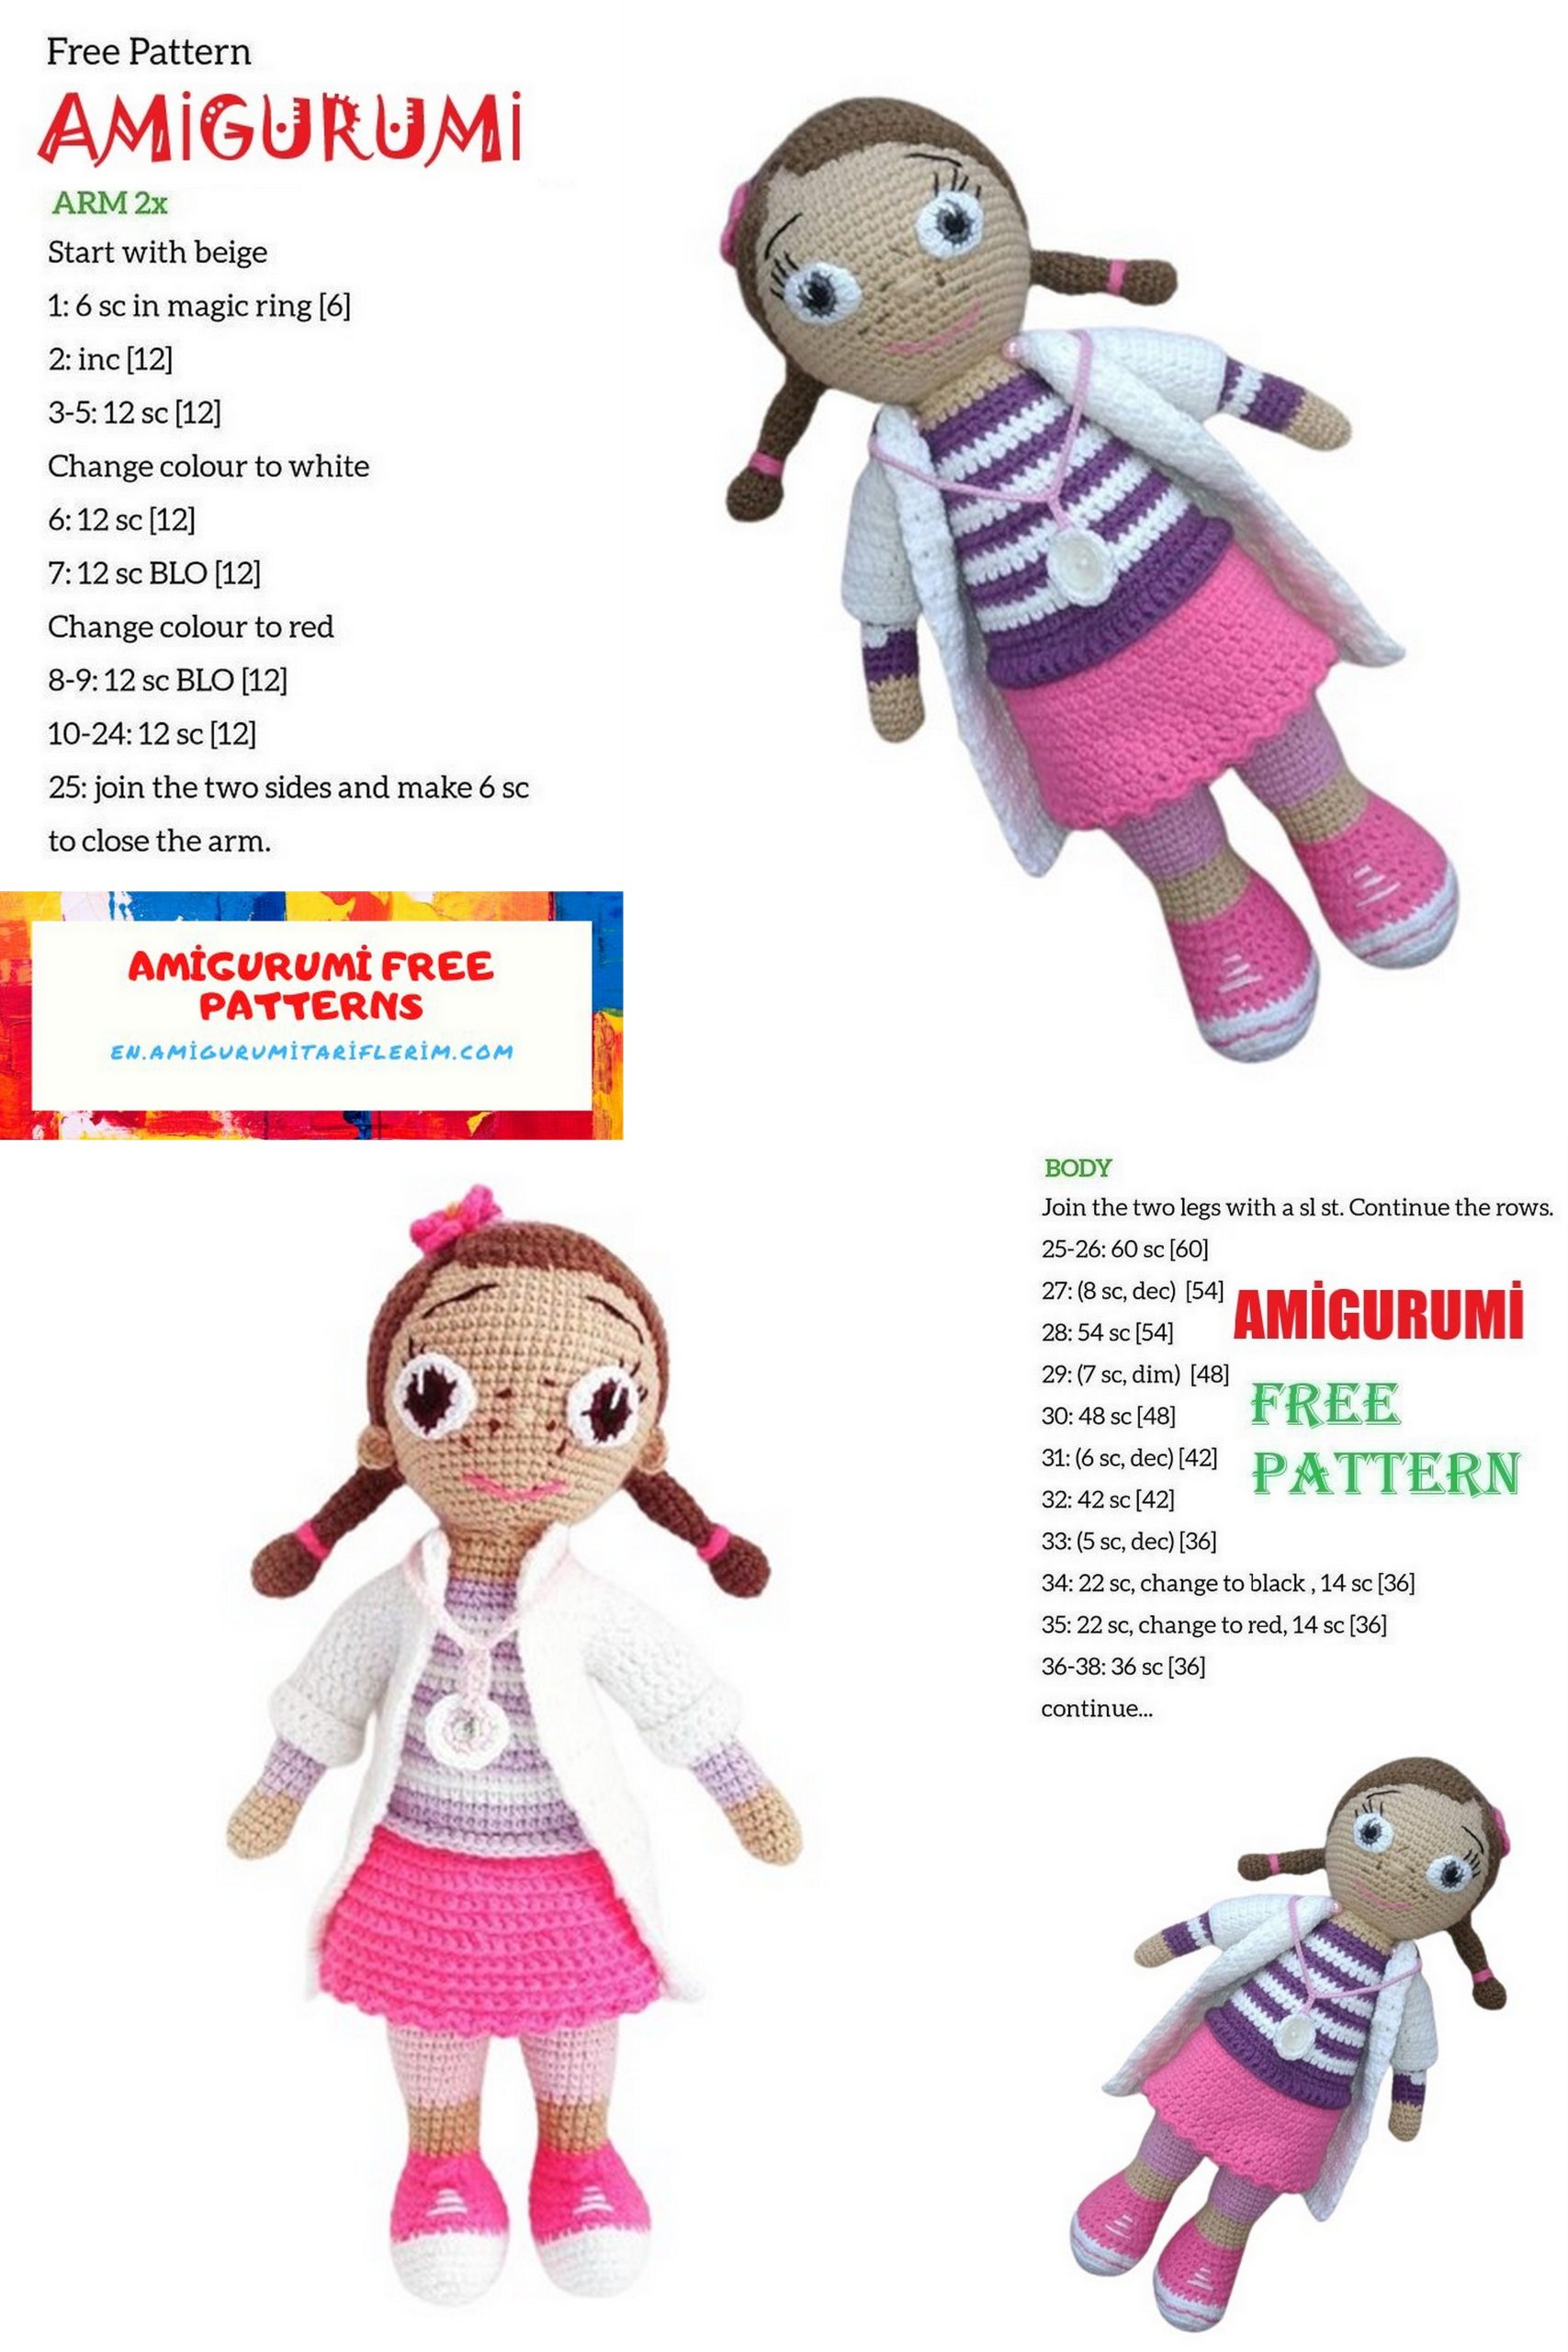
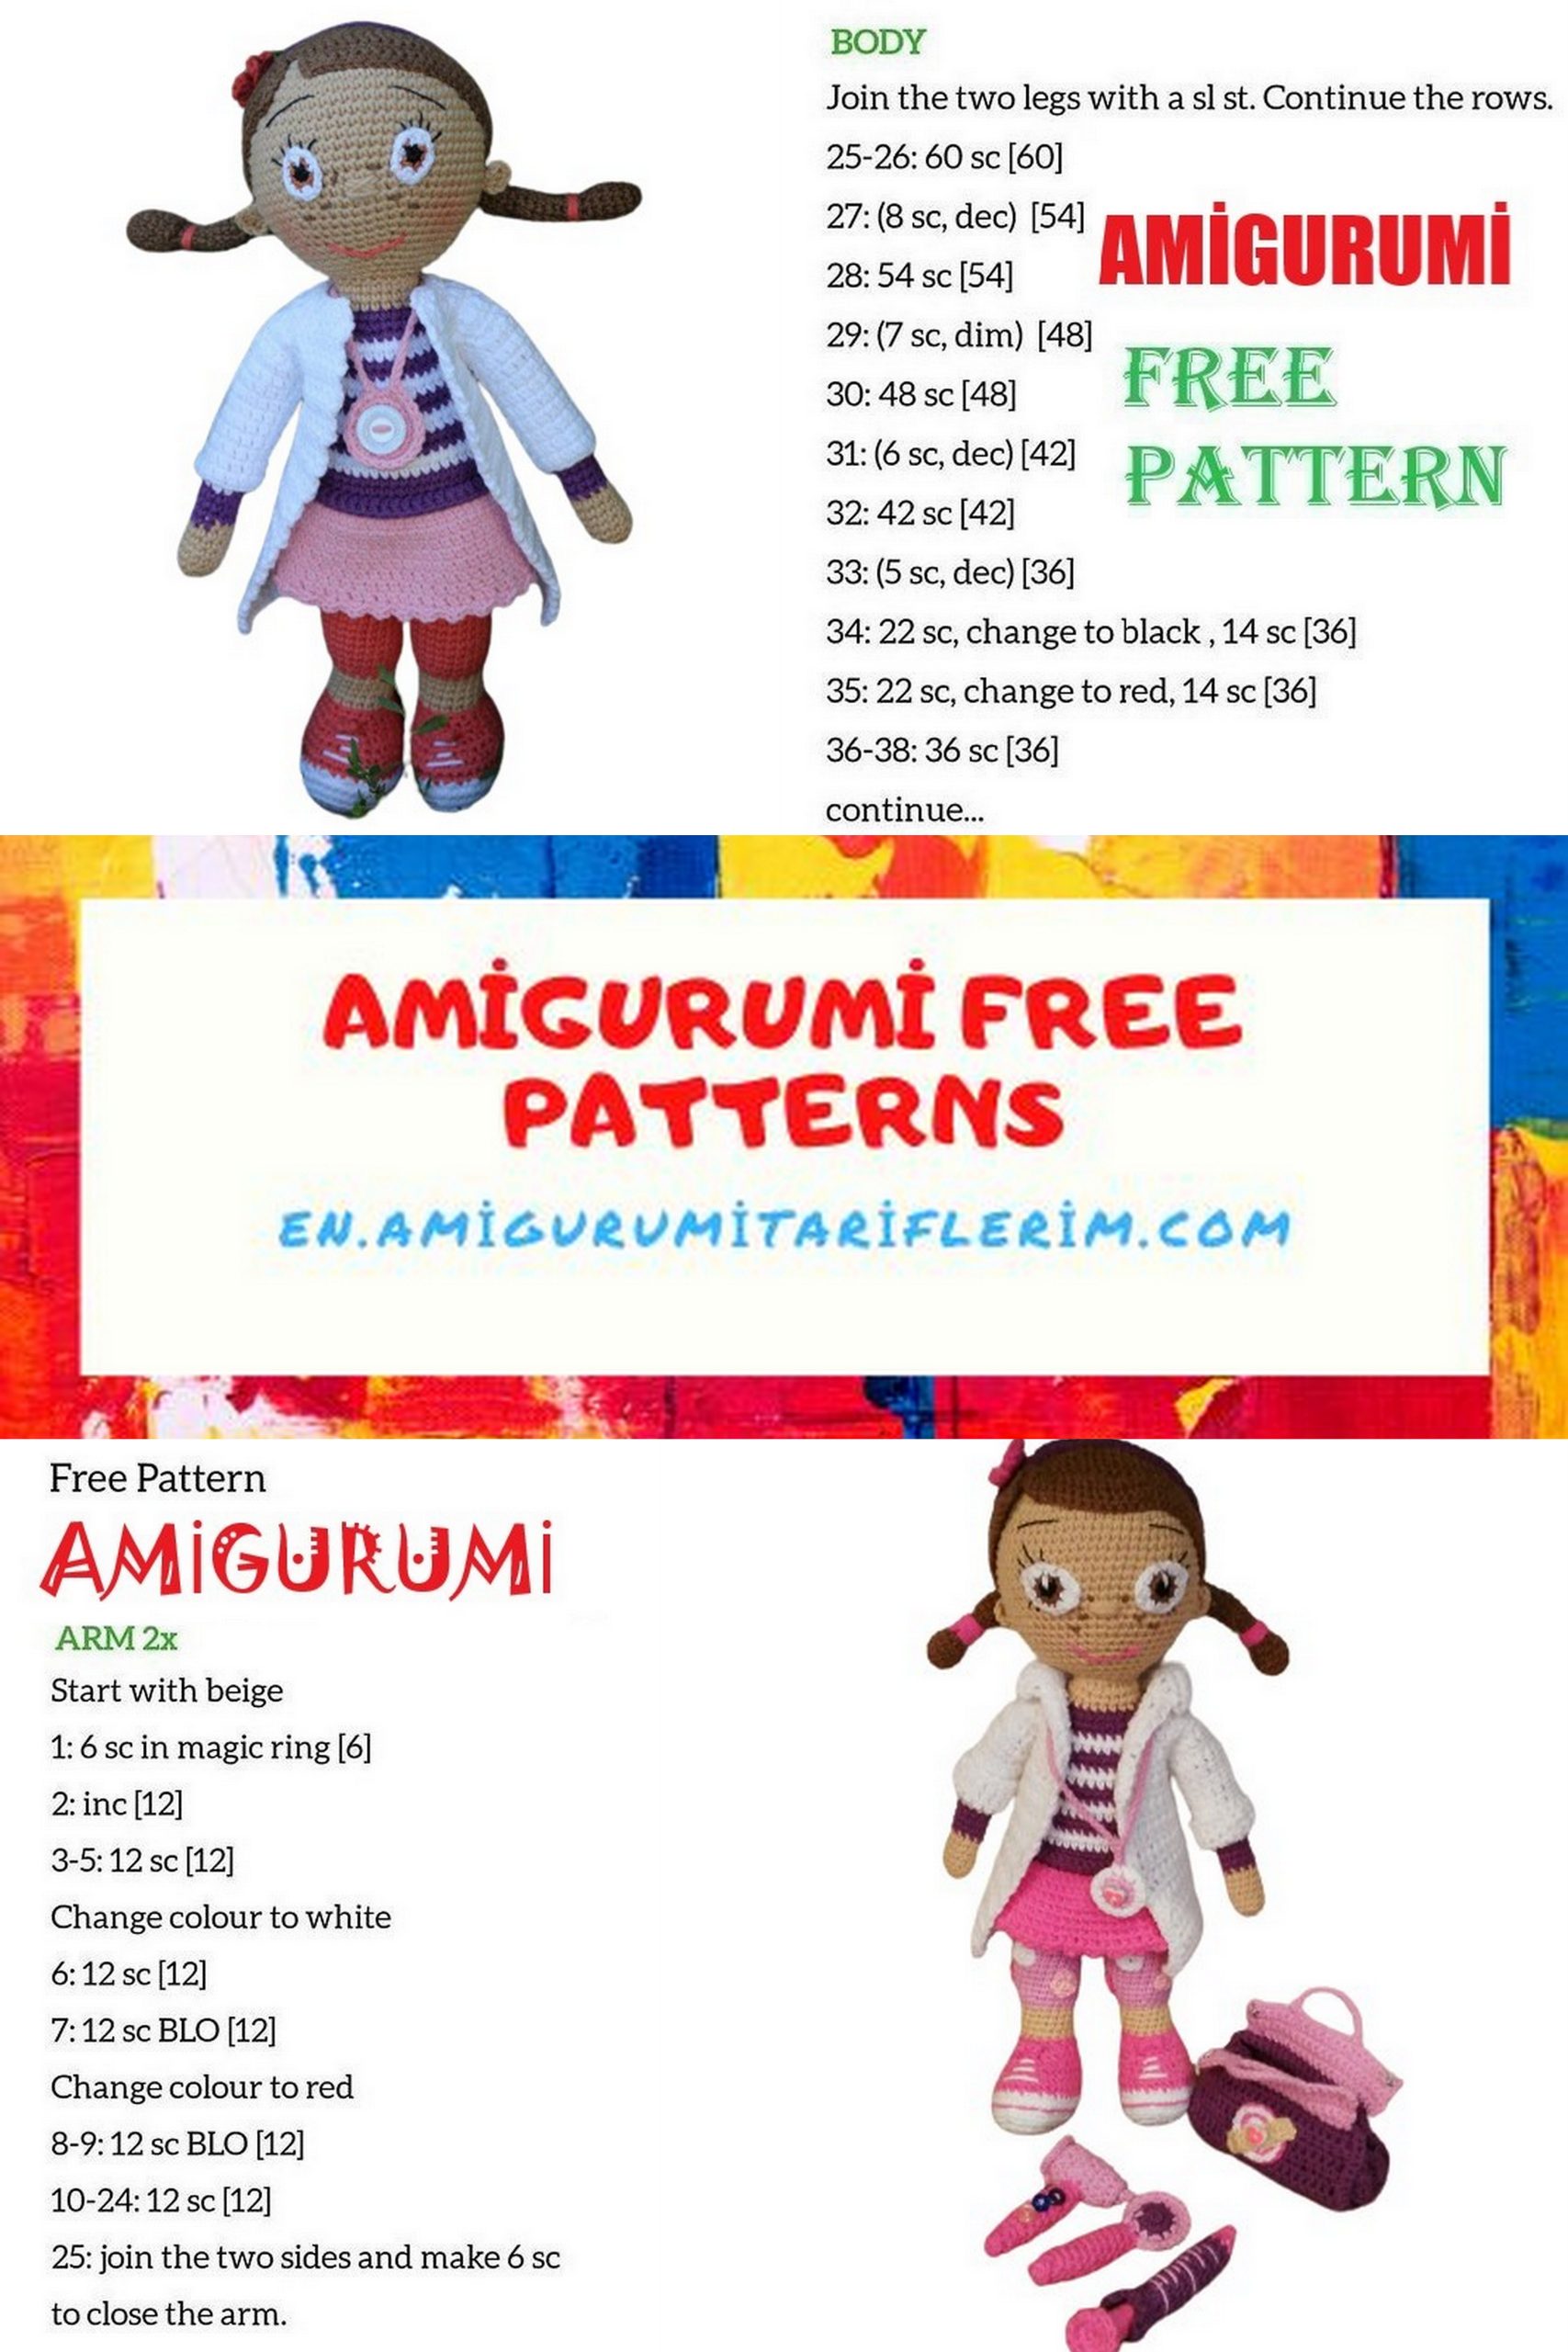
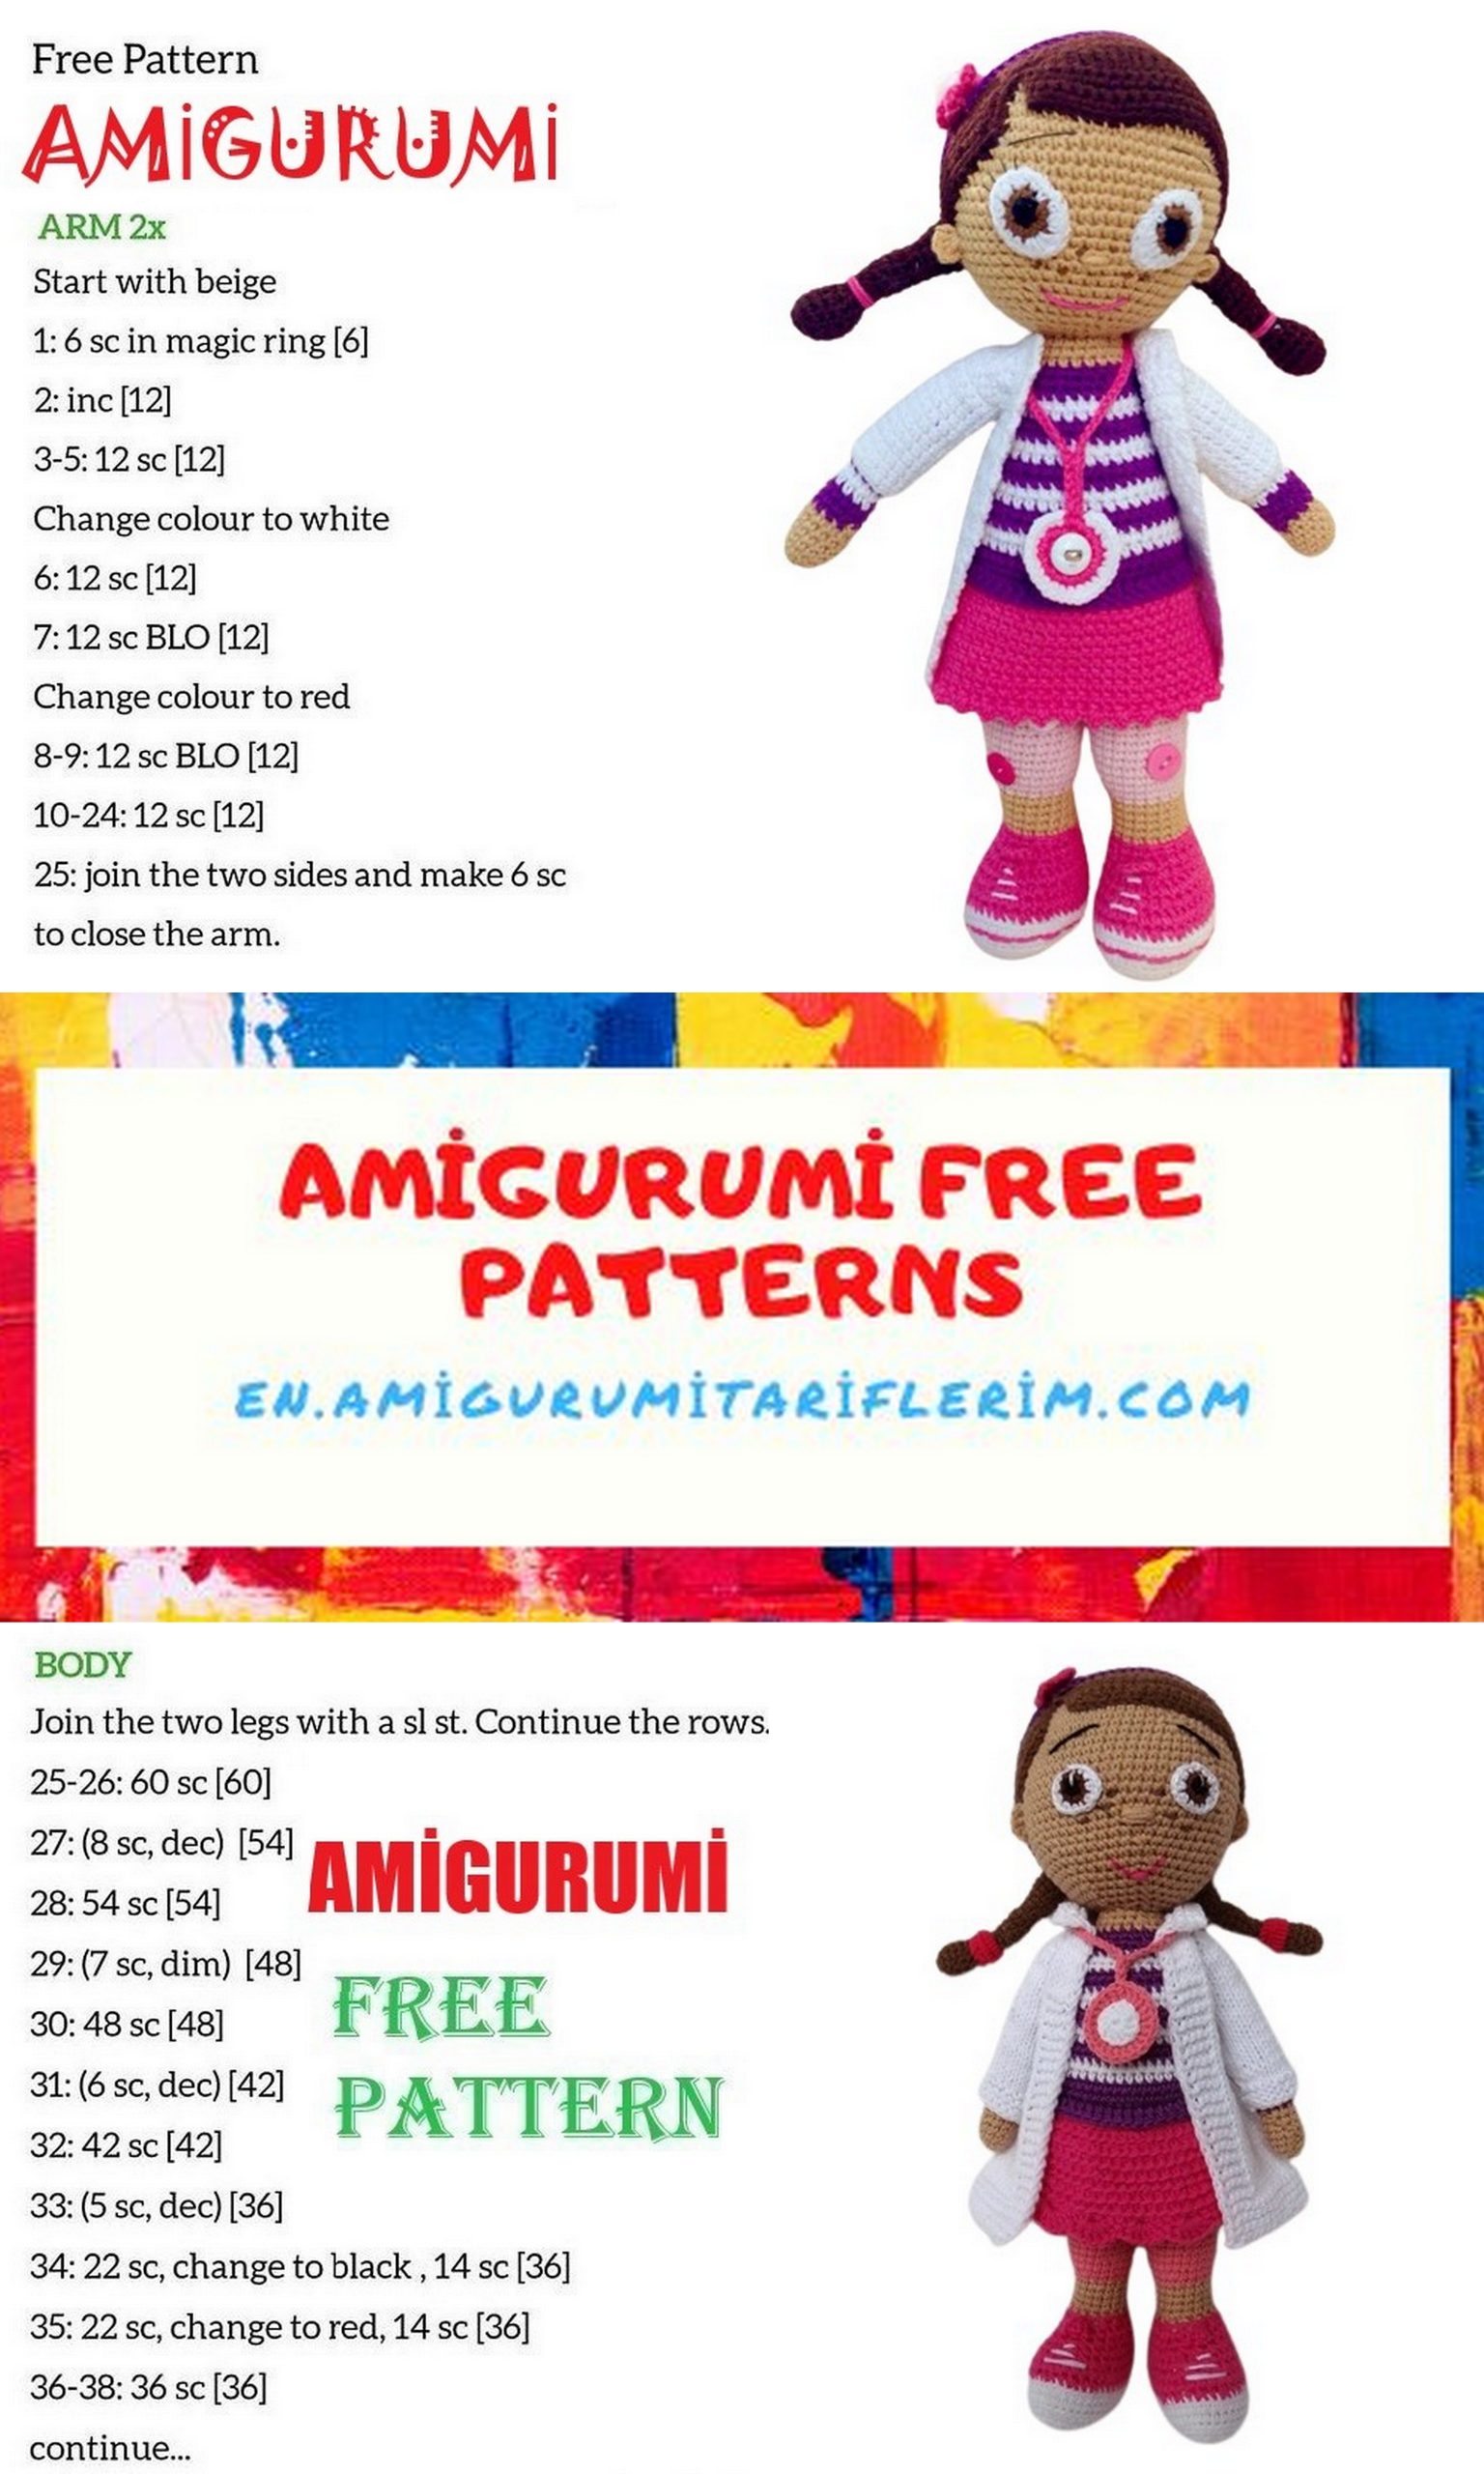
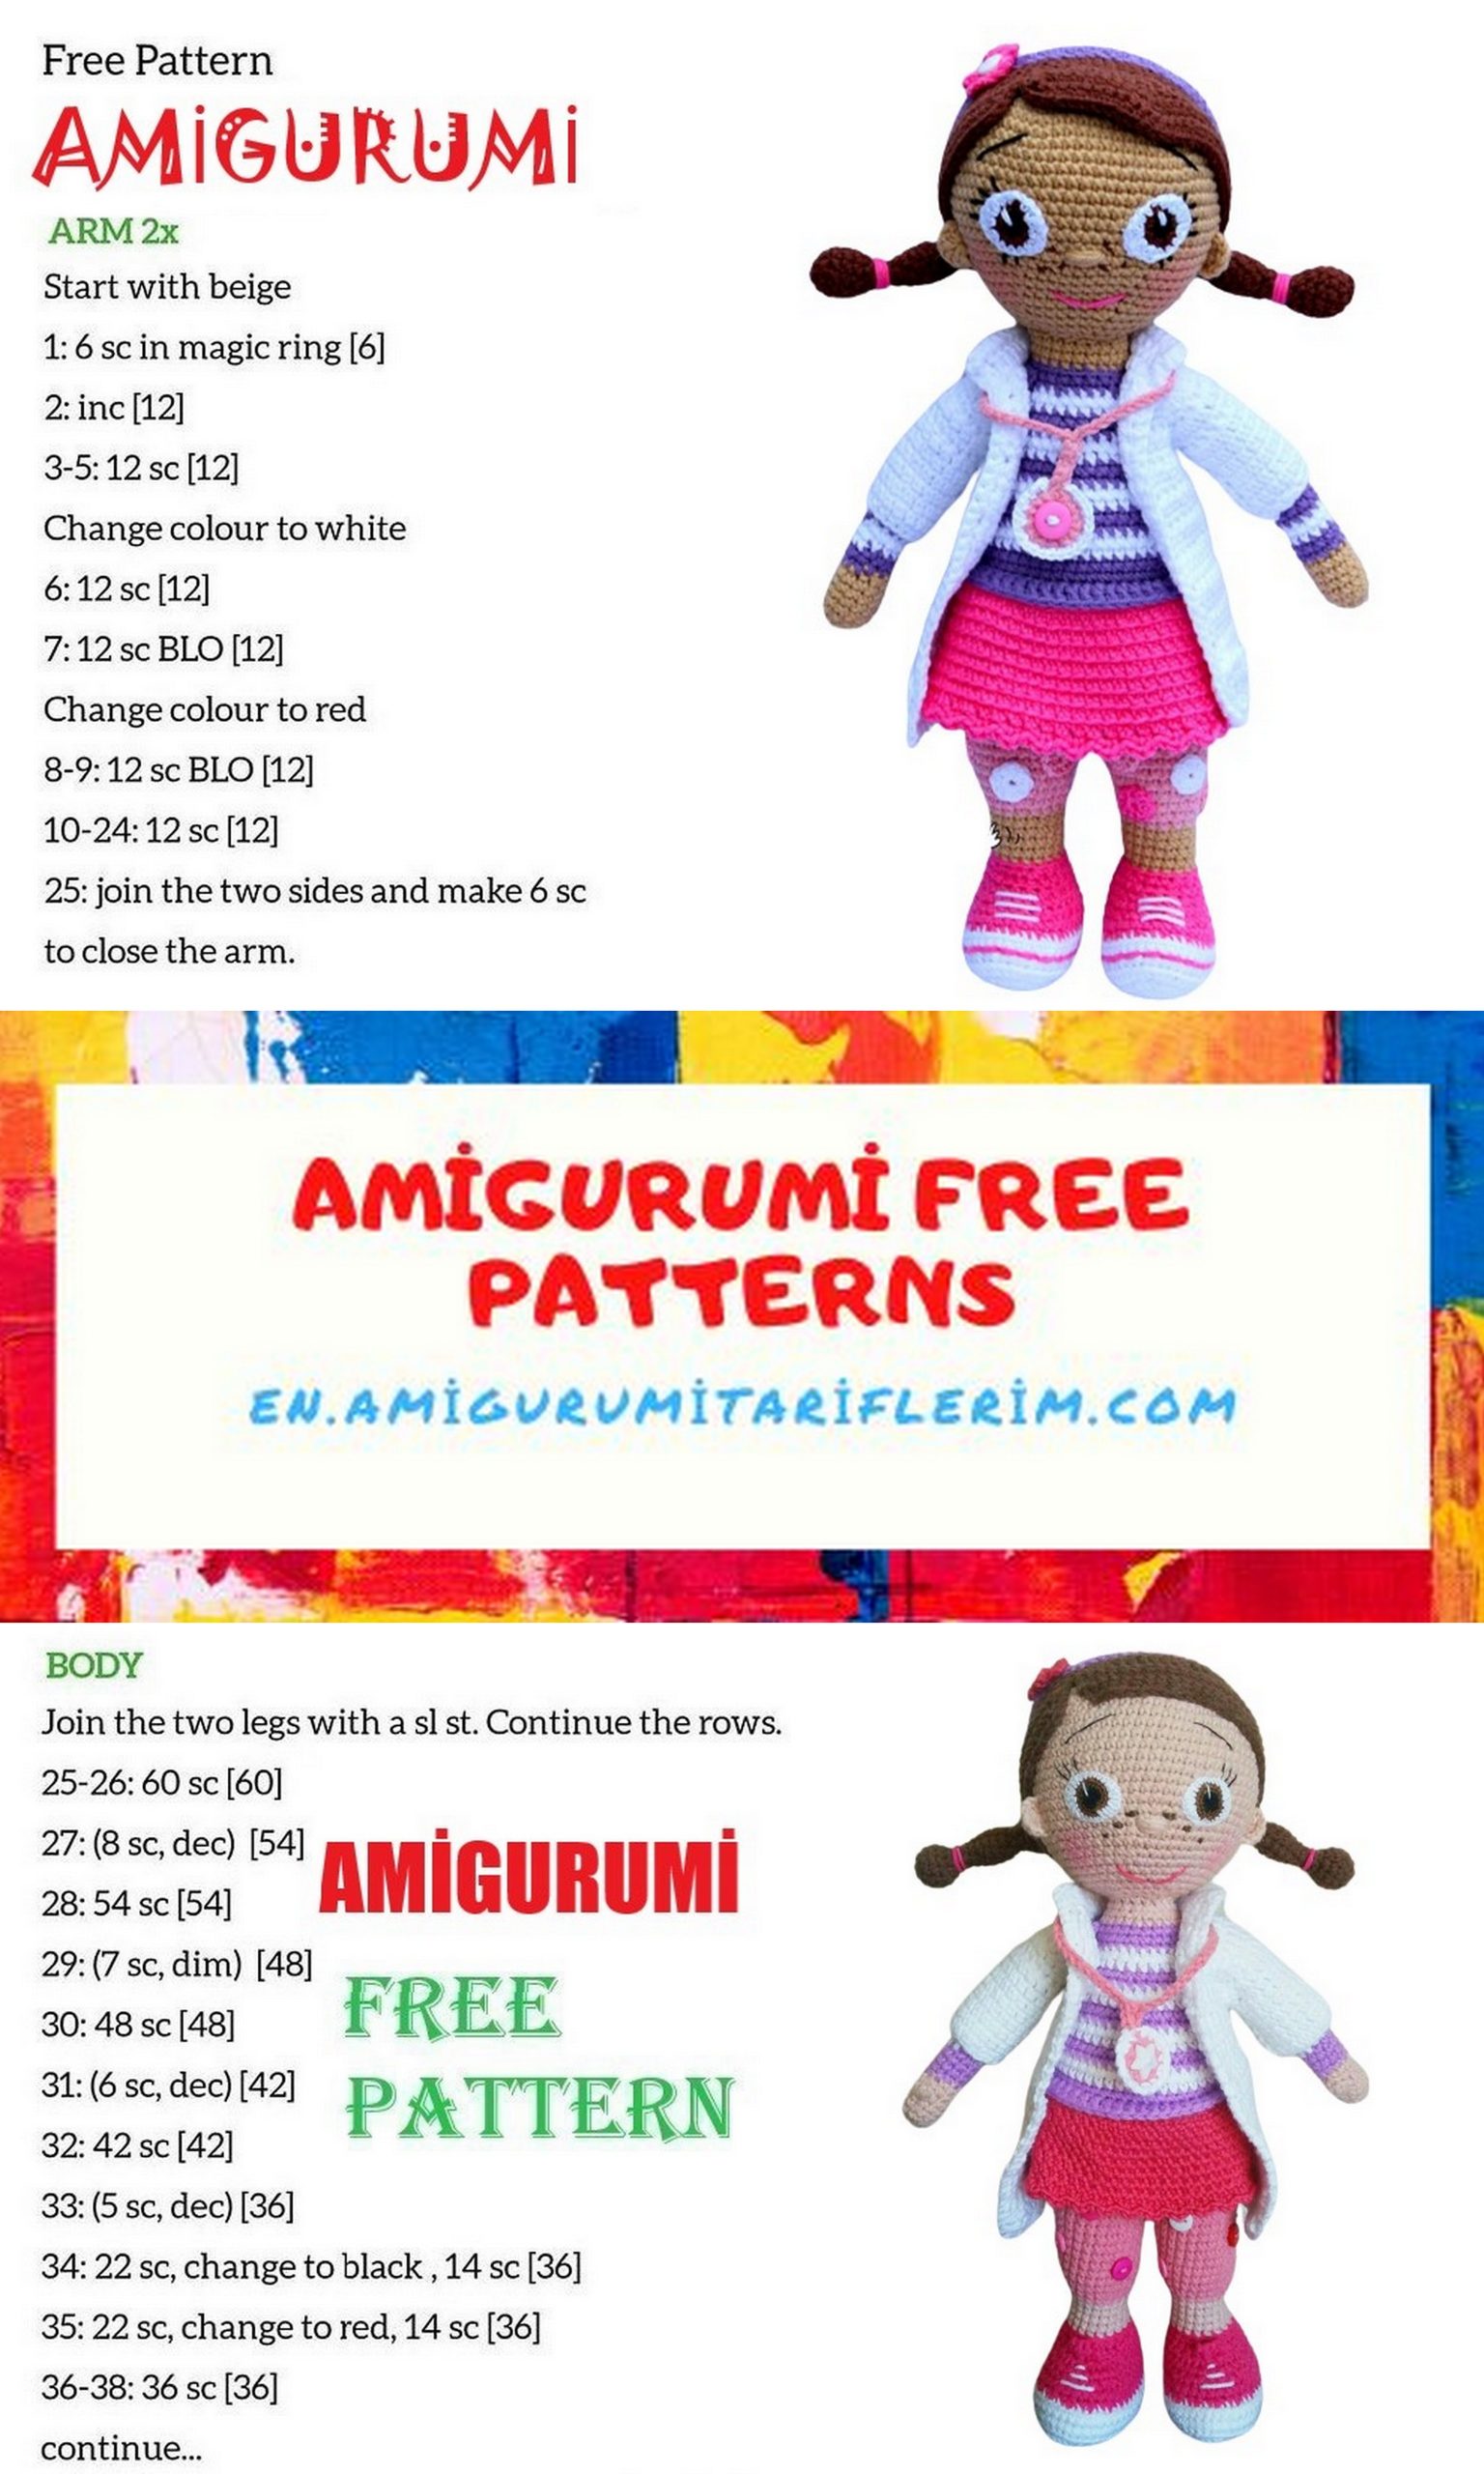
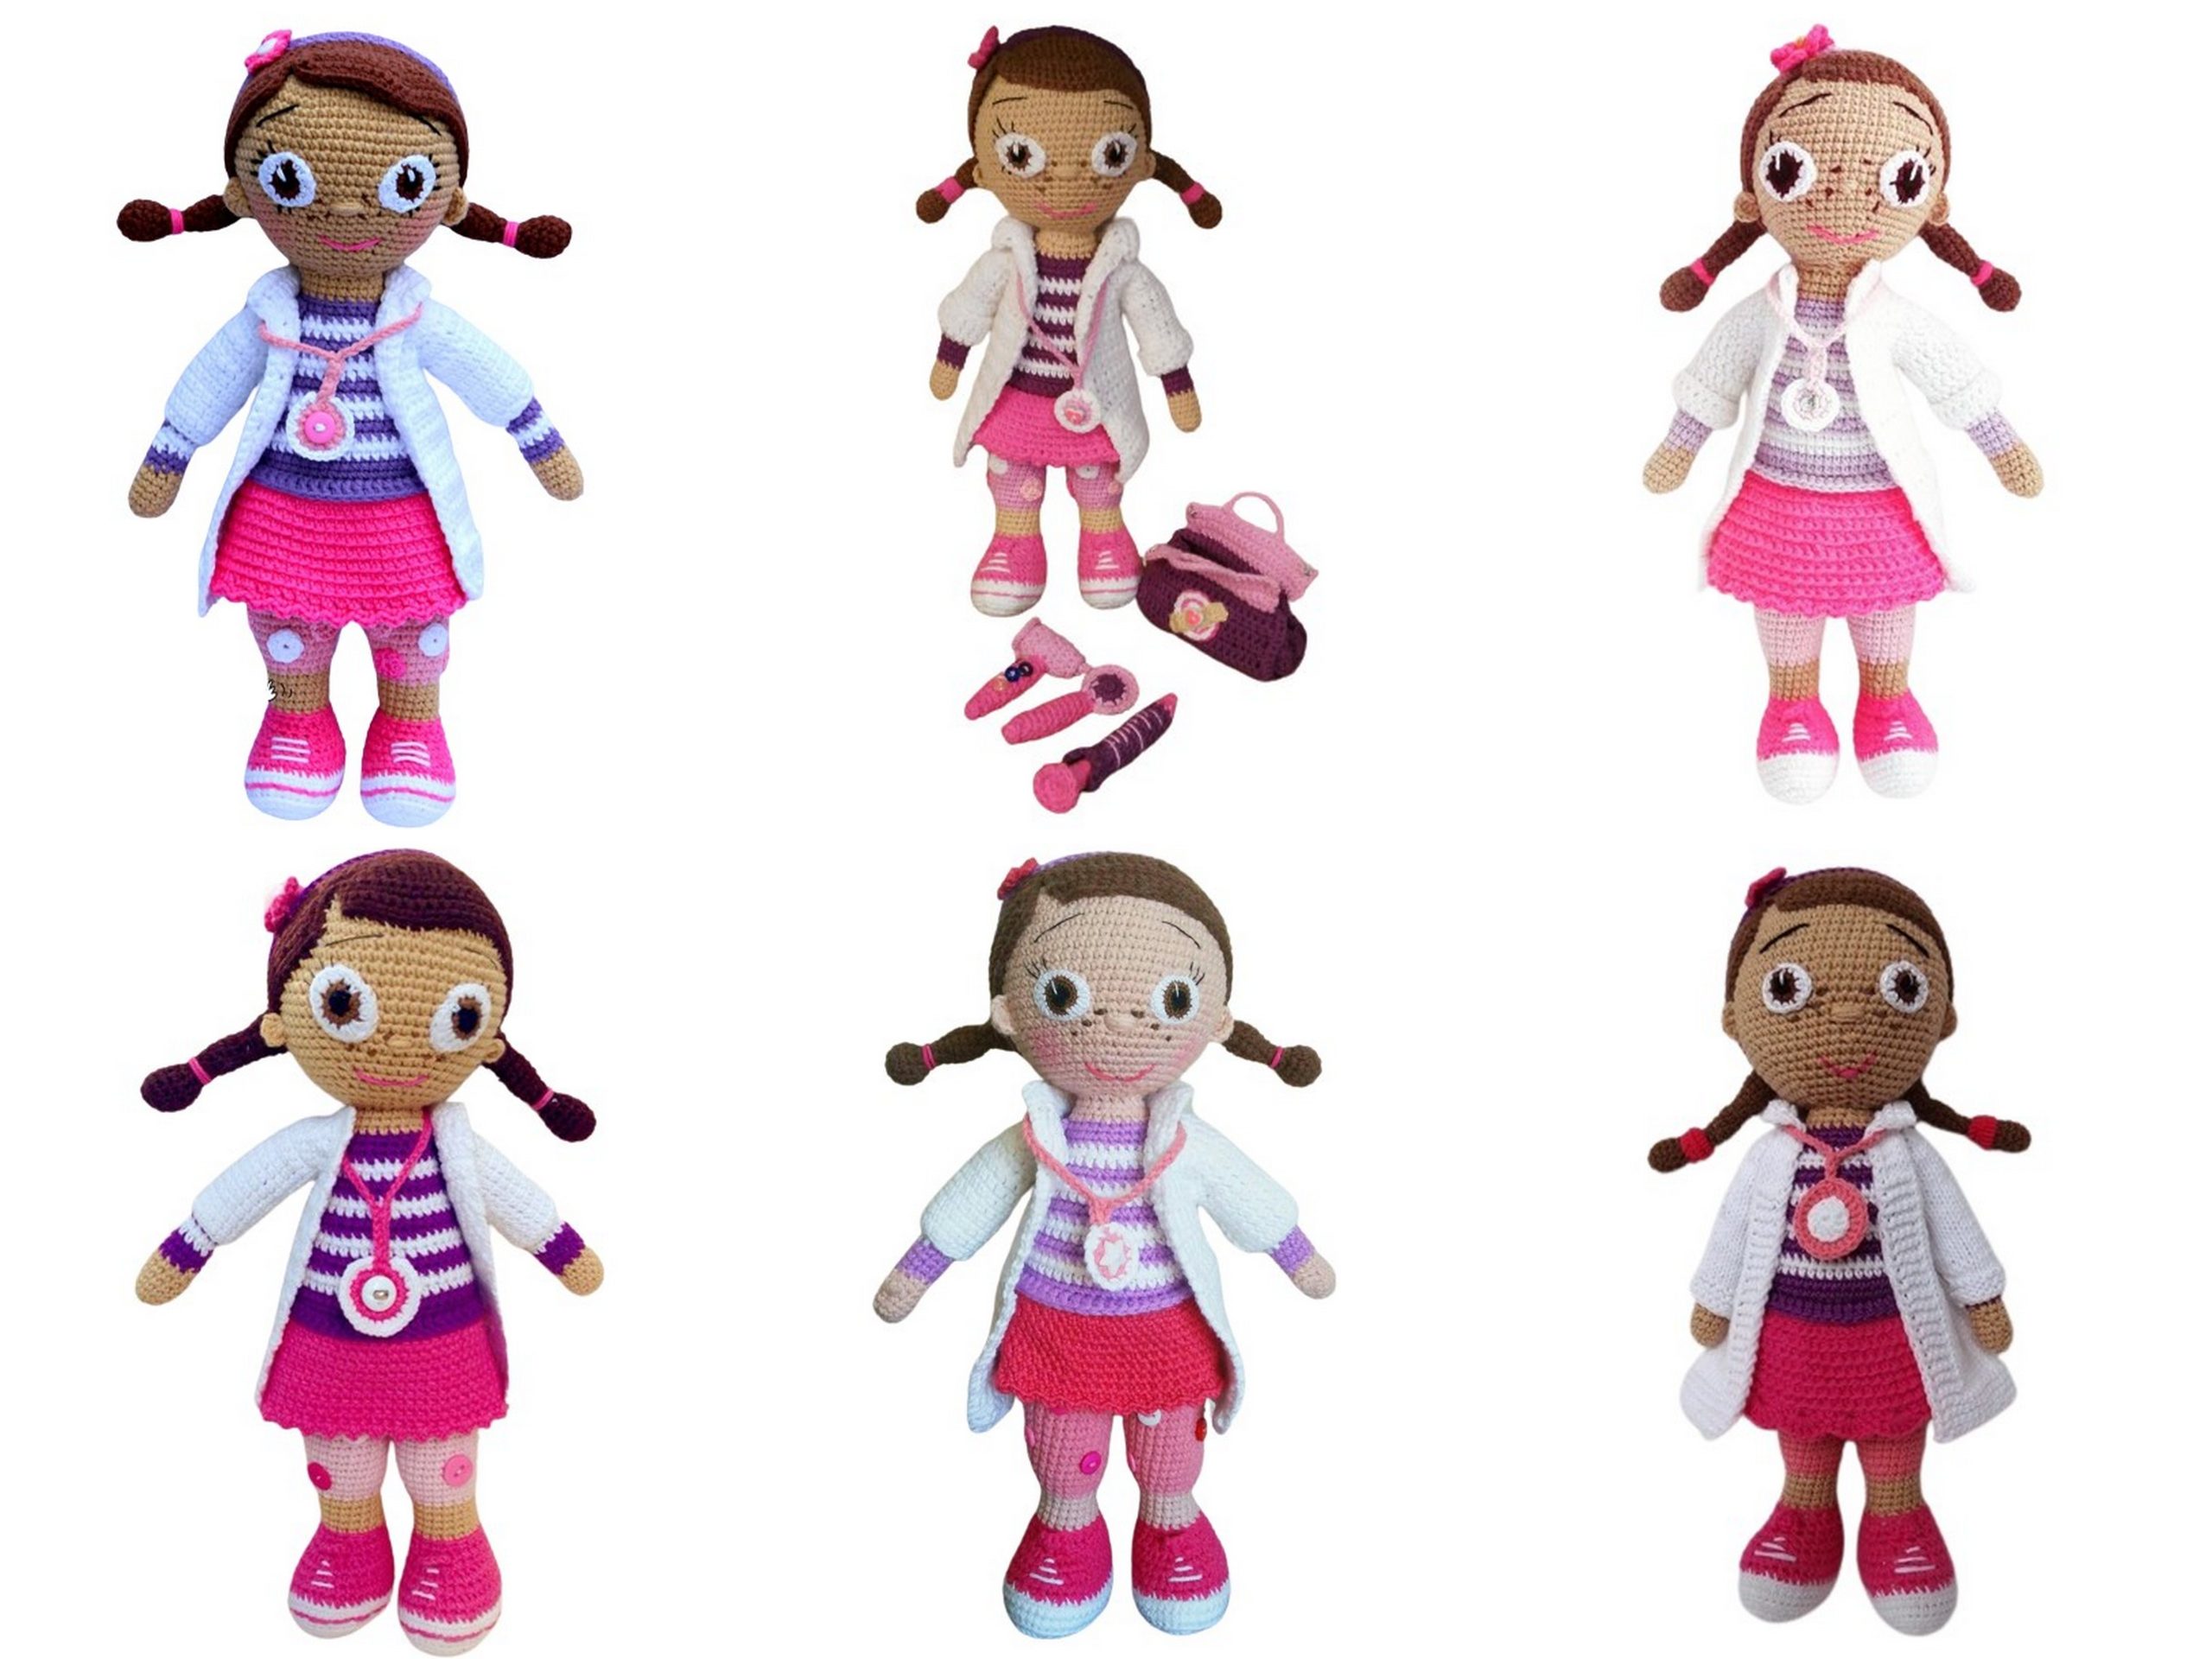
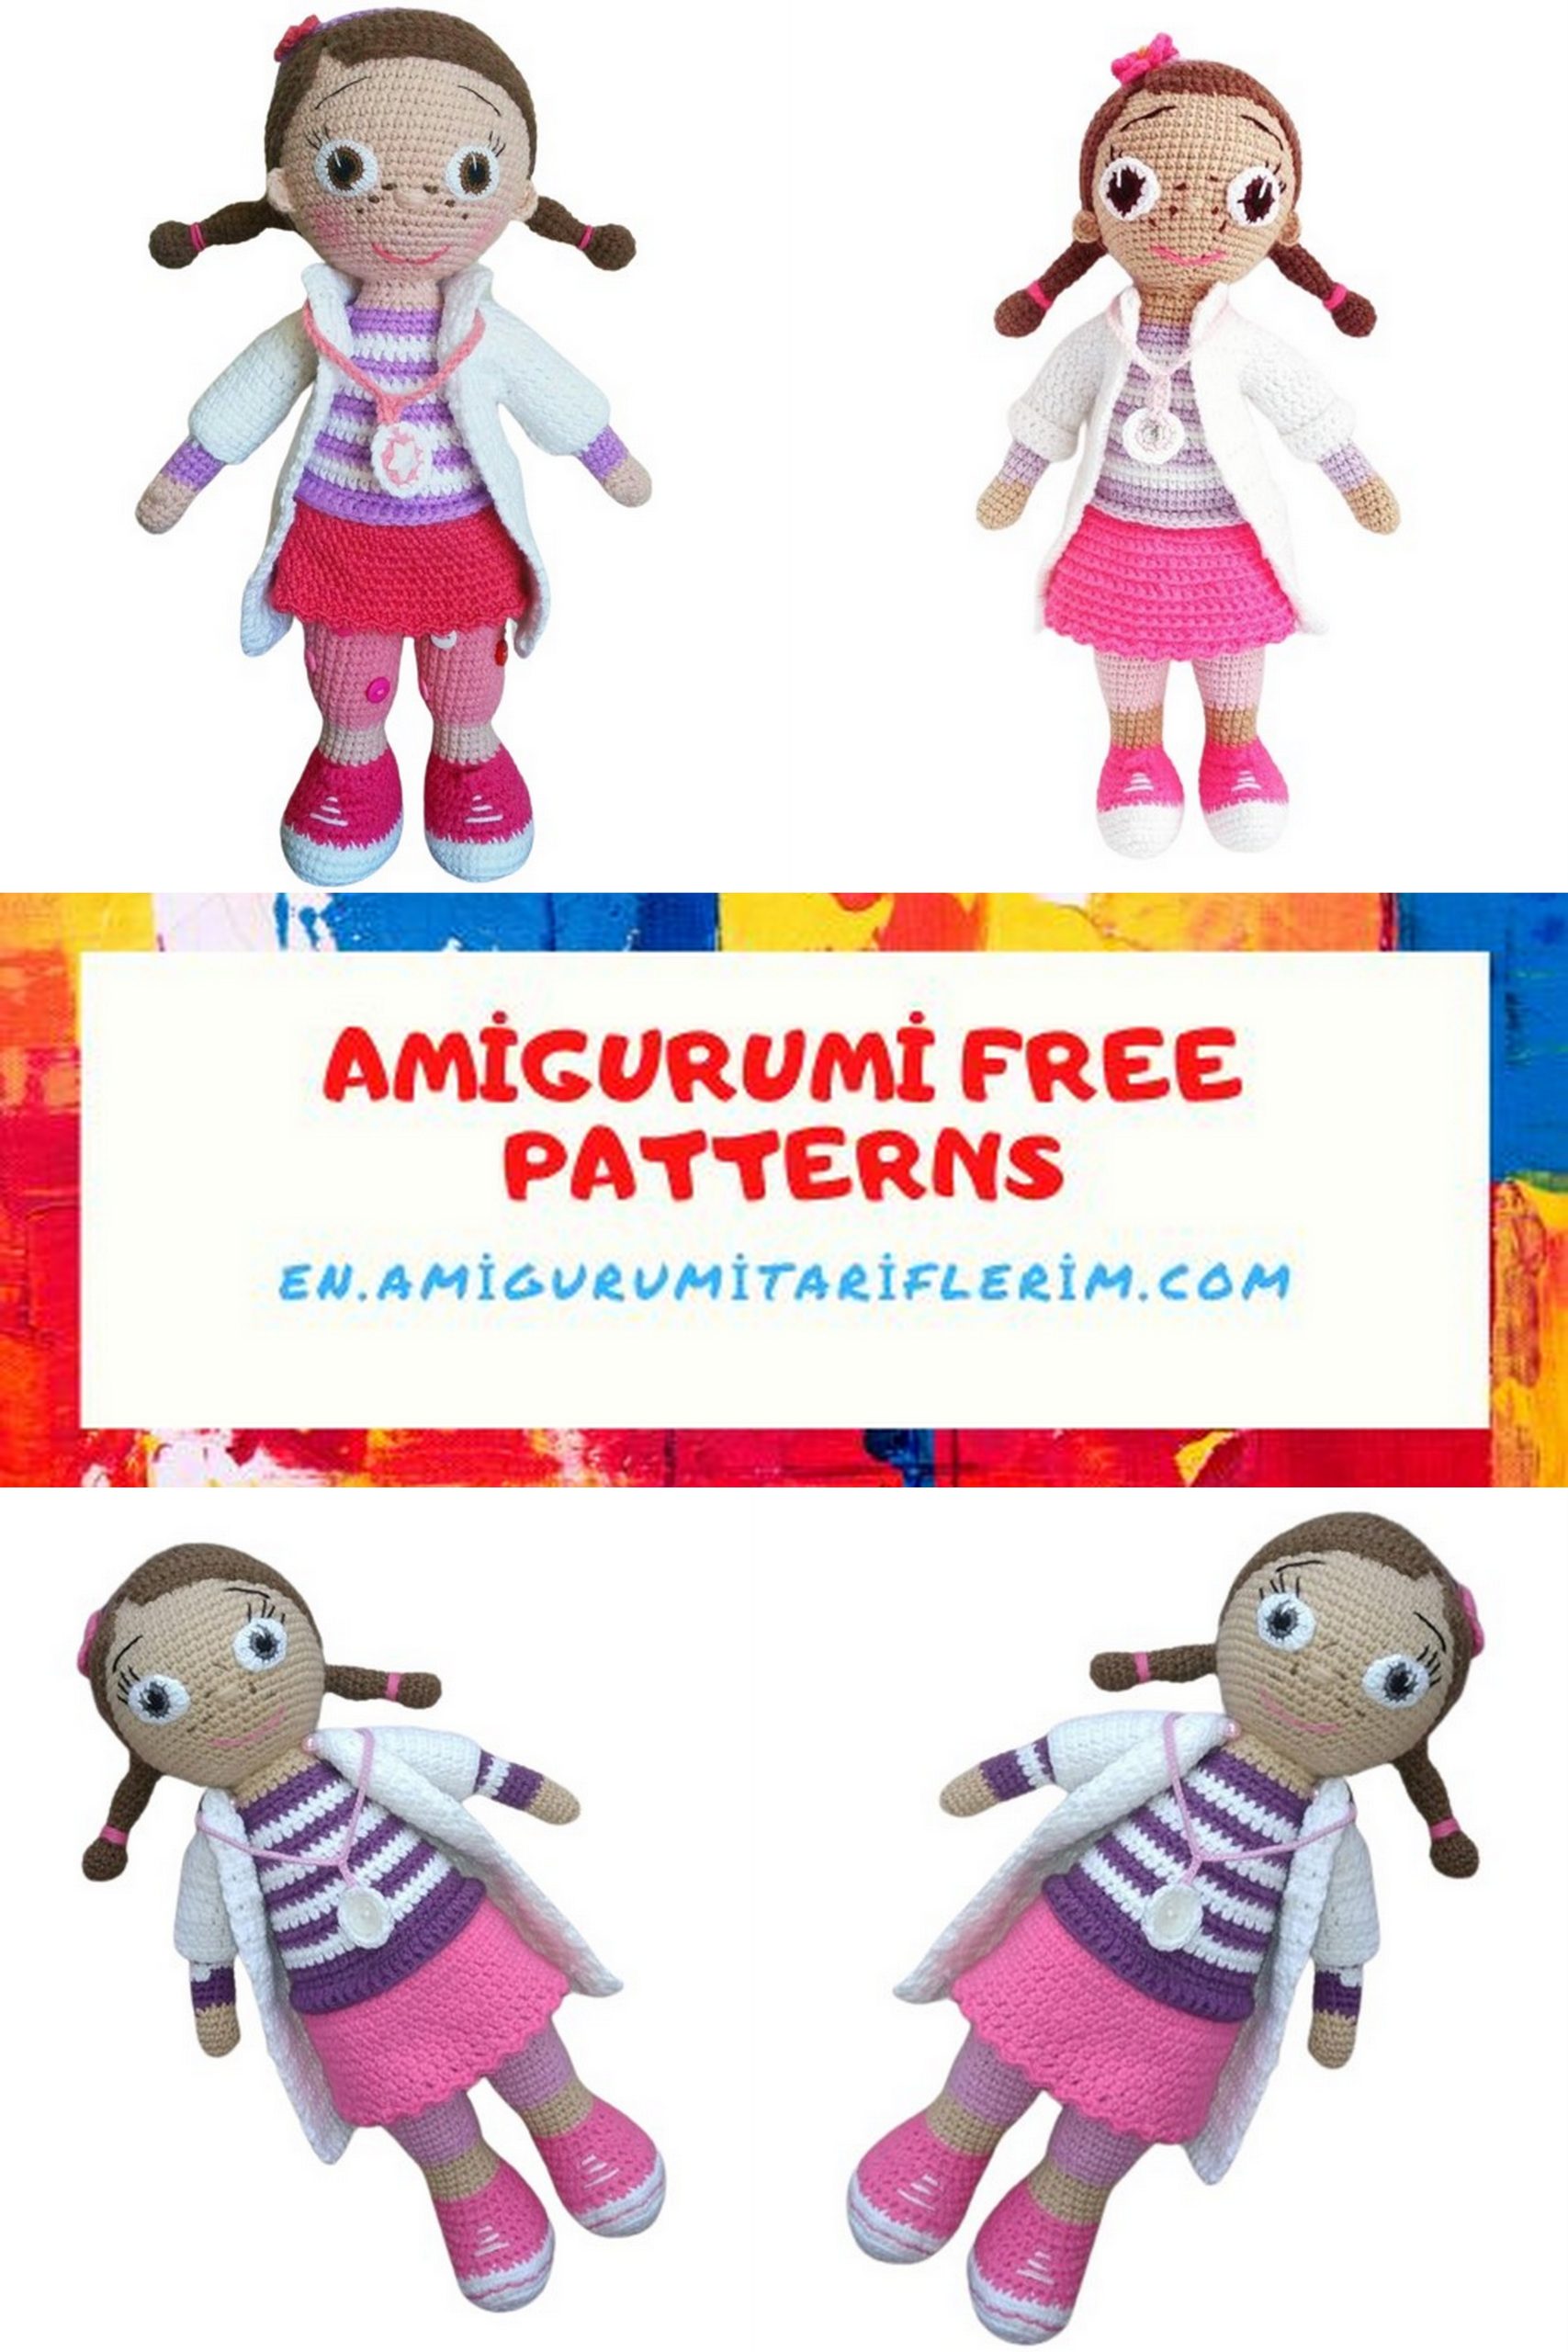
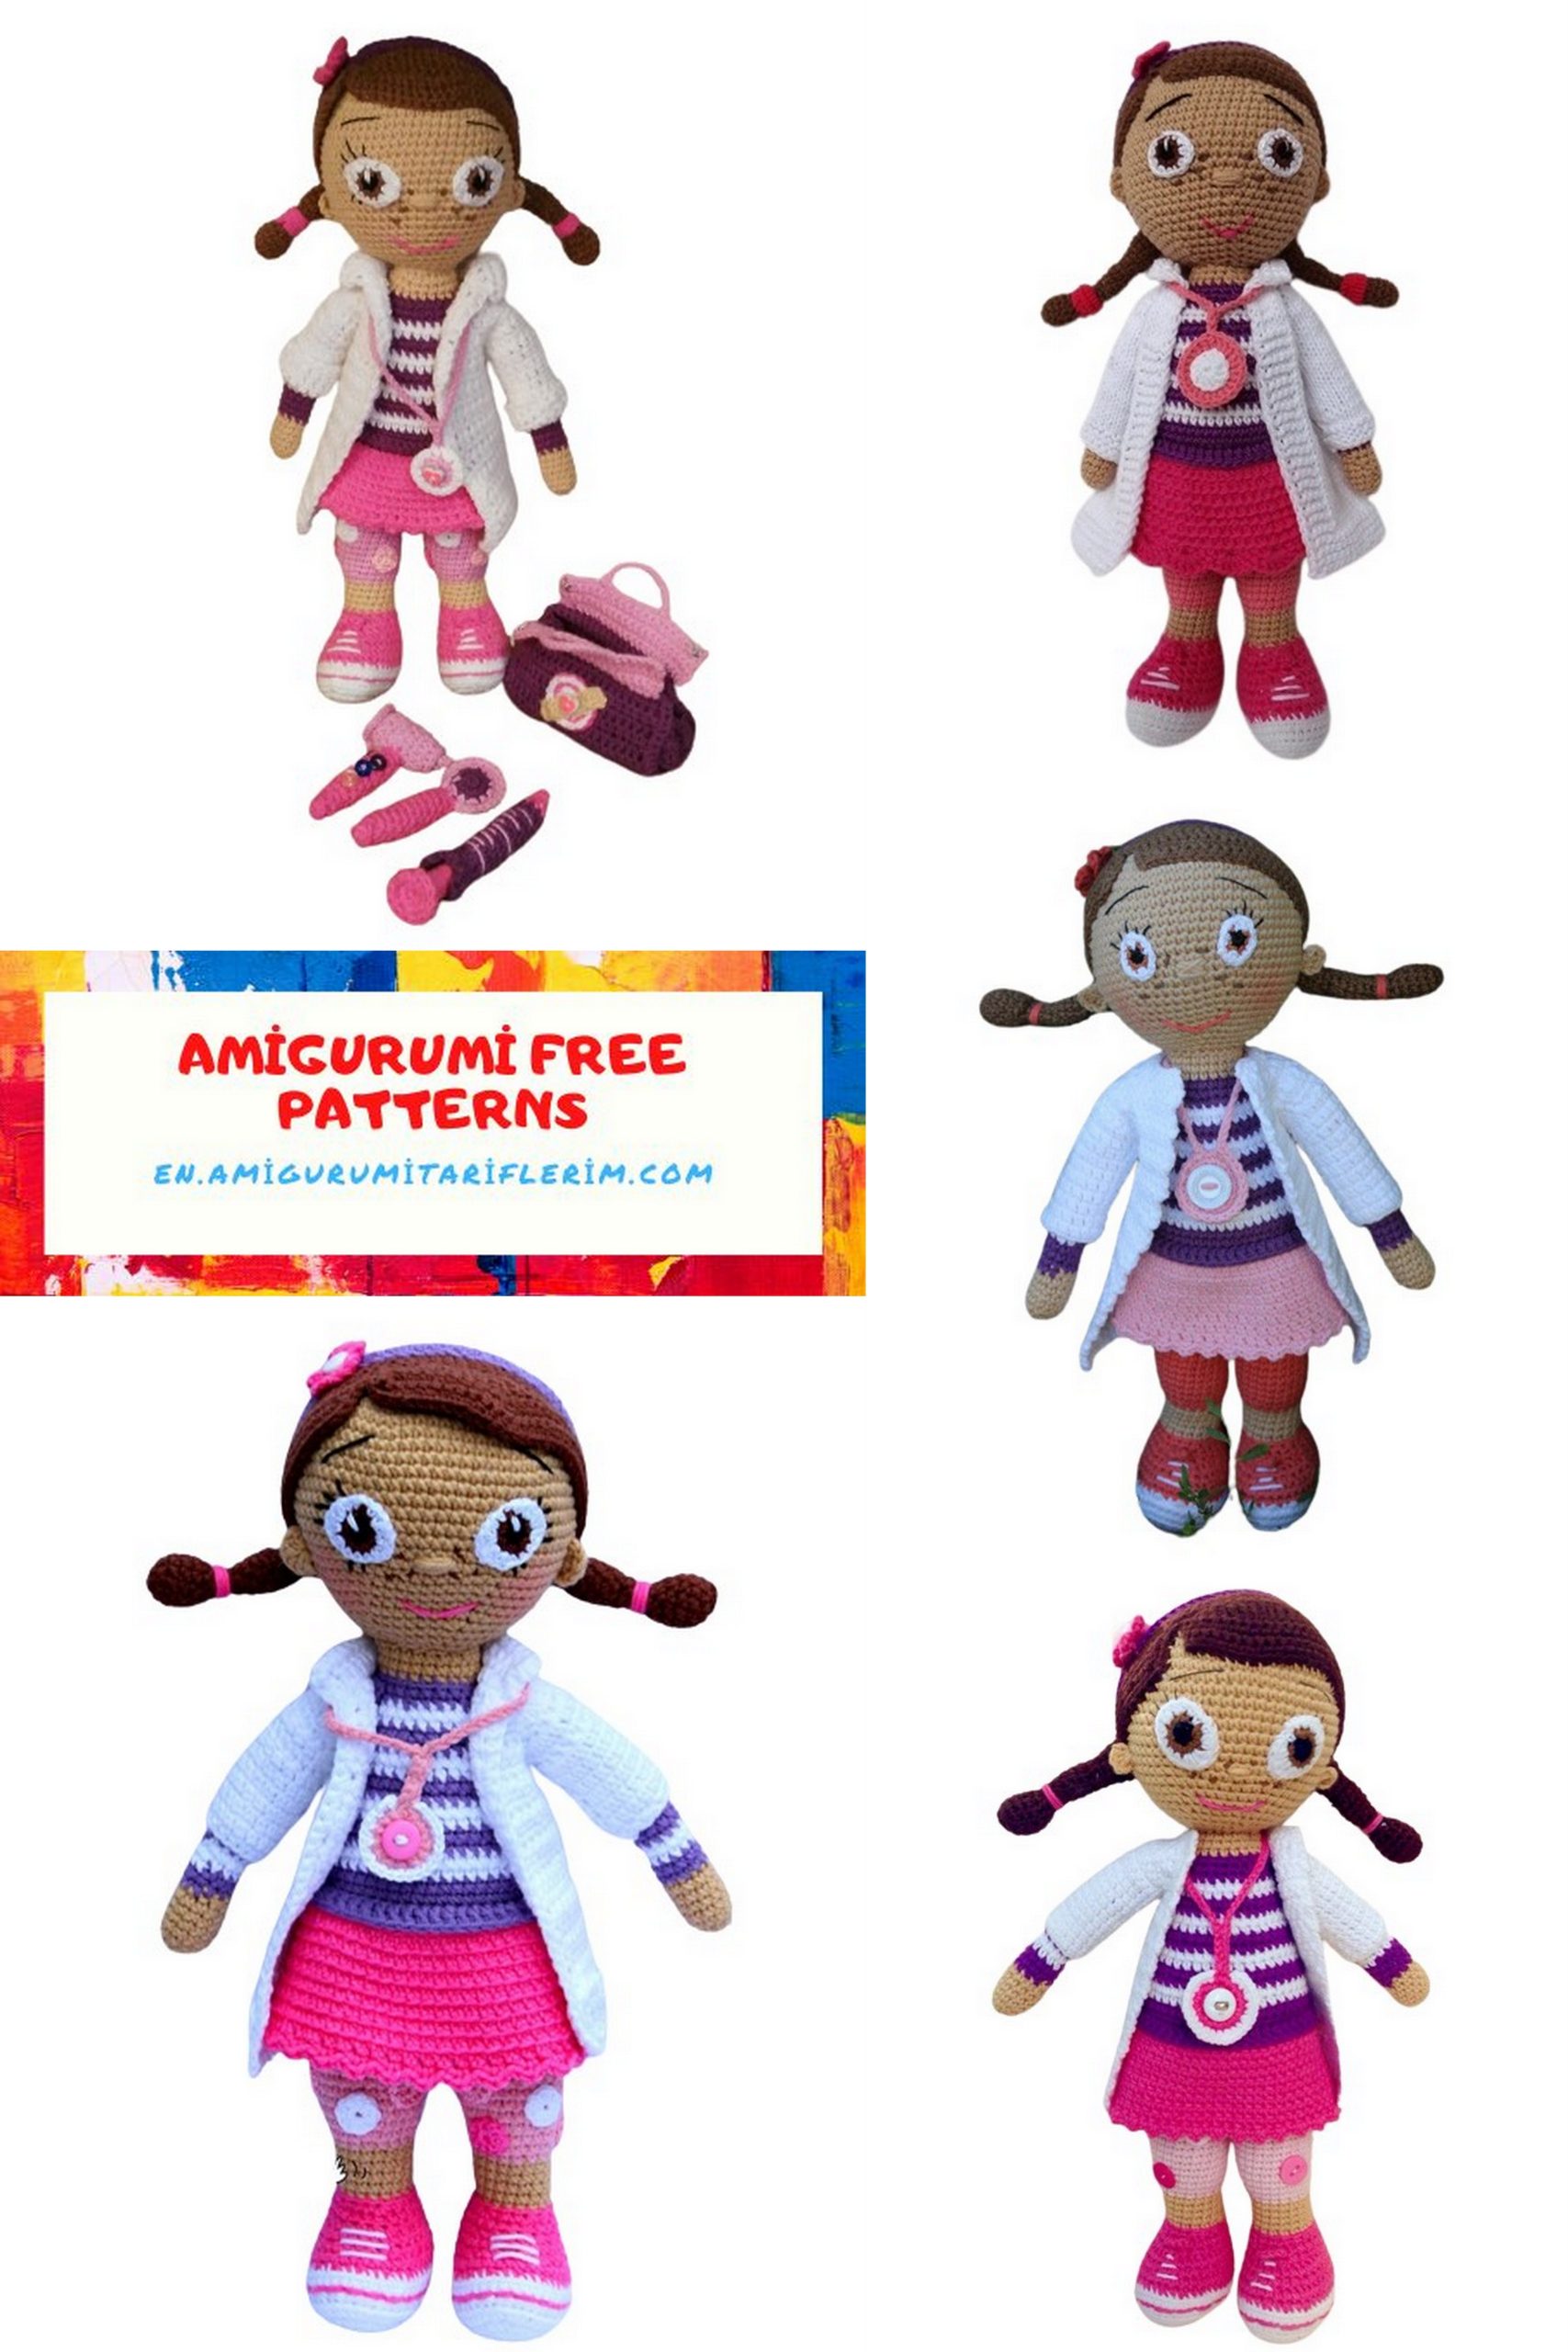
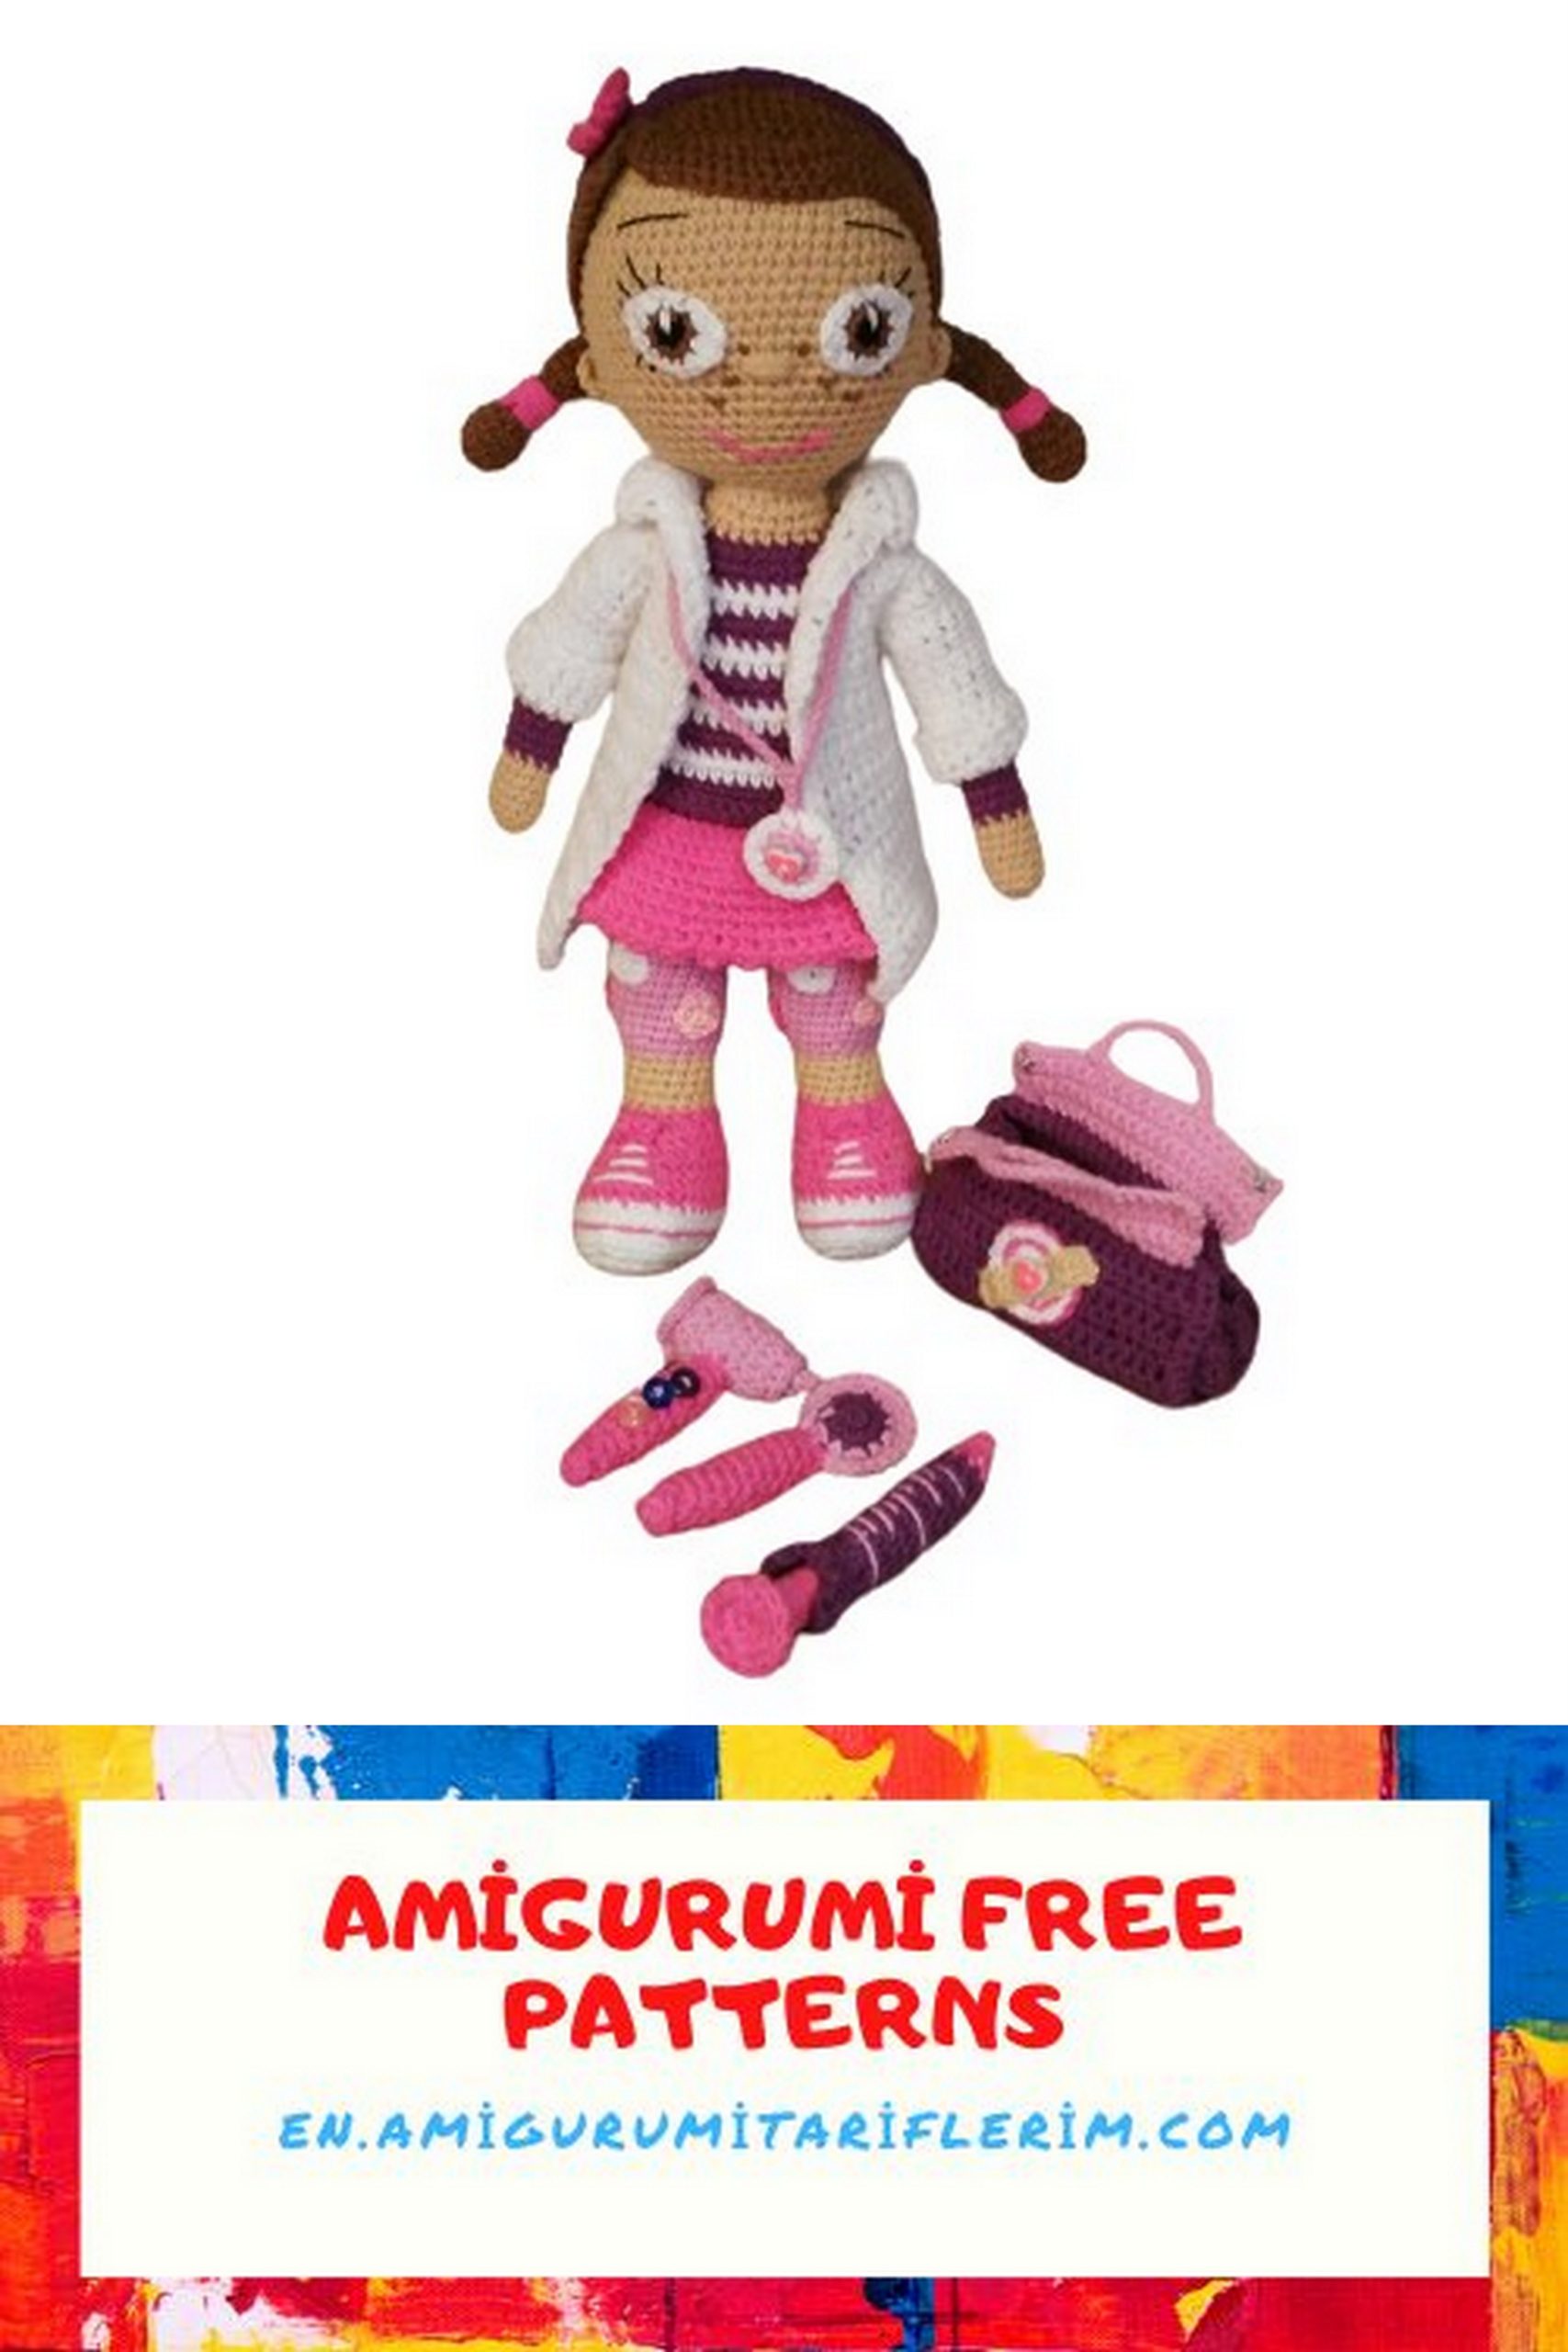
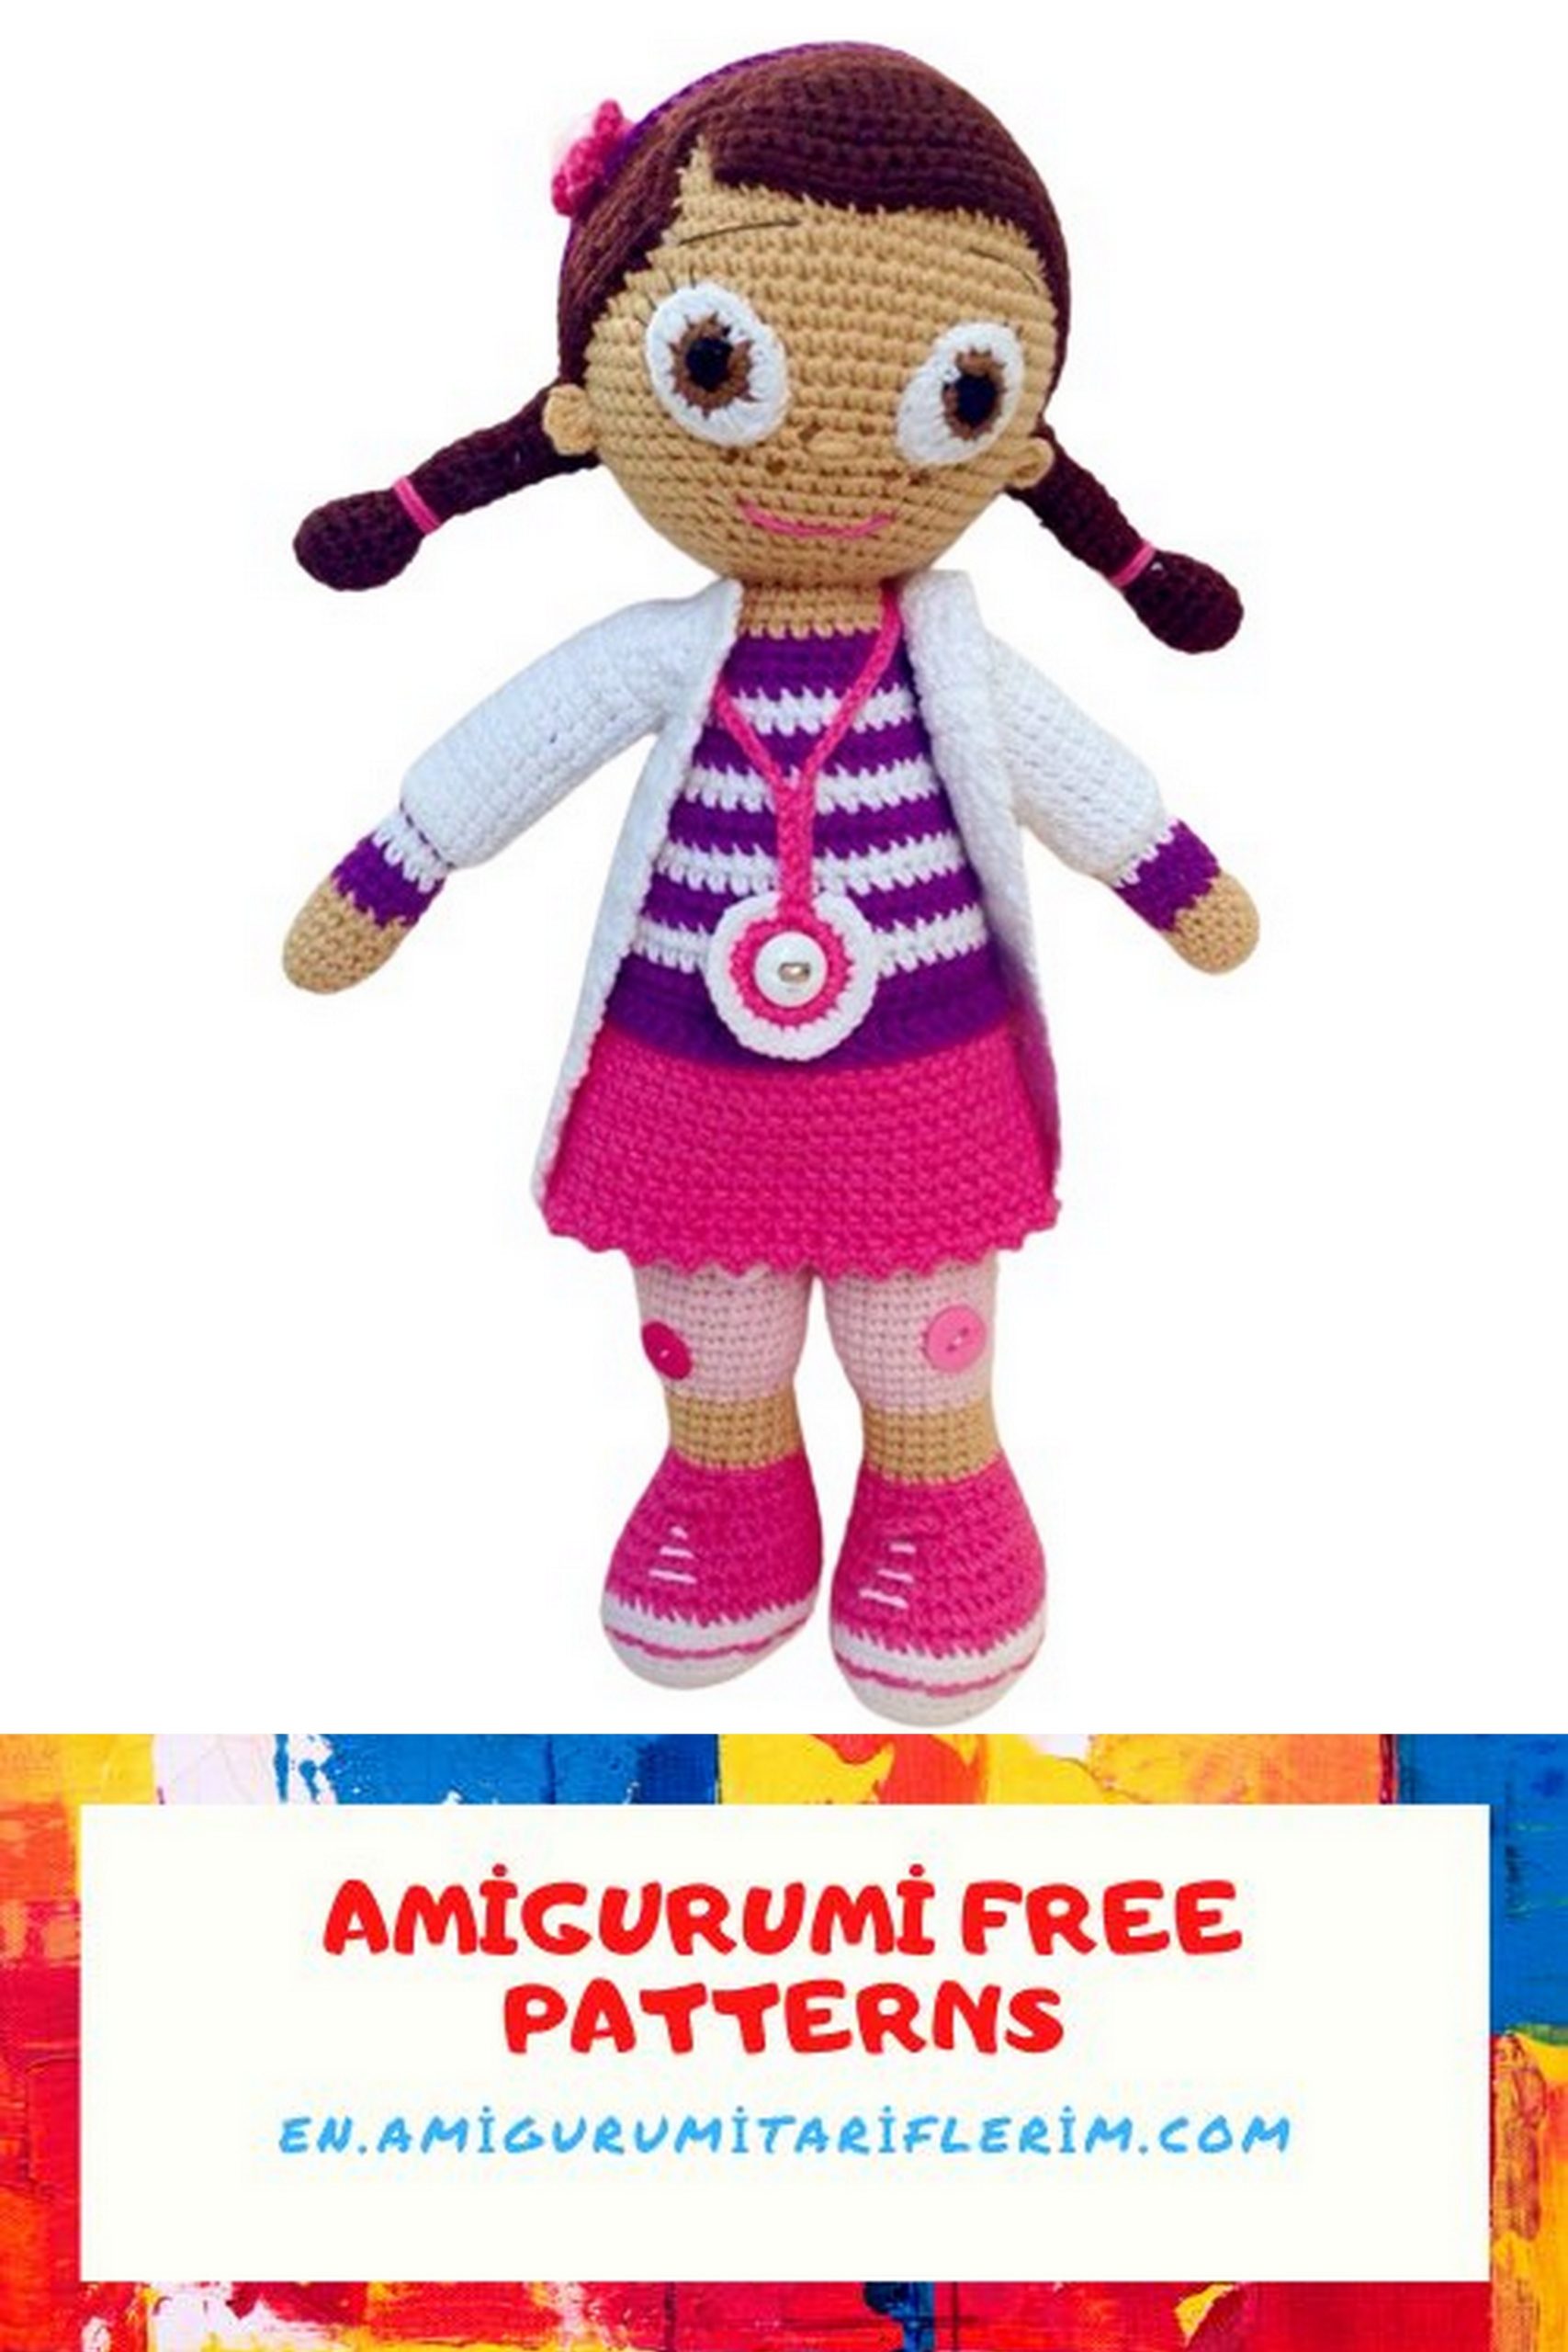
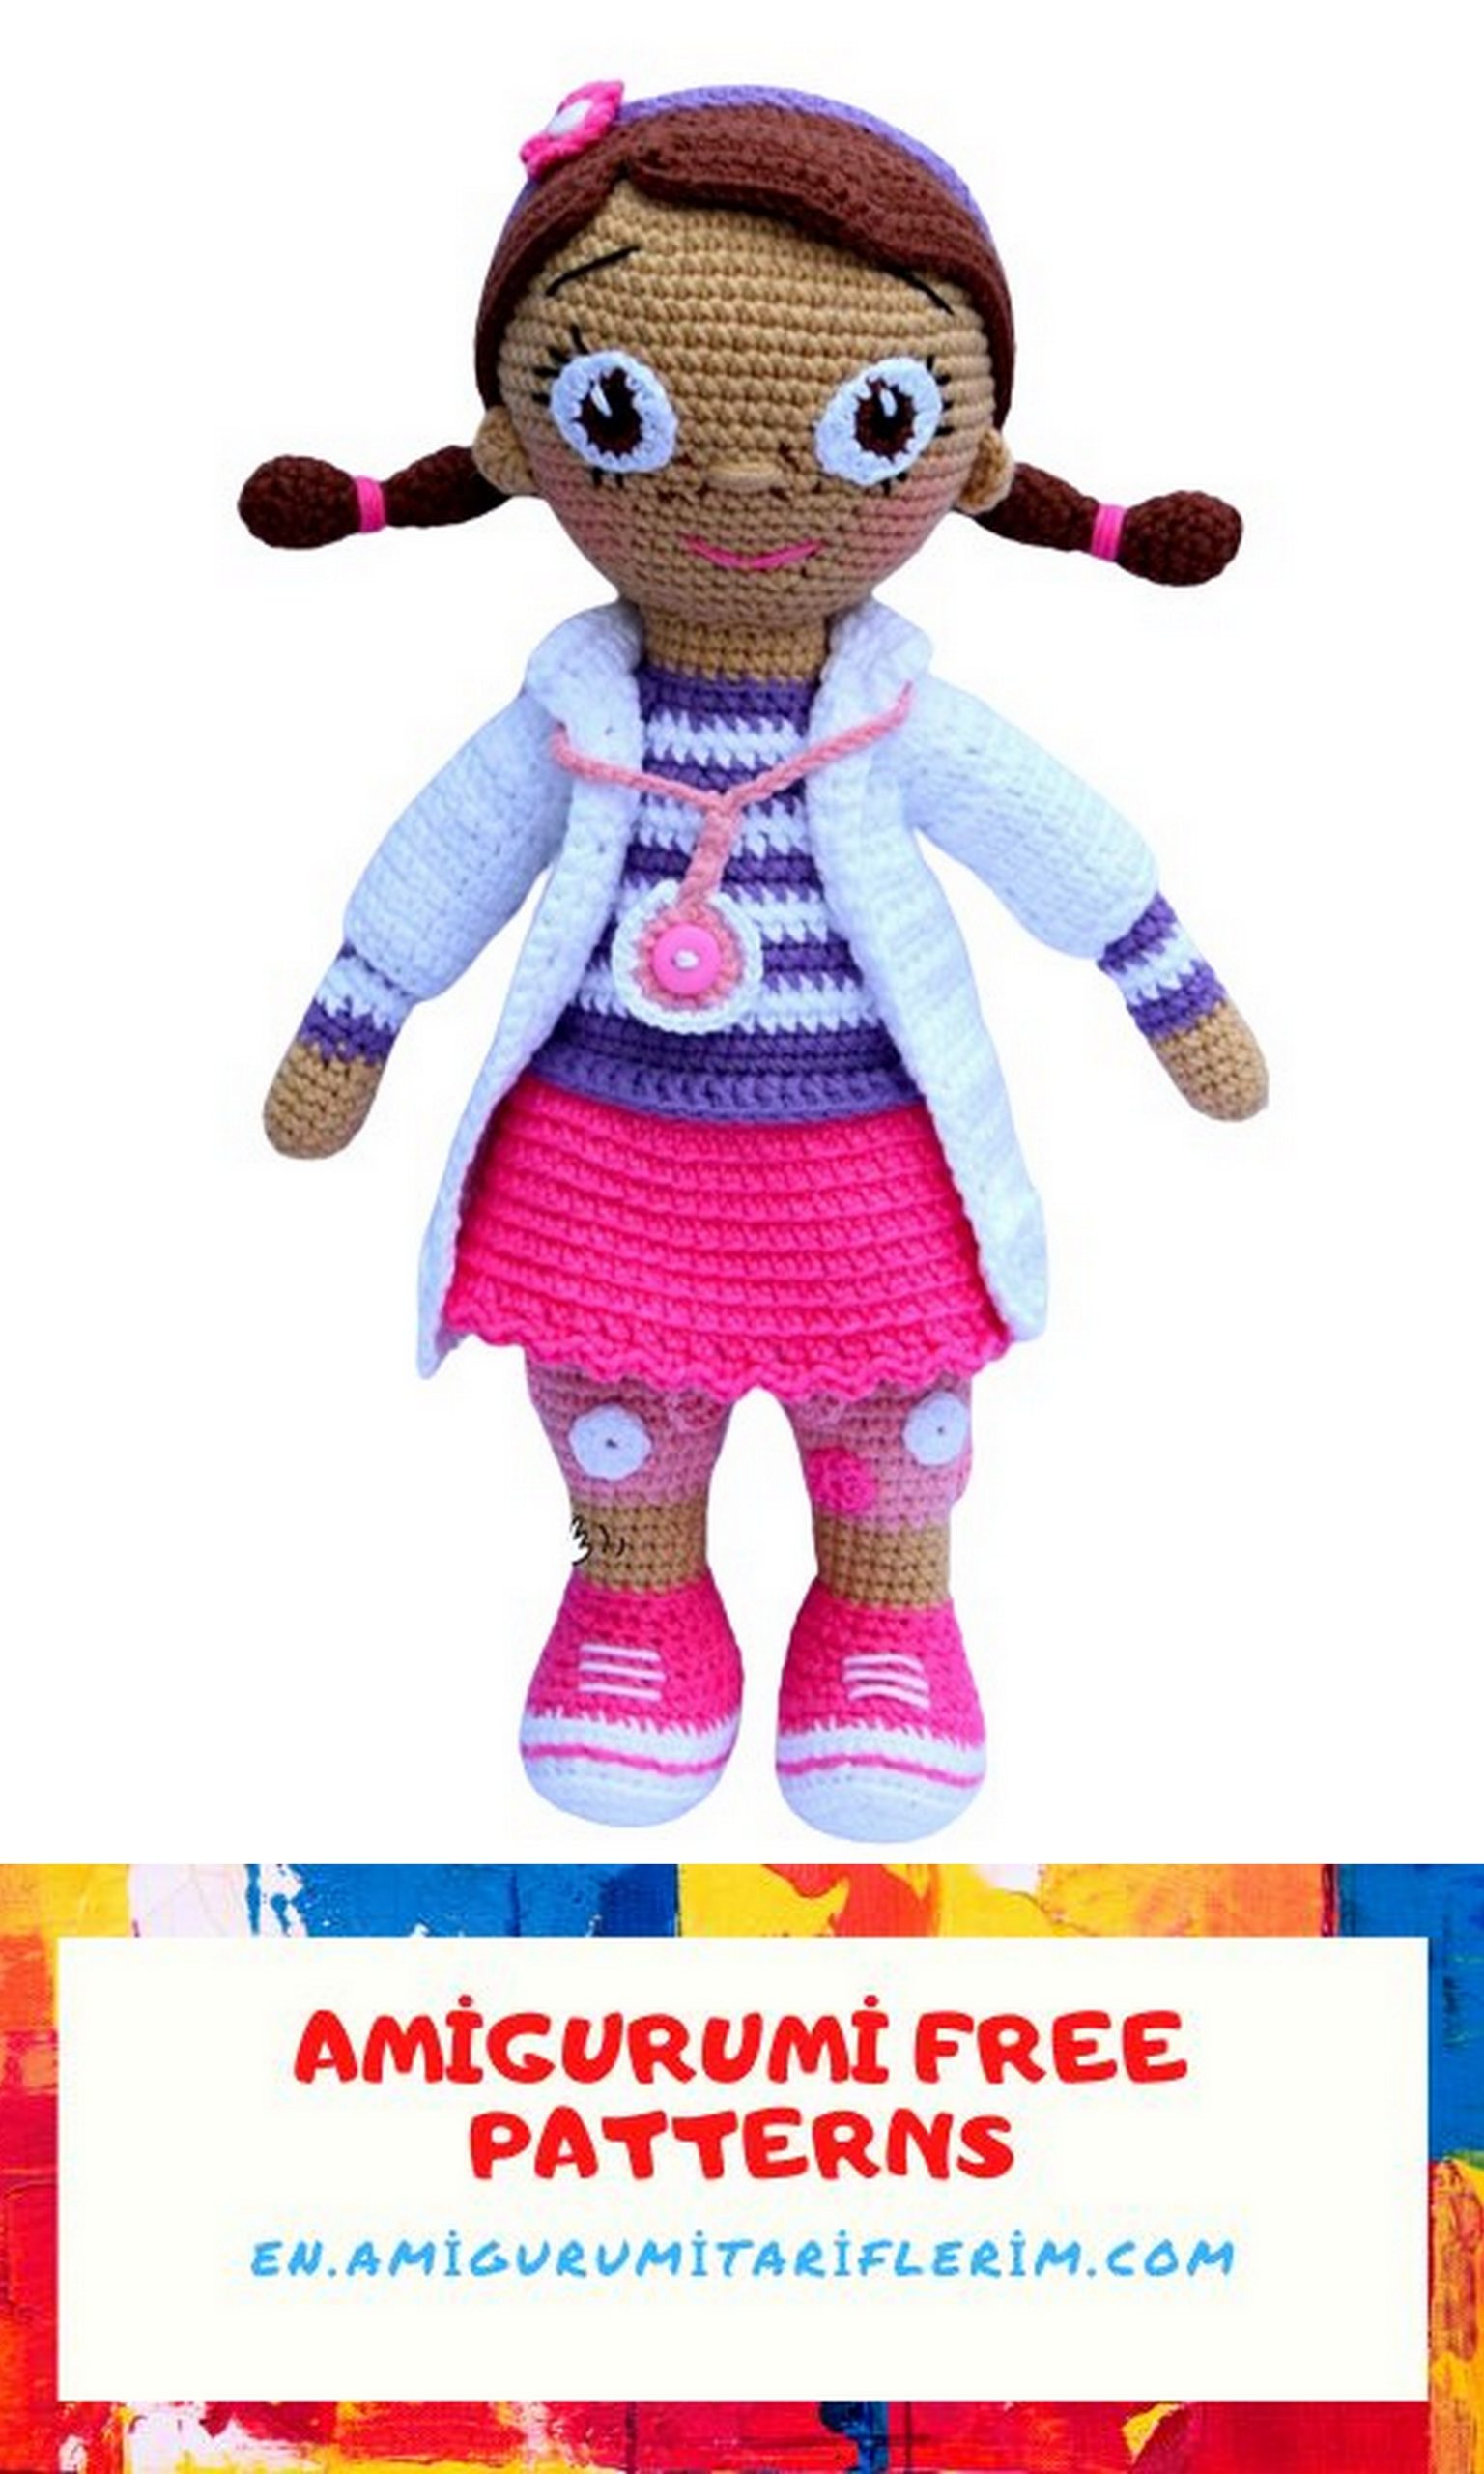
This Amigurumi Doctor Doll free pattern is perfect for those looking to add a touch of medical charm to their amigurumi collection or seeking a unique handmade gift for a healthcare professional. The finished doll is approximately [insert size] and features intricate details like a stethoscope, lab coat, and tiny medical instruments.
To begin, gather your materials, including yarn in various colors (white for the lab coat, blue for scrubs, etc.), a crochet hook, stuffing, and safety eyes. With these in hand, follow our detailed step-by-step instructions to bring your amigurumi doctor to life.
Our pattern offers guidance on creating essential components, such as the doll’s body, limbs, and accessories. You’ll learn how to crochet stitches like single crochet (SC), increase (INC), decrease (DEC), and more. We’ve designed this pattern to be as user-friendly as possible, making it an excellent project for both beginners and experienced crocheters.
Once complete, your Amigurumi Doctor Doll will be ready to join your amigurumi family or brighten someone’s day as a heartfelt gift. Whether displayed in a nursery or placed on a desk, this charming medical doll is sure to bring smiles.
Materials Needed:
Yarn in beige, dark brown, white, pink, raspberry, and lilac colors (Yarn Art Jeans or Alize Cotton Gold).
Fine cotton yarn in white, black, and dark brown for the eyes.
Pink, raspberry, and white yarn for the hair ties.
And, of course, a good mood!
PATTERN
HEAD
Use beige yarn. Stuff the head as you go.
Row 1: 6 single crochets (SC) into the amigurumi ring.
Row 2: 6 increases (INC) (12).
Row 3: 1 SC, INC x 6 (18).
Row 4: 2 SC, INC x 6 (24).
Row 5: 3 SC, INC x 6 (30).
Row 6: 4 SC, INC x 6 (36).
Row 7: 5 SC, INC x 6 (42).
Row 8: 6 SC, INC x 6 (48).
Row 9: 7 SC, INC x 6 (54).
Row 10: 8 SC, INC x 6 (60).
Row 11: 9 SC, INC x 6 (66).
Rows 12-21: 66 SC.
Row 22: 9 SC, DEC x 6 (60).
Row 23: 60 SC.
Row 24: 8 SC, DEC x 6 (54).
Row 25: 54 SC.
Row 26: 7 SC, DEC x 6 (48).
Row 27: 48 SC.
Row 28: 6 SC, DEC x 6 (42).
Row 29: 42 SC.
Row 30: 5 SC, DEC x 6 (36).
Row 31: 4 SC, DEC x 6 (30).
Row 32: 3 SC, DEC x 6 (24).
Row 33: 2 SC, DEC x 6 (18).
Row 34: 1 SC, DEC x 6 (12).
Row 35: Decrease stitches (DEC).
Finish crocheting and cut the thread.
HAIR
Use dark brown yarn. Do not stuff.
Row 1: 6 SC into the amigurumi ring.
Row 2: 6 INC (12).
Row 3: 1 SC, INC x 6 (18).
Row 4: 2 SC, INC x 6 (24).
Row 5: 3 SC, INC x 6 (30).
Row 6: 4 SC, INC x 6 (36).
Row 7: 5 SC, INC x 6 (42).
Row 8: 6 SC, INC x 6 (48).
Row 9: 7 SC, INC x 6 (54).
Row 10: 8 SC, INC x 6 (60).
Row 11: 9 SC, INC x 6 (66).
Rows 12-17: 66 SC.
Now, place a marker and continue crocheting the bangs. The bangs will be crocheted in turning rows: front and back.
For the first part, crochet 26 SC, 1 chain stitch (CH) to turn, then crochet 26 SC back in the opposite direction. Repeat this pattern for three more rows. You will have a total of 5 rows for the bangs. At the end of the fifth row, crochet along the side with single crochets, and then crochet two slip stitches (SS) as dividers for the two bang sections.
After the slip stitches, without cutting the thread, continue crocheting the second part of the bangs, which is slightly larger than the first part but also consists of 5 rows: SC, half double crochet (HDC), INC from double crochets (DC) with yarn overs, 3 DC with yarn overs, INC from DC with yarn overs, 3 DC with yarn overs, INC from HDC, HDC, 27 SC.
The remaining four rows are crocheted with turning rows, using SC stitches, without increases. Each of these four rows should have 41 SC.
Sew the hair to the head. Sew the back parts of the first and second bang sections together.
BRAIDS
Use dark brown yarn to crochet two pieces. Stuff as you go.
Row 1: 6 SC into the amigurumi ring.
Row 2: 6 INC (12).
Rows 3-5: 12 SC.
Row 6: 6 DEC (6).
Rows 7-9: 6 SC.
Row 10: 1 SC, INC x 3 times (9).
Rows 11-13: 9 SC.
Row 14: 1 SC, DEC x 3 times (6).
Row 15: 1 SC, INC x 3 times (9).
Row 16: 2 SC, INC x 3 times (12).
Row 17: 12 SC.
Row 18: 3 SC, INC x 3 times (15).
Finish crocheting. Cut the thread, leaving a long end for sewing. Attach the braids as shown in the photo. Use pink yarn to embroider hair ties on them.
HANDS
Begin with beige yarn.
Row 1: 6 SC into the amigurumi ring.
Row 2: 6 INC (12).
Rows 3-7: 12 SC.
Change the yarn color to lilac.
Rows 8-11: 12 SC.
Change the yarn color to white.
Rows 12-13: 12 SC.
Change the yarn color to lilac.
Rows 14-15: 12 SC.
Change the yarn color to white.
Rows 16-17: 12 SC.
Change the yarn color to lilac.
Rows 18-19: 12 SC.
Change the yarn color to white.
Rows 20-21: 12 SC.
Change the yarn color to lilac.
Rows 22-23: 12 SC.
Change the yarn color to white.
Rows 24-25: 12 SC.
Change the yarn color to lilac.
Rows 26-27: 12 SC.
Change the yarn color to white.
Rows 28-29: 12 SC.
Change the yarn color to lilac.
Rows 30-31: 12 SC.
Fold the edges together and crochet together with slip stitches (SL ST).
Do not stuff the hands too tightly, especially towards the top.
SEW HANDS TO THE BODY
STAGE #6
ROBE
Crochet the robe with white yarn in turning rows (front and back) using extended single crochets (USC) (if you are not familiar with this stitch, you can find tutorials on YouTube).
Start by chaining 24.
Begin each row with 2 chain stitches (CH).
Row 1: 24 USC.
Row 2: 3 USC, (3 USC into one stitch, denoted as “Inc” from now on), 4 USC, Inc, 6 USC, Inc, 4 USC, Inc, 3 USC.
Row 3: 4 USC, Inc, 6 USC, Inc, 8 USC, Inc, 6 USC, Inc, 4 USC.
Row 4: 5 USC, Inc, 8 USC, Inc, 10 USC, Inc, 8 USC, Inc, 5 USC.
Row 5: 6 USC, Inc, 10 USC, Inc, 12 USC, Inc, 10 USC, Inc, 6 USC.
Row 6: 7 USC, Inc, 12 USC, Inc, 14 USC, Inc, 12 USC, Inc, 7 USC.
Row 7: 8 USC, Inc, 14 USC, Inc, 16 USC, Inc, 14 USC, Inc, 8 USC.
Now, separate a part of the crochet fabric for the sleeves as follows:
Row 8: 10 USC, skip 16 stitches for one sleeve, 20 USC, skip 16 stitches for the other sleeve, 10 USC.
You should have 40 USC remaining (this is for the front and back of the robe).
Rows 9-26: 40 USC.
Crochet the sleeves in rounds.
Each sleeve consists of 16 USC.
Crochet in rounds, connecting the rows with slip stitches (SL ST) at the end.
The number of rounds will depend on the desired length of the sleeves.