Free Sleepy Cat Amigurumi Pattern: Create Your Own Cuddly Companion!
Looking to craft an adorable amigurumi cat that’s as cute as it is cozy? You’re in luck! Our free Sleepy Cat Amigurumi pattern is just what you need. Whether you’re a seasoned crocheter or a beginner, this project is perfect for you. In this step-by-step guide, we’ll show you how to create a lovable, sleepy cat plushie that’s sure to steal your heart. So, grab your yarn, hooks, and let’s get started on this purr-fect amigurumi adventure!
Abbreviations
sc : Single Crochet
inc : Increase
dec : Decrease
tr : Triple Crochet/ Treble Crochet
st: Stitch
dc : Double Crochet
hdc: Half Double Crochet
sl-st : Slip Stitch
ch : Chain
..in : make increase into same stitch as many as the number which is given in front of “inc”
abbreviation (exp; 3inc, 4inc..).
FLO : Crochet into front loops only
BLO : Crochet into back loops only
BL : Bobble Stitch – do 5dc all in the same stitch and then yarn over and pull through all the loops on your hook (the original loop + 1 loop for each partially completed dc).
PATTERN
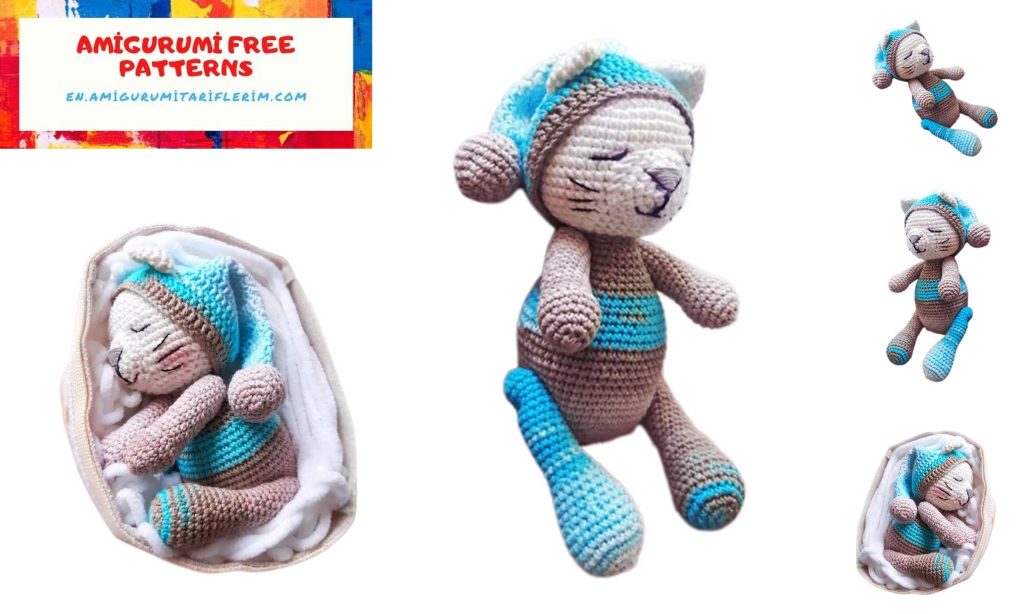
Head:
1) 6sc in amigurumi ring (6)
2) (inc)х6 (12)
3) (sc, inc)х6 (18)
4) (2sc, inc)х6 (24)
5) (3sc, inc)х6 (30)
6) (4sc, inc)х6 (36)
7) (5sc, inc)х6 (42)
8) (6sc, inc)х6 (48)
9-13) 48sc (5 rows)
14) (7sc, inc)х6 (54)
15-16) 54sc (2 row)
17) (7sc, dec)х6 (48)
18) (6sc, dec)х6 (42)
19) (5sc, dec)х6 (36)
20) (4sc, dec)х6 (30)
21) (3sc, dec)х6 (24)
22) (2sc, dec)х6 (18)
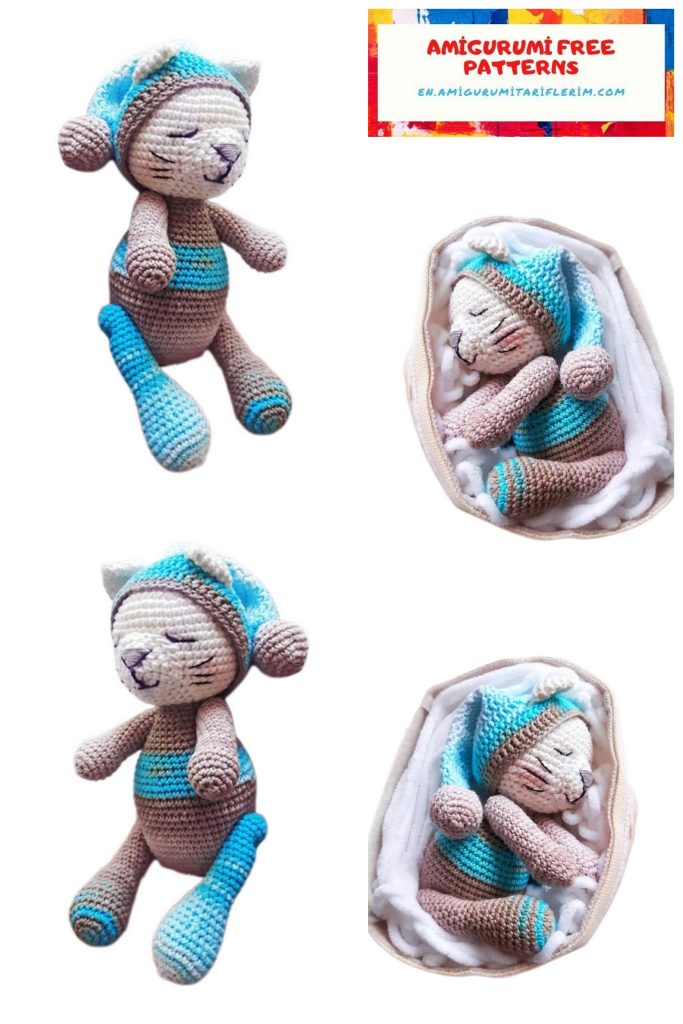
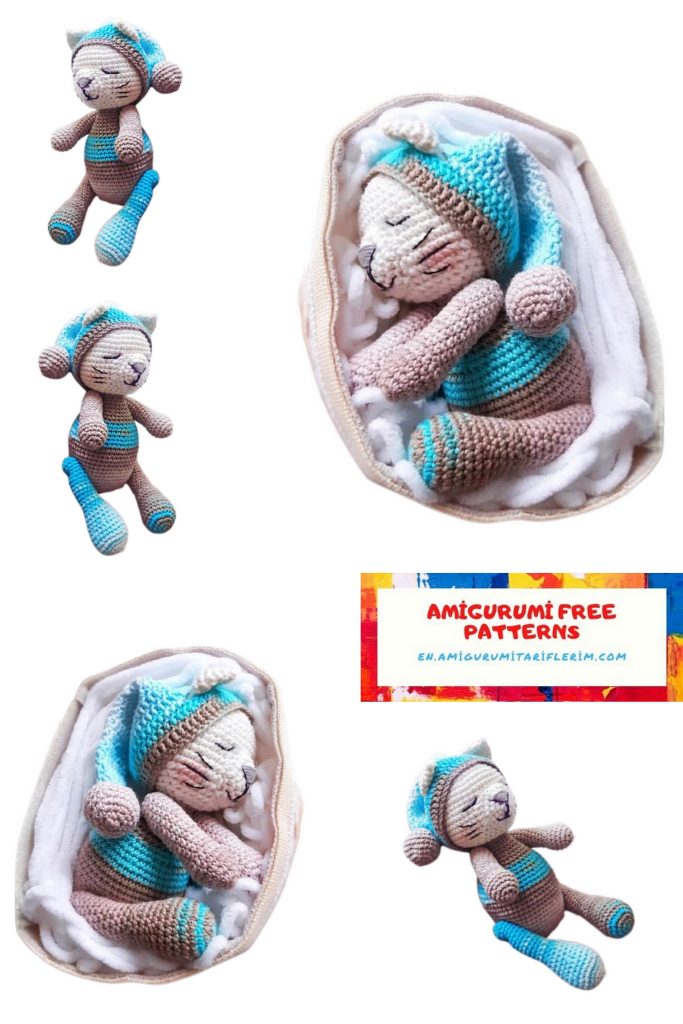
Body:
1) 6sc in amigurumi ring (6)
2) (inc)х6 (12)
3) (sc, inc)х6 (18)
4) (2sc, inc)х6 (24)
5) (3sc, inc)х6 (30)
6) (4sc, inc)х6 (36)
7) (5sc, inc)х6 (42)
8) (6sc, inc)х6 (48)
9-20) 48sc (12 rows)
21) (6sc, dec)х6 (42)
22) 42sc
23) (5sc, dec)х6 (36)
24-26) 36sc (3 row)
27) (4sc, dec)х6 (30)
28) 30sc
29) (3sc, dec)х6 (24)
30) 24sc
31) (2sc, dec)х6 (18)
32) 18sc
Leave the thread to embroider.
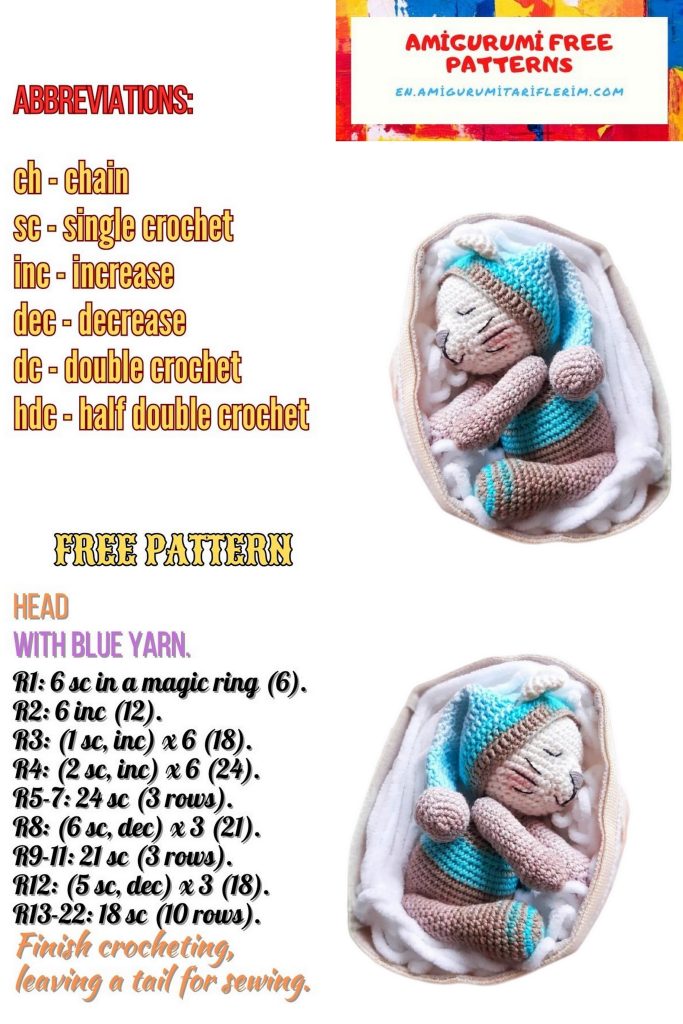
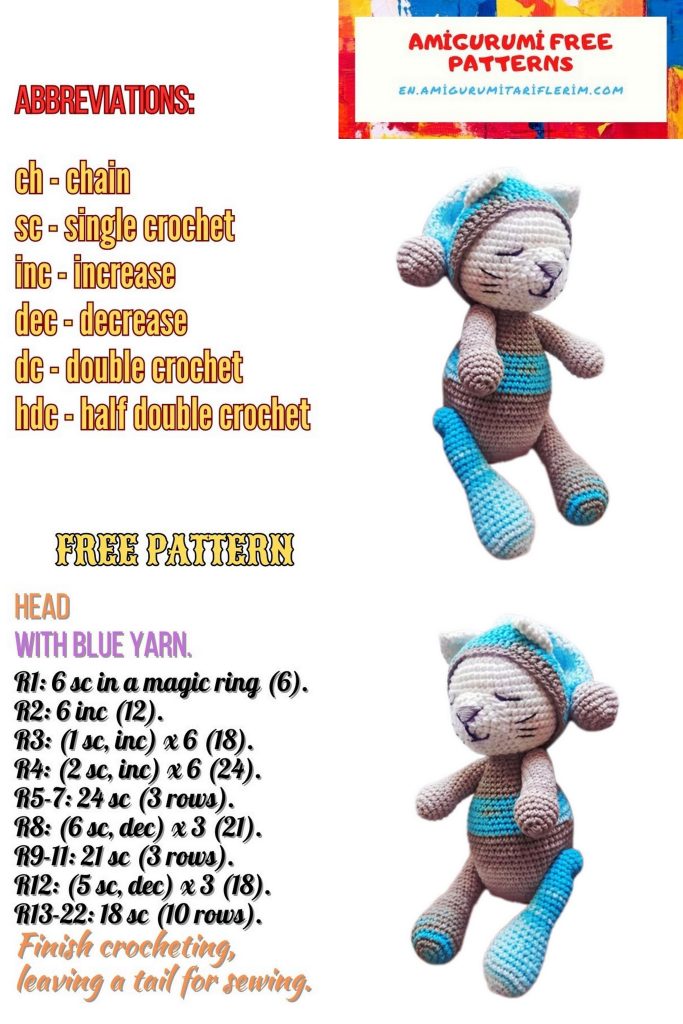
Hands (2times):
1) 6sc in amigurumi ring (6)
2) (inc)х6 (12)
3) (sc, inc)х6 (18)
4-6) 18sc (3 row)
7) (sc, dec)х6 (12)
8-21) 12sc (14 rows)
22) (dec)х6
Pull off the hole.
We attach the hands to a thread mount or embroider.
Legs (2 times):
1) 6sc in amigurumi ring (6)
2) (inc)х6 (12)
3) (sc, inc)х6 (18)
4) (2sc, inc)х6 (24)
5-8) 24sc (4 ряда)
9) (2sc, dec)х6 (18)
10-12) 18sc
13) (sc, dec)х6 (12)
14-27) 12sc (14 рядов)
28) (sc, dec)х4 (8)
Pull off the hole.
We attach the legs to a thread mount or embroider.
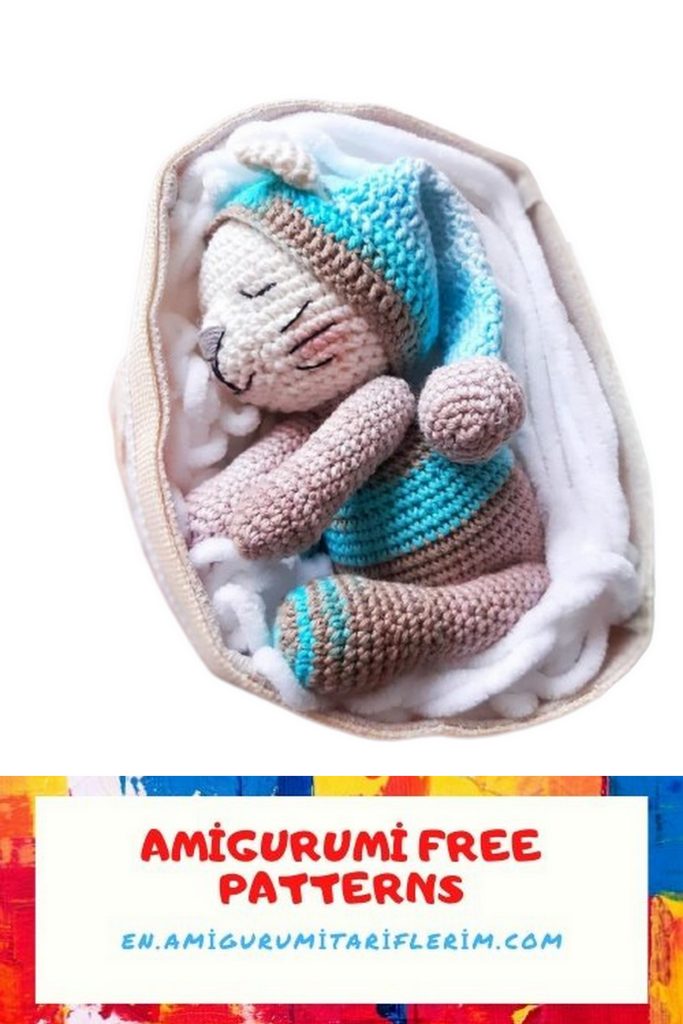
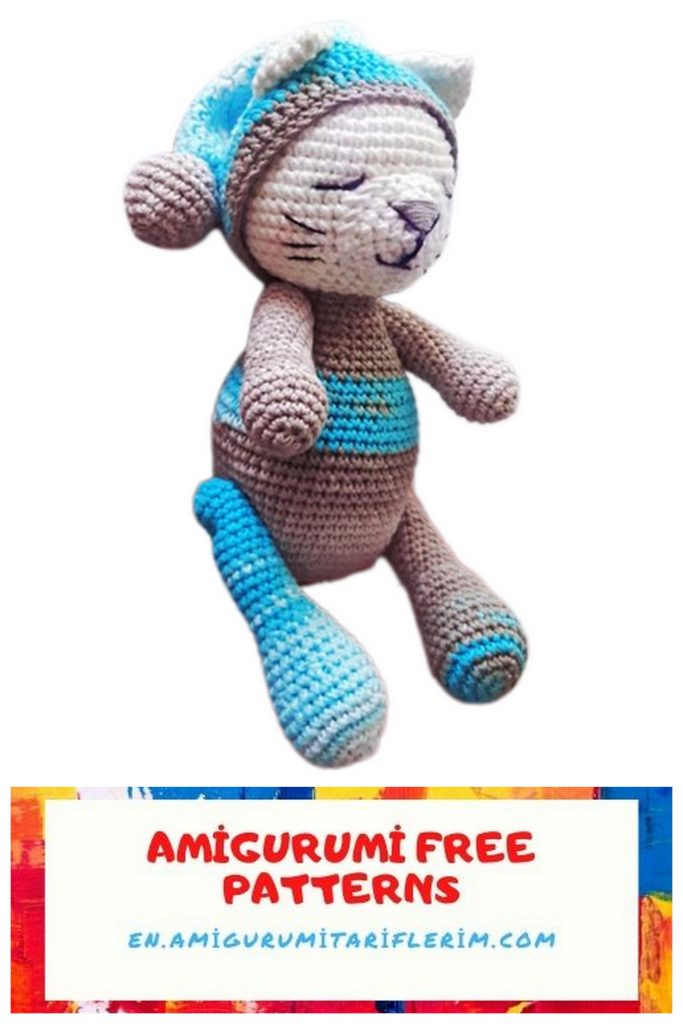
Cap:
1) We dial 55ch, connect in a ring slst.
2) from the second loop we knit 54 sc
3-4) 54dc (2 rows)
5) 16dc, dial 9ch (We’re going to have 9 loops), Next 4dc, 9ch (We’re going to have 9 loops), 16dc (54)
6-7) 54dc
8) (7dc, dec)х6 (48)
9) (6dc, dec)х6 (42)
10) (5dc, dec)х6 (36)
11) 36dc
12) (4dc, dec)х6 (30)
13) 30dc
14) (3dc, dec)х6 (24)
15) 24dc
16) (2dc, dec)х6 (18)
17) 18dc
18) (dc, dec)х6 (12)
19) 12dc
Fasten with slst, leave thread for sewing.
Pompon:
1) 6sc in amigurumi ring (6)
2) (inc)х6 (12)
3) (sc, inc)х6 (18)
4) (2sc, inc)х6 (24)
5-7) 24sc (3 row)
8) (2sc, dec)х6 (18)
9) (sc, dec)х6 (12)
10) (dec)х6
Fasten slst, Add cap.
Ears (2times):
1) 4sc in amigurumi ring (4)
2) (inc)х4 (8)
3) (sc, inc)х4 (12)
4) (2sc, inc)х4 (16)
5-6) 16sc (2 row)
Fold in half, Knit together 8sc.
Muzzle:
1) 6sc in amigurumi ring (6)
2) (inc)х6 (12)
3) (sc, inc)х6 (18)
4) (2sc, inc)х6 (24)
